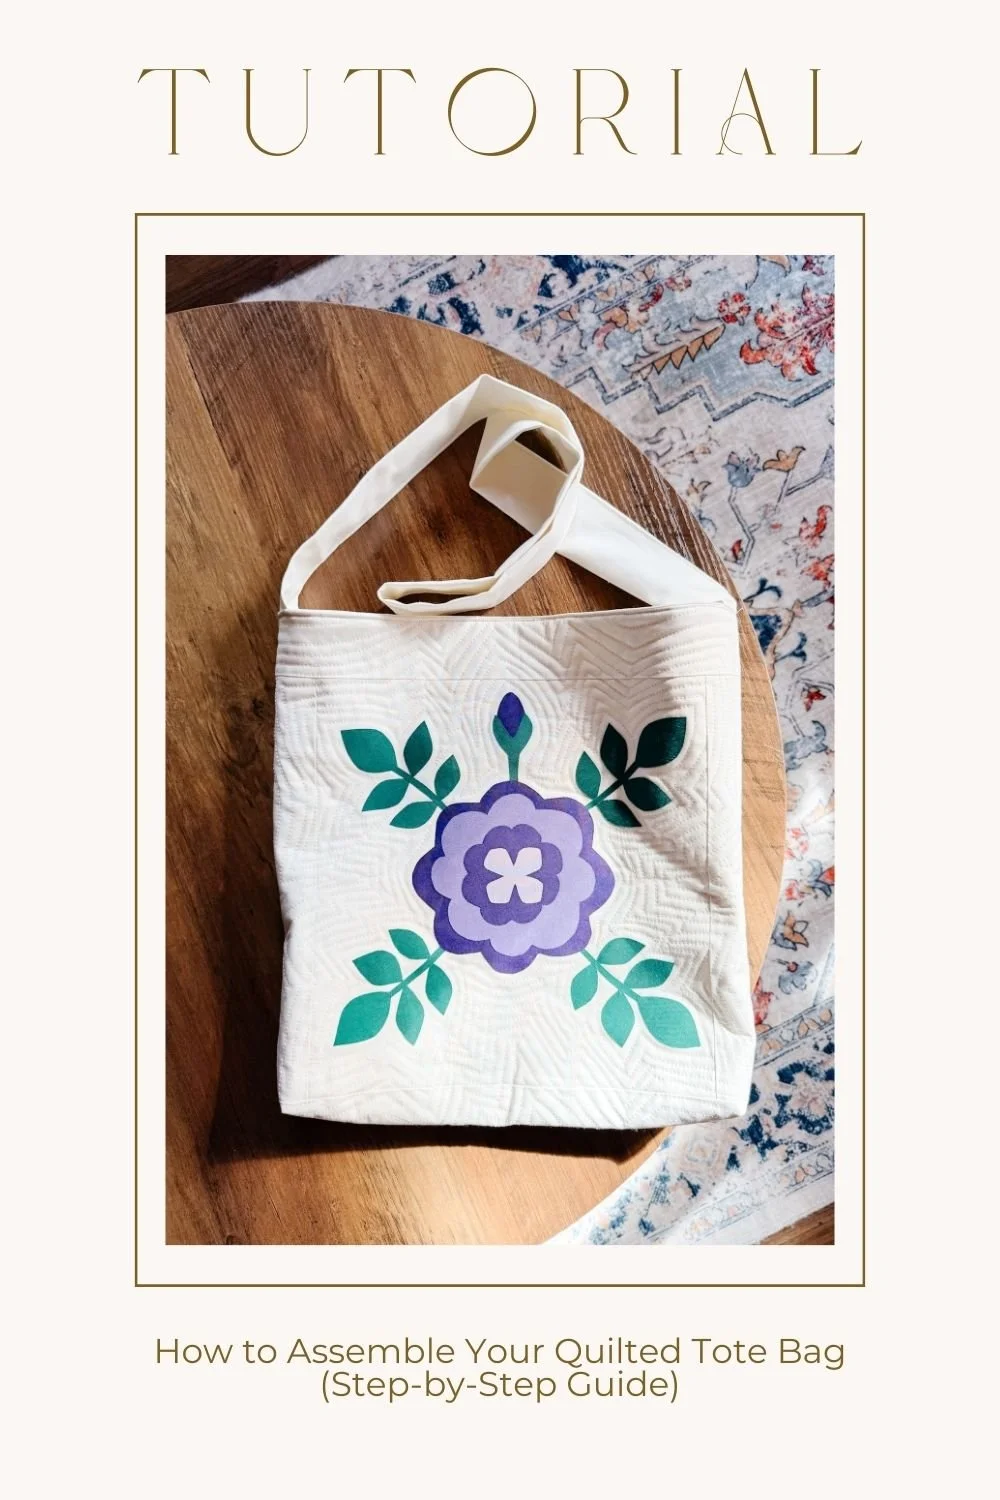
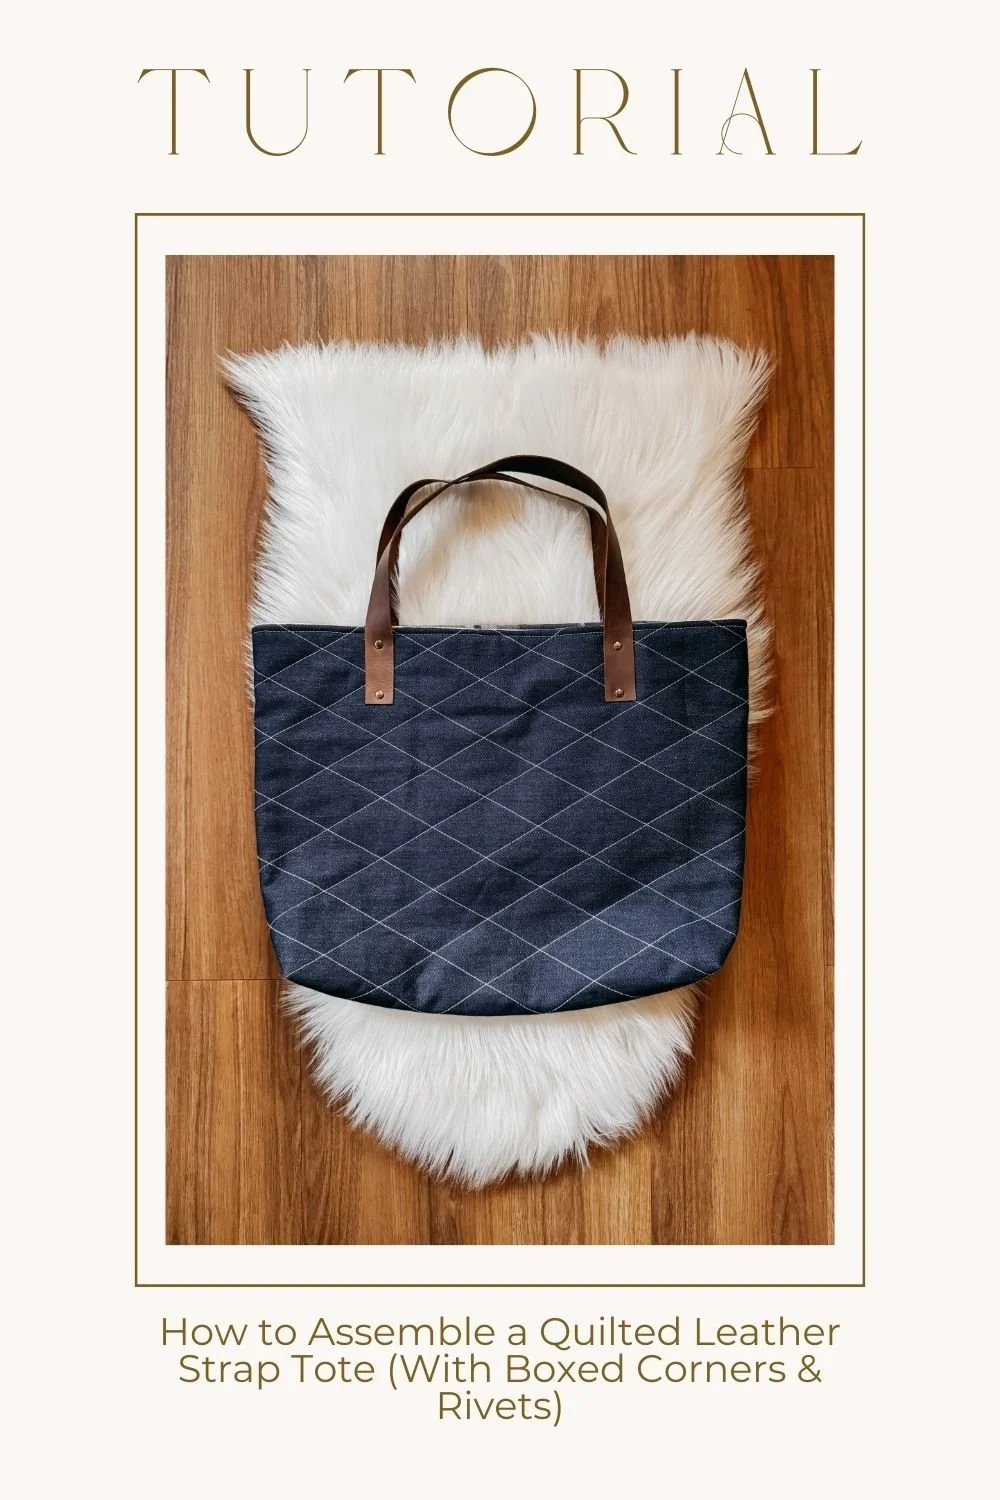
How to Assemble a Quilted Leather Strap Tote (With Boxed Corners & Rivets)
There’s something deeply satisfying about turning two quilted panels into a real, usable tote. The moment it flips right side out and actually looks like a bag? Magic.
Today I’m walking you through the full tote assembly process — from sewing the outer bag and lining, all the way to adding leather straps with double-cap rivets.
This method uses boxed corners with notches and a turned finish top edge for a clean, professional interior.
Let’s begin.
my fave quilting toolsStep 1: Prepare Your Quilted Outer Panels
Before assembly, your outer panels should already be:
Quilted
Trimmed to match the lining panels
Squared accurately
Your lining panels should be cut and ready — not quilted.
Once everything matches, you’re ready to build the bag.
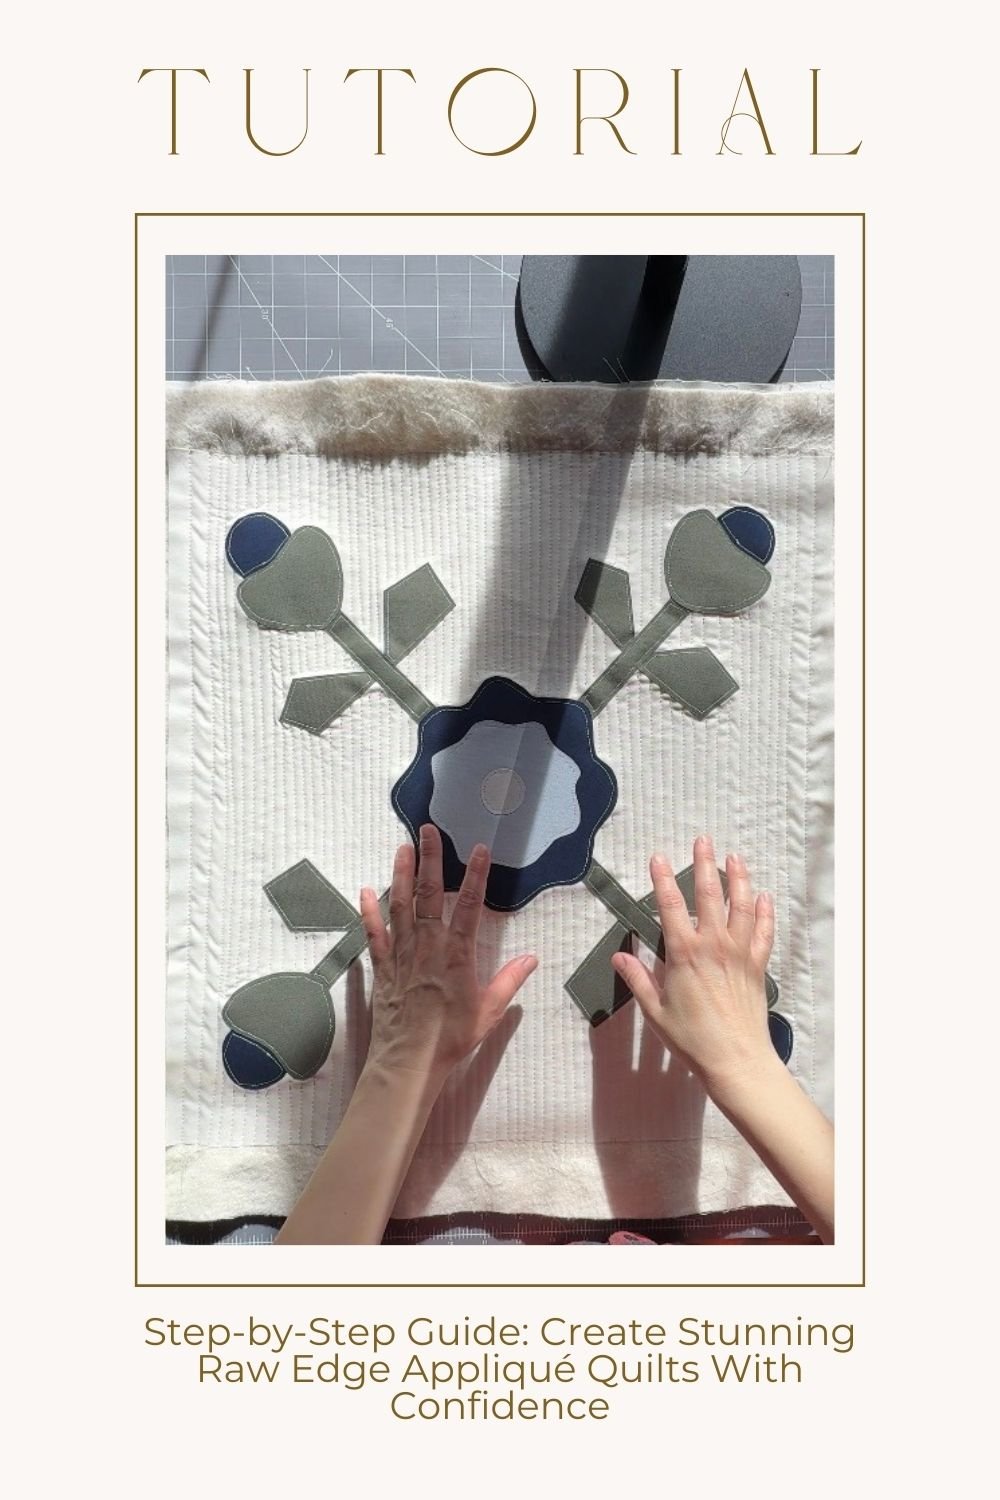
if you are not familiar with how to apply applique or quilt, i highly recommend you watching this tutorial and reading this blog post here: https://thelmaquilts.com/blog/step-by-step-raw-edge-applique-quiltsStep 2: Cut the Boxed Corner Notches
This tote uses the notch method for boxed corners.
From the bottom corners of:
Both quilted outer panels
Both lining panels
Pin your quilted panels together; pin your lining pieces together then cut out a square from each bottom corner.This creates the depth for your bag once sewn.
Repeat for all four panels.
Step 3: Sew the Outer Bag
Place the two quilted outer panels right sides together (RST).
Sew both side seams.
Sew the bottom seam.
Now form the boxed corners:
Open each bottom notch so the raw edges meet.
Match the seams carefully.
Sew straight across the open notch.
Repeat for the second corner.
Turn the outer bag right side out and gently shape the corners.
Press the top edge.
Set aside.


Step 4: Sew the Lining (With Turning Gap)
Place lining panels RST, matching edges and notches.
Sew both side seams.
Sew the bottom seam — but leave a 6–8" opening in the center for turning.
Backstitch at both ends of the opening.
Box the lining corners the same way as the outer bag:
Open notch
Align raw edges
Sew straight across
Keep the lining wrong side out.
Step 5: Join Outer + Lining
Orientation matters here:
Outer bag → right side out
Lining → wrong side out
Place the outer bag inside the lining so right sides are facing each other.
Match side seams. Clip around the entire top edge.
Sew around the full top edge.
Step 6: Turn the Bag
Reach through the lining opening and pull the entire bag through.
Push the lining inside the outer bag.
Now shape the top edge:
Roll the seam slightly inward so the lining doesn’t peek out.
Press neatly all the way around.
Step 7: Close the Lining Gap
Pull the lining out slightly to access the opening.
Fold raw edges inward.
Stitch the opening closed close to the folded edge.
Machine stitching is perfectly fine here — it won’t be visible.
Step 8: Topstitch the Top Edge
Before adding straps, topstitch around the entire top edge.
Keep your stitching even and slow down at seam intersections.
At this stage, your tote is structurally complete with a clean interior finish.
Step 9: Add Leather Straps with Double-Cap Rivets
This is the final (and most satisfying) step.
A. Mark Strap Placement
Mark strap center lines on the exterior.
Mark strap ends down from the finished top edge.
One strap attaches to the front panel.
The second strap attaches to the back panel.
Lay the tote flat and confirm:
Straps point straight upward.
No twisting.
Both sides are evenly spaced.
Test the hang before punching holes.
B. Add Reinforcement (Highly Recommended)
Cut reinforcement patches and place one inside the tote behind each strap end location.
This prevents rivets from pulling through over time.
You can lightly secure patches in place before punching.
C. Mark and Punch Holes
For each strap end:
Mark two rivets (eight total for the bag).
Keep them centered across the strap width.
Stay away from the very edge of the strap and top seam.
Punch through all layers:
Strap
Outer
Batting
Lining
Reinforcement patch
Punch snug holes — too loose and rivets can wiggle.
D. Set the Rivets
Insert the rivet post from the inside of the tote outward.
Place the second cap on the outside.
Set on a hard surface:
Outside cap facing down on the anvil.
Use rivet setter and tap firmly until secure.
Test one rivet on scrap layers first to confirm correct post length.
Rivets should feel snug but not crush the fabric.
Double-check straps are not twisted before setting the final rivet.
And That’s It
You now have:
Fully boxed corners
Clean turned top edge
Reinforced leather handles
Professional double-cap rivet finish
This method creates a structured tote that looks beautiful and is built to actually be used.
If you make one, I’d love to see it — tag @thelmaquilts and use #THELMAQUILTS so I can cheer you on.
You’ve got this!
pin it for later


Minimalist knitwear designer.