Quick Easter Bunny Quilting Pattern: Make This Free Project in 3 Hours
If you’re looking for a sweet little spring sewing project, this quilted bunny is such a fun one to make.
It’s quick, beginner-friendly, and perfect for using up a couple of fat quarters. You can turn it into a cute Easter wall hanging, a charming placemat for a spring table, or even something lovely for a nursery or toddler’s room.
In this tutorial, I’ll walk you through how to make your own quilted bunny from a printed template using two fat quarters, batting, and a bit of simple quilting.
What you’ll need
To make your bunny, you’ll need:
2 fat quarters
batting
tape or glue stick for assembling the template
paper scissors
washable glue stick for basting
a pencil or washable fabric marker
sewing machine
pinking shears or regular scissors
optional weights to hold the template in place while tracing
Print your template at 100%
The first step is to print your bunny template at 100% scale.
That part is important if you want the full-size bunny. If you’d prefer a smaller version, you can reduce the scale before printing. Once printed, tape or glue the pages together, lining them up as neatly as you can.
After that, cut out the full bunny template with paper scissors.
A little tip here: once the template is cut out, it helps to reinforce the back with extra tape or glue so it stays secure and doesn’t shift around while you trace it.

Make a mini quilt sandwich
Once your template is ready, it’s time to build the quilted piece that your bunny will be cut from.
Layer your materials like this:
backing fabric right side down
batting in the middle
top fabric right side up
This creates a small quilt sandwich.
Then baste it together. For a project this size, a washable glue stick works really well. Just smooth everything out and glue baste both sides so the layers stay in place.
For smaller projects like this, glue basting is simple and easy to manage. It doesn’t have to be perfect either, since you’ll be cutting the bunny shape out afterward.
Quilt the mini quilt
After basting, let everything dry for a bit, then take it to your sewing machine and quilt it.
This step is what gives the bunny that cozy little quilted feel. You can machine quilt it as shown in the tutorial (straight line quilting), or use hand quilting if that’s more your style.
Because this is such a small project, it’s a great one for simple quilting lines and quick finishing.
Trace the bunny shape
Once your mini quilt is quilted, place the bunny template on top and position it where you want it.
Use weights to keep it from shifting. Pattern weights are handy, but cans from the pantry work just as well.
Trace around the bunny using a pencil or washable marker.
Before cutting it out, sew all the way around the traced bunny shape. This helps secure the edges and gives the finished bunny a much cleaner, sturdier result.
Cut it out
Now for the fun part.
Using pinking shears, cut around the bunny, leaving about 1/4 inch outside the stitched line. You don’t want to cut right on your stitching.
The pinking shears give the edges a cute, decorative finish, but regular scissors will work too if that’s what you have.
And that’s it — your bunny is finished.

Ways to use your quilted bunny
One of the sweetest things about this project is how many ways you can use it.
Here are a few ideas:
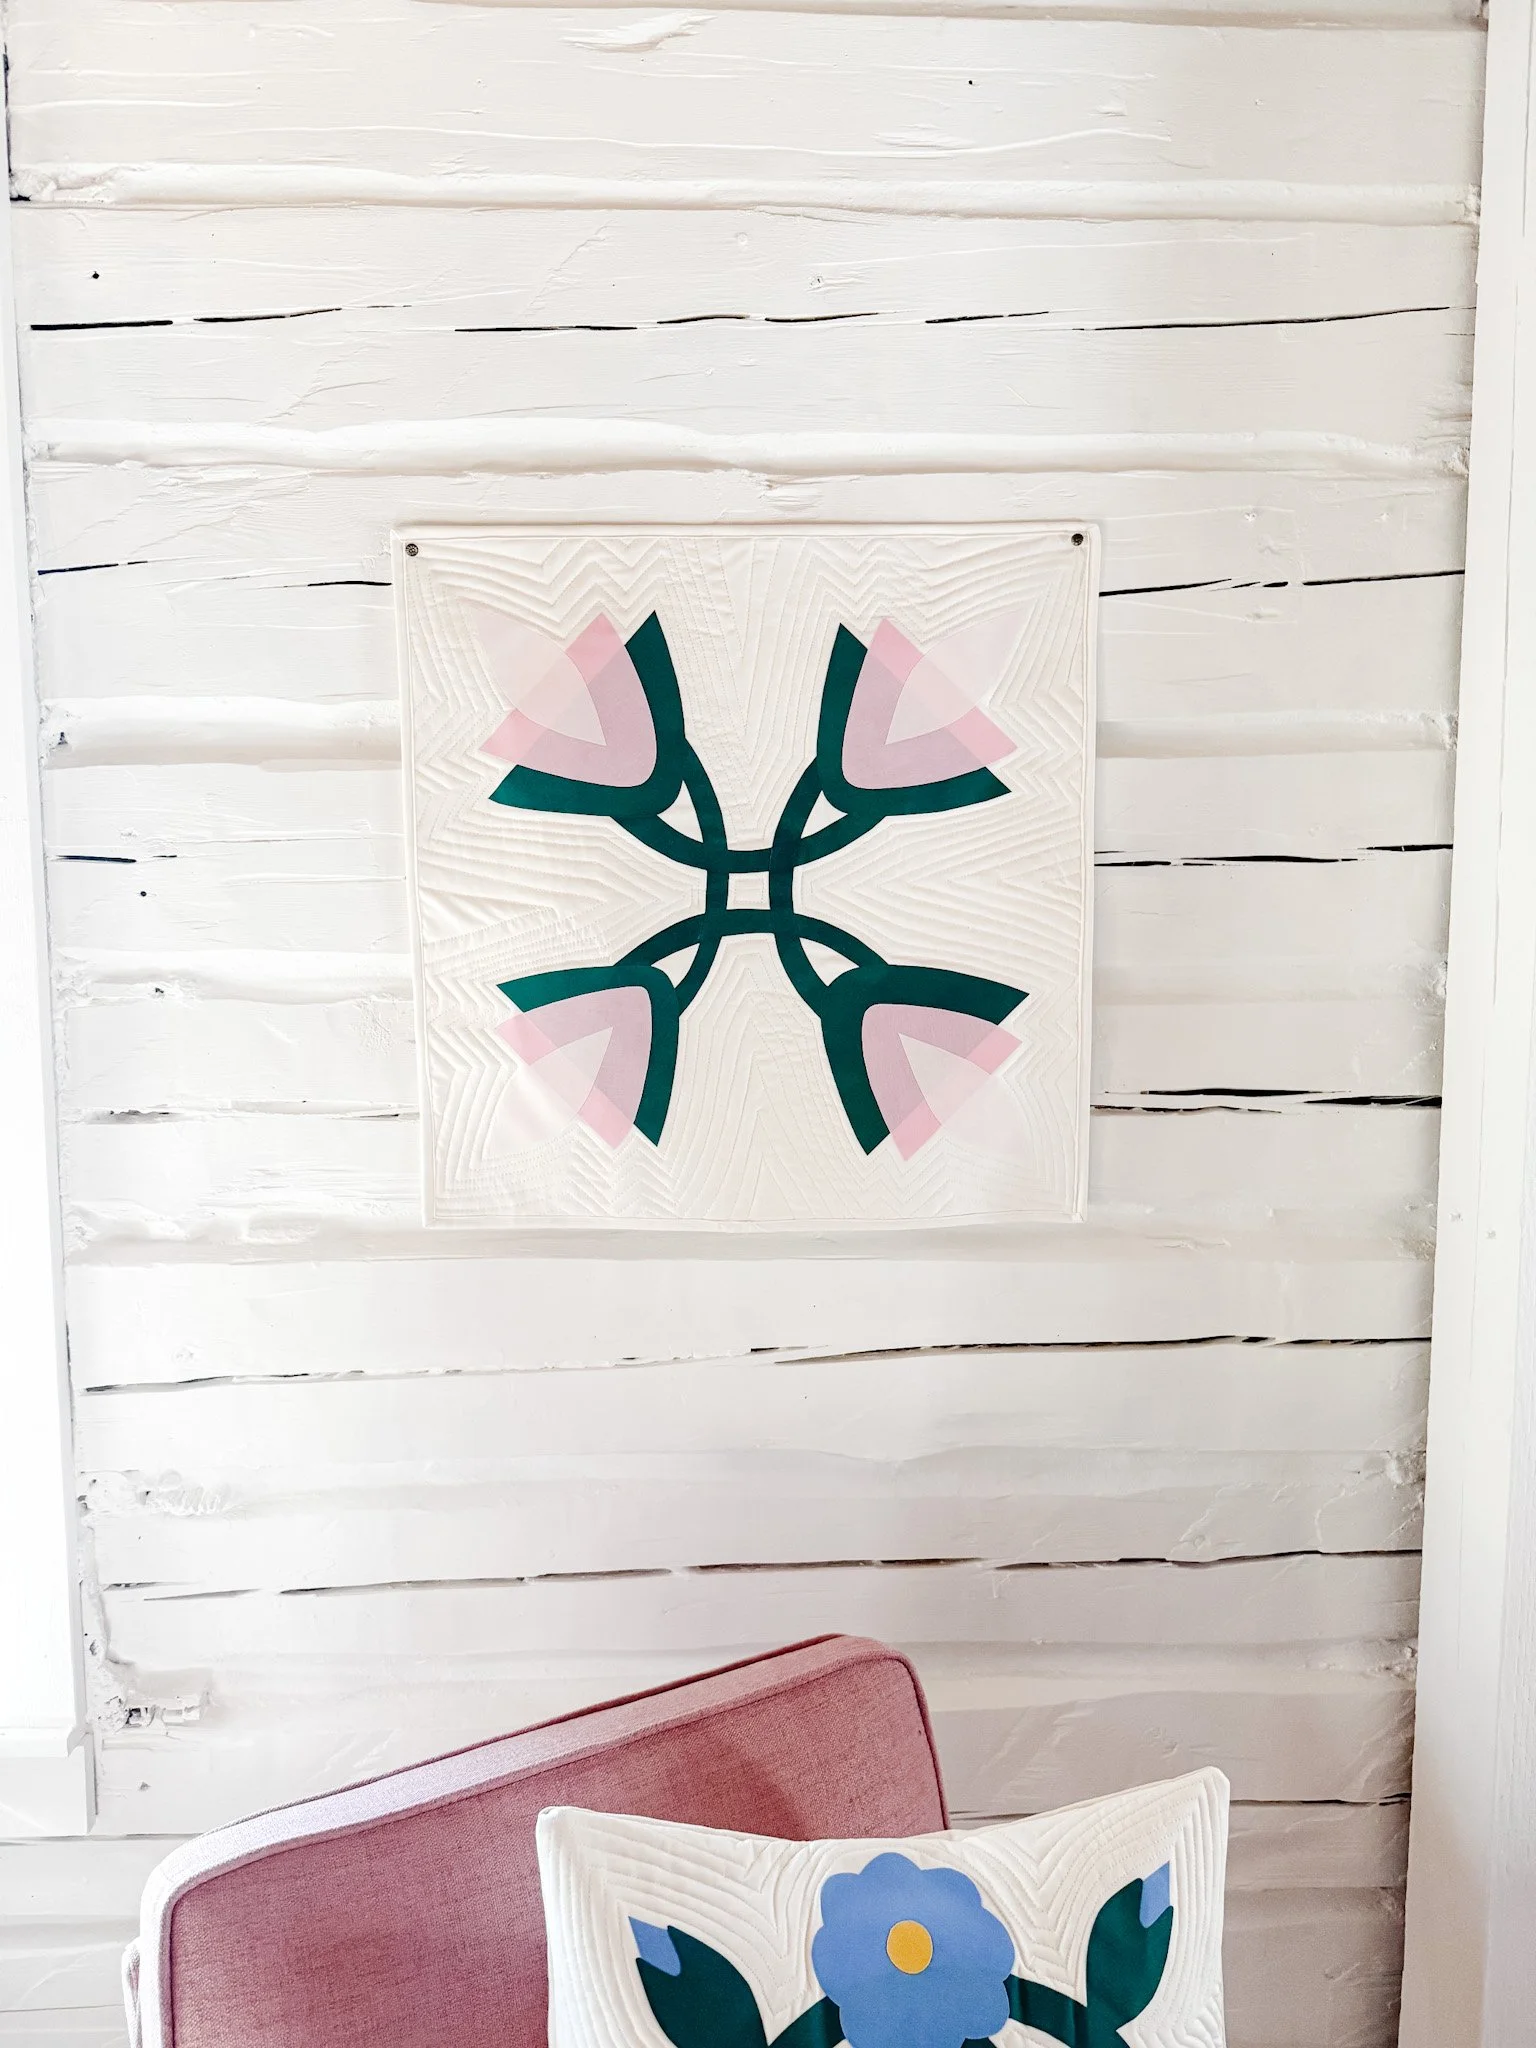
hang it on the wall for Easter
use it as a nursery or toddler room decoration
make one as a small spring centerpiece mat
sew a set to use as placemats for Easter dinner
make a few in different prints for seasonal decorating
It’s such a simple little project, but it feels really special once it’s finished.
Why this is a great beginner sewing project
This bunny is a wonderful project for beginners because it lets you practice a few quilting basics without committing to a full quilt.
You get to try:
printing and assembling a template
making a quilt sandwich
glue basting
simple quilting
tracing and sewing around a shape
finishing raw edges neatly
It’s quick, satisfying, and a really nice way to turn a small amount of fabric into something useful and beautiful.
Final thoughts
I love projects like this because they’re easy, creative, and full of possibilities. This little bunny would be so sweet in spring decor, on an Easter table, or hanging in a child’s room.
It’s the kind of project that feels playful and useful at the same time — and those are always my favourite kinds.
You can find the free bunny pattern on my website, and if you’d like more quilting and sewing tutorials, be sure to subscribe to the email list and check out my other videos too.
check out my fave quilting toolspin it for later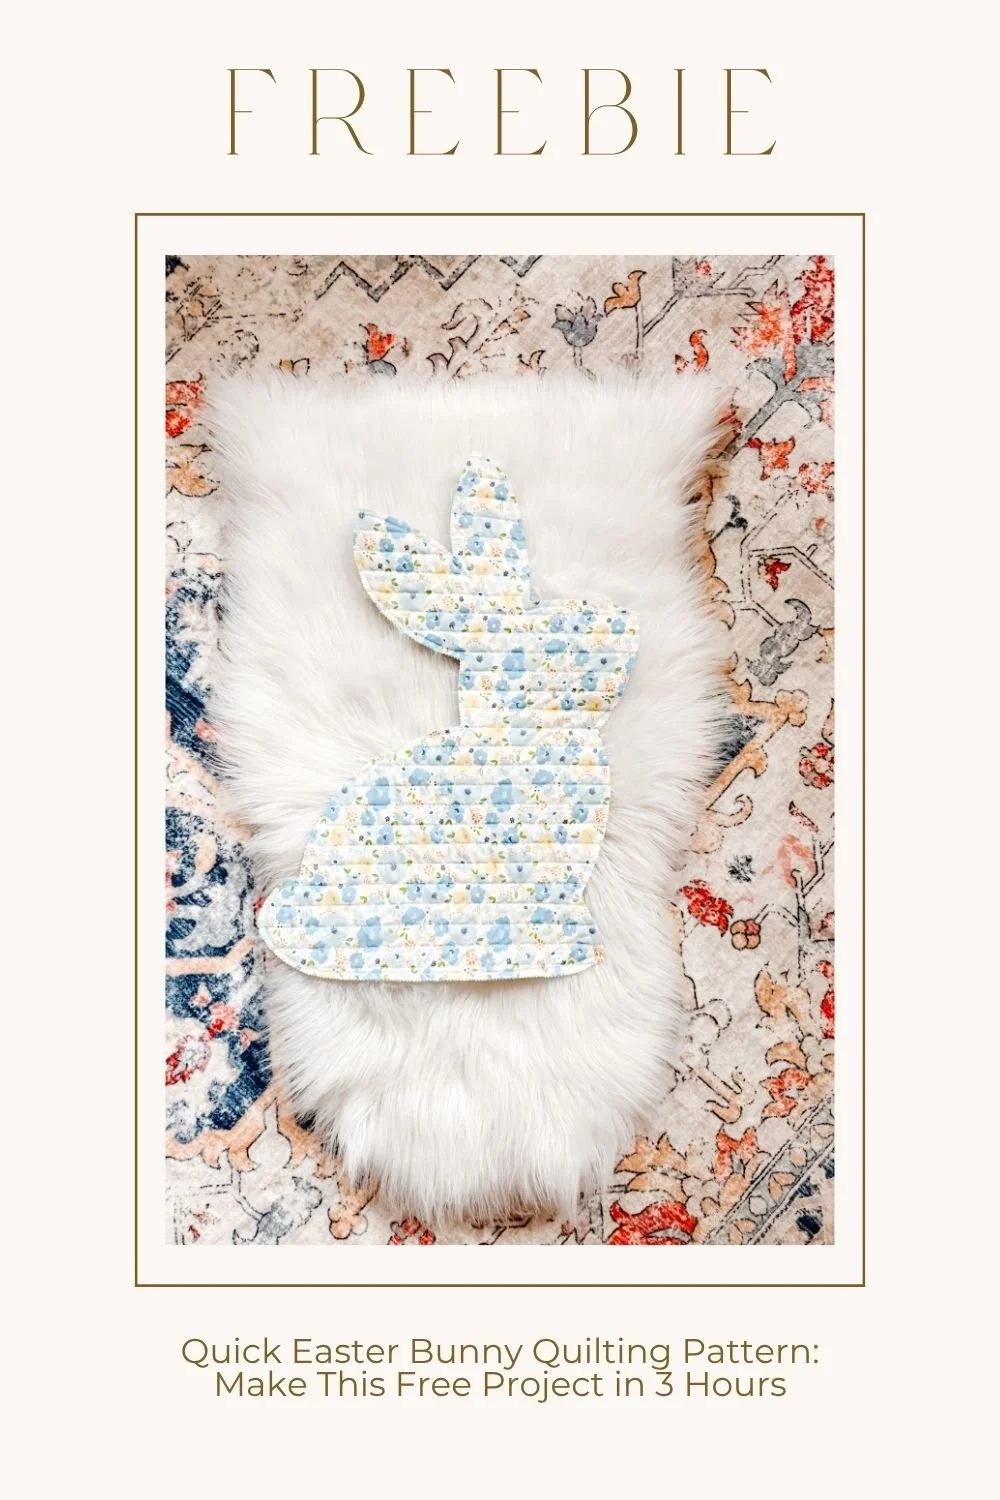
Minimalist knitwear designer.