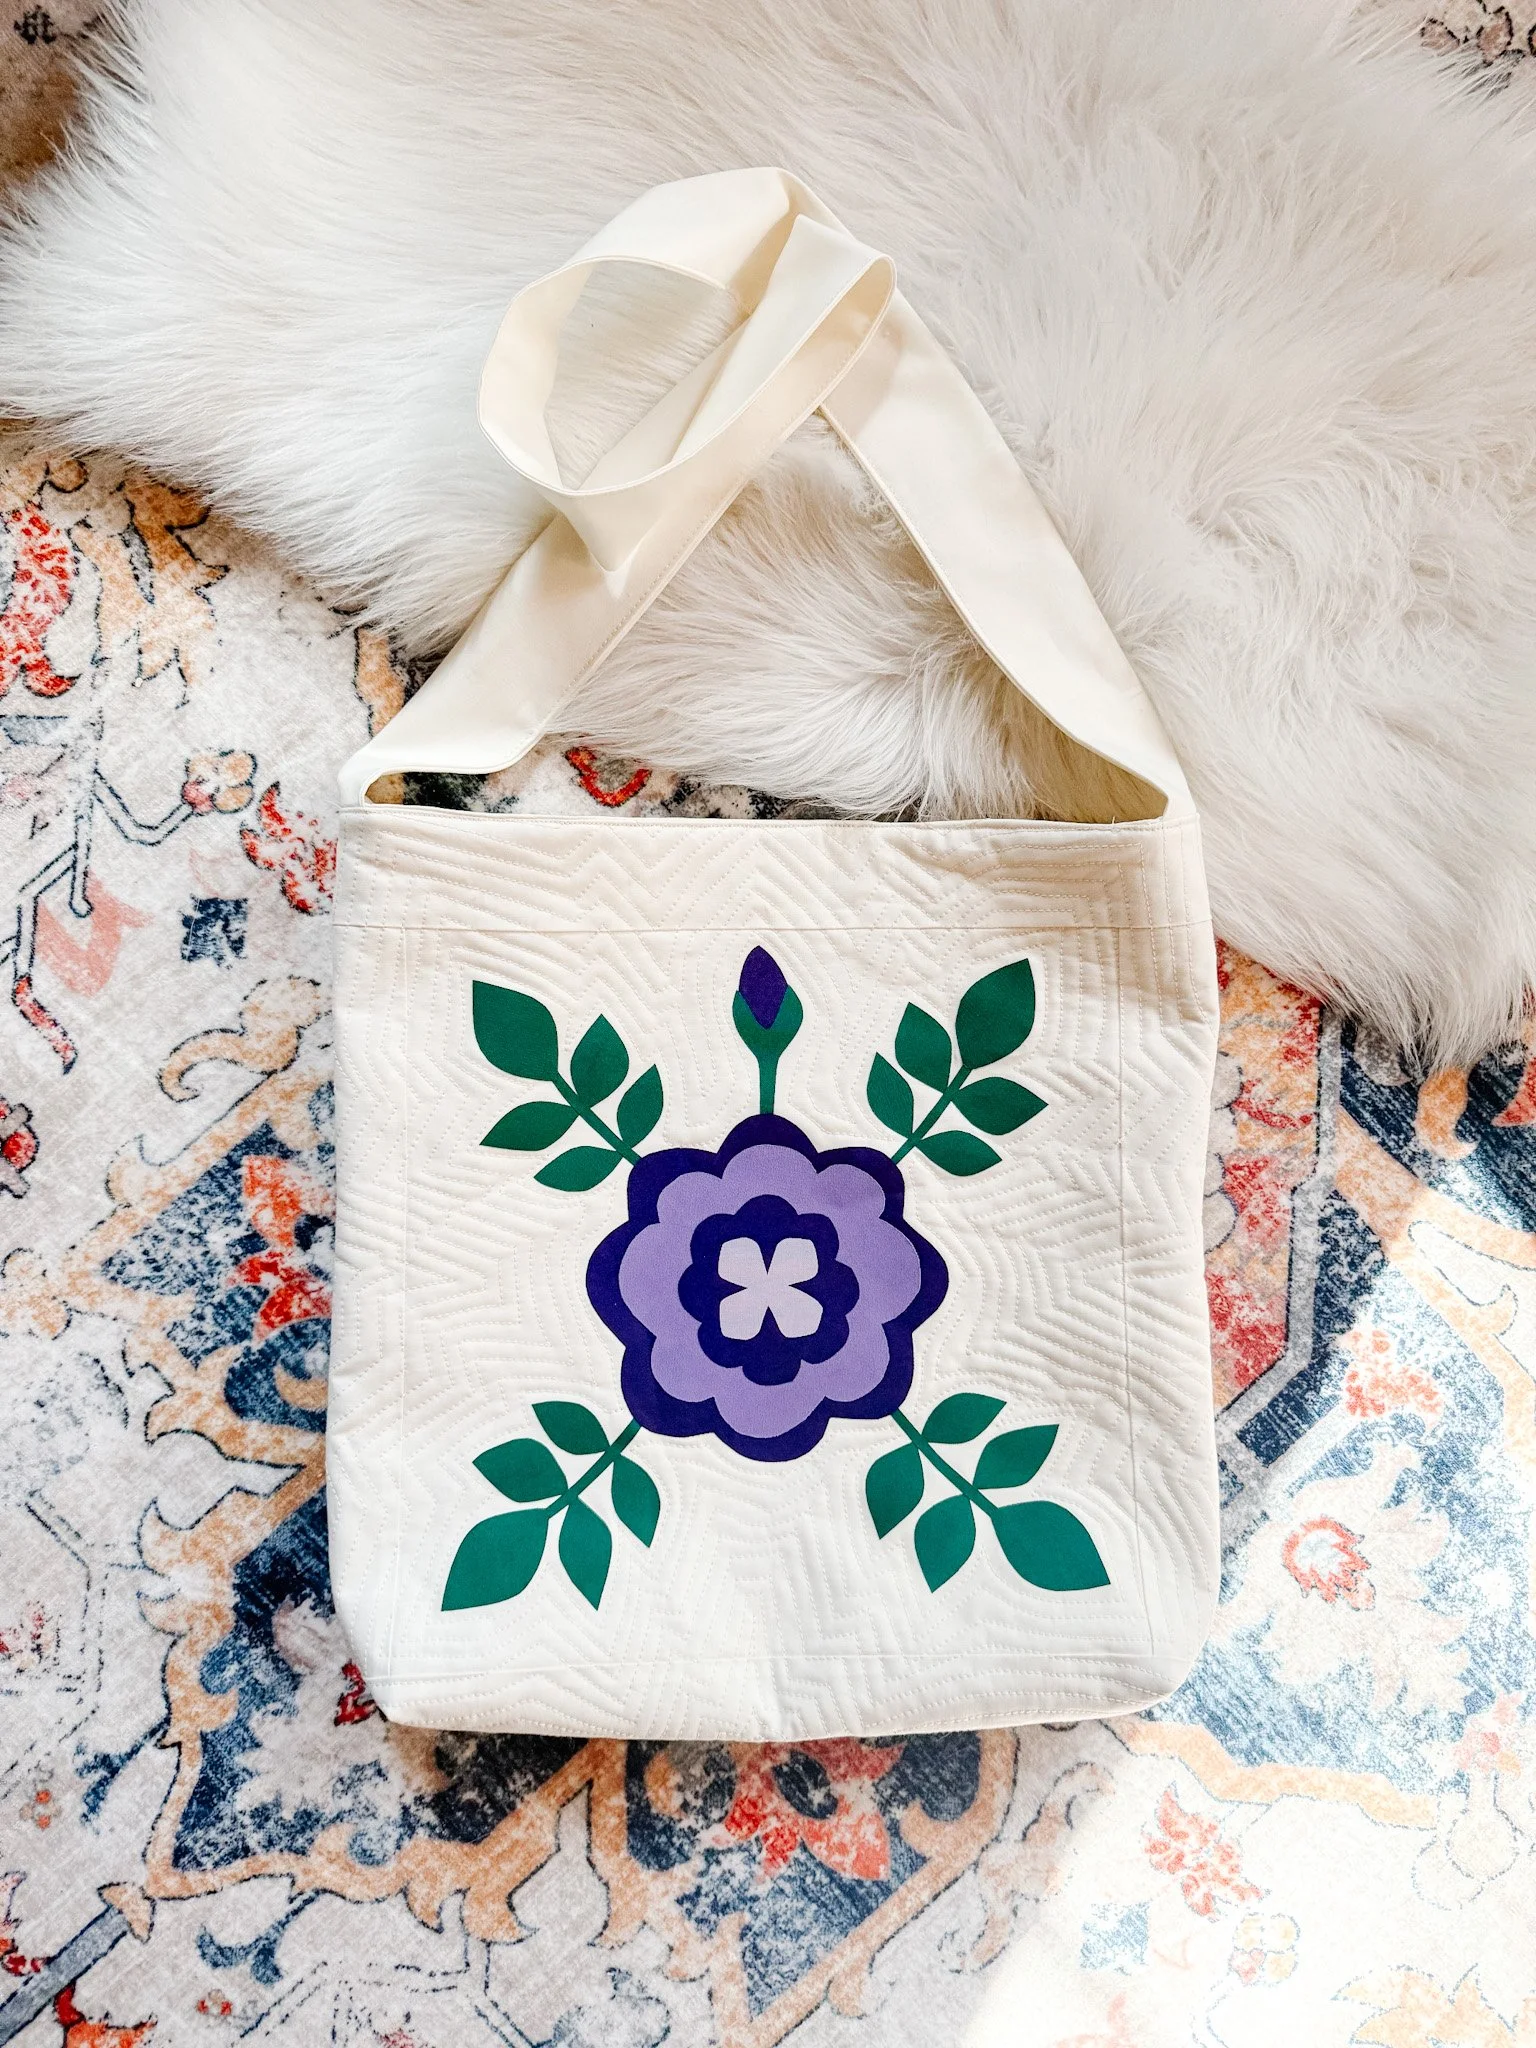
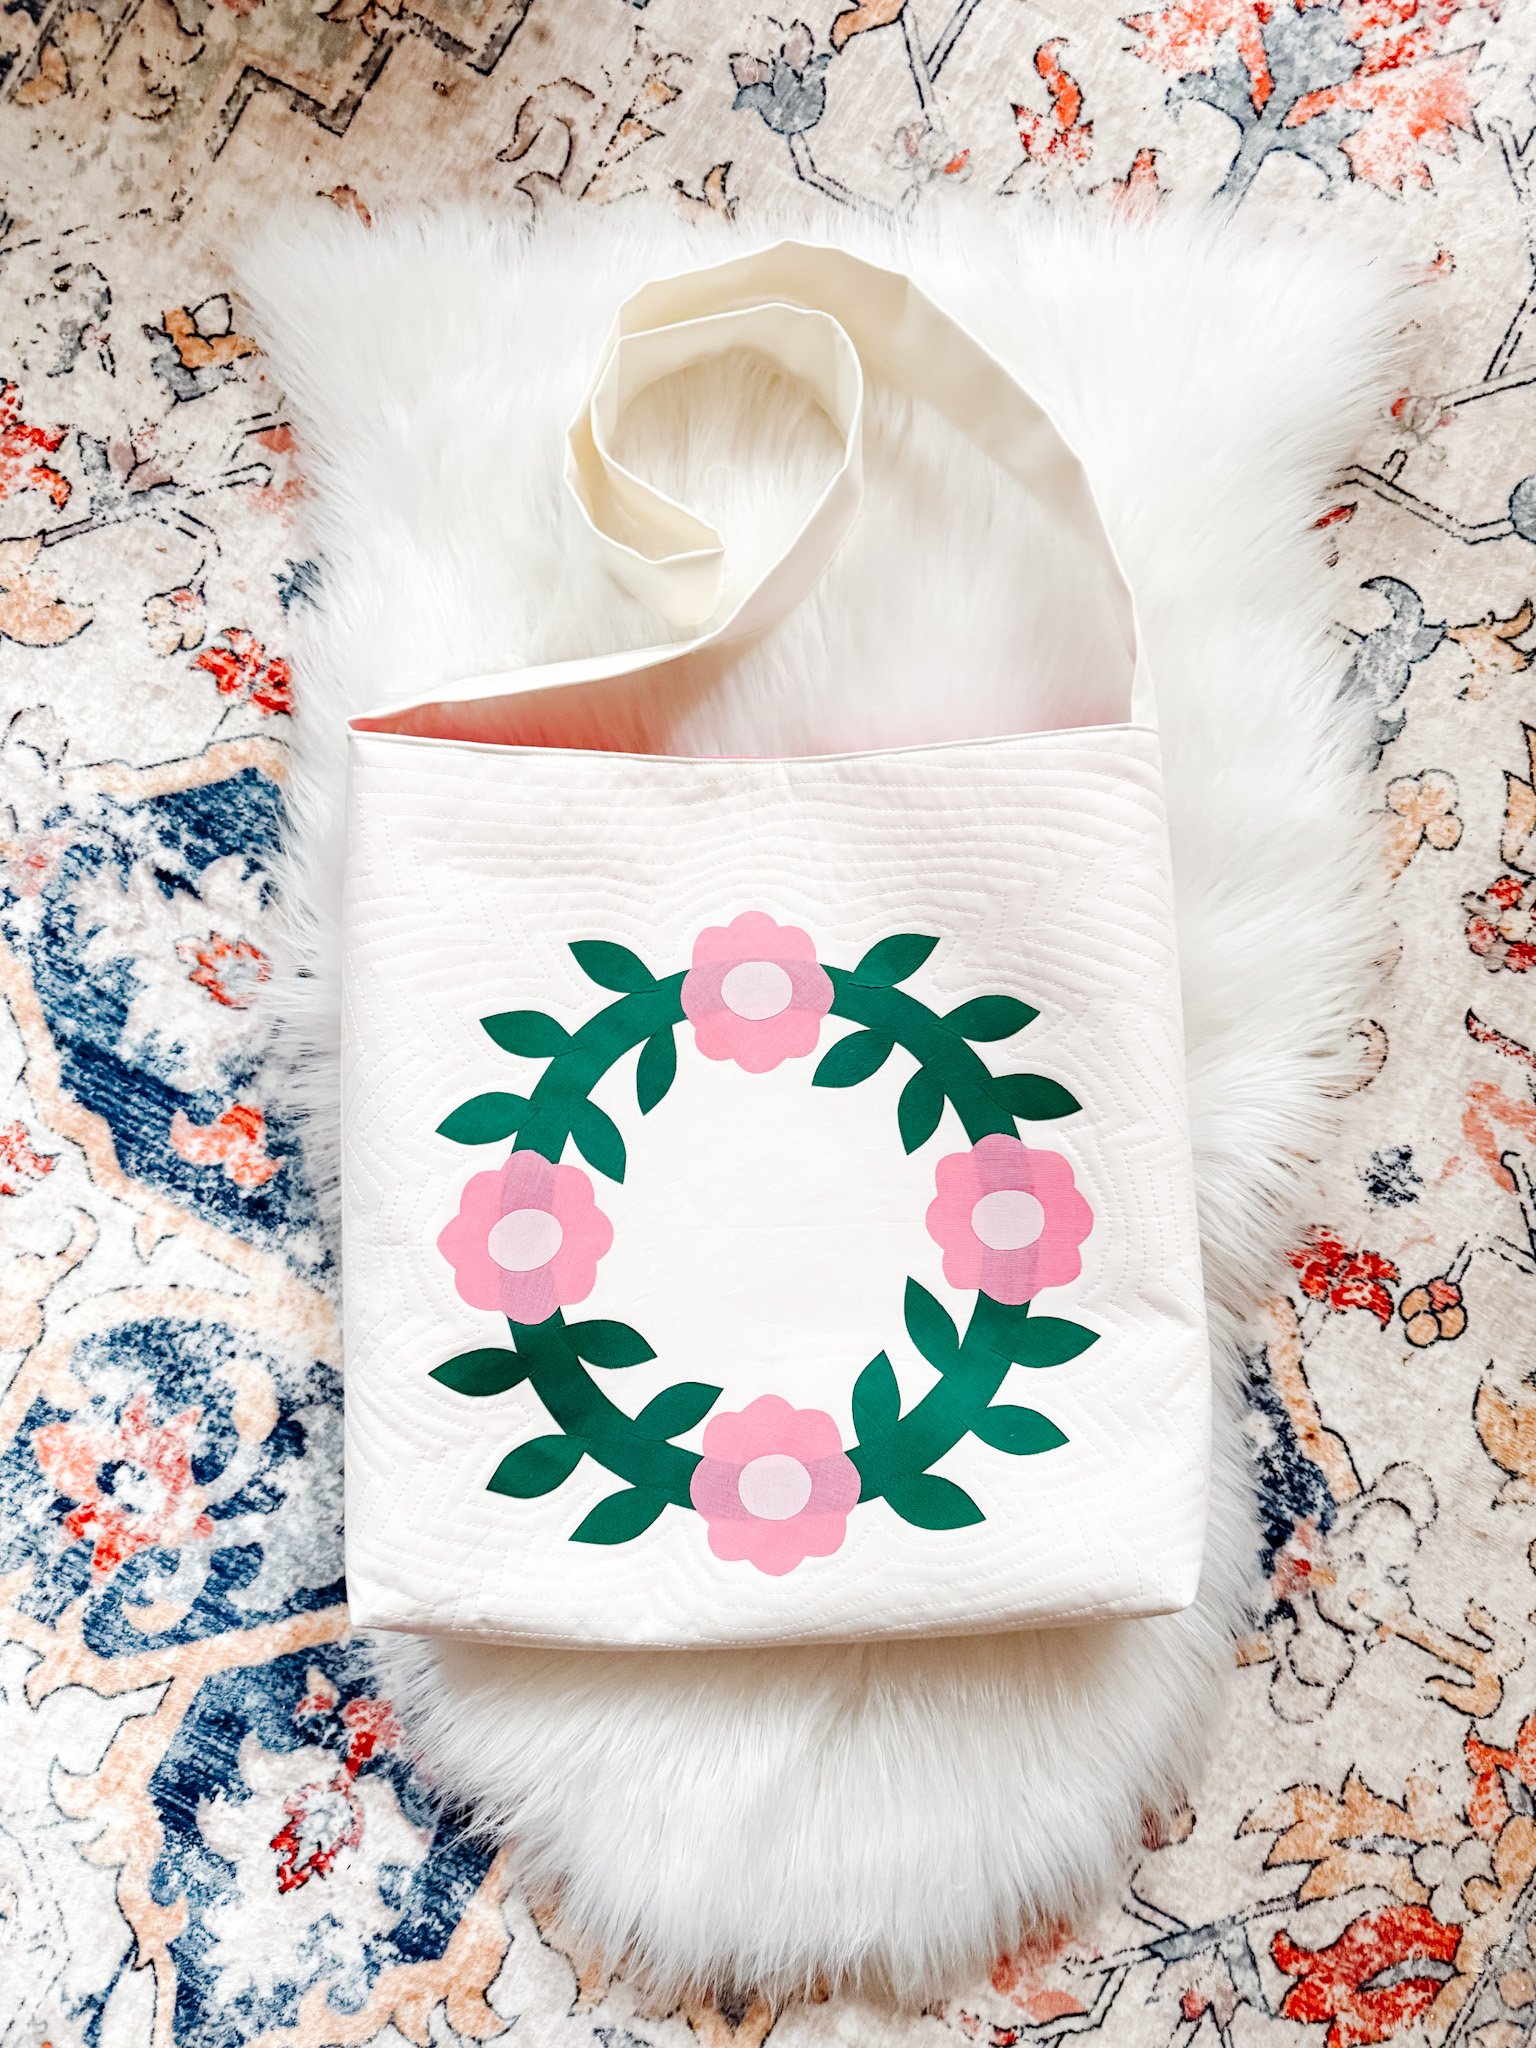
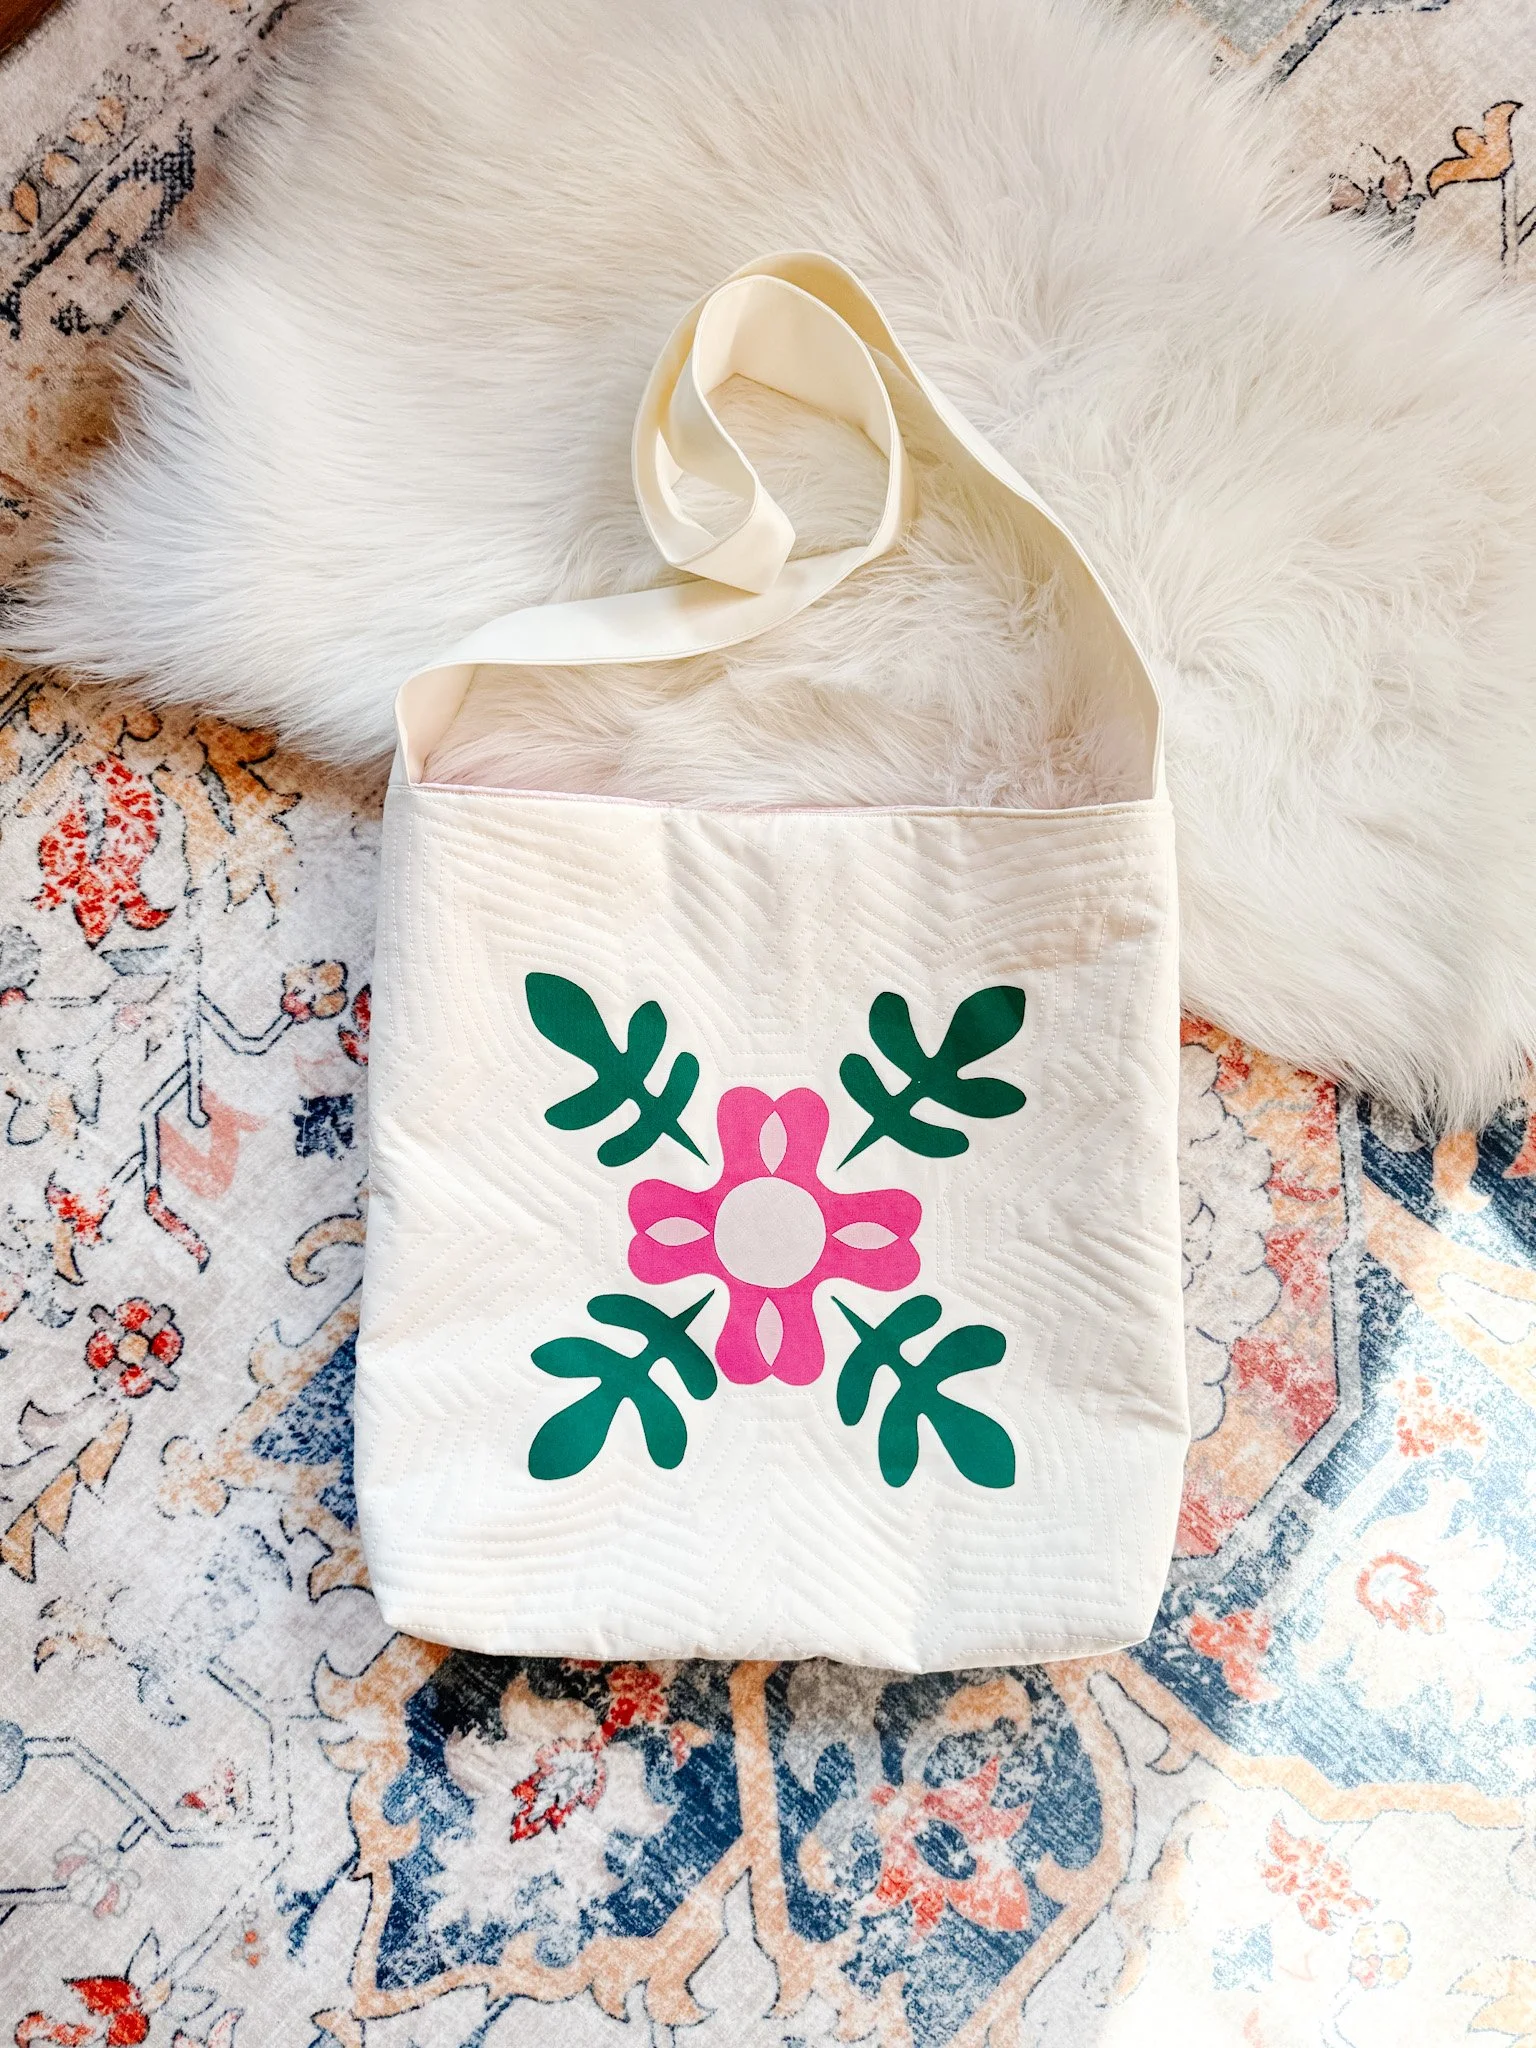
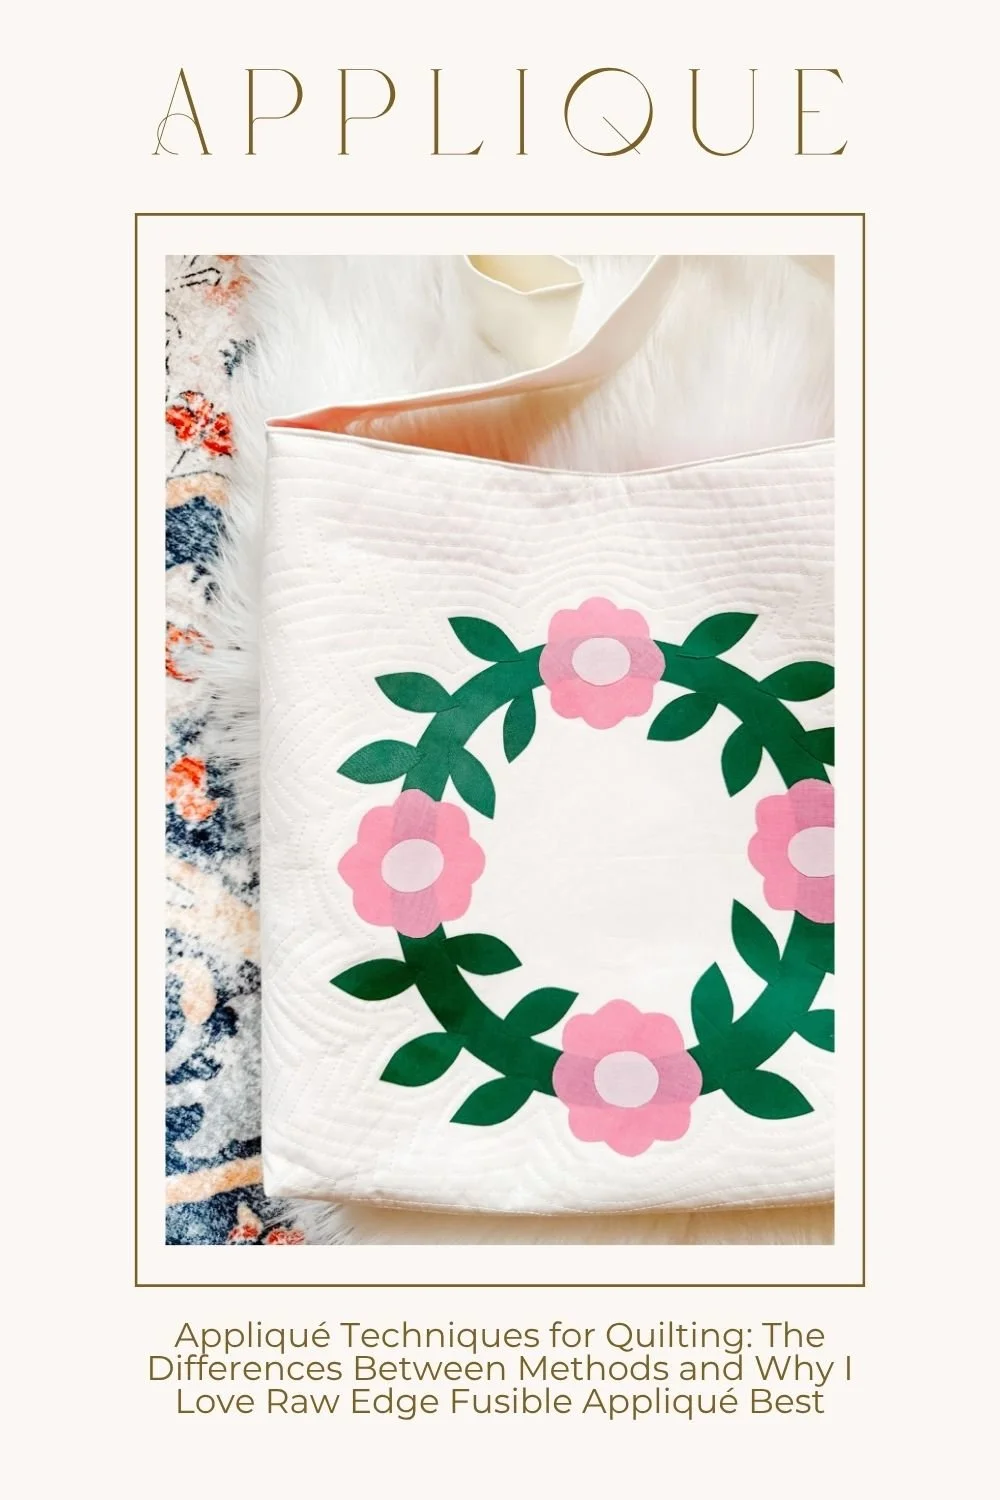
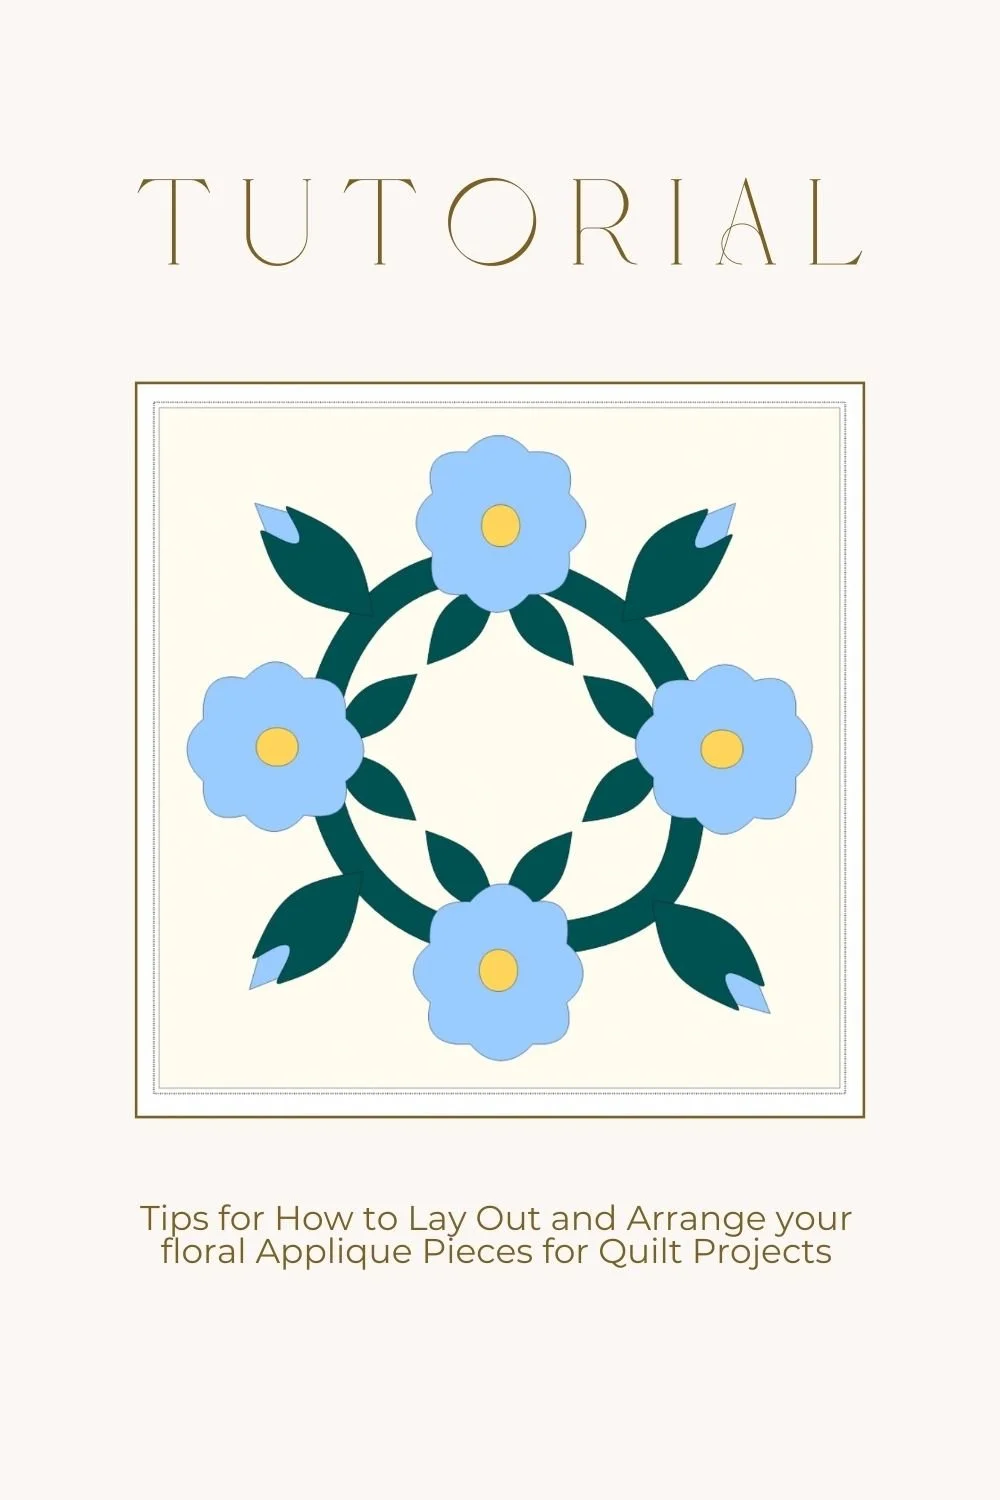
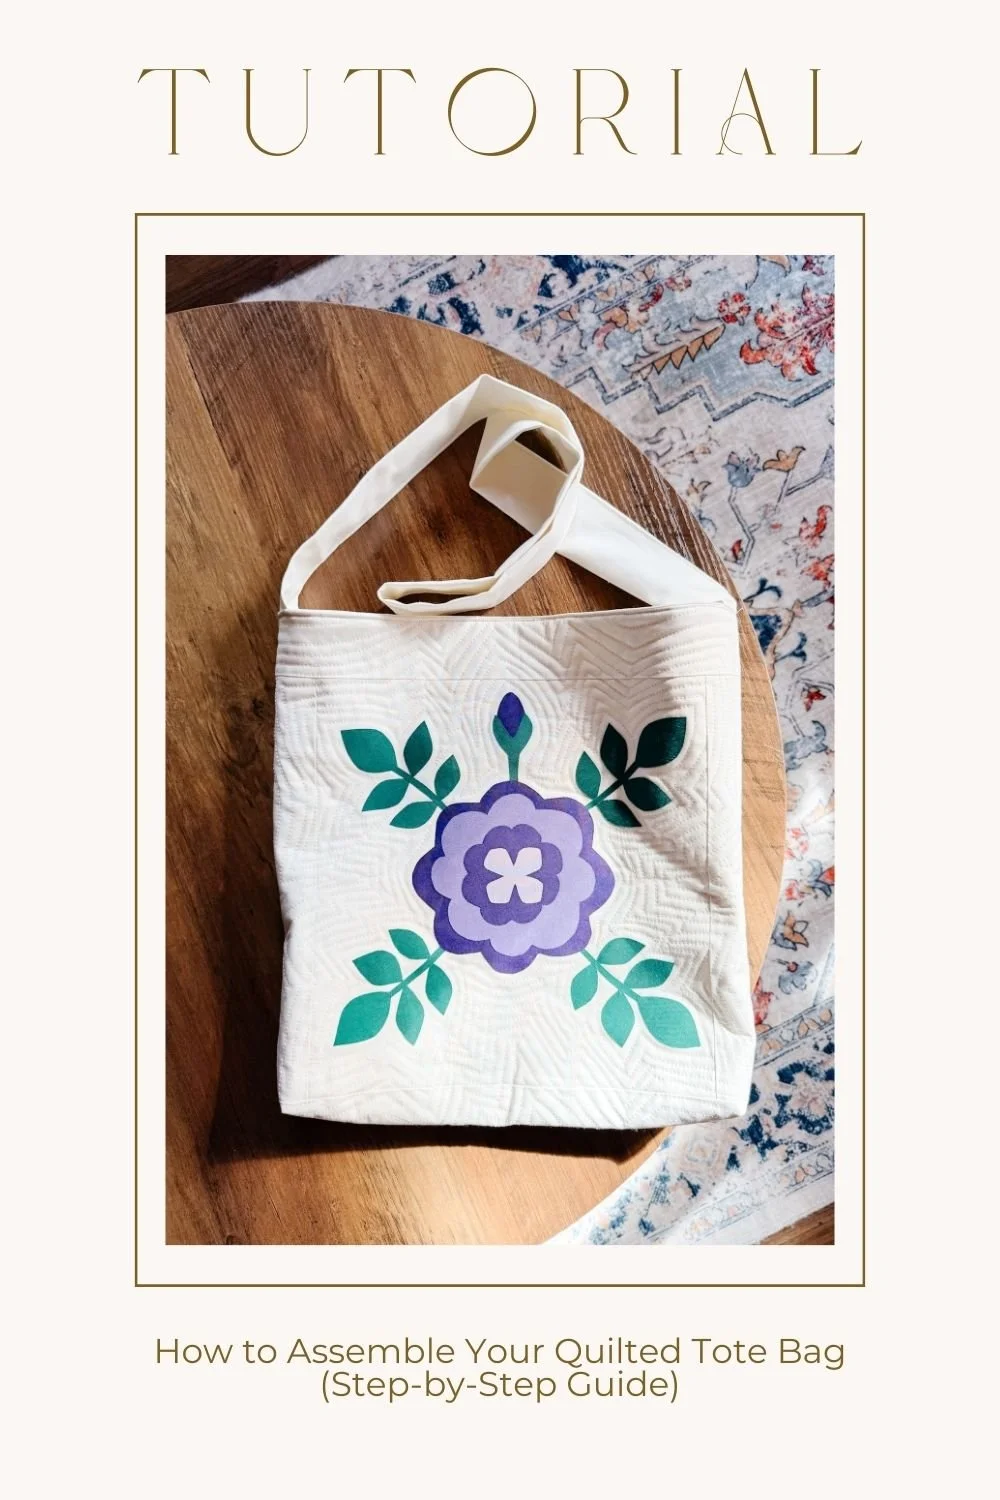
How to Assemble Your Quilted Tote Bag (Step-by-Step Guide)
There’s something deeply satisfying about turning flat quilted panels into a real, usable bag.
You’ve pieced your blocks.
You’ve stitched your appliqué.
Now it’s time to bring it all together.
If you’re a visual learner (I am too), you can watch the full tote assembly tutorial below.
And if you want the quilting walkthrough, that’s right here:
👉 https://youtu.be/qrqtRgq5ODY
Let’s walk through the process together so you feel confident before you sit down at your machine.
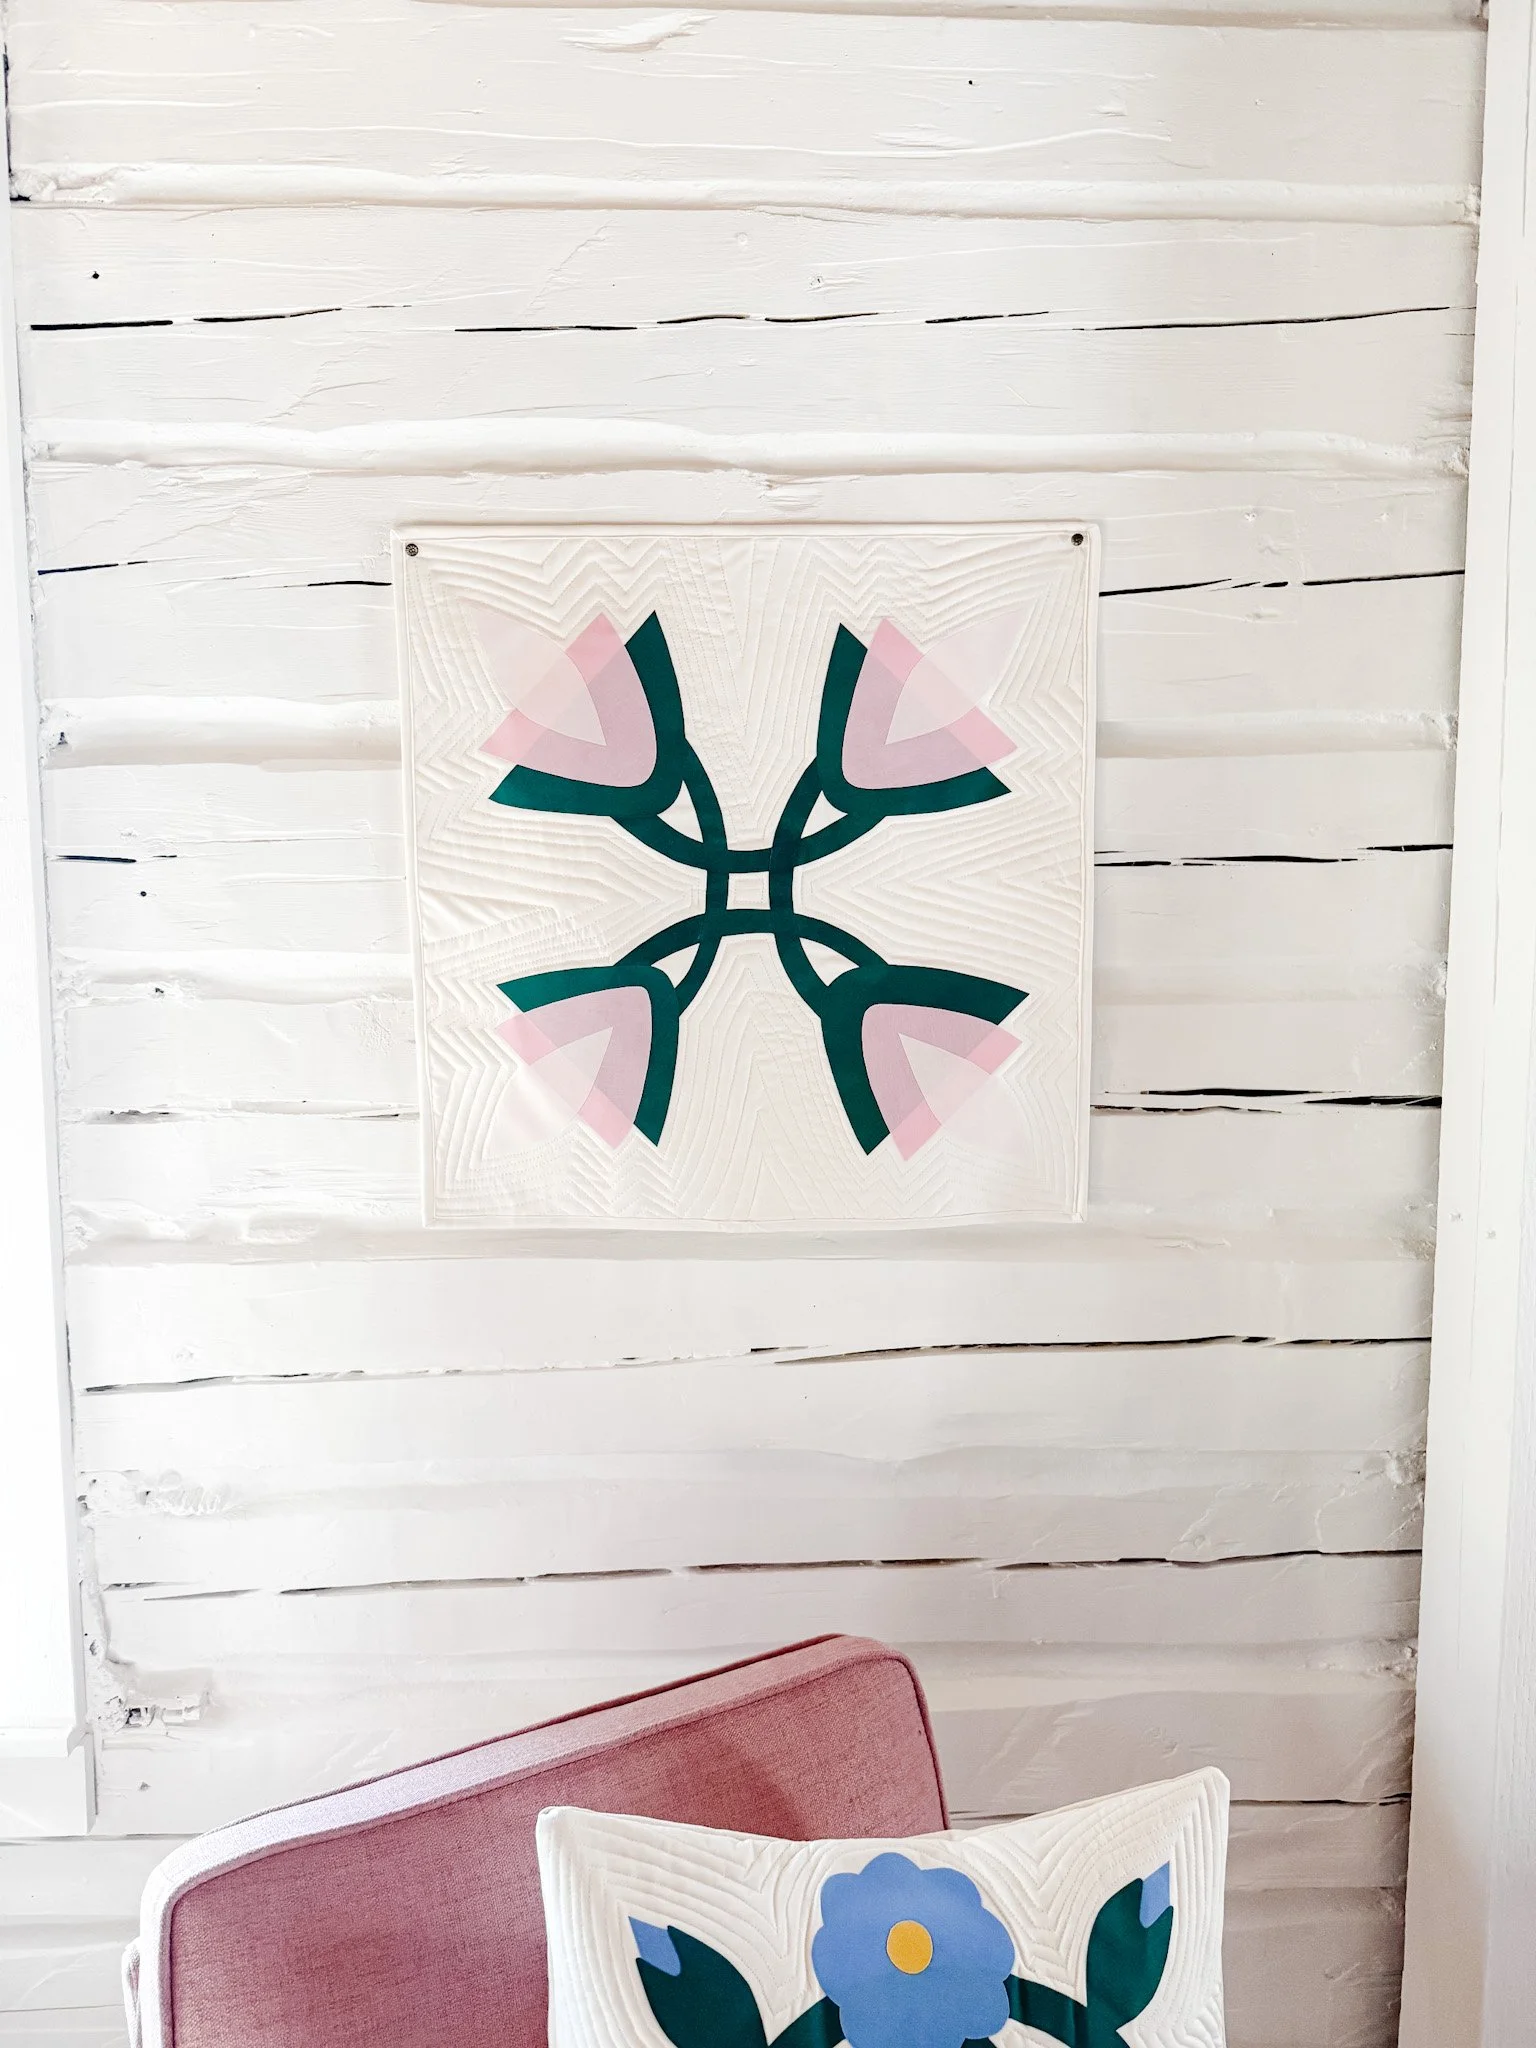

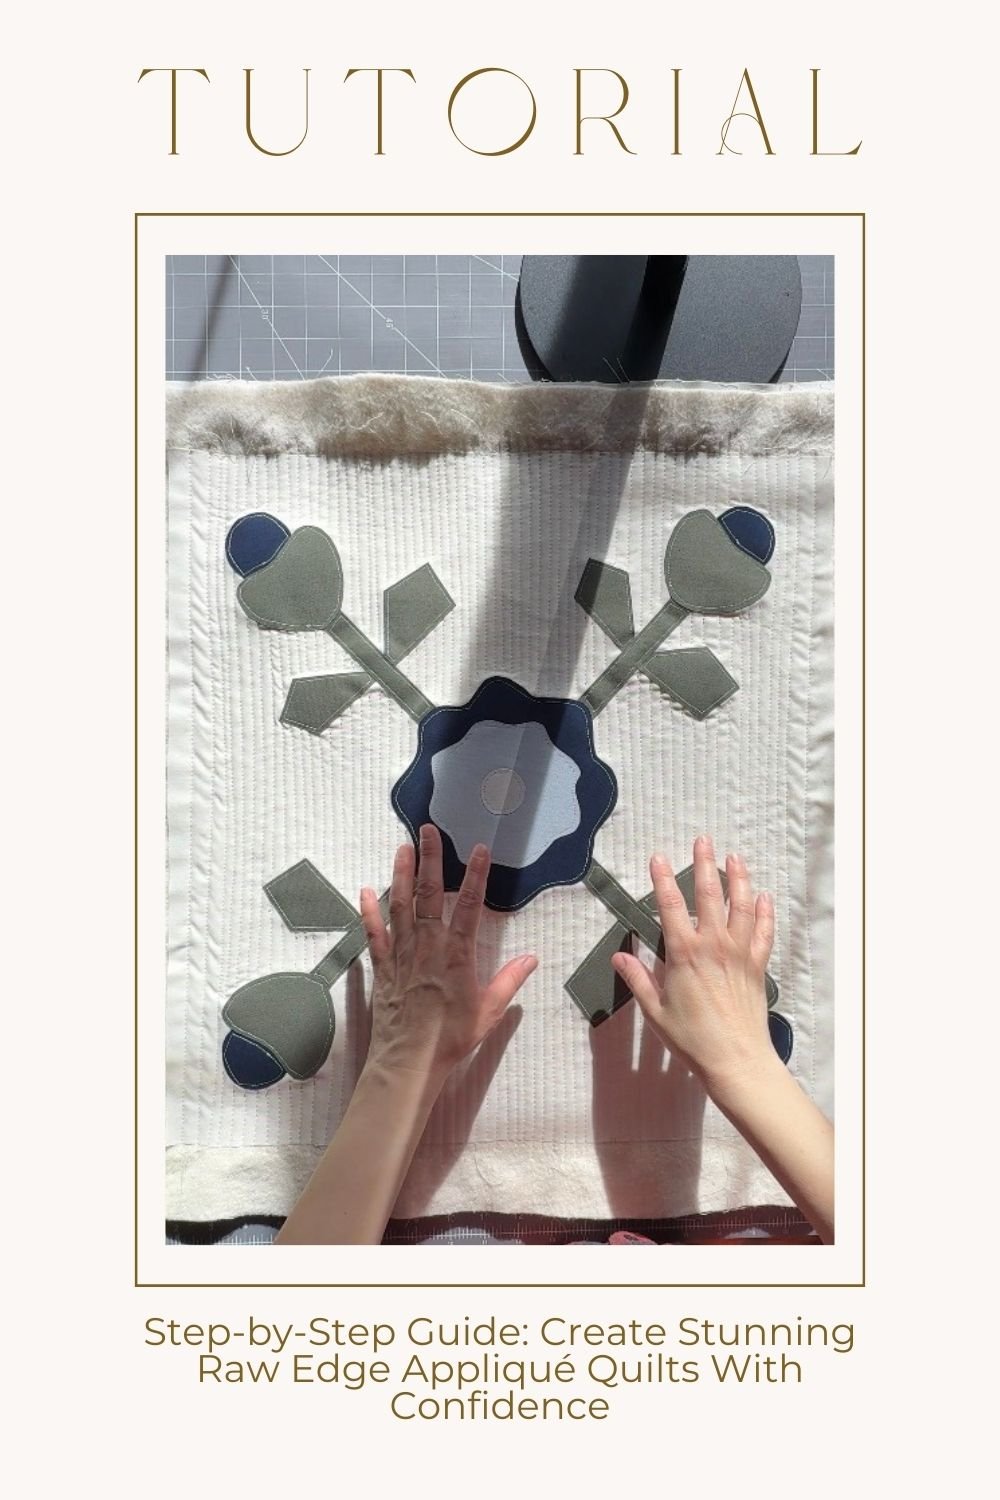
Step 1: Quilt Your Panels (Not the Lining)
Now that your front and back panels are assembled and your appliqué is stitched down, it’s time to quilt.
Place each quilt top right side up on a piece of batting.
Baste using pins or glue.
Quilt each panel separately.
Do not quilt the lining.
After quilting, square each panel to:
16½″ × 16½″
If your panels measure exactly 16½″ × 16½″, your lining will fit perfectly with no adjustments.
If you trimmed a little generously (it happens!), you’ll need to trim your lining pieces so they match your quilted panels exactly. Here’s a quick tip video to help with that adjustment:
👉 https://youtube.com/shorts/nl9U-_wKXIE
Accuracy here makes the rest of the bag come together beautifully.
my fave quilting toolsStep 2: Sew the Outer Bag & Lining
Place your quilted panels right sides together (RST).
Match side seams carefully.
Sew both side seams and the bottom seam using a ¼″ seam allowance.
Press seams open.
Repeat the same process for the lining.
Press all seams open for a clean, professional finish.
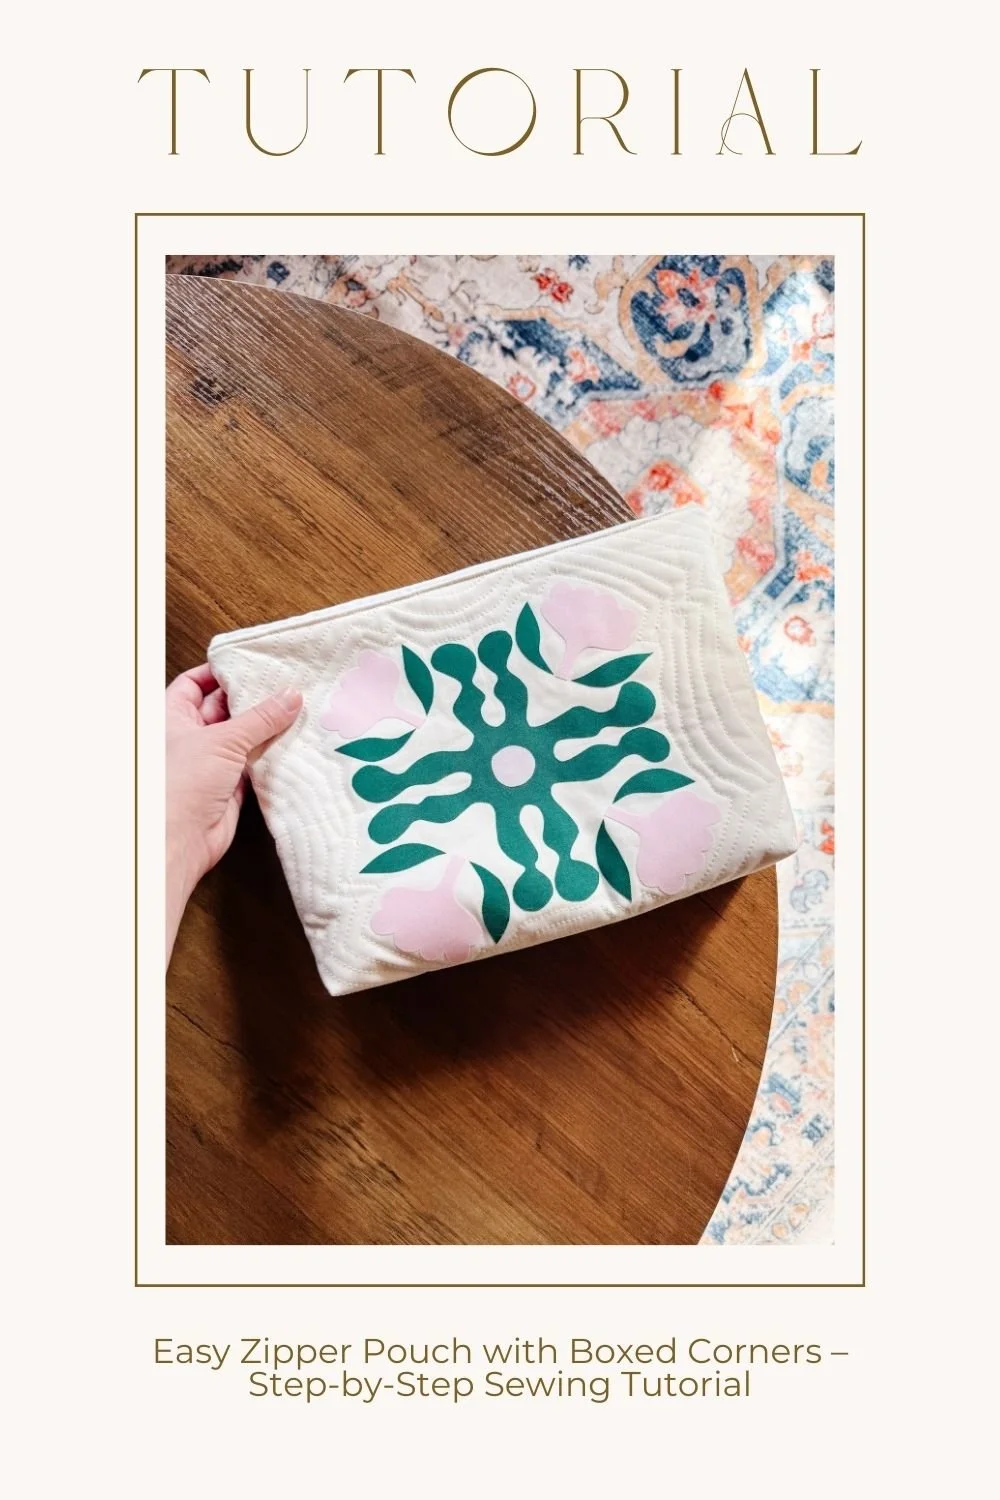
Step 3: Box the Corners
Boxed corners give your tote structure and depth.
With the bag wrong side out:
Flatten one bottom corner so the side seam aligns directly on top of the bottom seam.
Measure 1¼″ from the seam intersection.
Draw a line perpendicular to the seam.
Stitch on the line.
Trim excess fabric, leaving a ¼″ seam allowance.
Repeat for the remaining corners (outer and lining).
Boxed corners create depth and reduce the finished height slightly, but they do not affect the finished width.
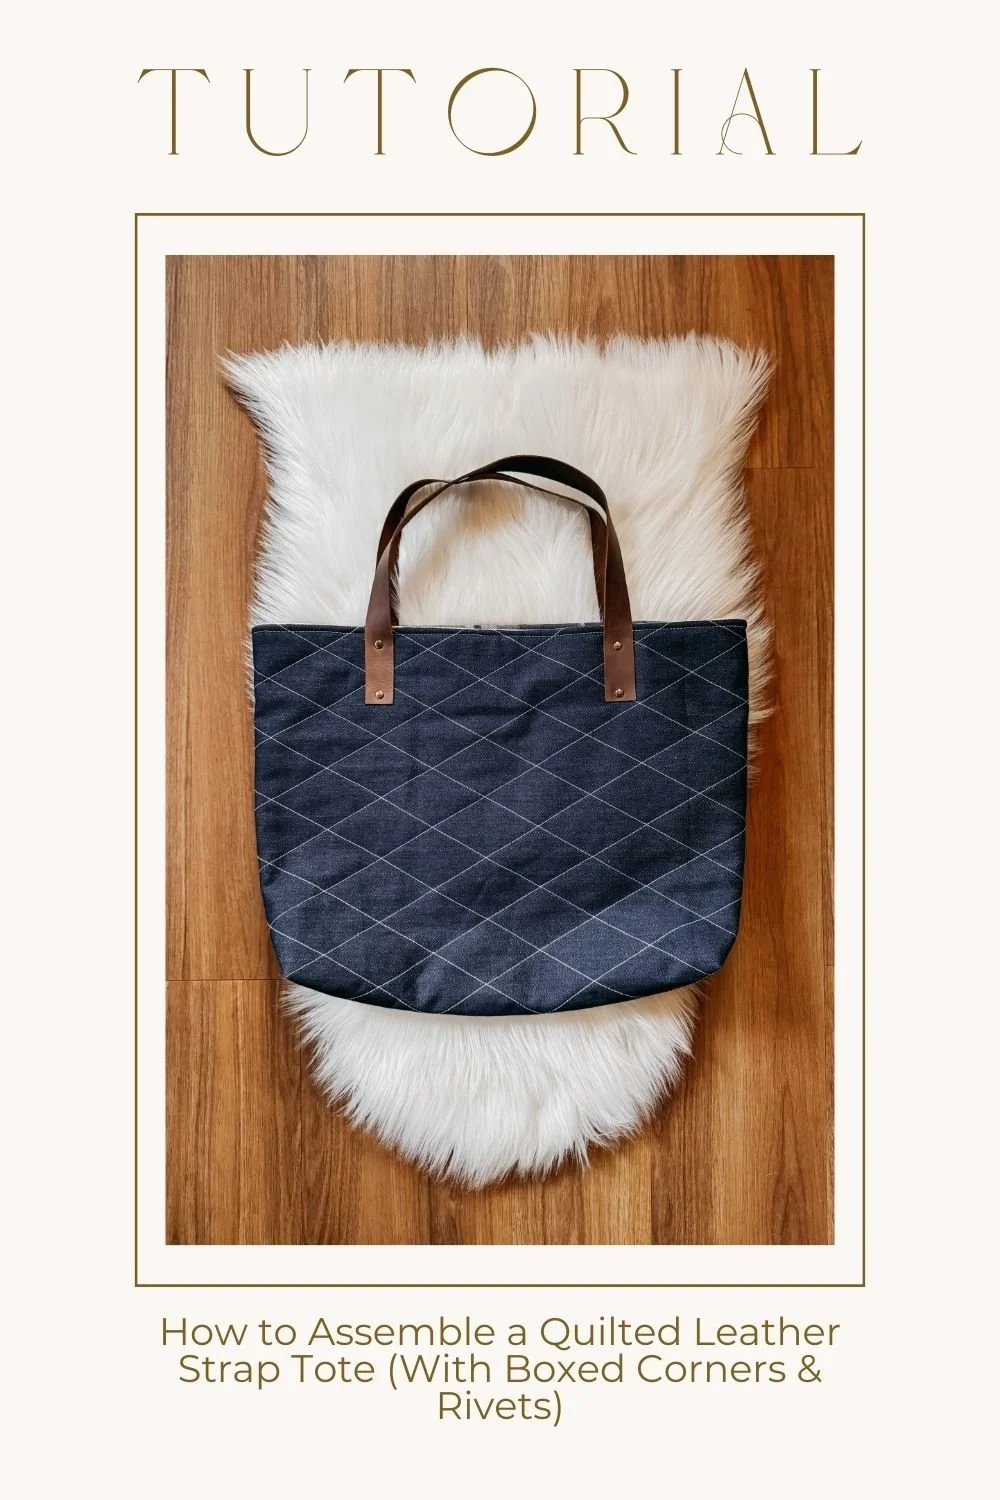
Step 4: Make the Strap
You’ll need one strip measuring:
8.5″ × 40″
To construct:
Fold lengthwise and press.
Open it up.
Fold both raw edges to the center crease and press.
Fold in half again.
Topstitch along the open side to enclose.
You now have a sturdy, clean-finished strap.
Step 5: Attach the Strap
Keep the quilted bag wrong side out.
Center each strap end over the side seams.
Align raw edges with the top edge of the bag.
Make sure the strap hangs straight down inside the bag (no twisting!).
Stitch securely over each strap end a couple of times for strength.
This is where durability matters. Reinforce well.
Step 6: Join the Lining & Outer Bag
Turn the outer bag wrong side out.
Keep the lining right side out.
Insert the lining into the outer bag so right sides are facing each other.
Match side seams and raw edges.
Sew around the entire top edge with a ¼″ seam allowance, leaving a 4″ opening for turning.
Step 7: Turn & Finish
Turn the bag right side out through the opening.
Reach into the corners and gently push them out. A chopstick works beautifully for this.
Tuck the lining neatly inside.
Press along the top edge, folding the opening seam allowance inward.
Starting at the gap, topstitch around the entire top edge to close the opening and finish the bag cleanly.
Now step back.
You made that.
Step 8: Share Your Make
I love seeing what you create.
Post your finished tote on Instagram and use:
#thelmaquilts
Your version — your fabric choices, your quilting lines — that’s what makes this community so special.
And if you haven’t watched the full assembly tutorial yet, it’s right here waiting for you:
👉 https://youtu.be/gjGSbyeOTK4
Take your time. Sew steadily. Let it come together stitch by stitch.
You’ve got this.
pin it for later

Minimalist knitwear designer.