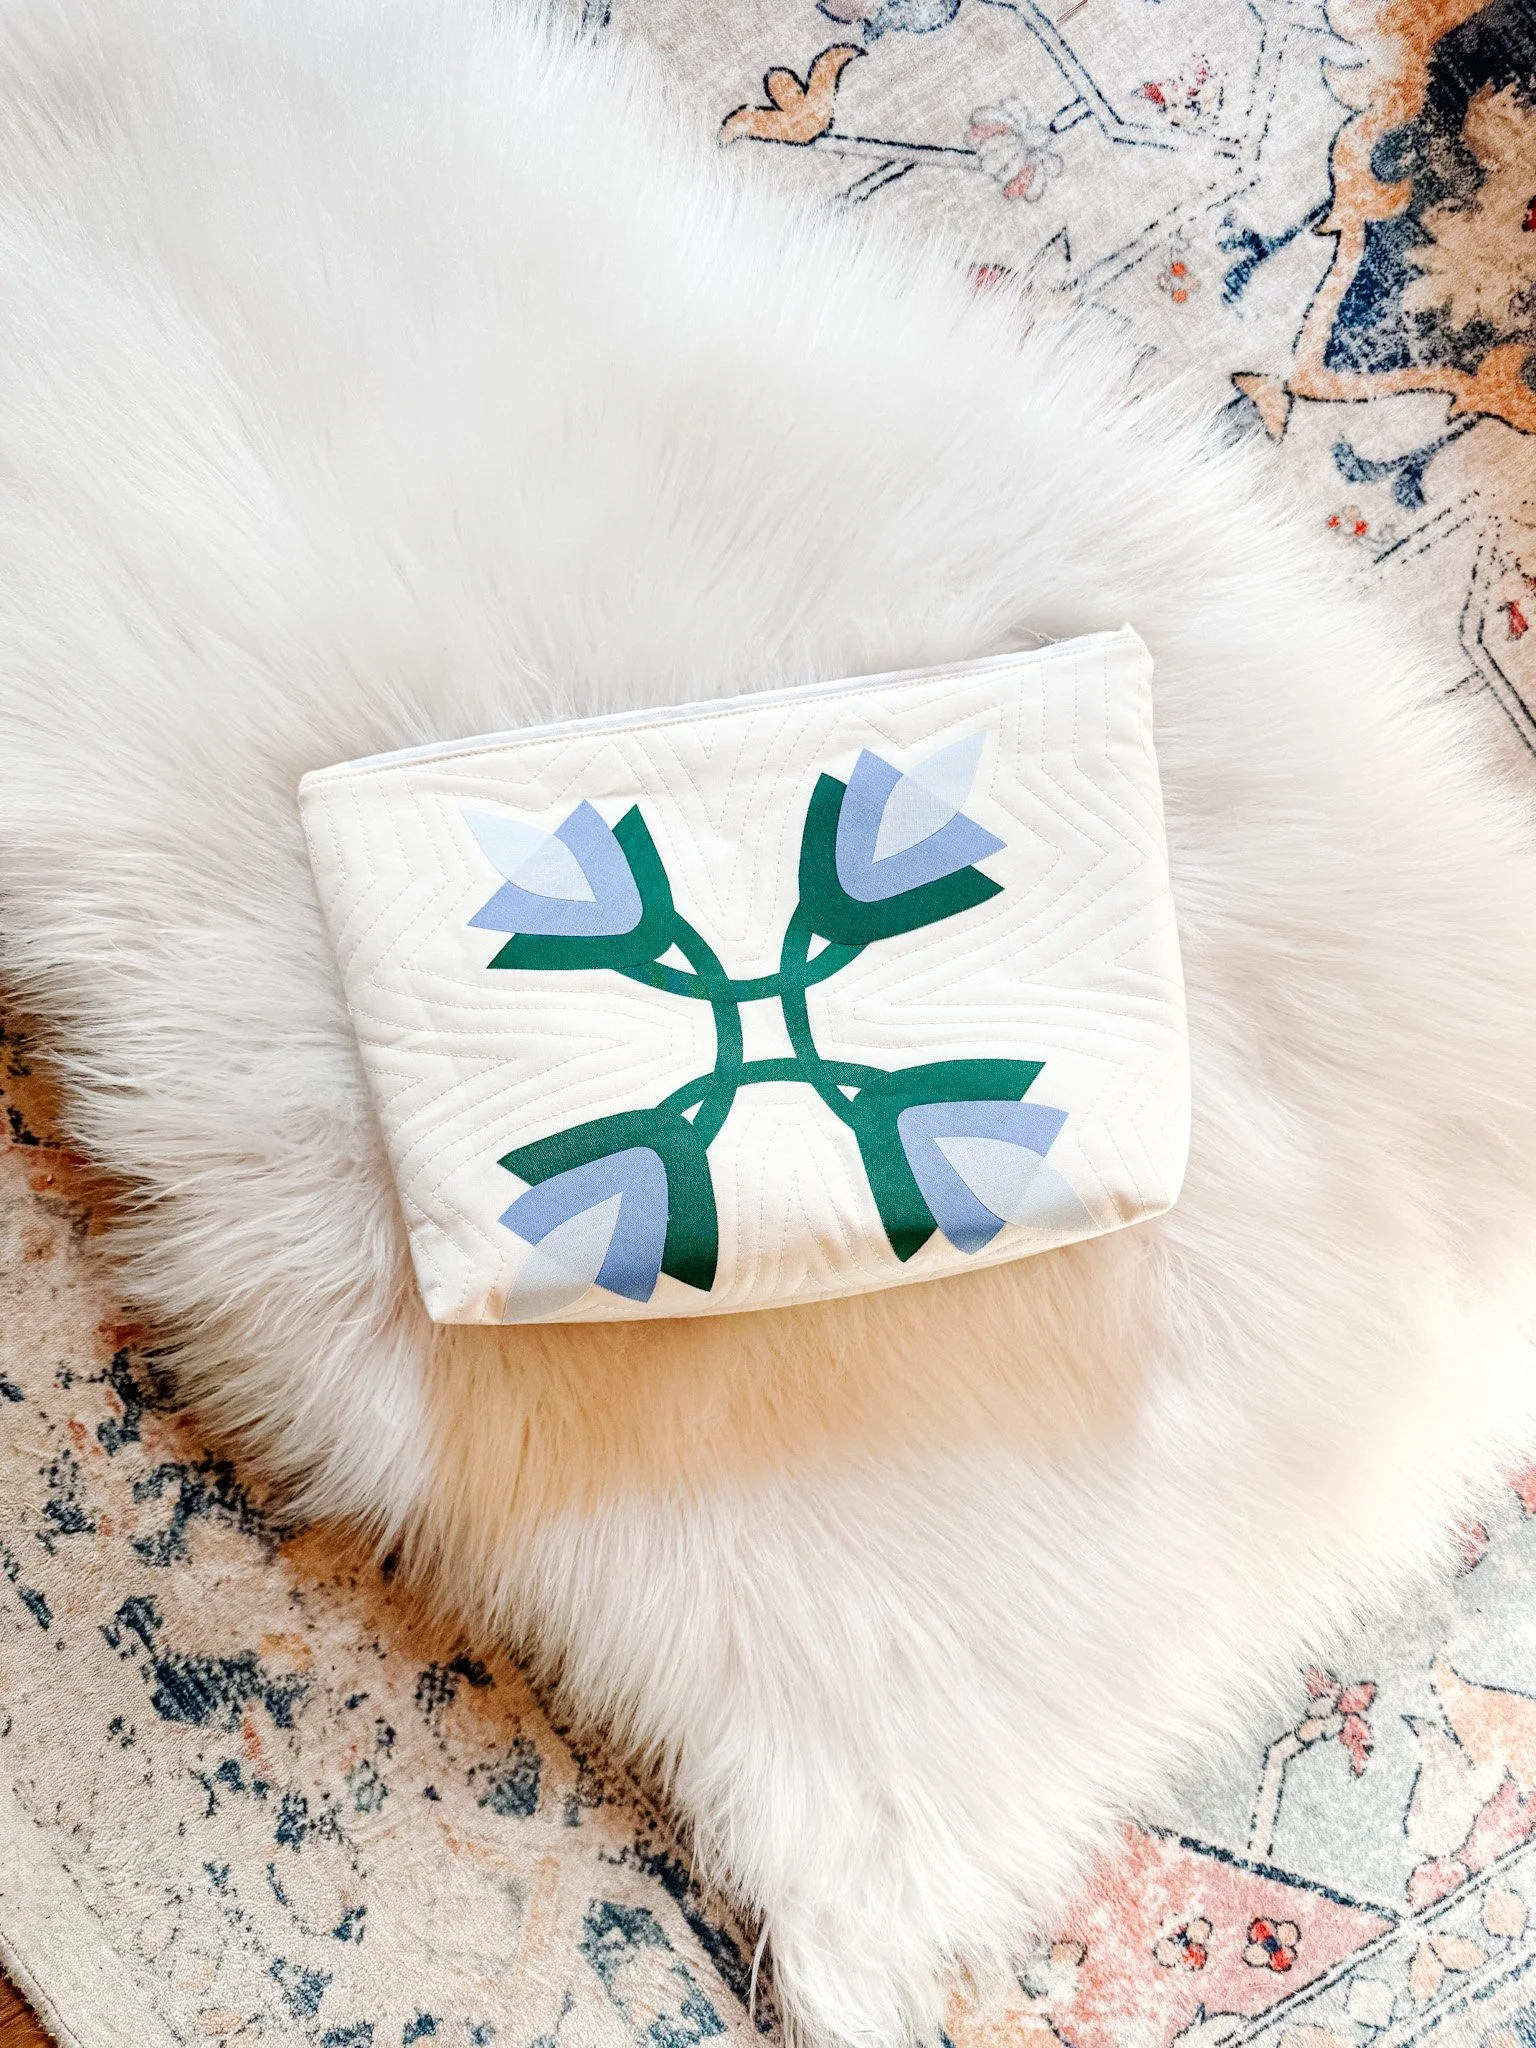
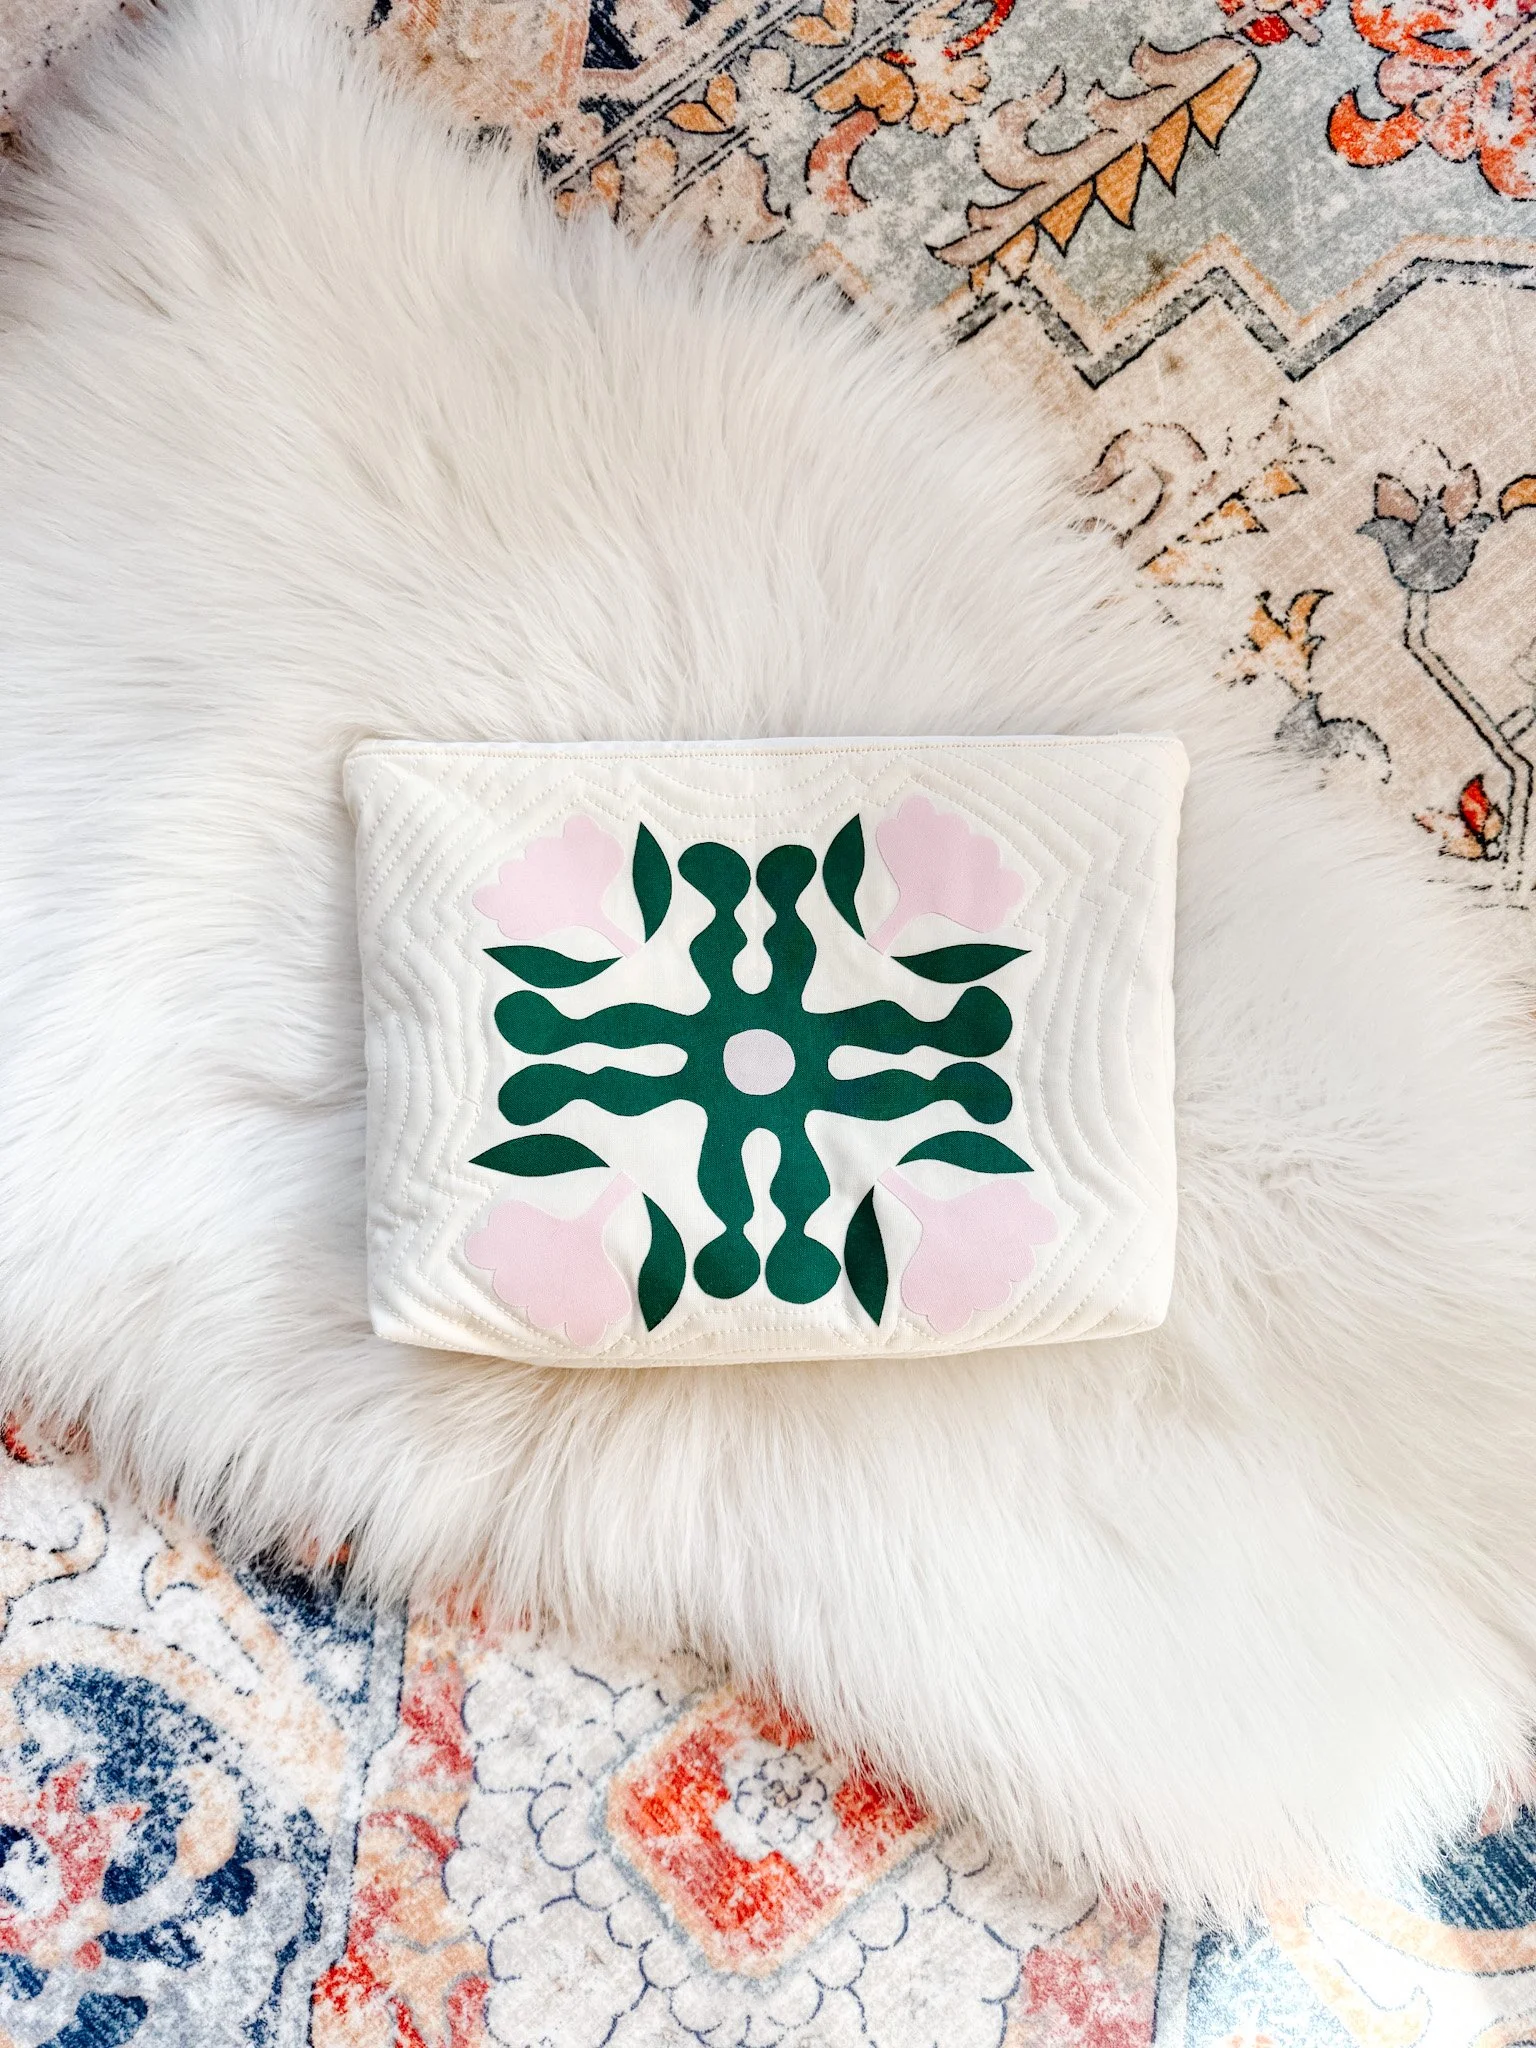
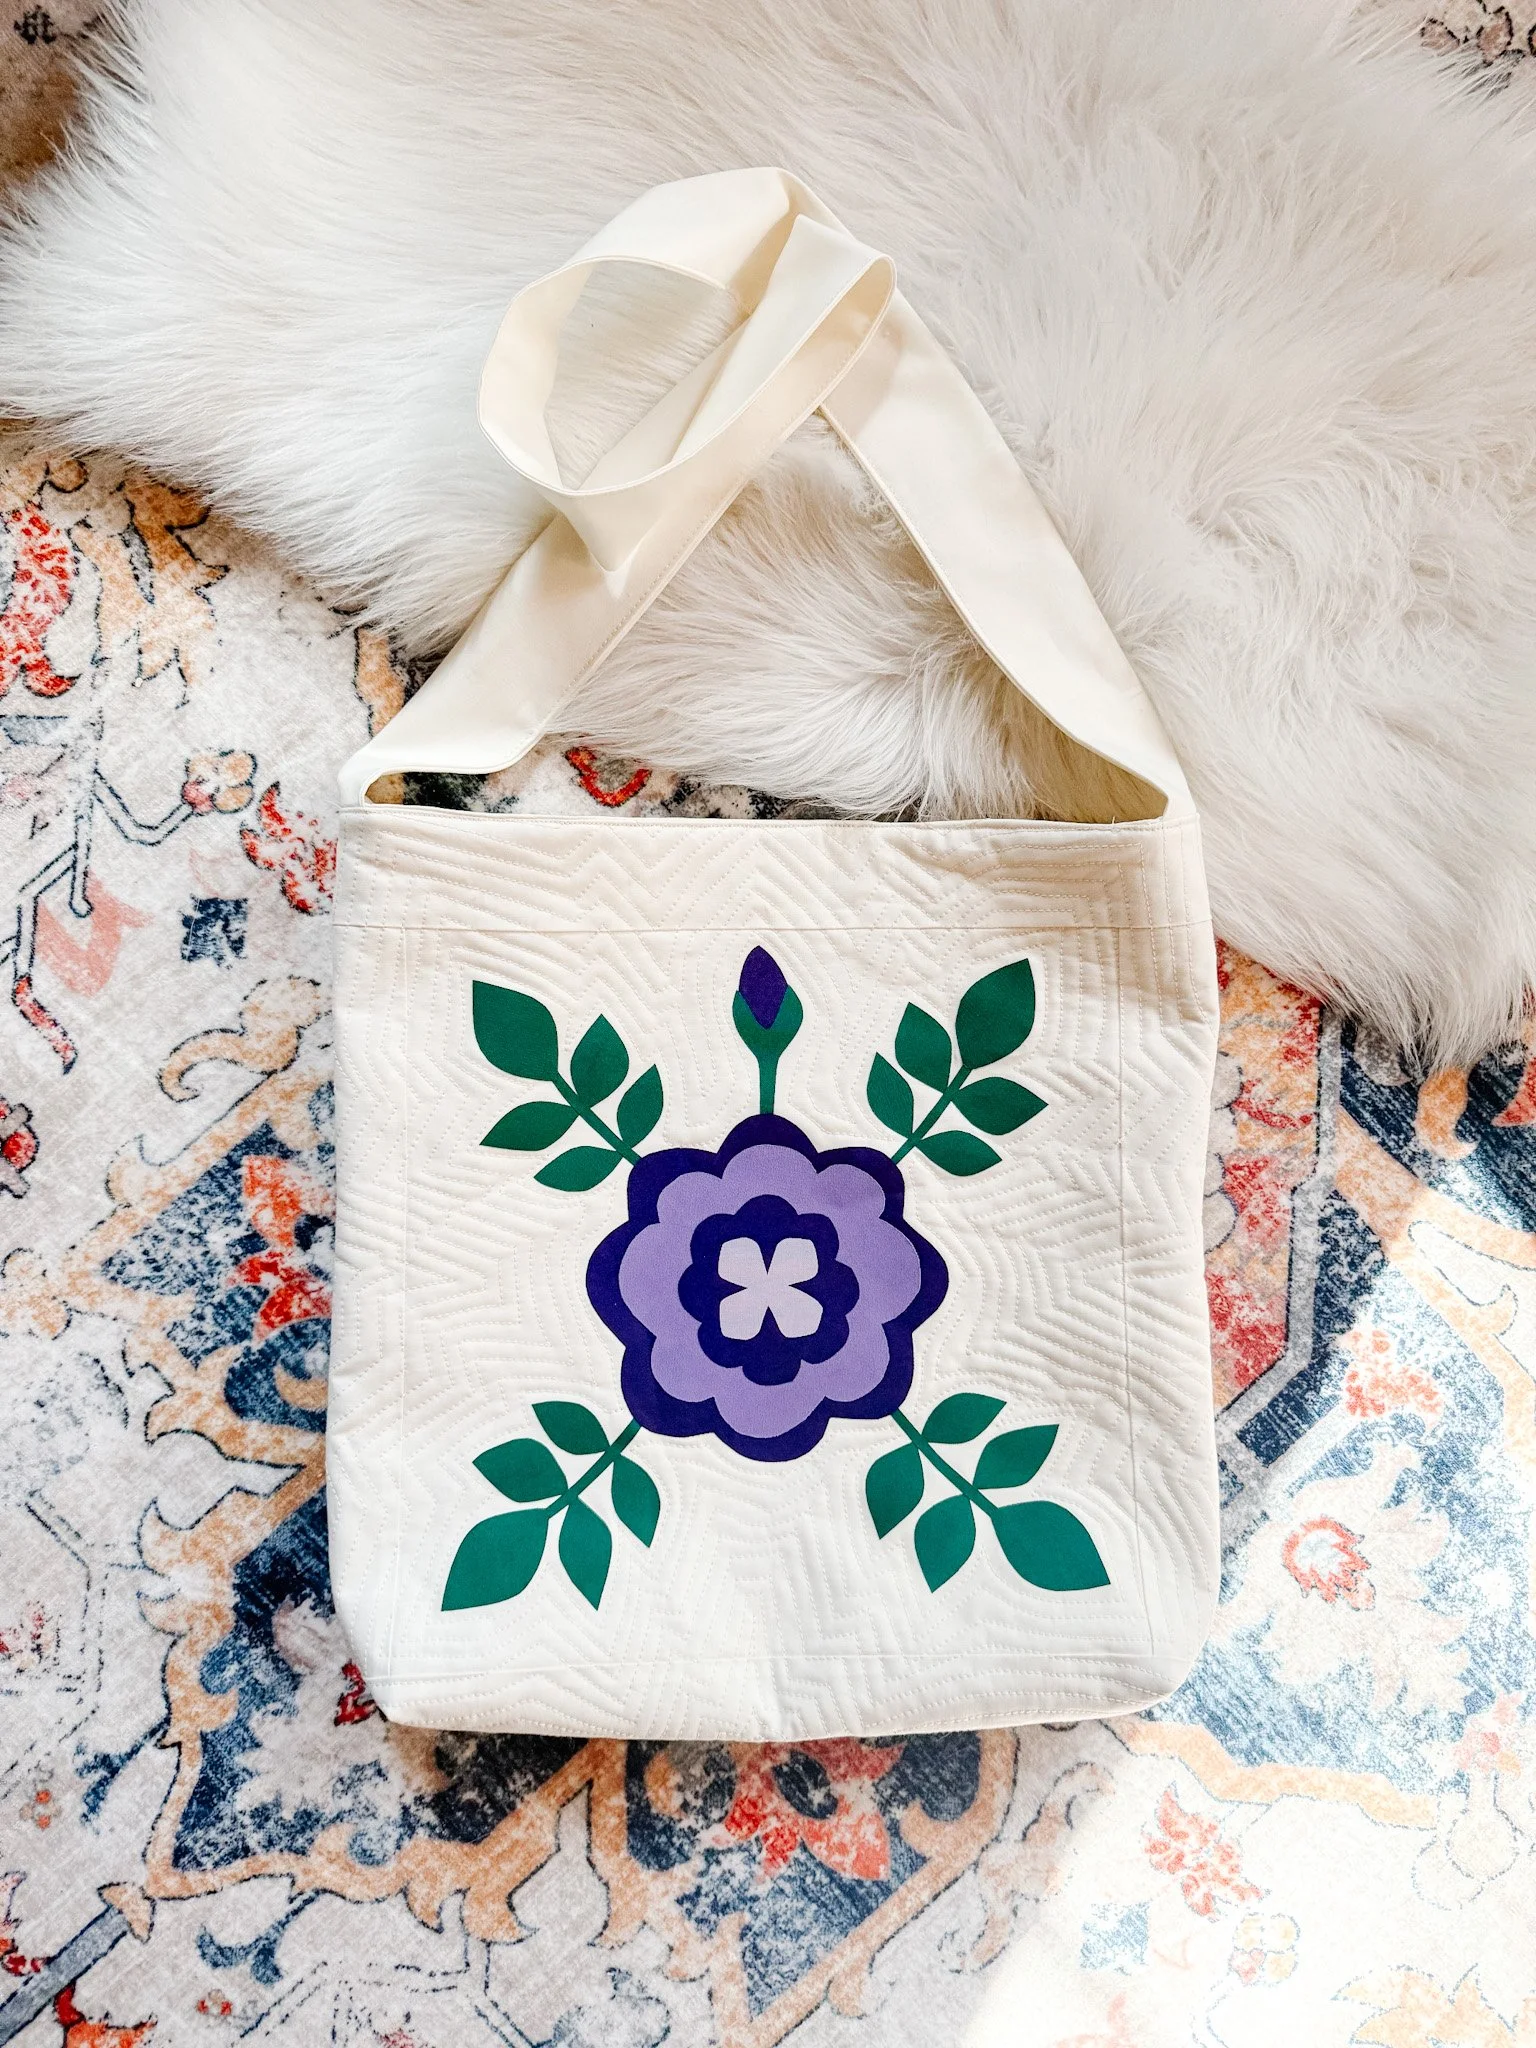
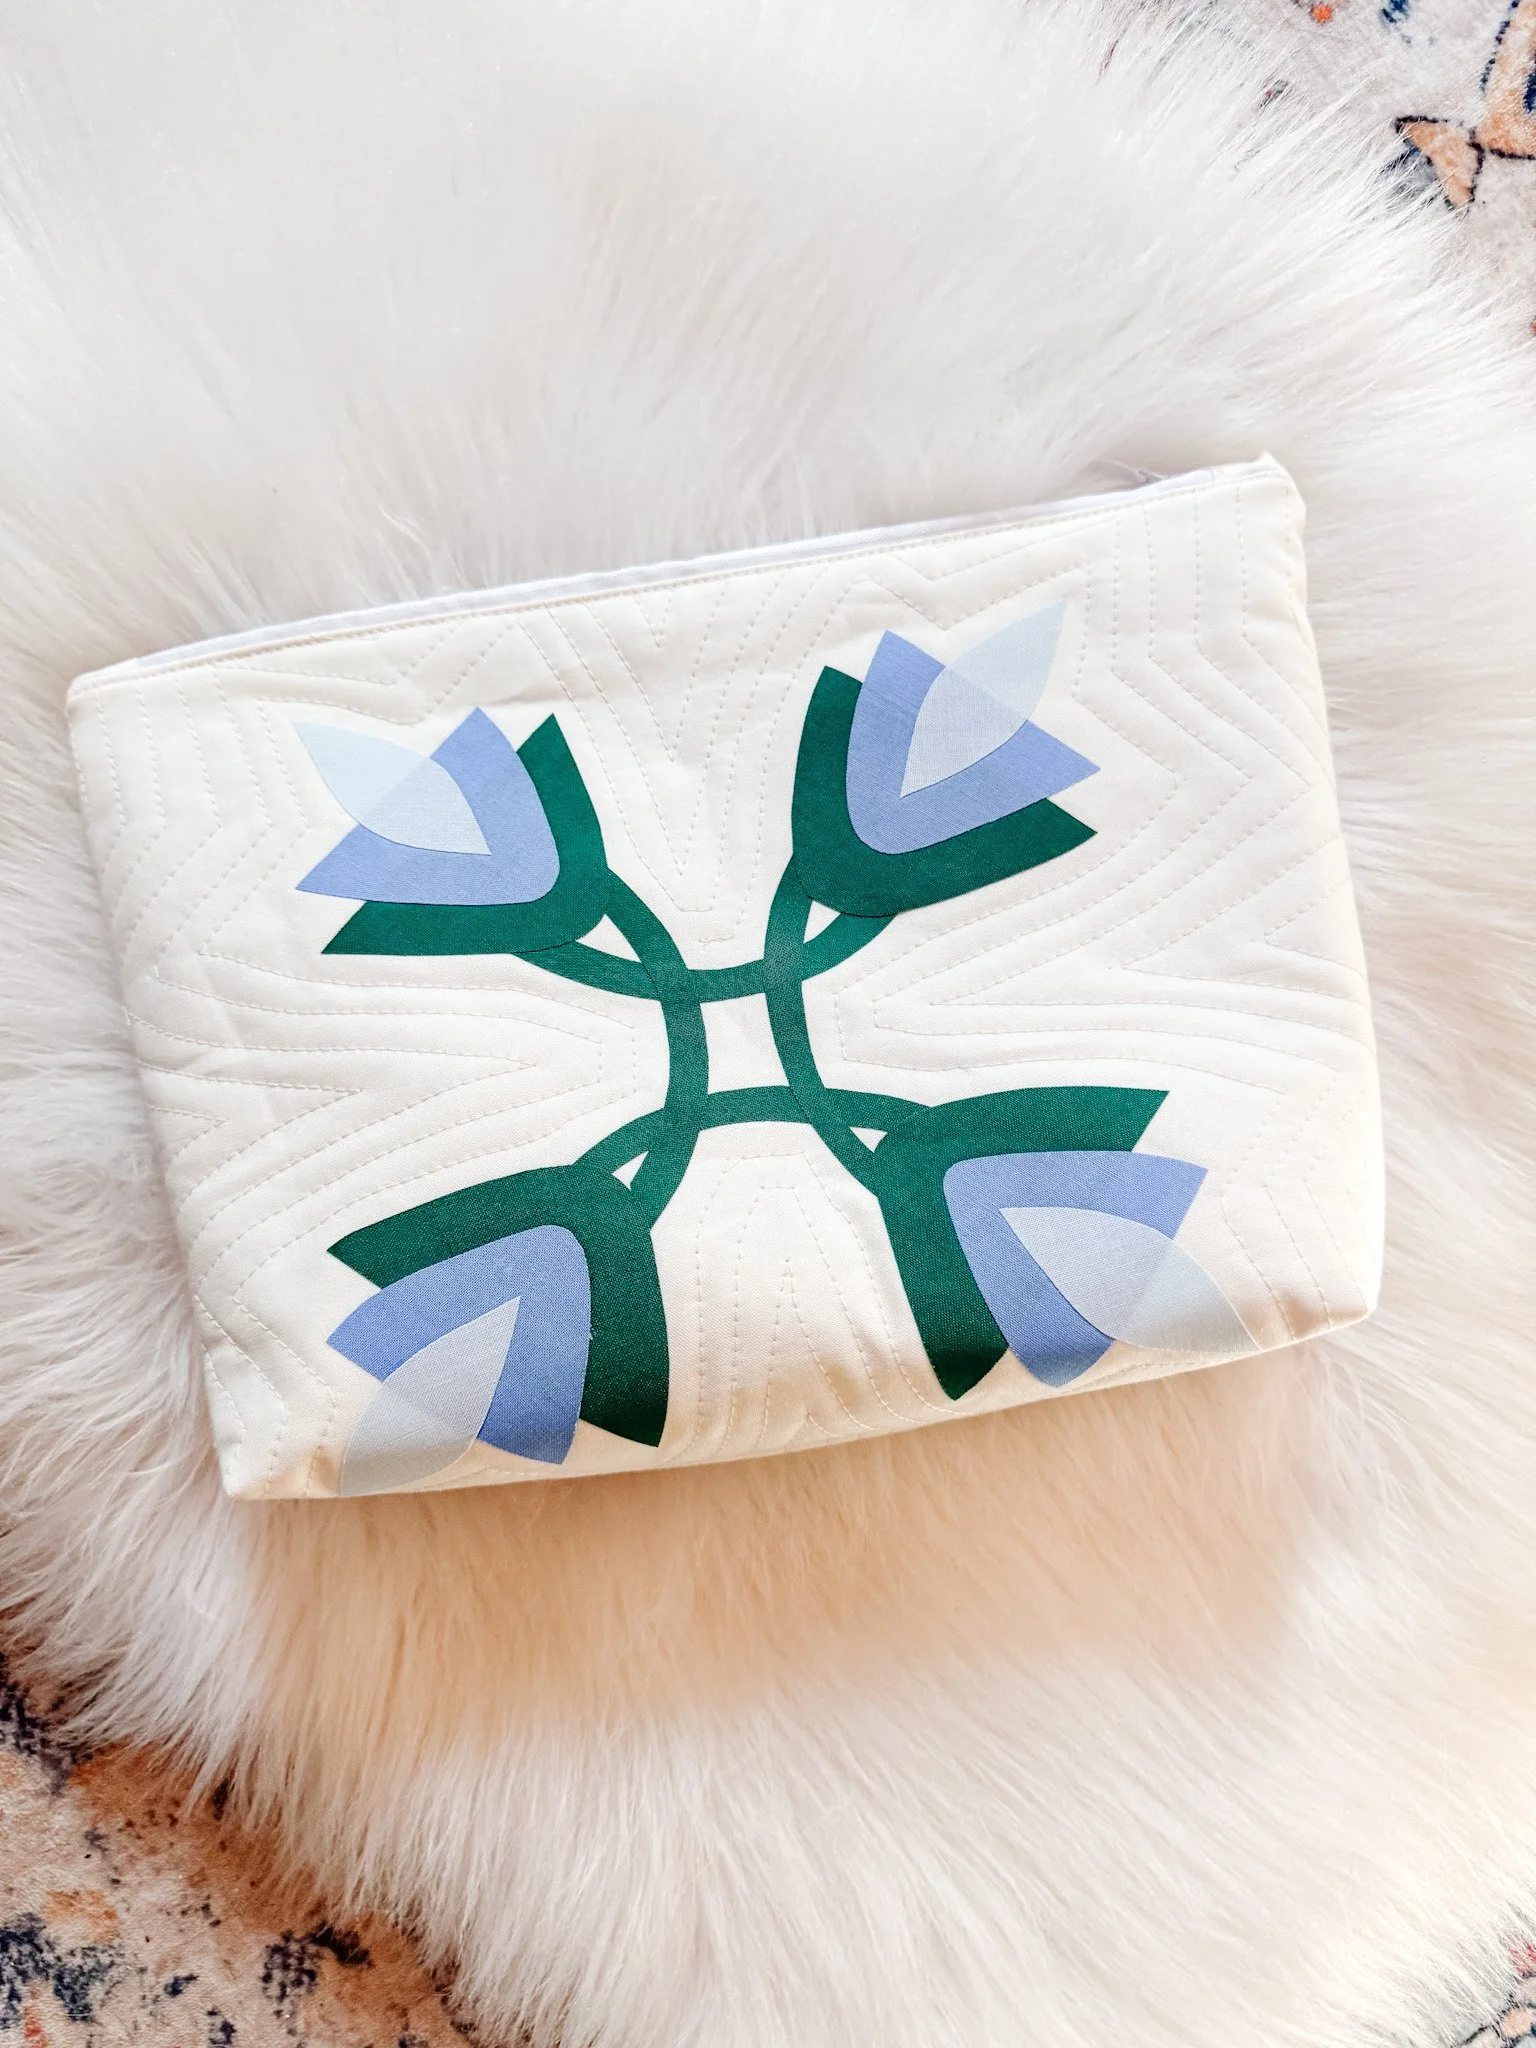
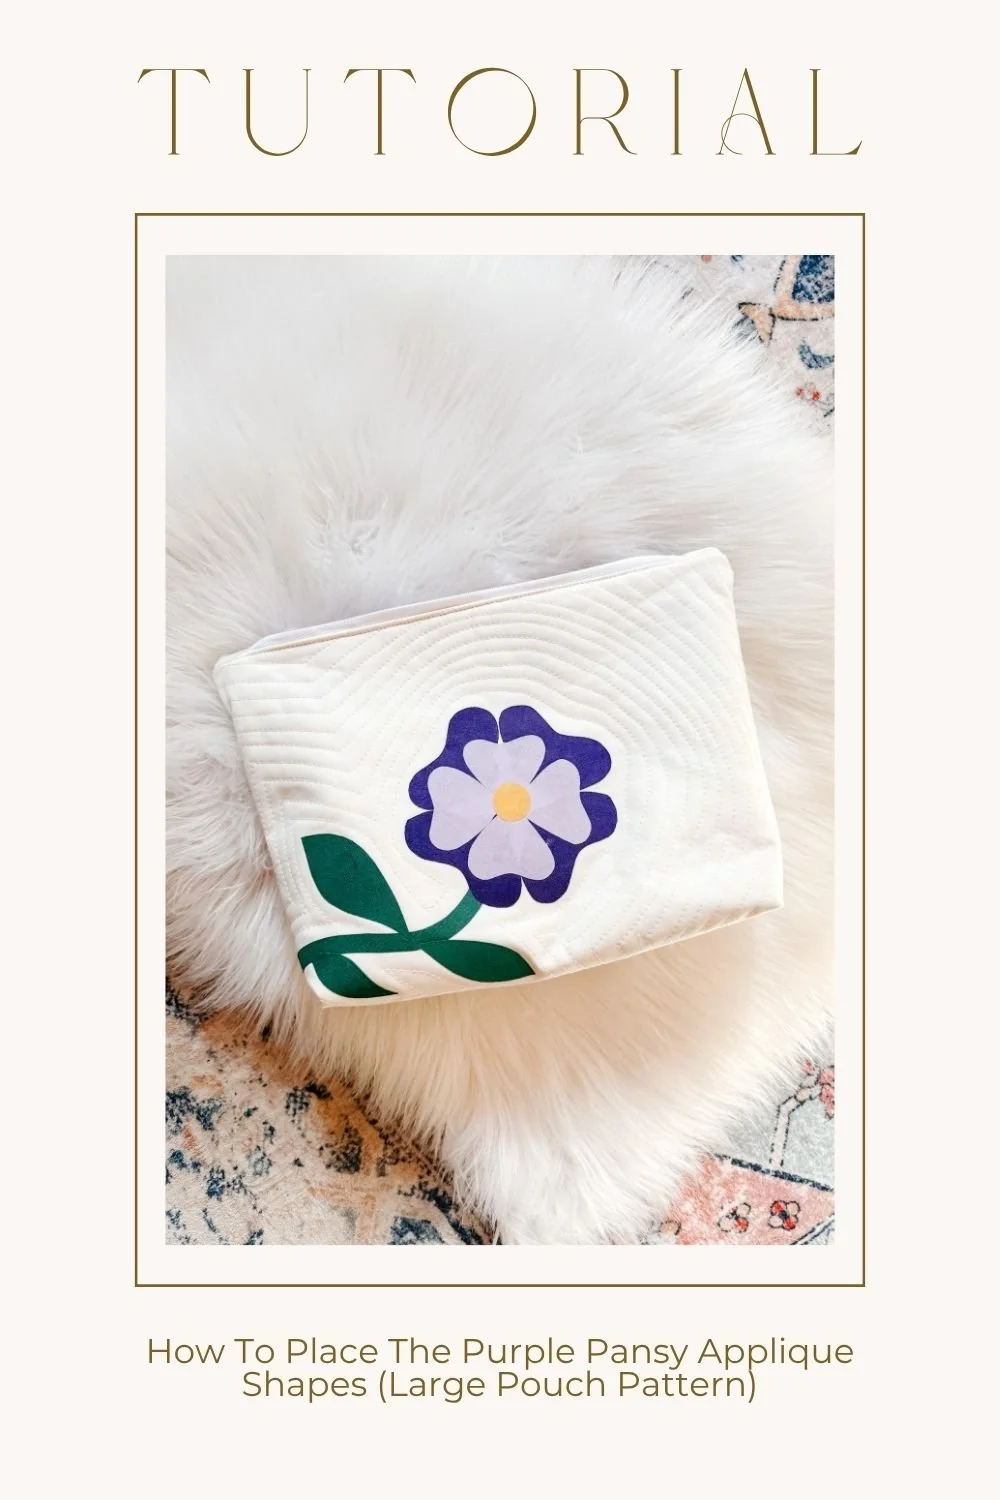
How To Place The Purple Pansy Applique Shapes (Large Pouch Pattern)
If you’ve ever looked at an appliqué pattern and thought… where do I even start with placement? — you’re not alone.
The Purple Pansy Pouch has a bit more layering than some of my other designs, so I wanted to walk you through exactly how I place each shape so you can feel confident before you fuse anything down.
This tutorial is a visual companion to the pattern and is designed specifically to help you with shape placement and layering.
Start with Your Appliqué Templates + Legend
Before you do anything—print your templates and your legend.
Each shape in the pattern is:
Labeled
Color-coded
Matched to the diagram
This is your roadmap.
Important step (don’t skip this):
👉 Mirror your template pieces before tracing them onto fusible web
This ensures your shapes will be facing the correct direction when placed on your appliqué background.
check out my fave quilting toolsWatch the Full Placement Tutorial
If you’re more of a visual learner, you can follow along step-by-step in the video tutorial here:
Prep Your Appliqué Pieces
Once your templates are ready:
Trace shapes onto fusible web
Cut them out
Fuse them to your fabric
Cut out each shape from the fabric
Peel off the paper backing (this reveals the glue side)
For this project, I used HeatnBond Ultra Hold, which means:
You don’t need to sew the pieces down
But you also shouldn’t sew through it (it will gum up your machine)
If you prefer stitching your appliqué:
→ Use HeatnBond Lite instead

Find the Center of Your Background
This step matters more than people think.
Fold your background:
In half one way
Then in half the other way
This gives you a center cross guideline
Everything in this design is placed relative to that center.
If your background were a perfect square, you could also fold corner-to-corner to create an “X”—but for this pouch, the cross is enough.
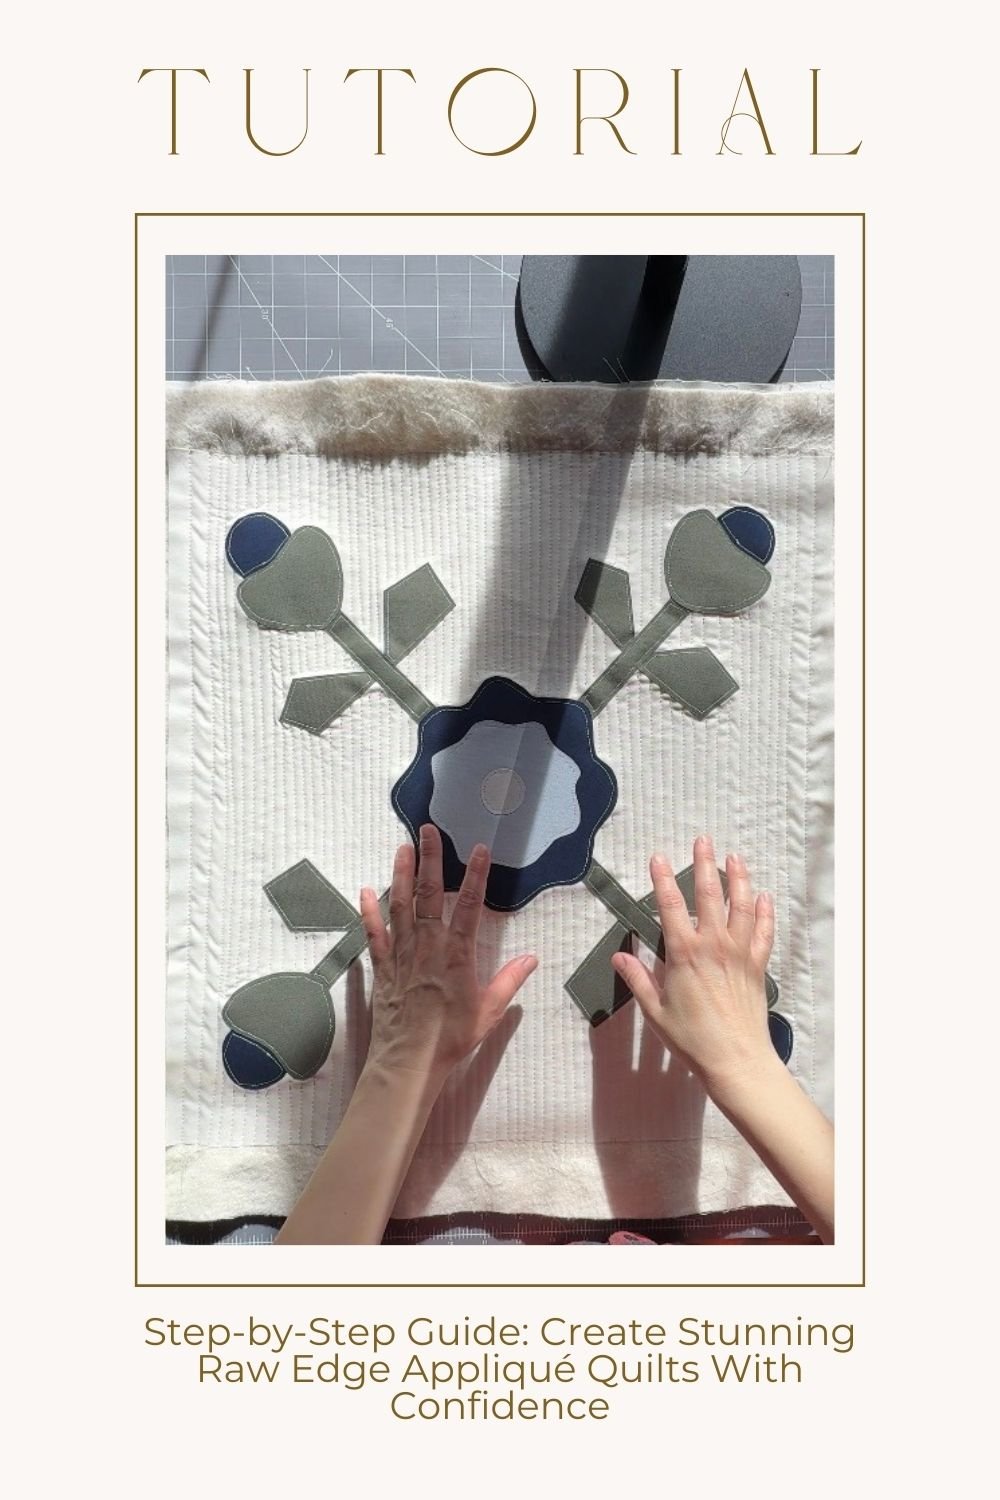
Arrange Before You Glue (Seriously—Don’t Skip This)
This is where most people mess up.
Do NOT start gluing right away.
Instead:
Lay all your pieces out first
Use your legend as a reference
Adjust spacing and layering until it feels right
A few key things to watch:
Some shapes sit slightly away from the center
You’ll see intentional spacing between pieces
Larger shapes go down first → smaller shapes layer on top
Appliqué is all about layering. Think of it like building depth.
And here’s the truth:
👉 If you try to be perfect, you’ll make this harder than it needs to be
This is meant to be fun.
Lightly Secure with Glue
Once you’re happy with placement:
Use a washable glue stick
Apply just a tiny dab to hold pieces in place
Why glue first instead of fusing right away?
Because:
You can still move things around
You can adjust placement
You won’t lock yourself into something you don’t like
(If you fuse too early, it’s game over.)
Build Your Layers
Now start layering:
Background shapes first
Petals and details on top
Small center elements last
You’ll notice:
Pieces overlap slightly
Nothing is perfectly symmetrical
That’s what gives it that soft, organic look
And yes—this is a GREAT scrap-busting project.
Fuse Everything in Place
Once you’re happy with your layout:
Take it to the iron and fuse.
Settings:
Medium-high heat (wool setting / about level 5)
Press for 8 seconds per section
Lift and move—don’t slide the iron
👉 Do NOT “swish” the iron
You’ll shift your pieces and ruin your placement
Just press, lift, move.
Final Thoughts Before You Move On
At this point, your appliqué should be fully fused and ready to continue with the pouch construction.
And if you’re looking at it thinking:
“Wait… mine looks a little different…”
Good.
That’s exactly what we want.
No two pieces should look identical—that’s the beauty of appliqué.
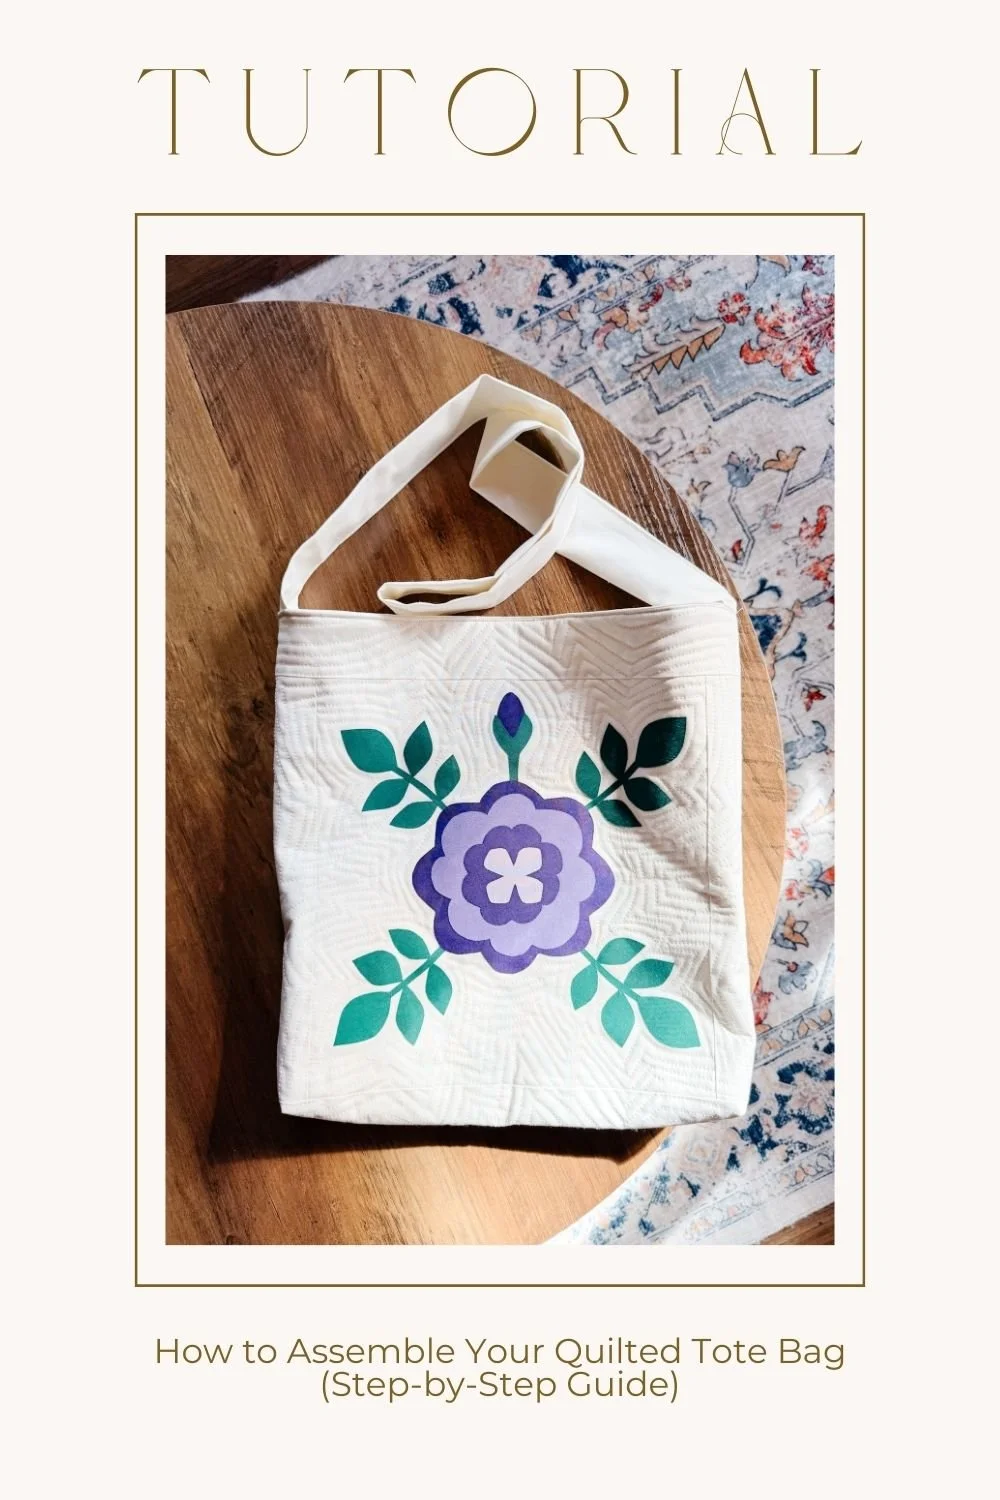
Ready to Make Your Own?
You can grab the full Purple Pansy Pouch Pattern here:👉 Shop the Pattern
Need Help?
As always, I’m here for you.If you get stuck or just want a second set of eyes:
📧 hello@thelmaquilts.com
Share Your Make
I LOVE seeing what you create.T ag me on Instagram:
@exshaw
Use: #thelmaquilts
pin it for later
Minimalist knitwear designer.