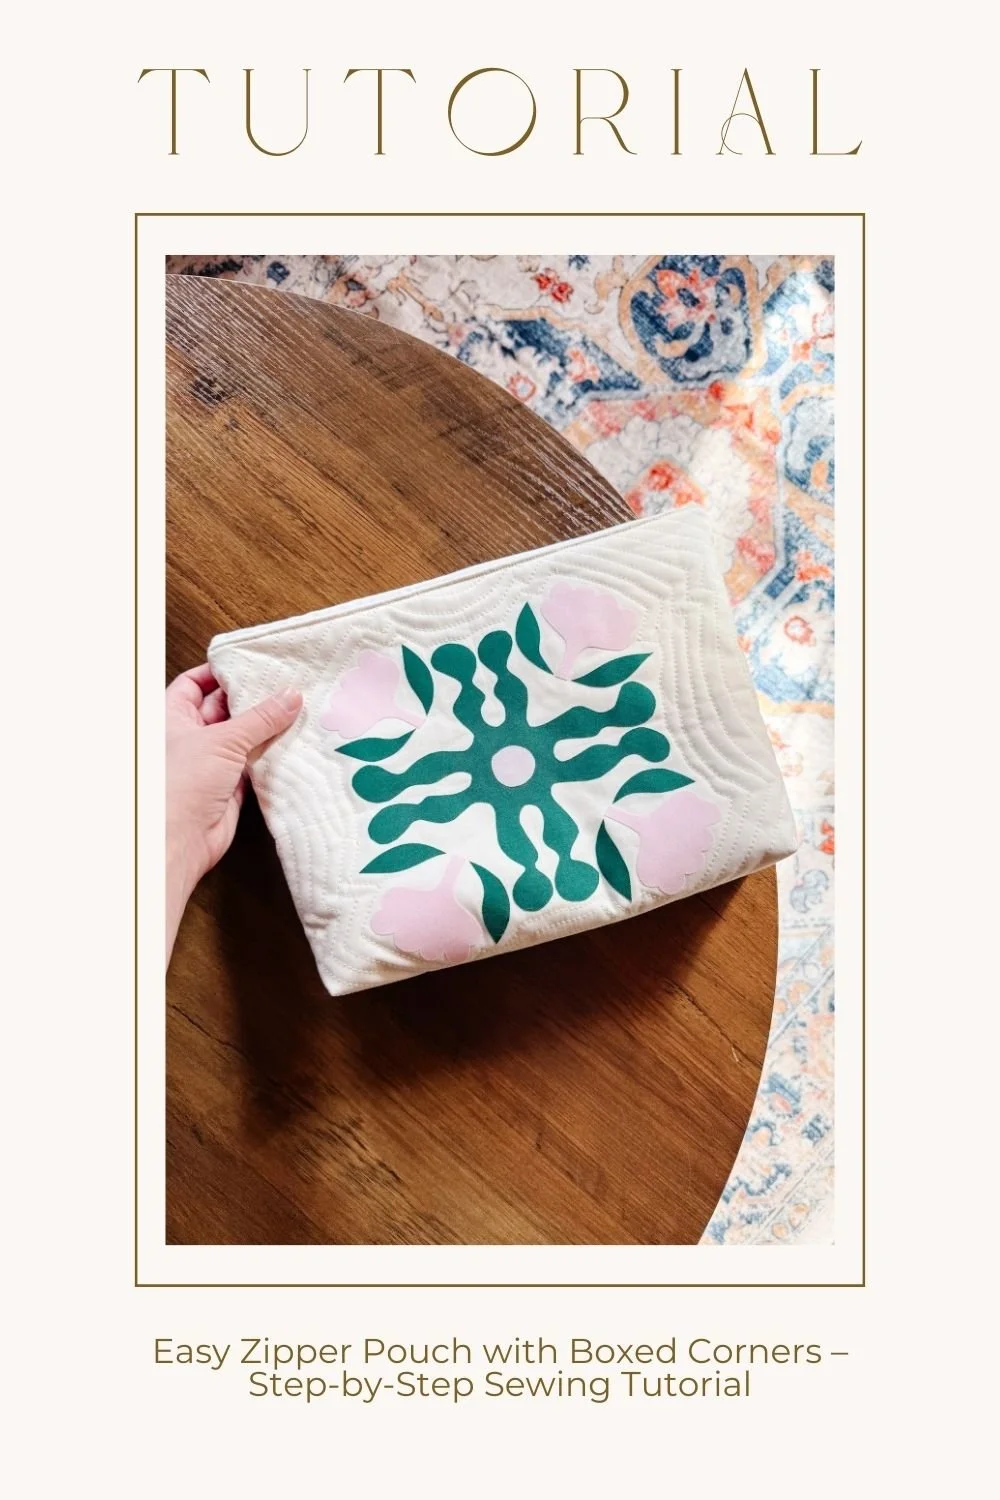
Easy Zipper Pouch with Boxed Corners – Step-by-Step Sewing Tutorial
If you’ve ever wanted to make a zipper pouch that actually looks clean, structured, and professional… this is it.
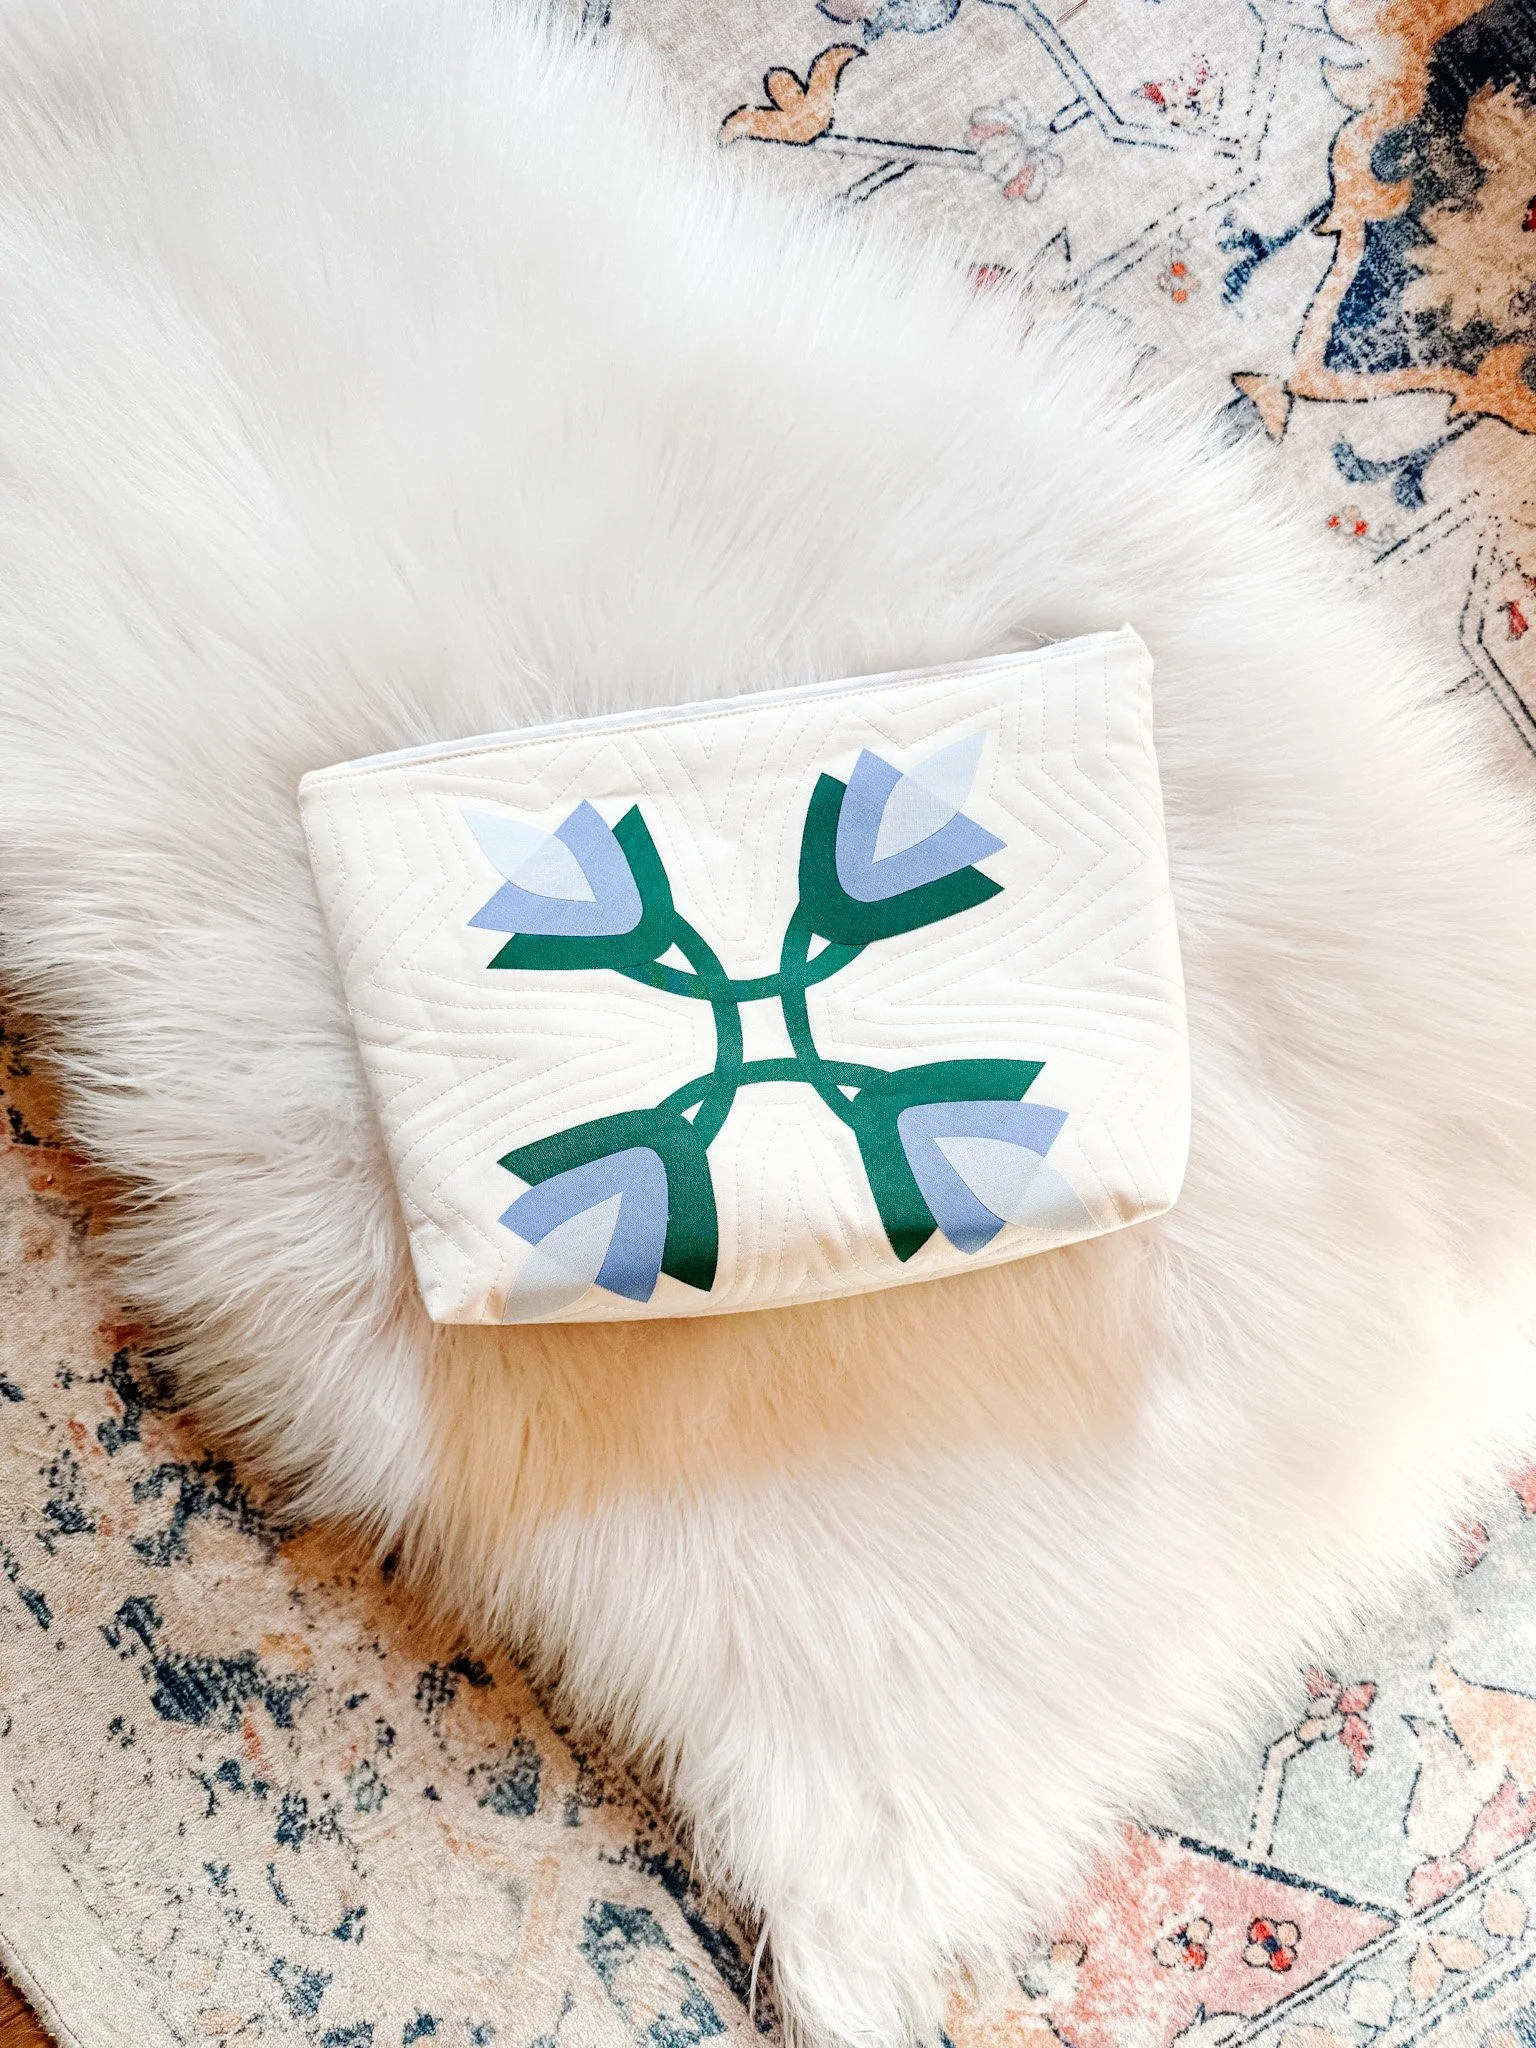
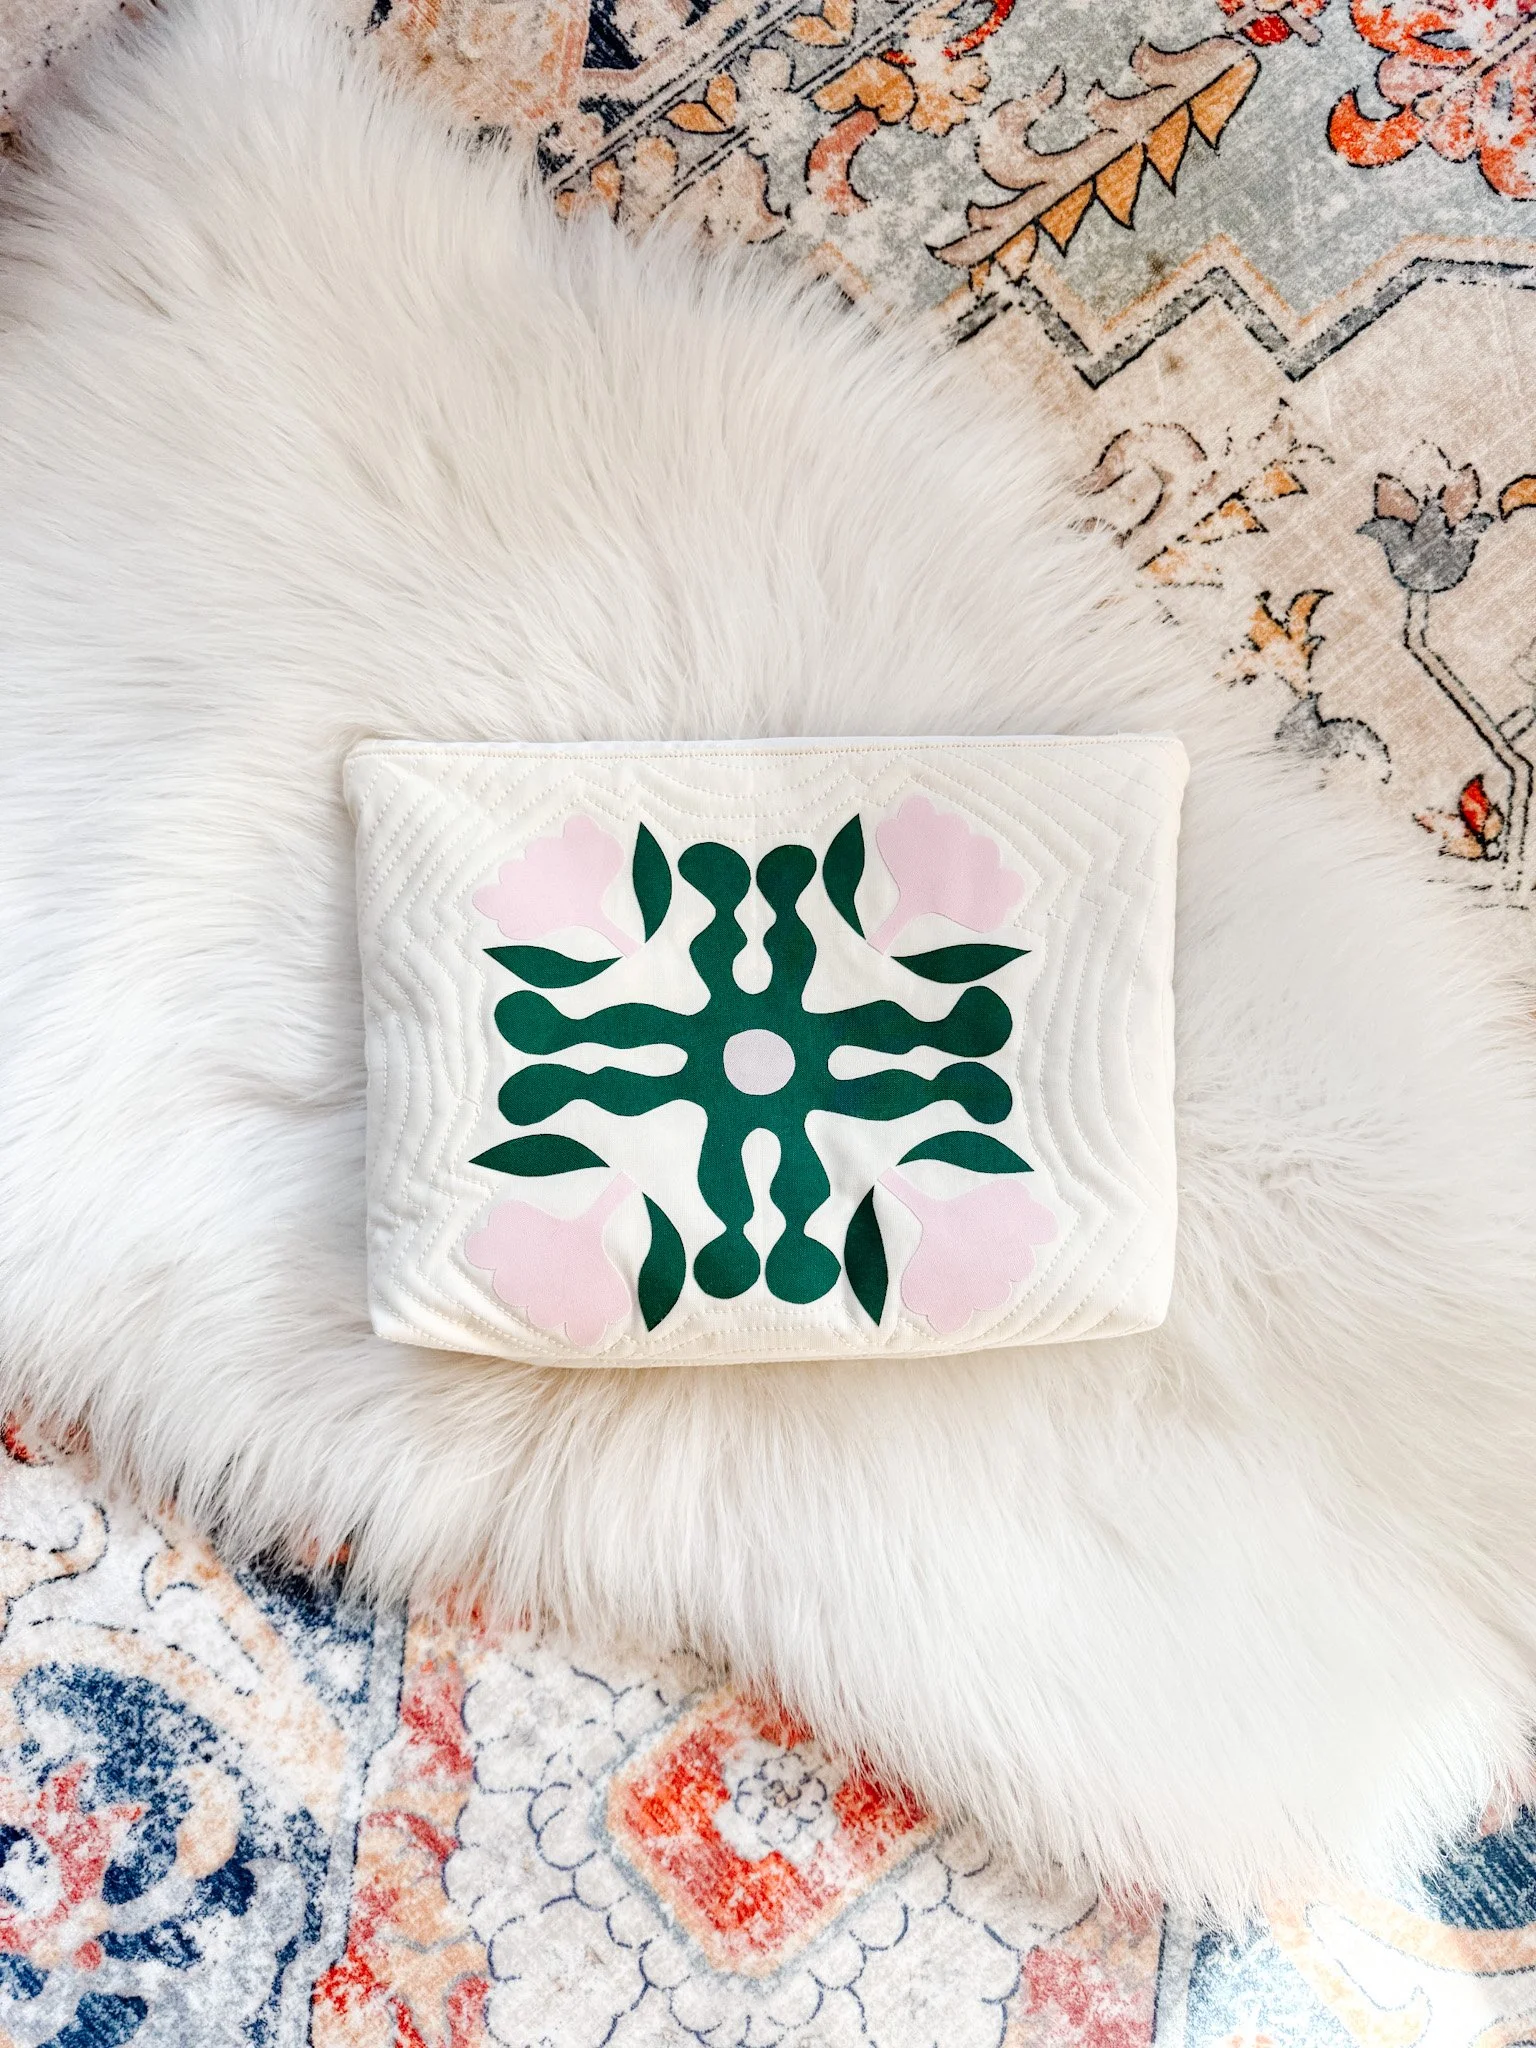
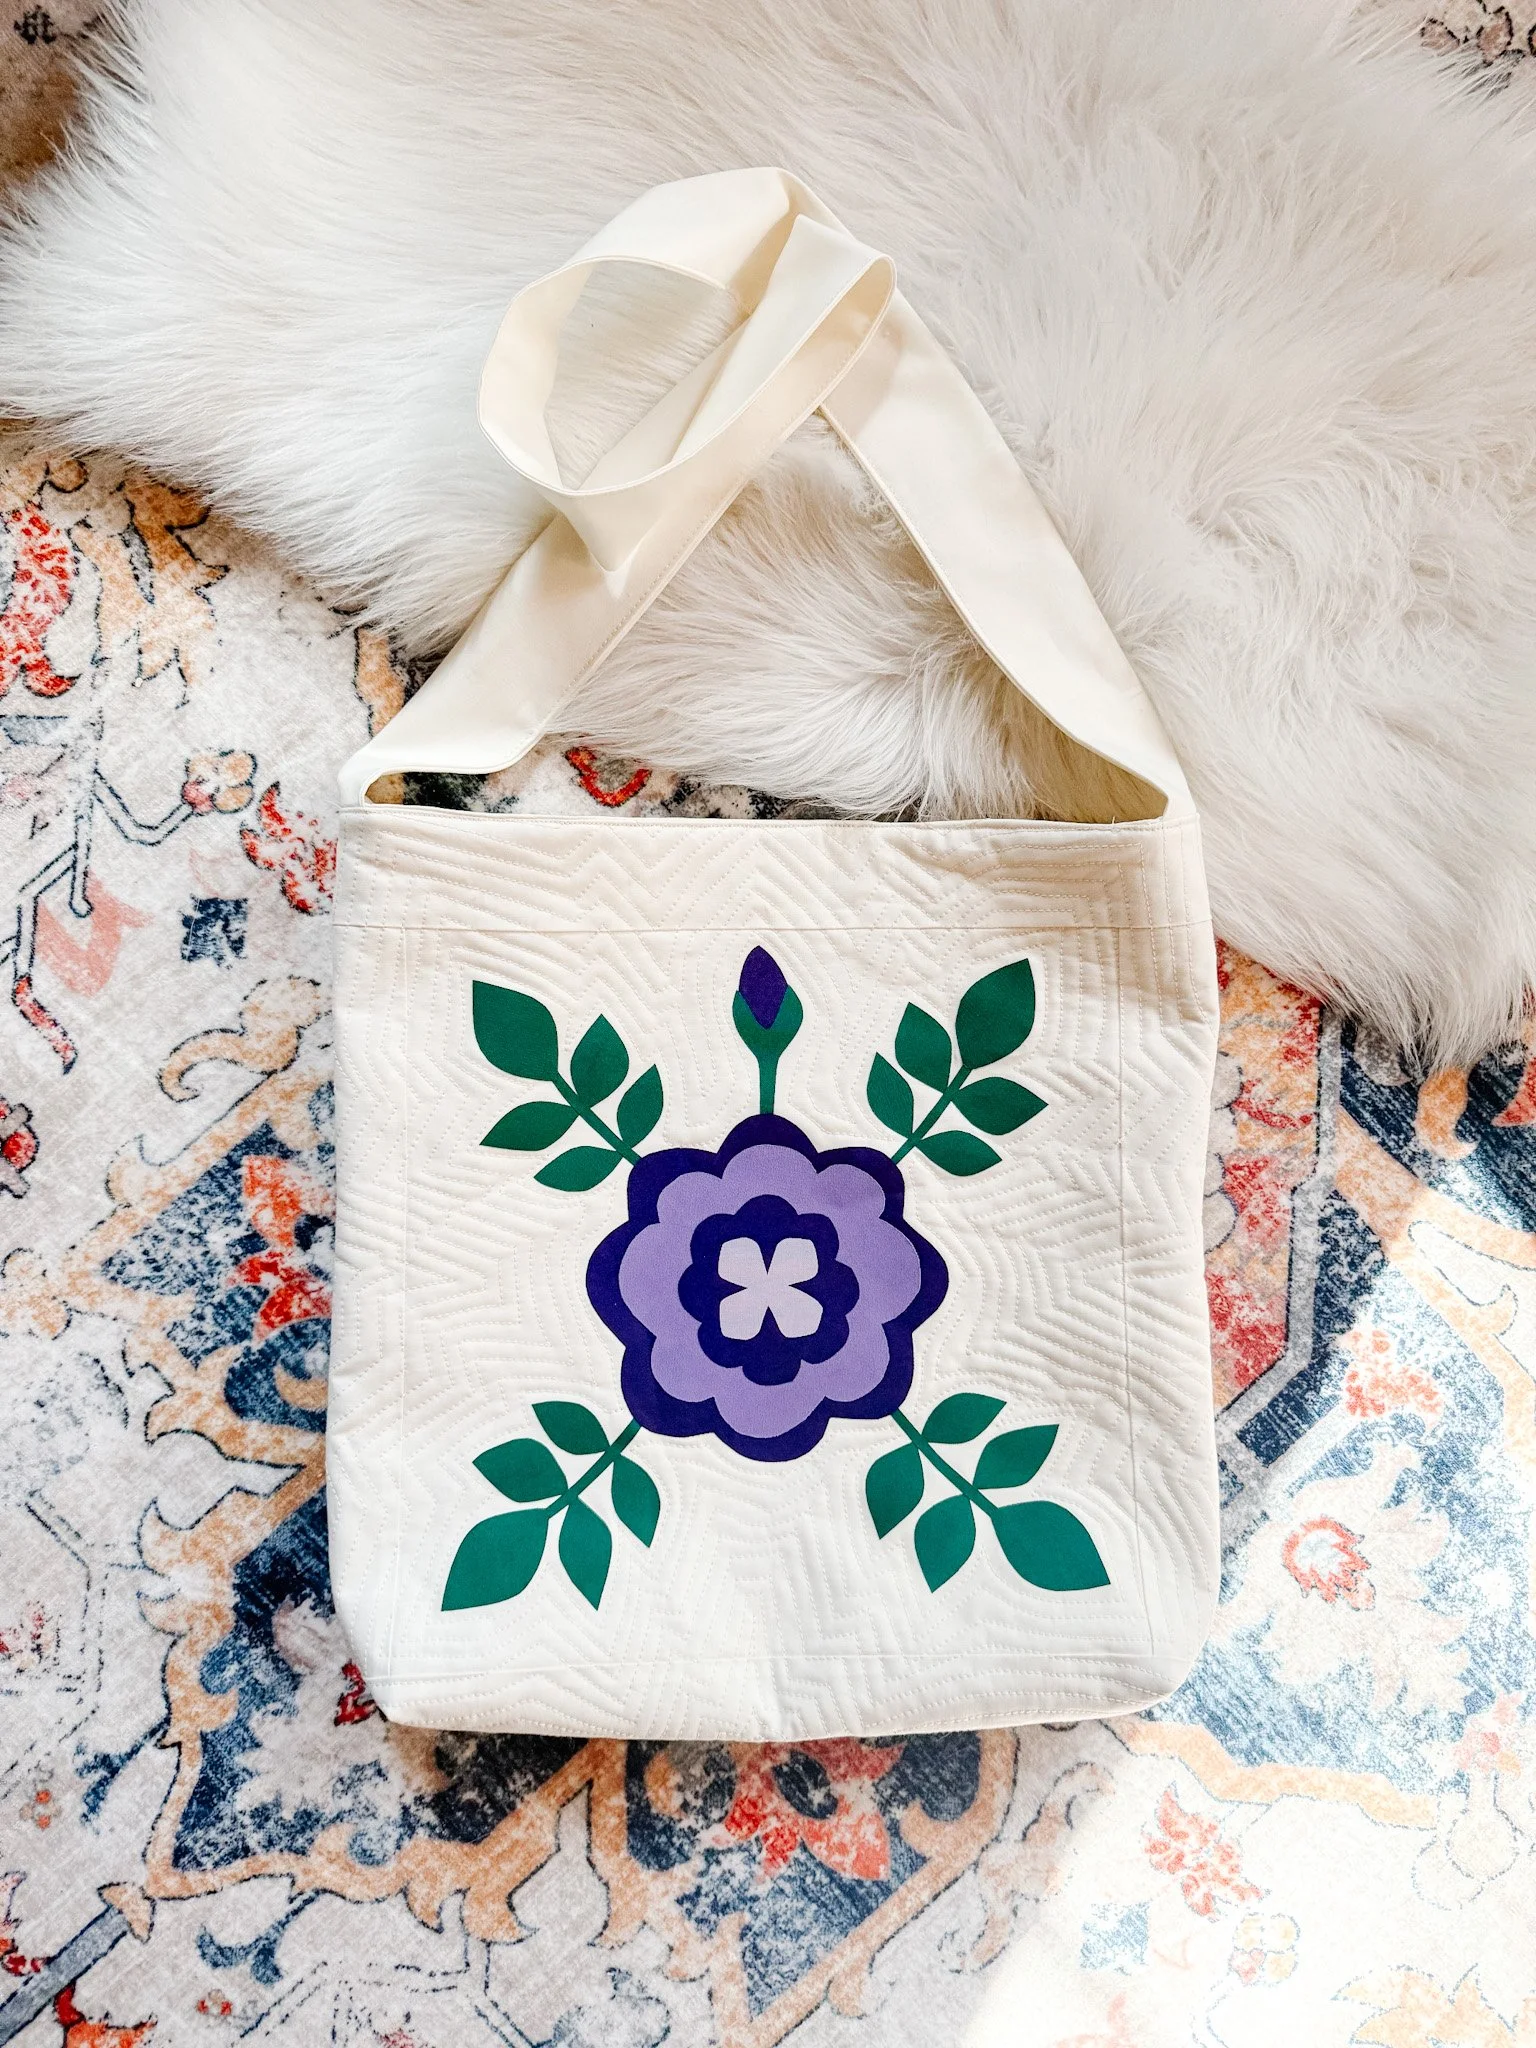
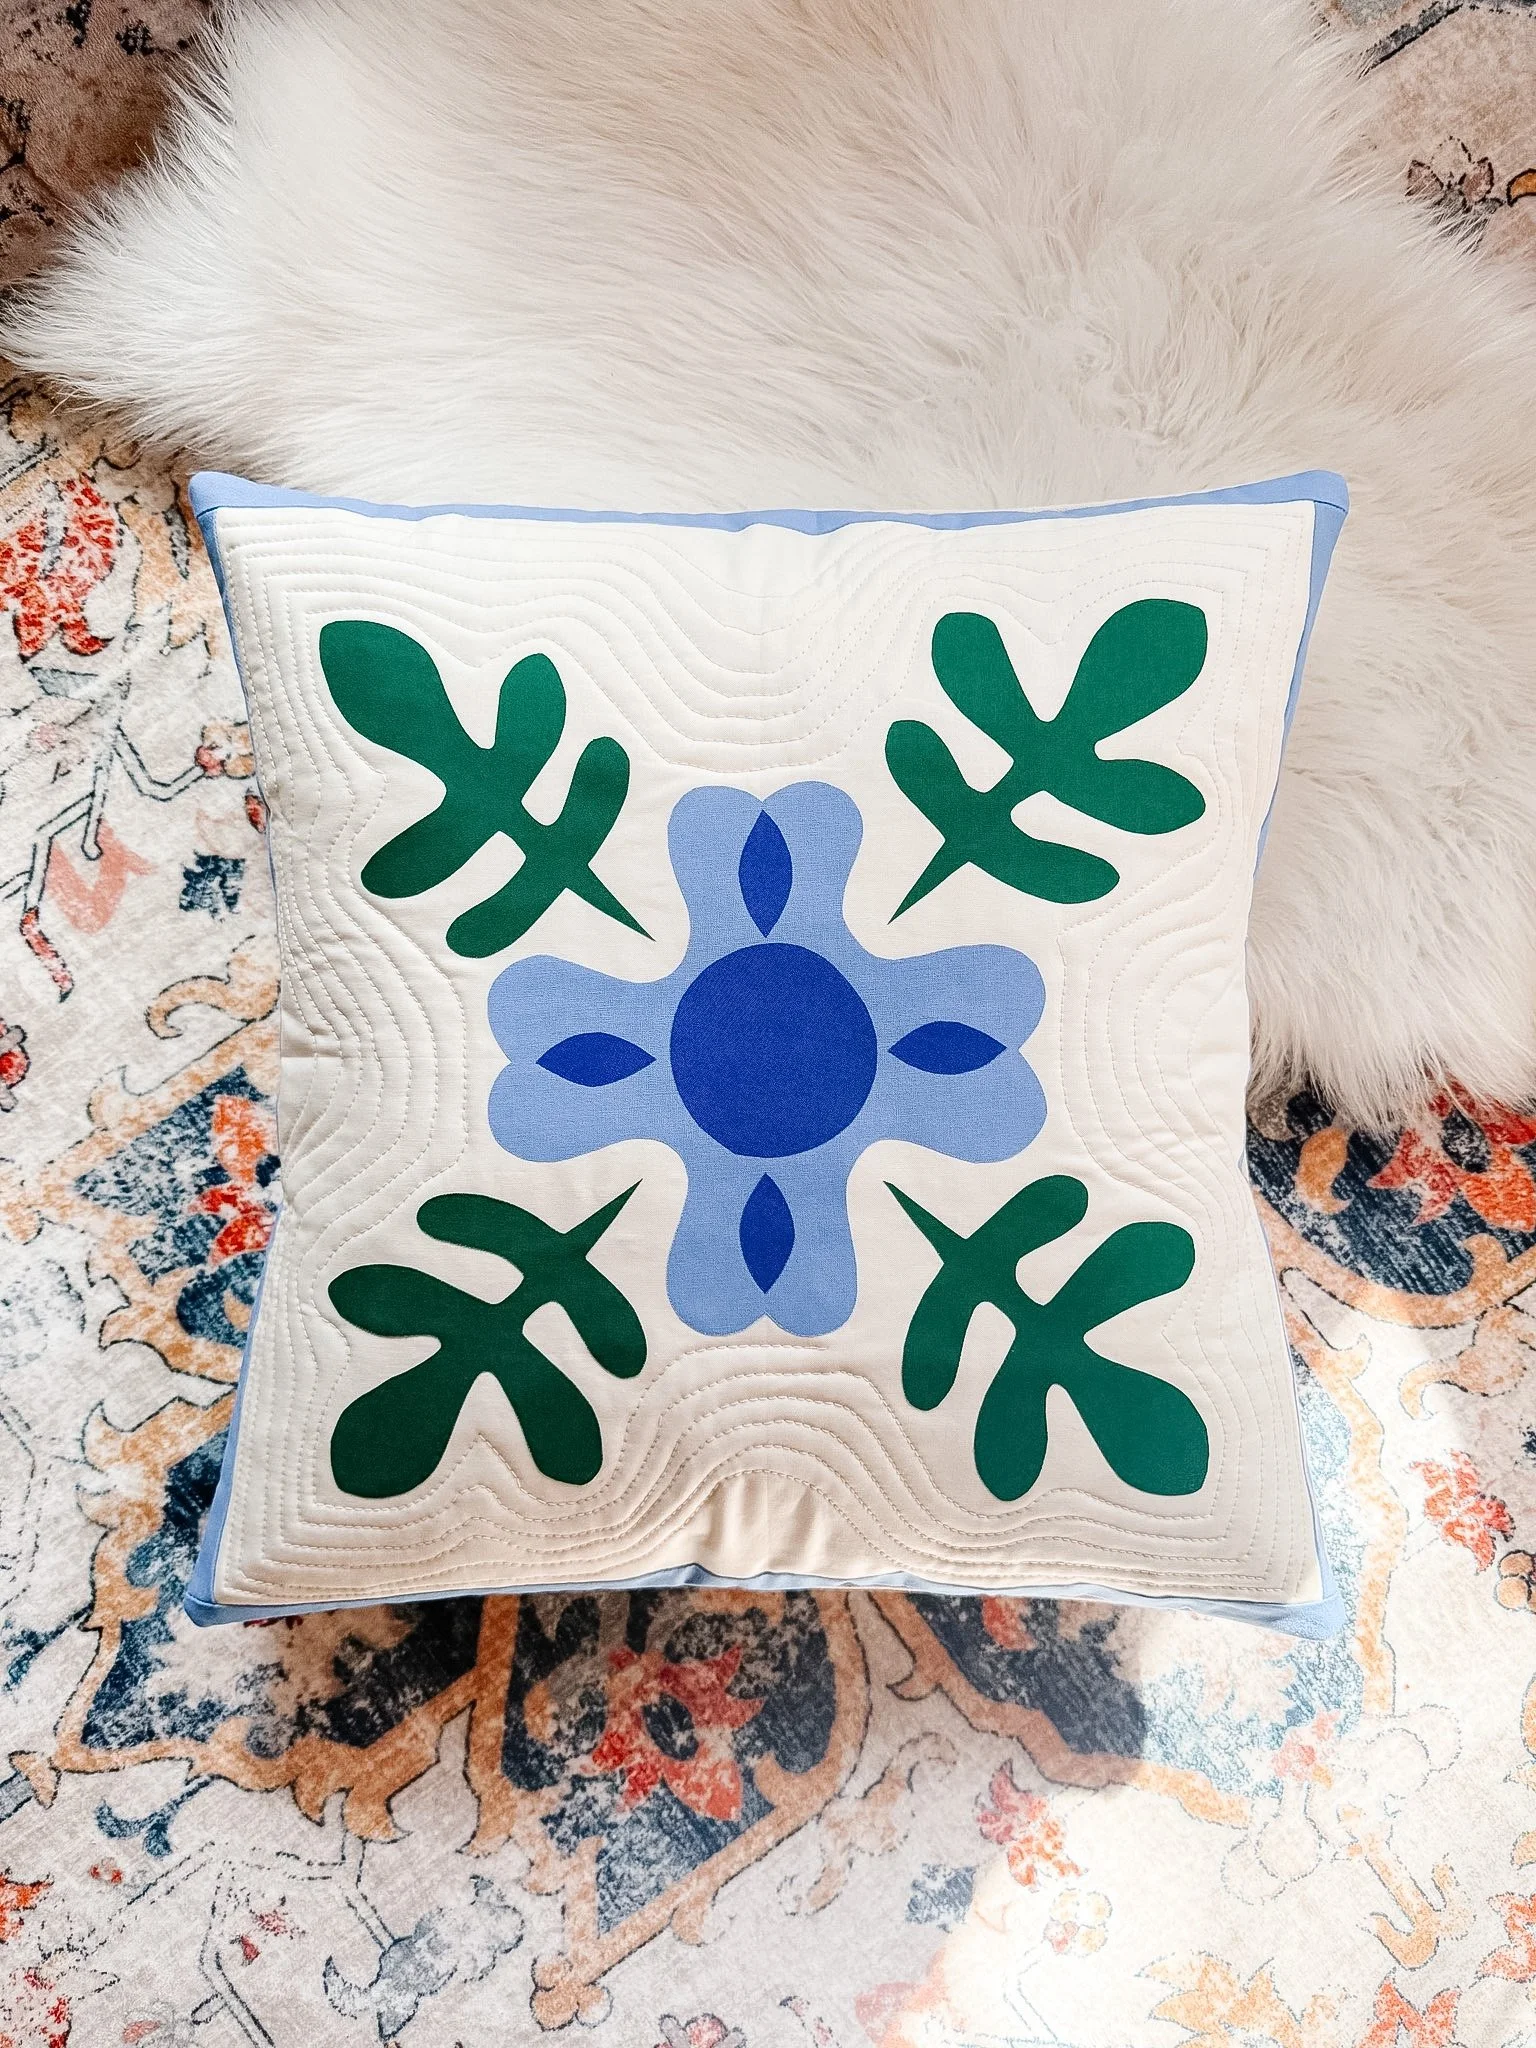
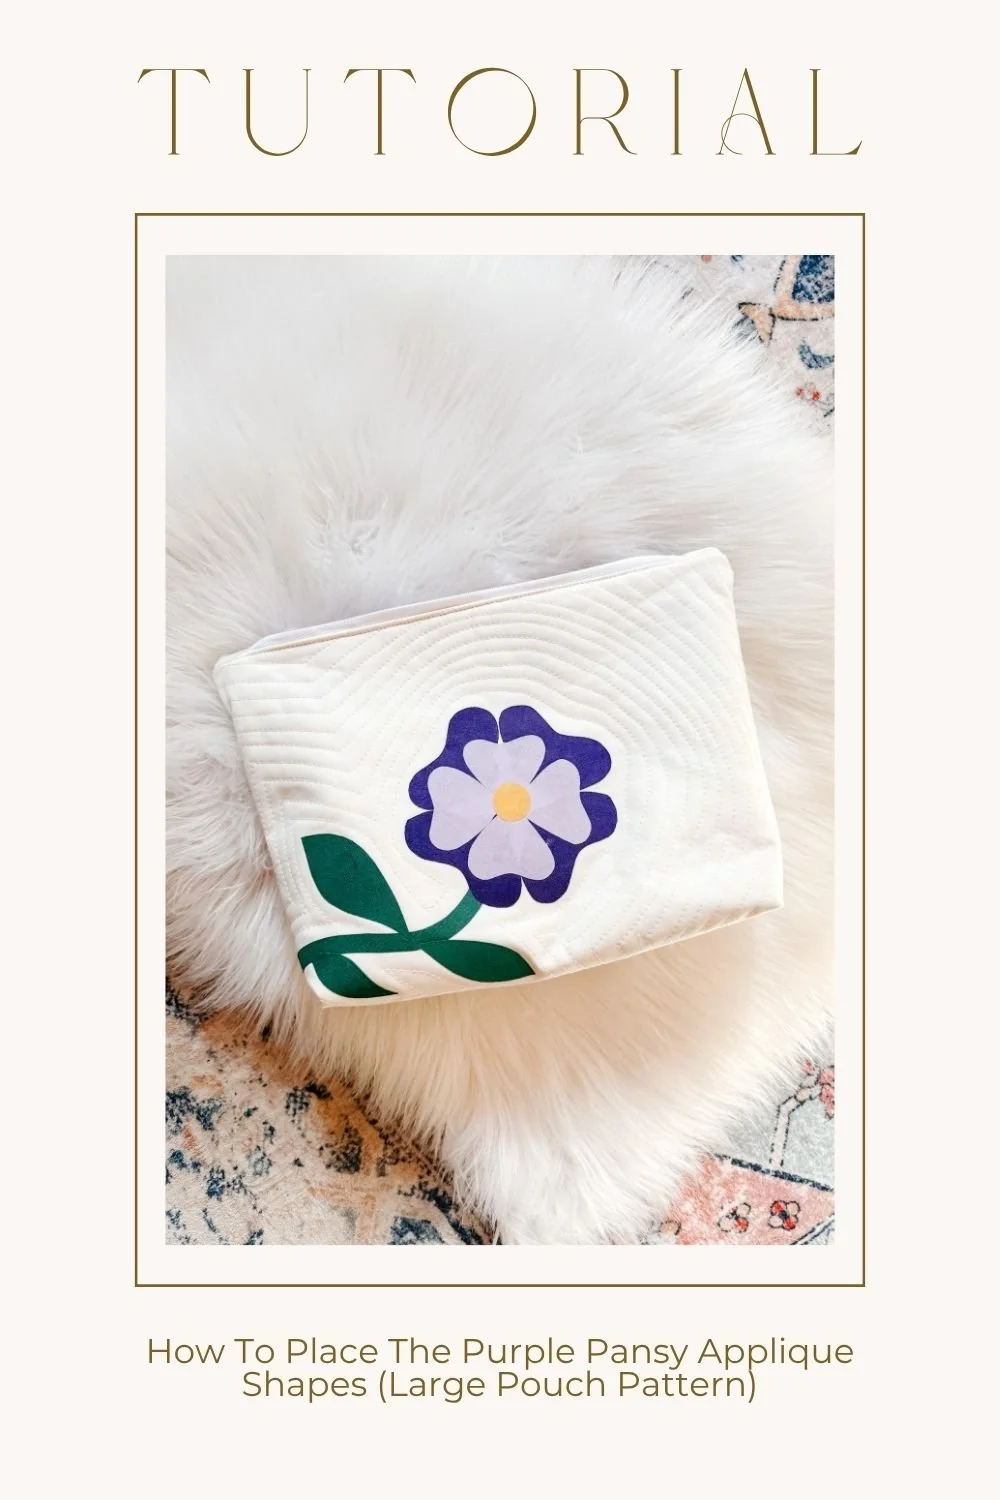
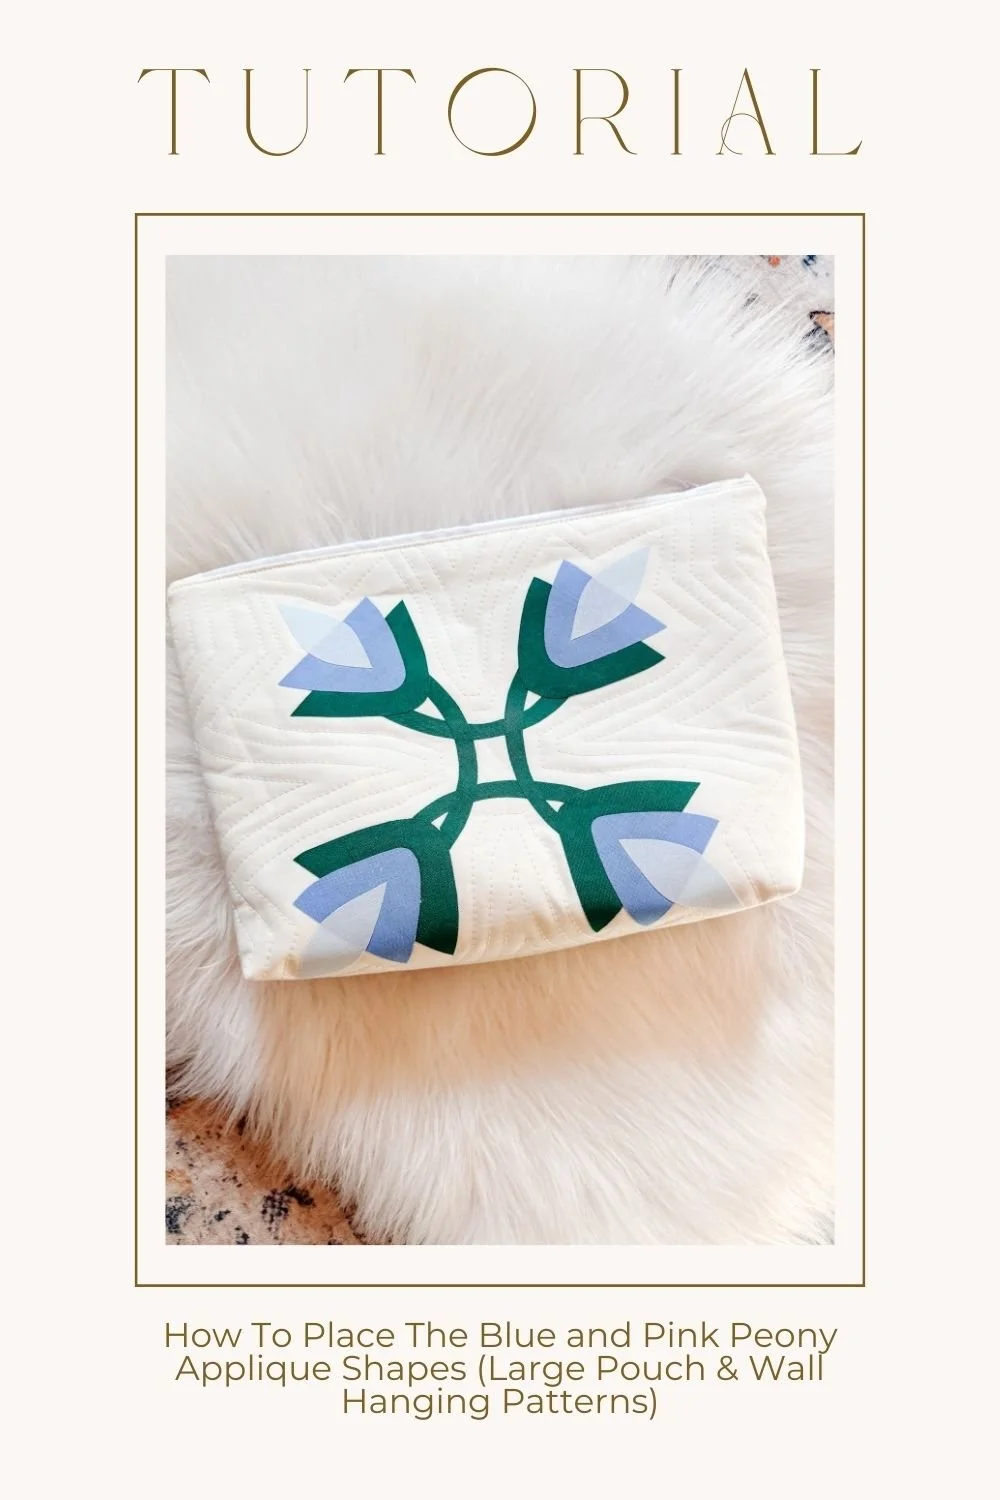
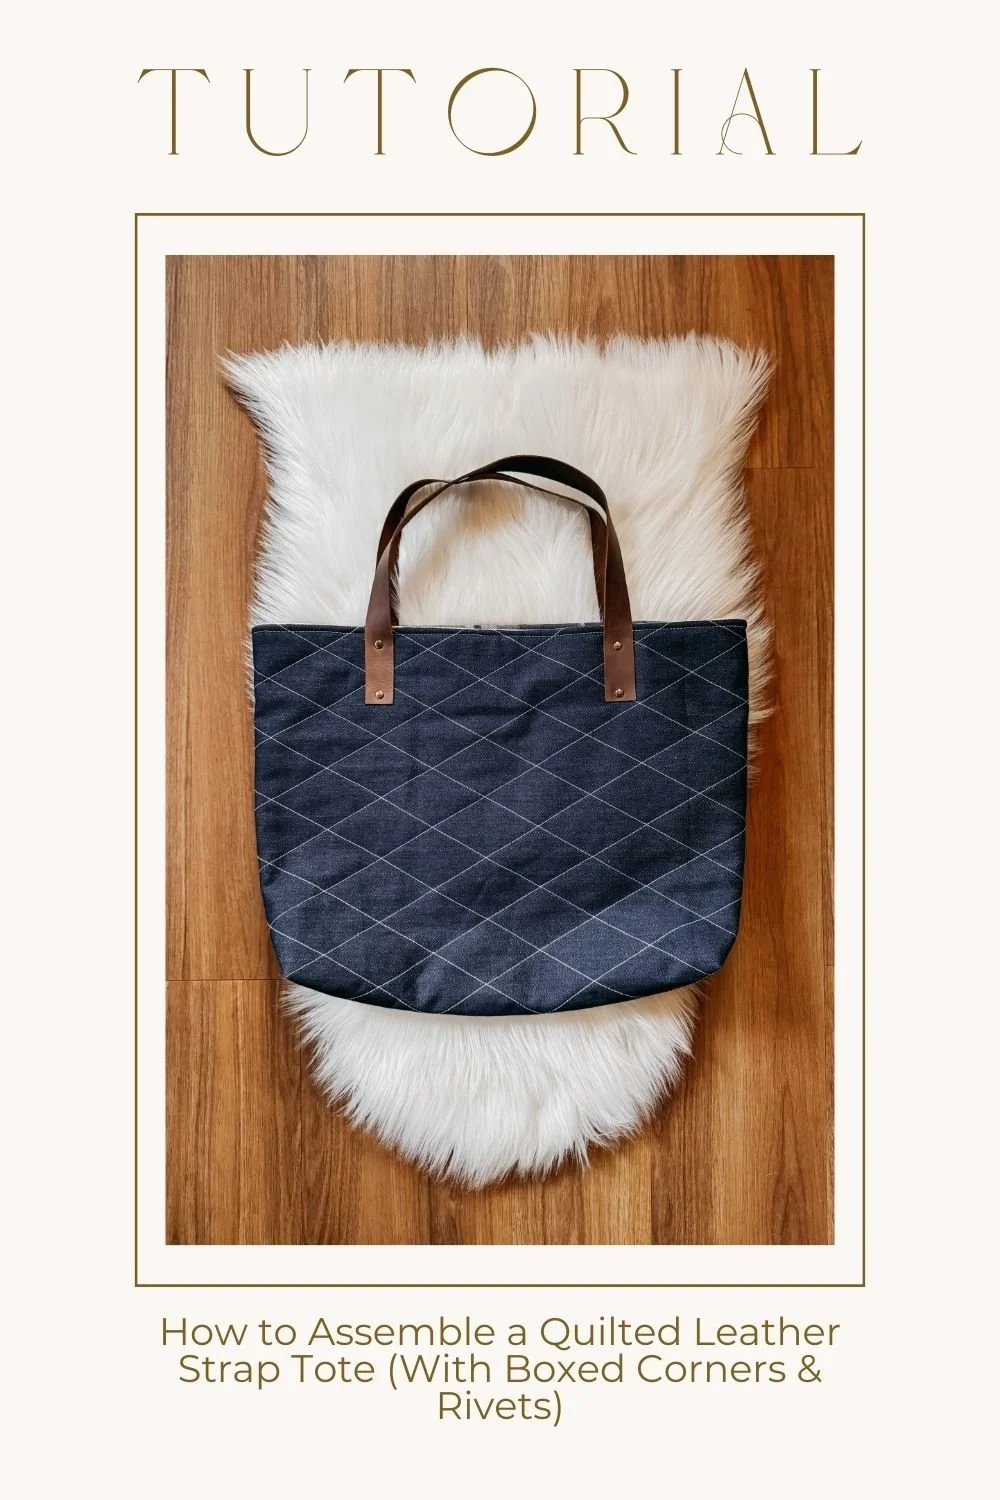
This style of pouch—with boxed corners—gives you that little bit of depth so it can actually hold things (and not just sit flat and sad on your table 😅). It’s one of my favourite projects, especially when paired with floral appliqué.
In this tutorial, I’m walking you through exactly how I assemble mine—from quilted panel to finished pouch.
check out my fave quilting toolswhat you’ll learn in this tutorial
How to square up your quilted panels properly
A shortcut for cutting (using your lining as a guide 👀)
How to make a zipper unit with tabs
How to sew a zipper sandwich cleanly
How to topstitch for a polished finish
How to box corners (the part everyone overthinks)
How to turn and finish your pouch neatly
before you start
A quick note—this isn’t traditional quilting with a backing layer.
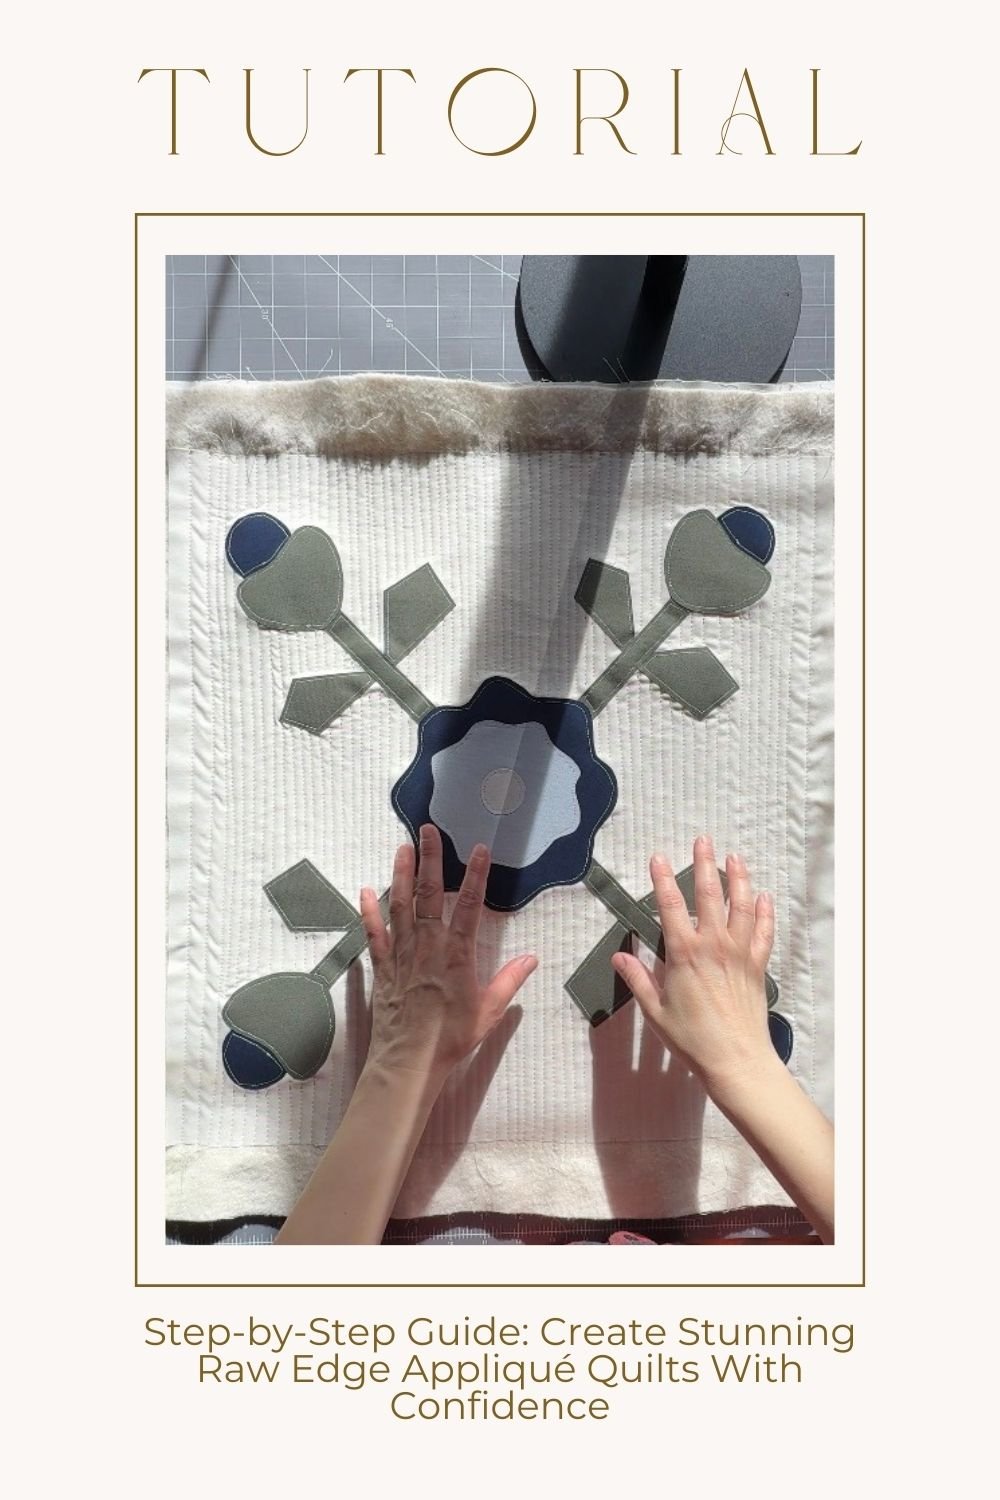
For this pouch, you’re quilting your appliqué top with batting only. That’s what gives it structure without too much bulk.
Also… make sure your quilted panel and lining are exactly the same size.
If they’re off—even a little—you’ll feel it later when assembling.
step 1: square up your quilted panels
Once your panel is quilted, it’s time to trim it down to size.
Instead of measuring every single edge, I like to use my pre-cut lining piece as a guide. Just lay it directly on top of your quilted panel and trim around it.
It’s faster, more accurate, and keeps everything consistent.
Just… don’t cut your lining by accident (ask me how I know 😂).

step 2: watch for directional fabric
If your design has a direction (like florals), double check before sewing.
There is nothing worse than finishing your pouch and realizing your motif is upside down on one side. It happens. You’ll survive. But let’s avoid it if we can.
step 3: make your zipper unit
For this pouch, you’ll:
Trim your zipper down to size (about 11")
Add zipper tabs (folded, pressed, sewn at the ends)
Trim everything clean so it lines up perfectly
Use a ¼" seam allowance here (and honestly… everywhere unless you’re topstitching).
Give it a press when you’re done—but don’t melt your zipper 😅
step 4: sew the zipper sandwich
This is where it starts to come together.
Layer your pieces like this:
Lining (right side up)
Zipper (facing up, aligned with edge)
Quilted panel (right side down)
Pin it well—especially near the zipper.
Then sew along the edge using a zipper foot.
Repeat for the other side.
step 5: press + topstitch
Open everything up and give it a careful press.
Then topstitch along both sides of the zipper. This keeps everything flat, secure, and looking really clean.
A small detail—but it makes a big difference.
step 6: prepare for boxing the corners
Now bring:
quilted panels together (right sides facing)
lining pieces together
Before sewing, cut out a square from each corner (about 1½" x 1½").
This is what creates the boxed shape later.
Also—open your zipper before sewing everything closed.
If you don’t… you won’t be able to turn your pouch right side out. (Yes, this matters 😅)
step 7: sew the pouch
Sew:
down both sides
across the bottom
Leave a 5–6" gap in the lining so you can turn it later.
Pro tip: use a double pin to mark your gap so you don’t accidentally sew it shut.
step 8: box the corners
Take each cut-out corner and pinch it so the seams align.
Sew straight across with a ¼" seam.
Repeat for all four corners.
This is the step that gives your pouch that structured, stand-up shape.
step 9: turn and finish
Reach through the lining gap and turn everything right side out.
Pop your corners out (a chopstick works great here).
Then:
sew the lining gap closed
tuck the lining inside
push everything into place
Give it a final press (on a lower heat if you used appliqué).
And that’s it—you’re done.
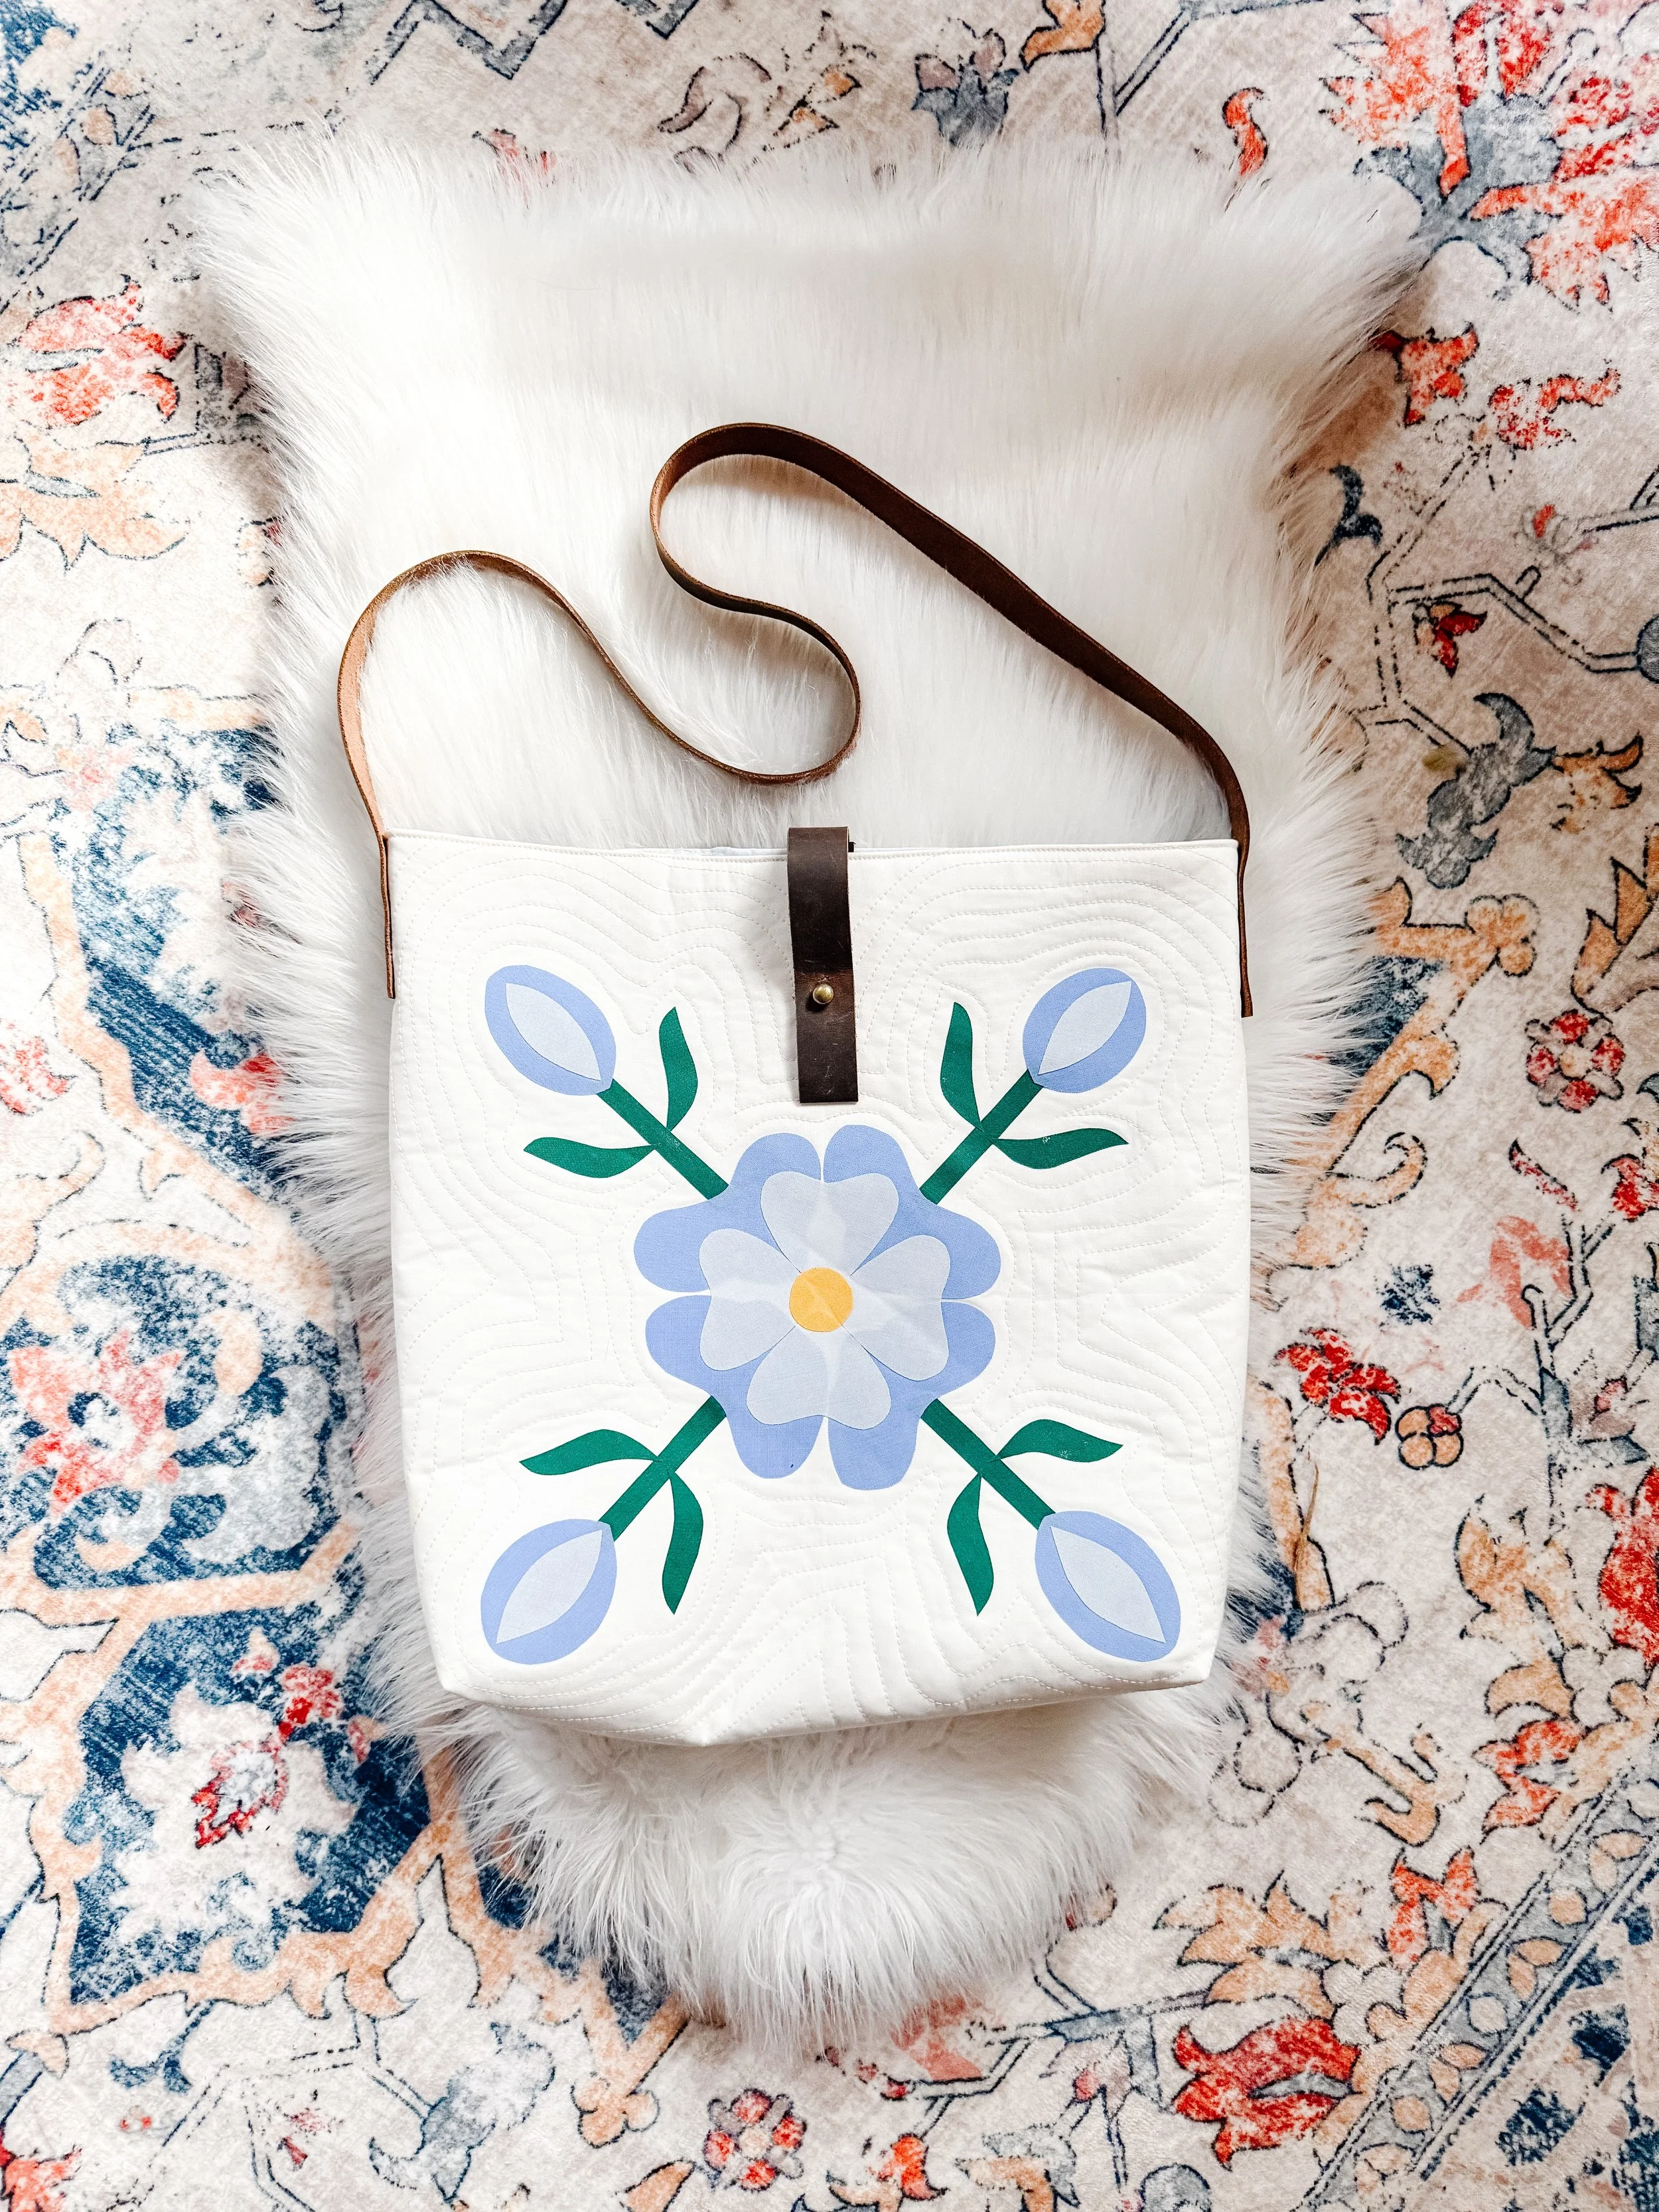
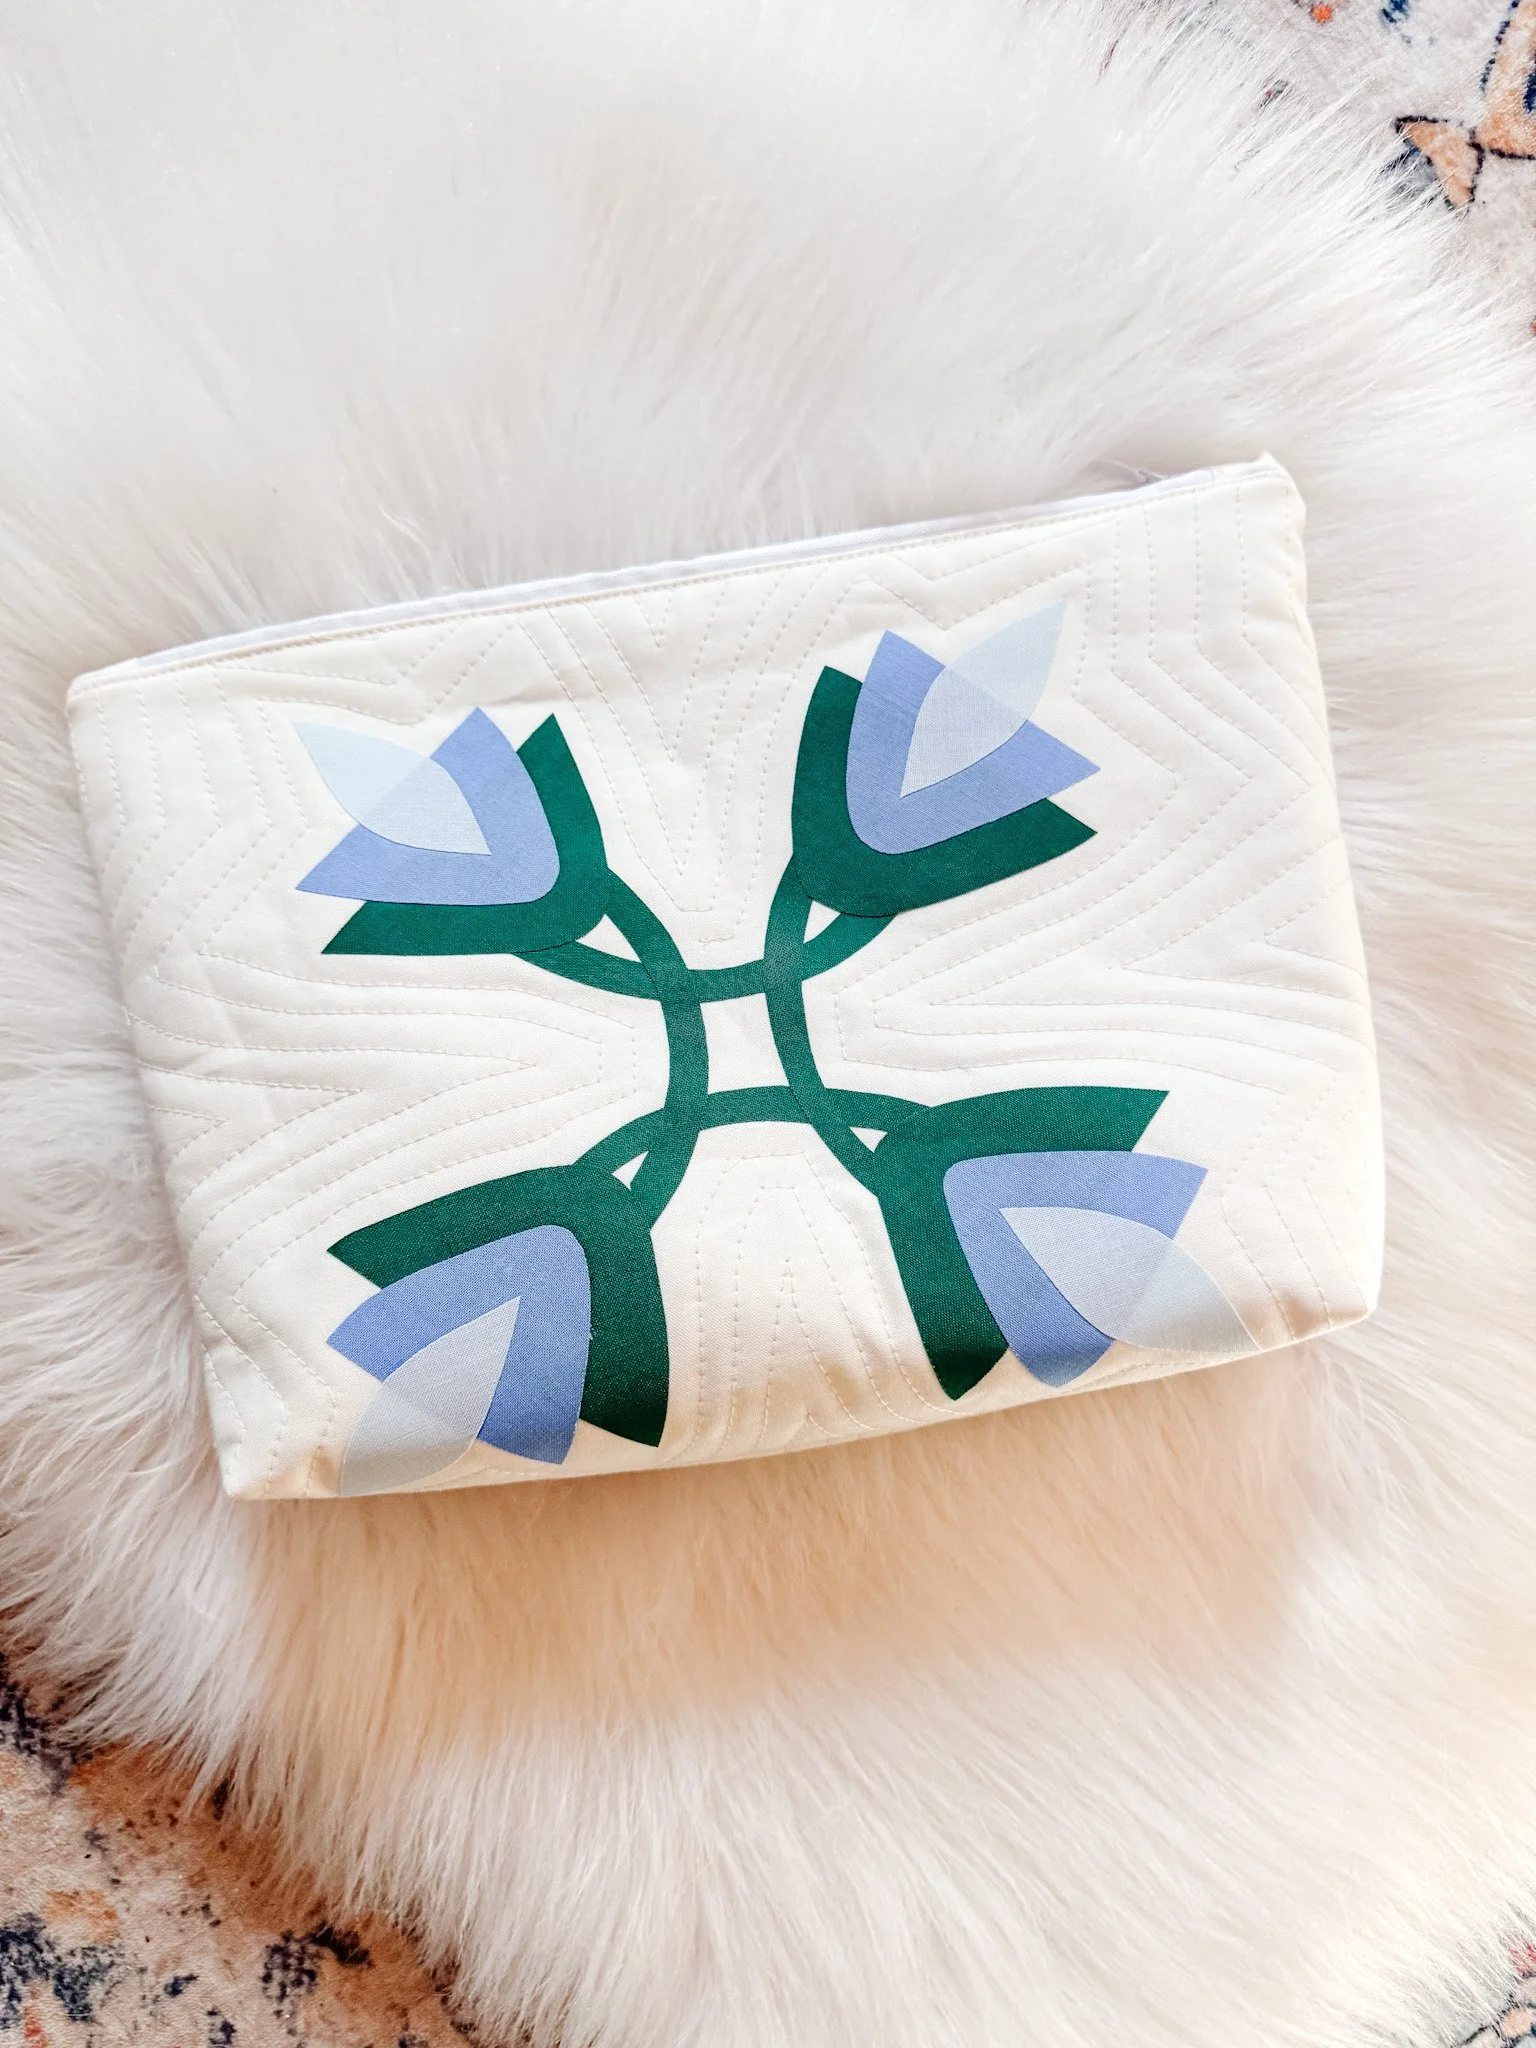
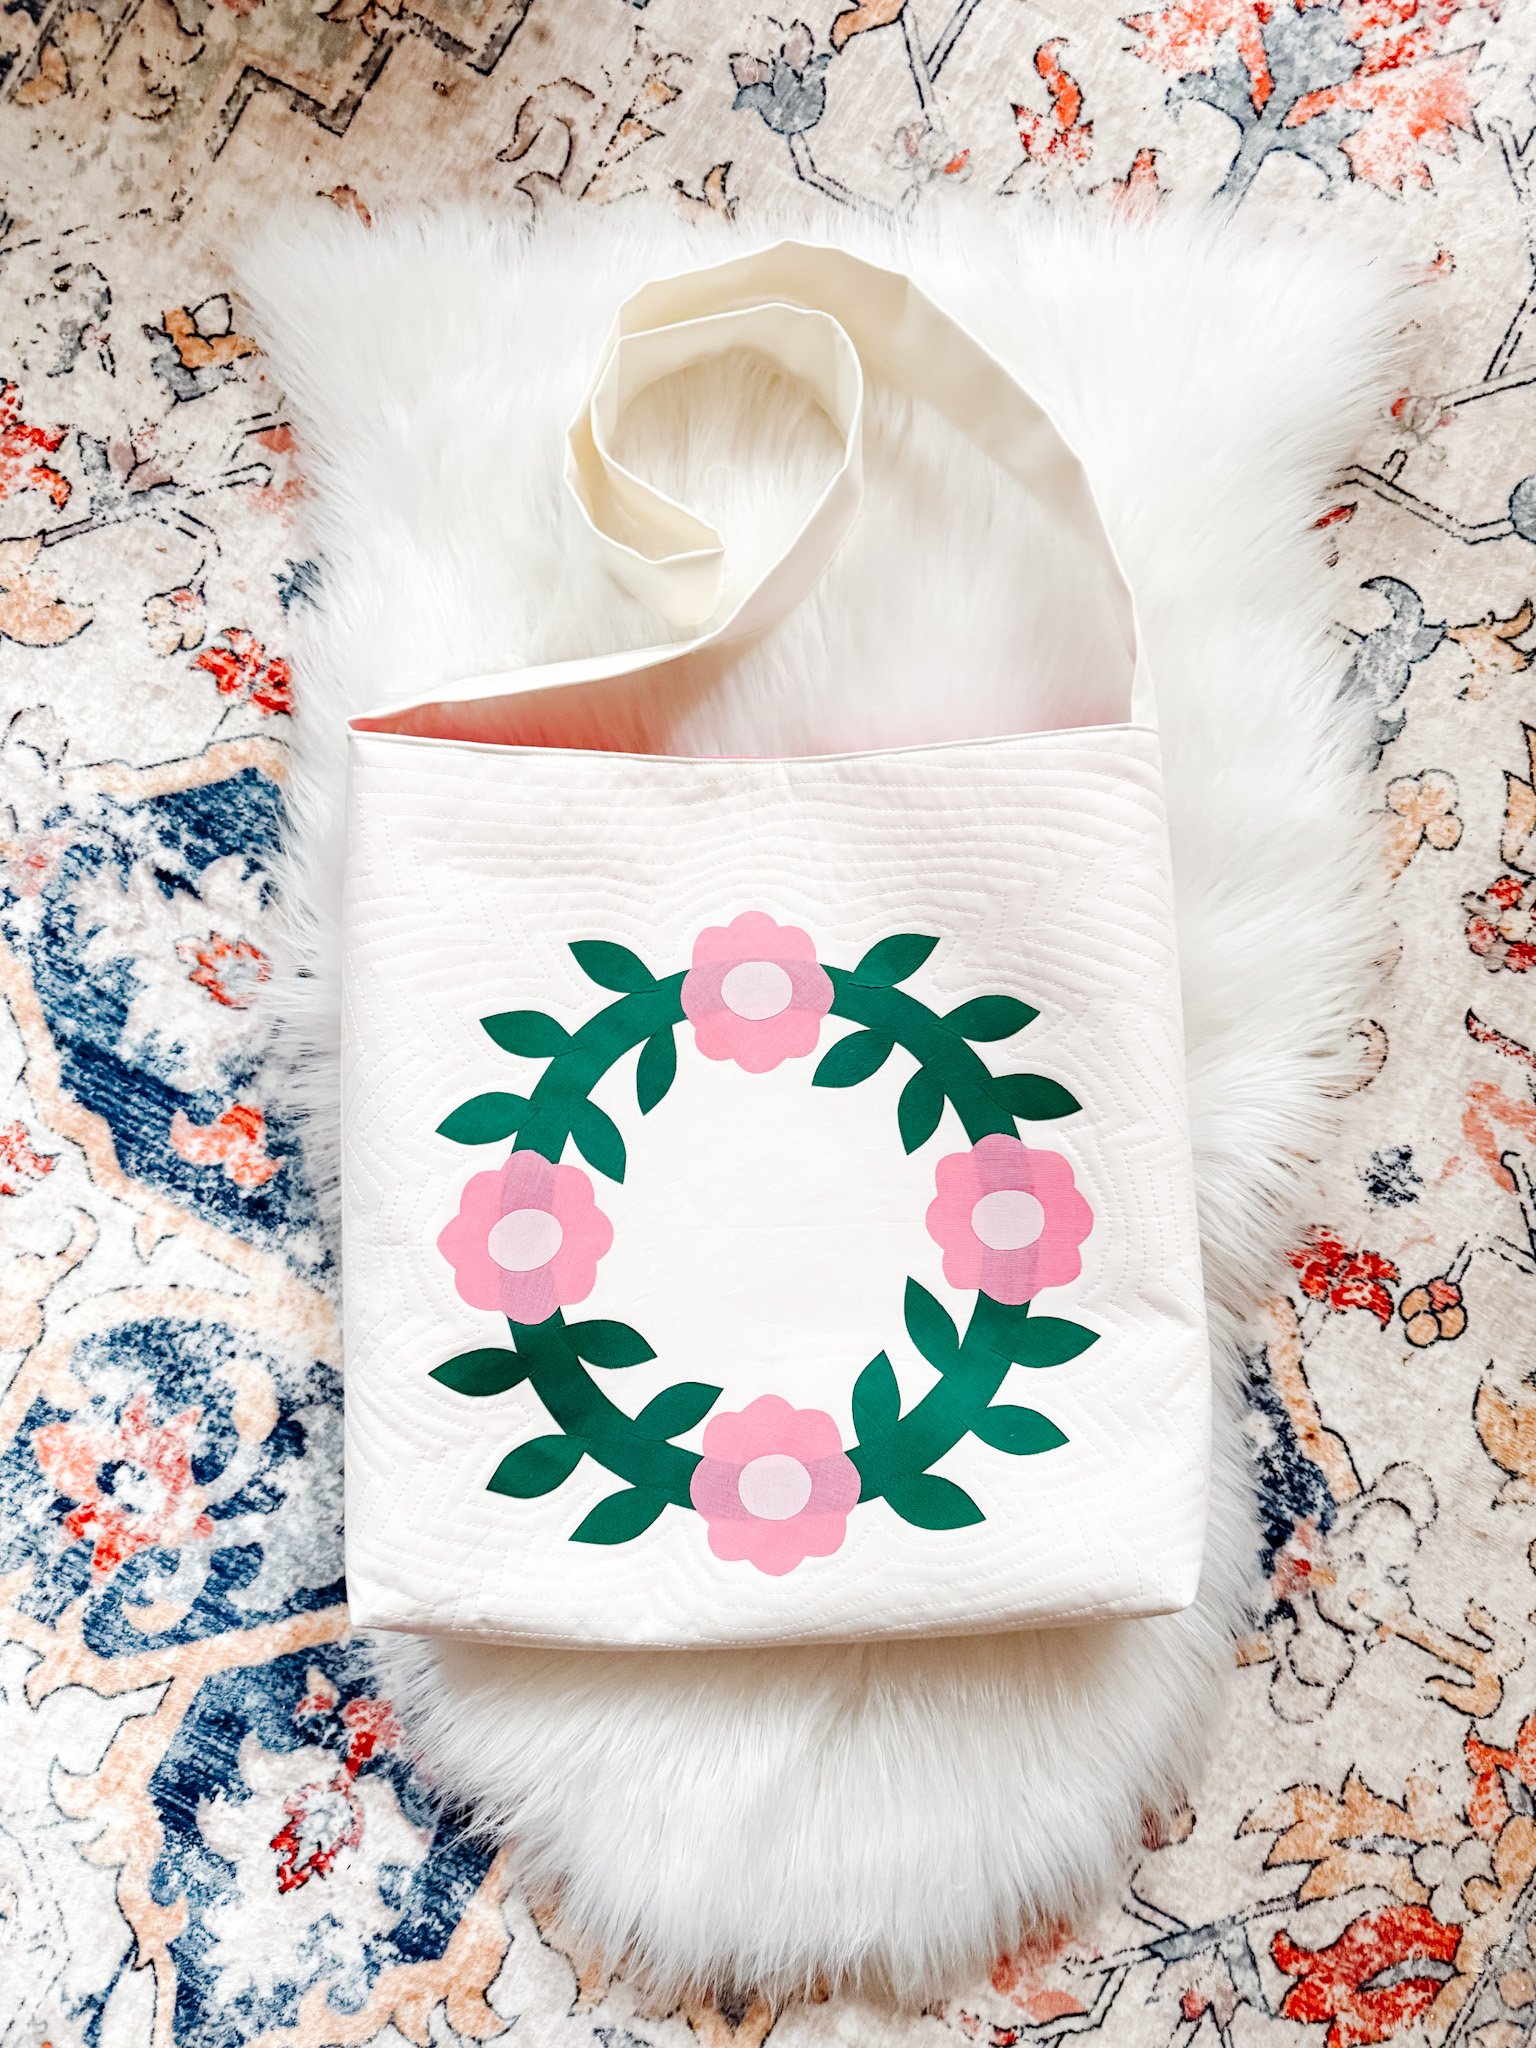
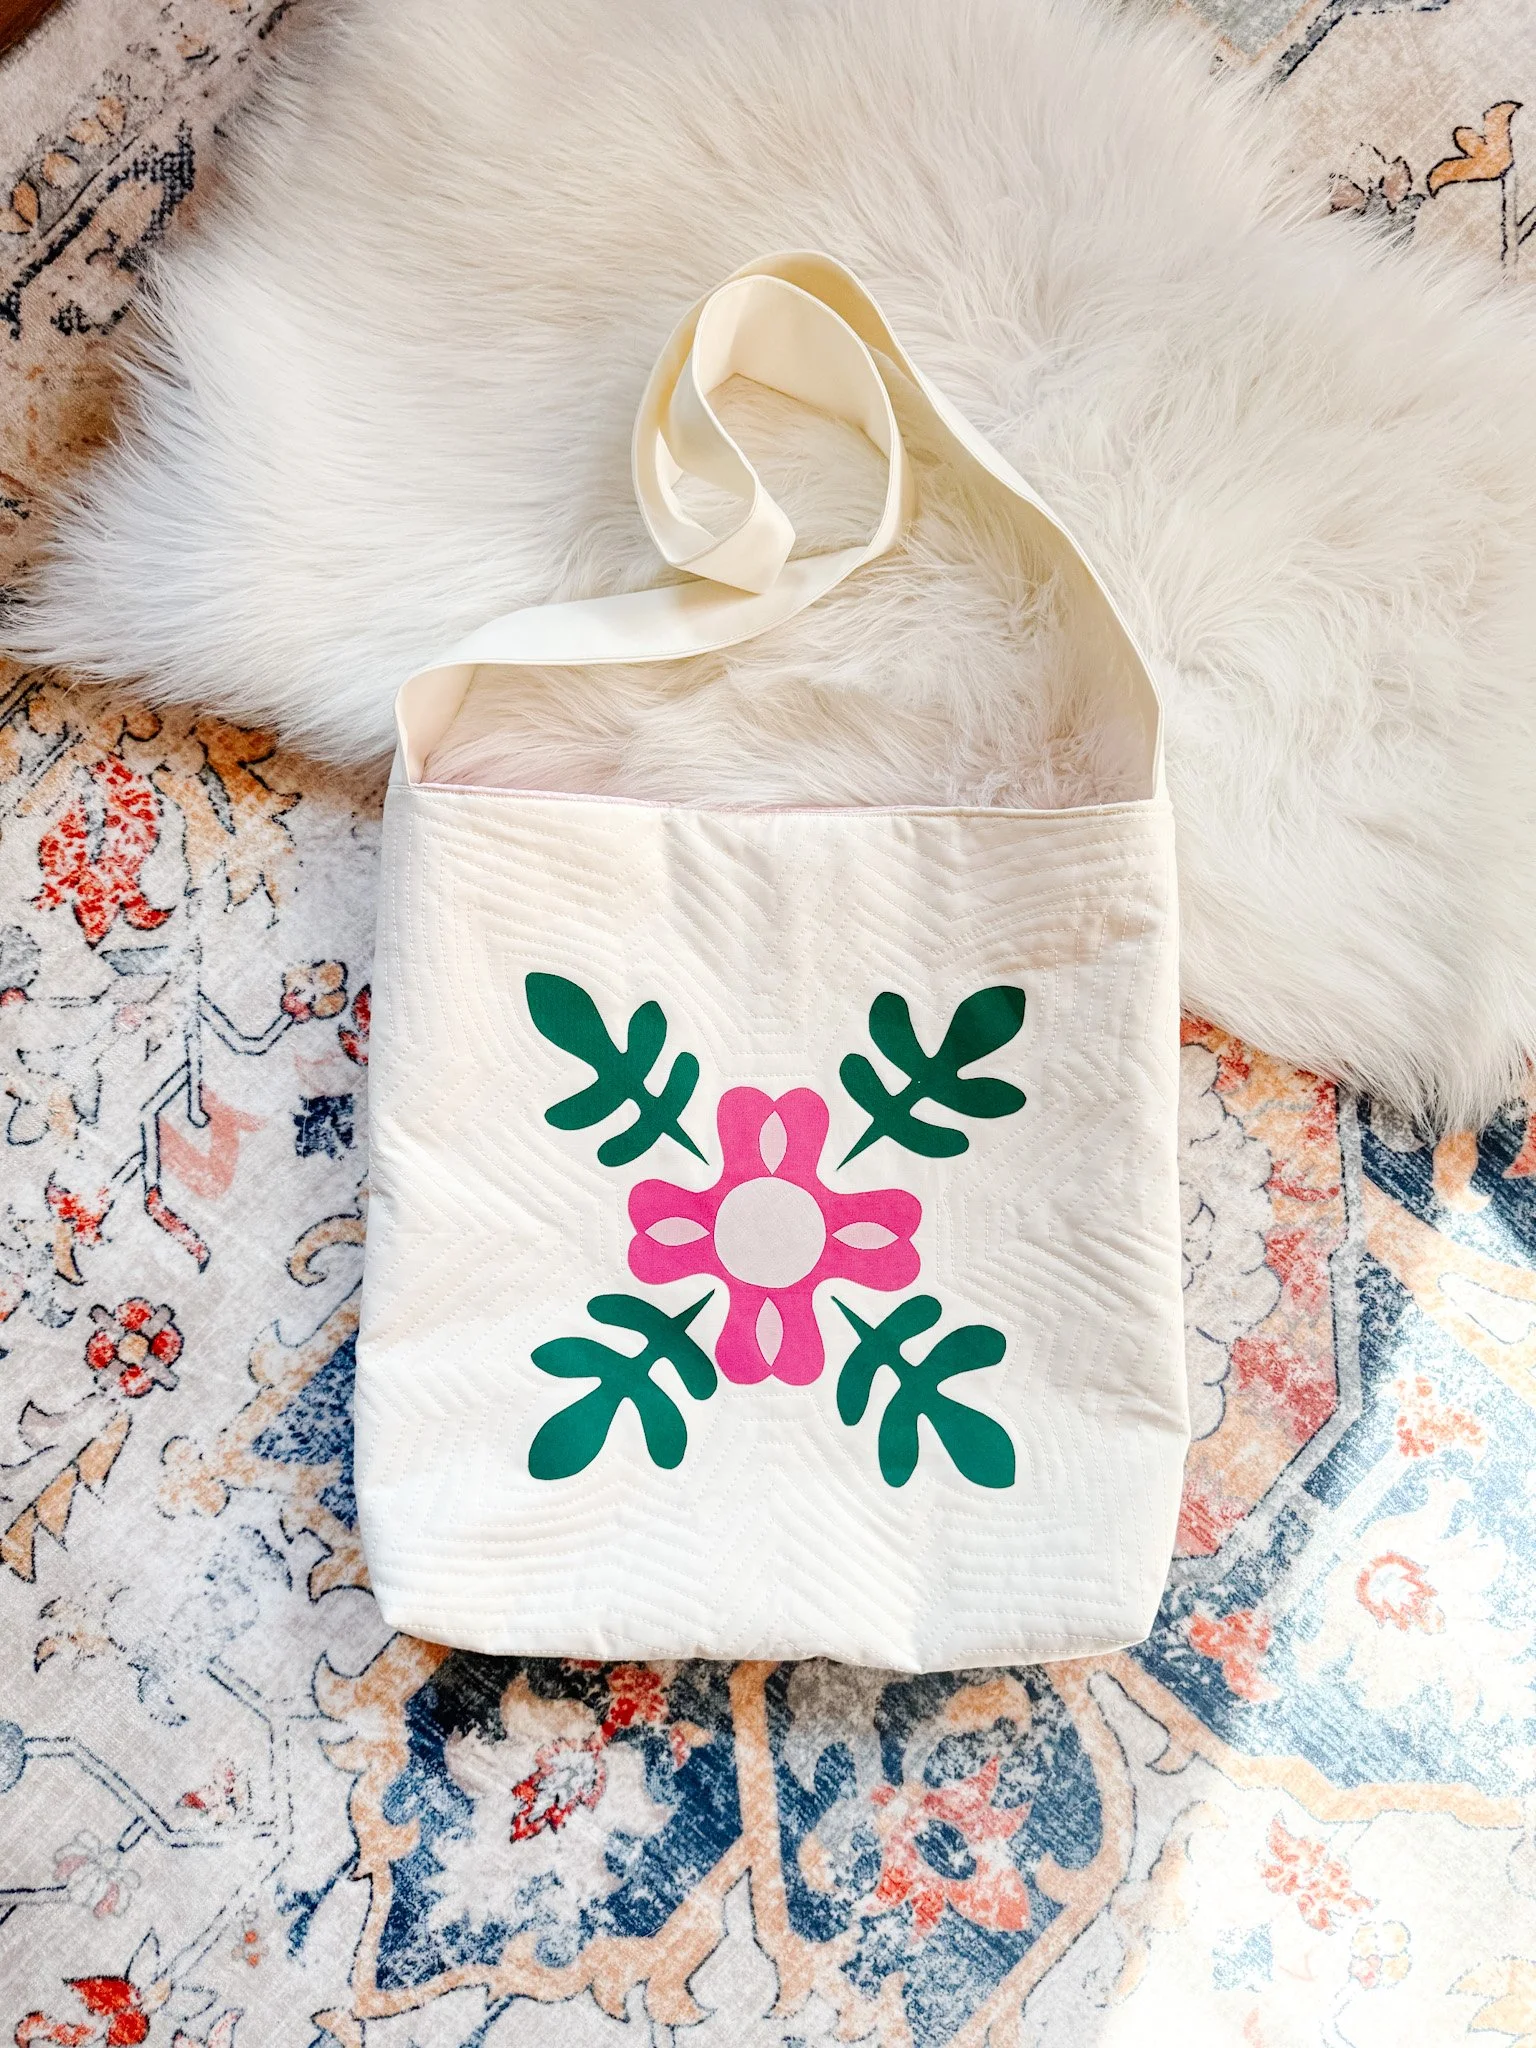
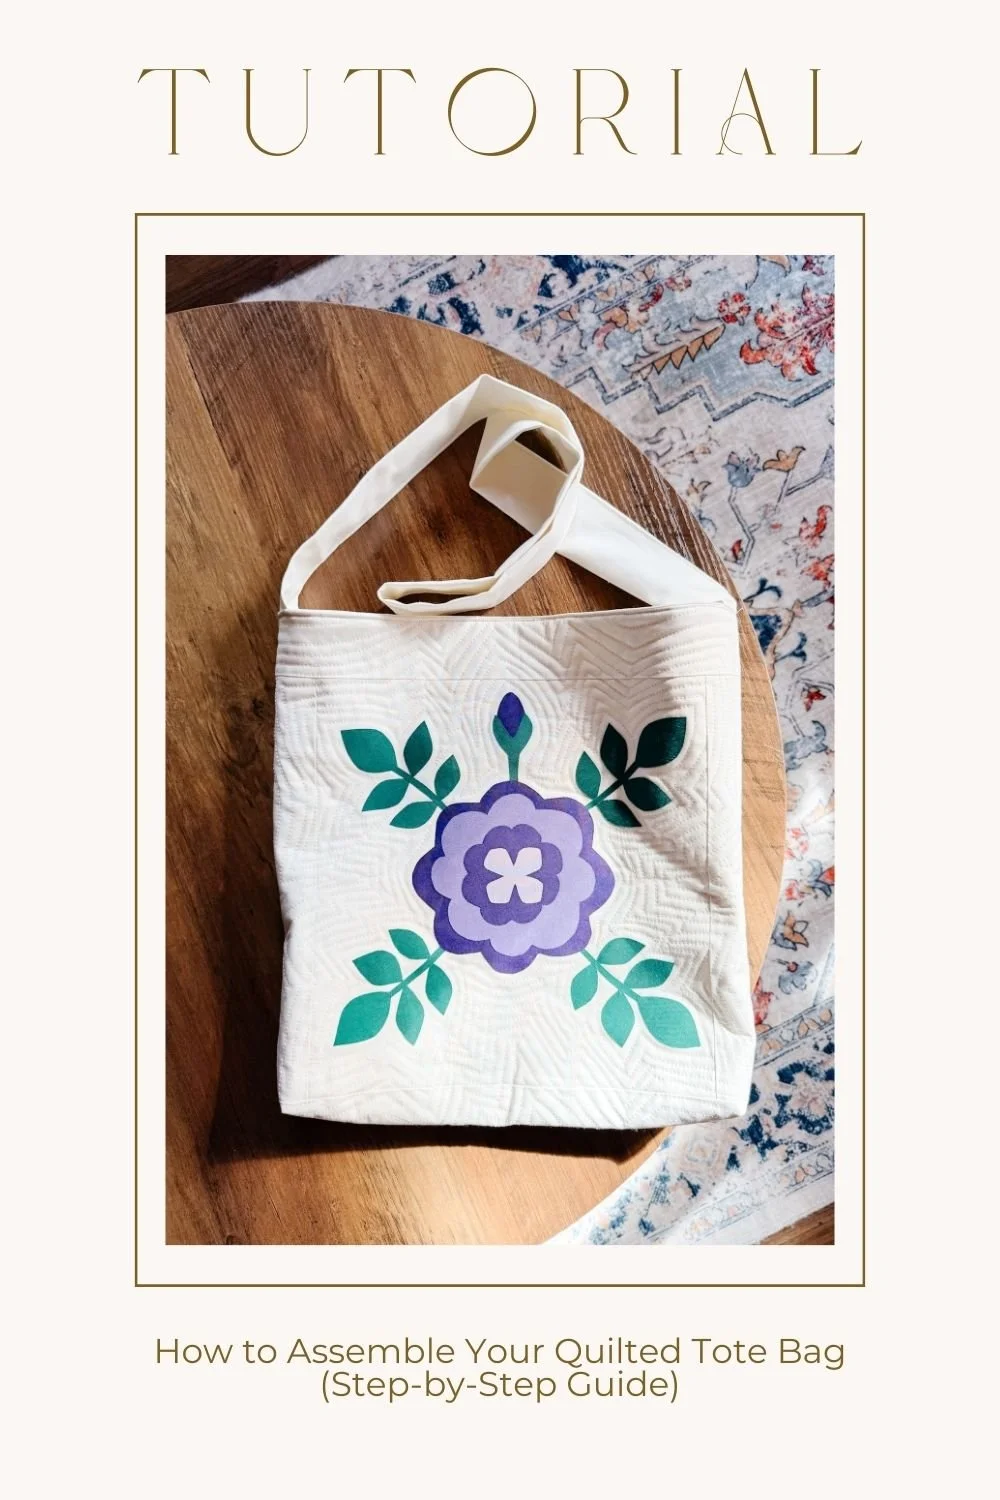
the finished pouch
You should now have a structured, clean zipper pouch with boxed corners that actually holds its shape and looks polished.
It’s one of those projects that feels a little fiddly while you’re making it… and then suddenly you turn it right side out and it all clicks.
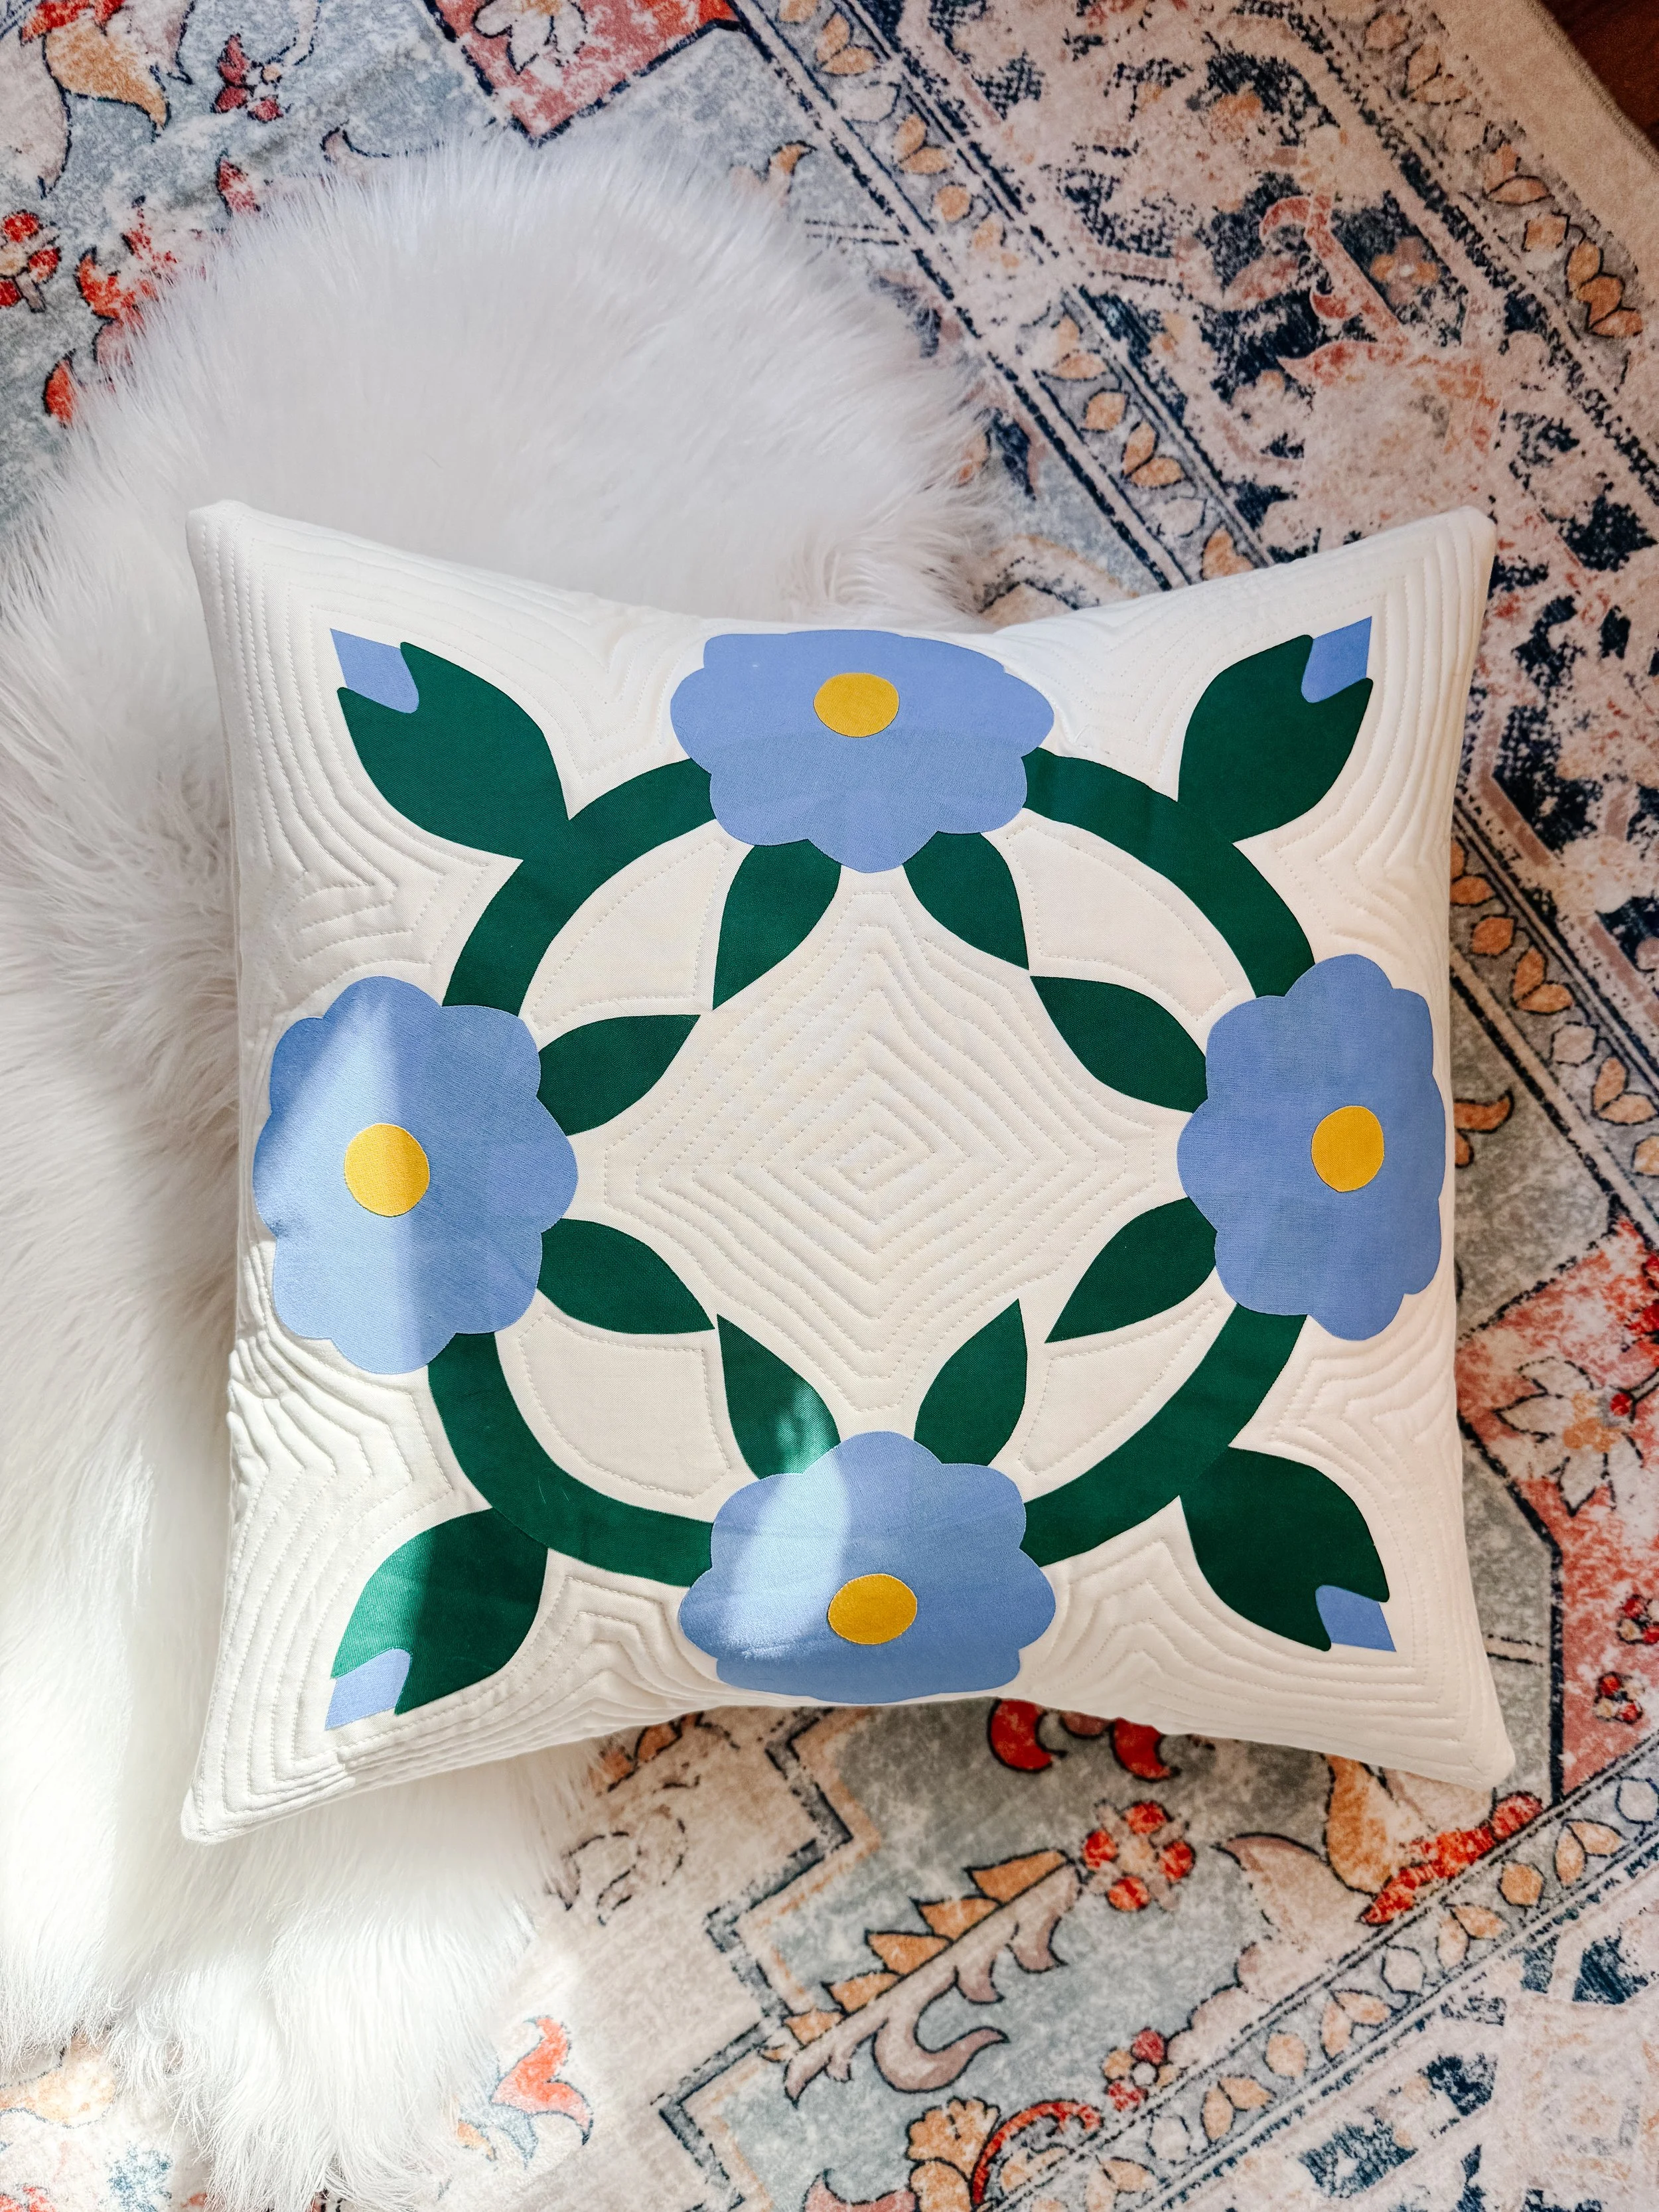
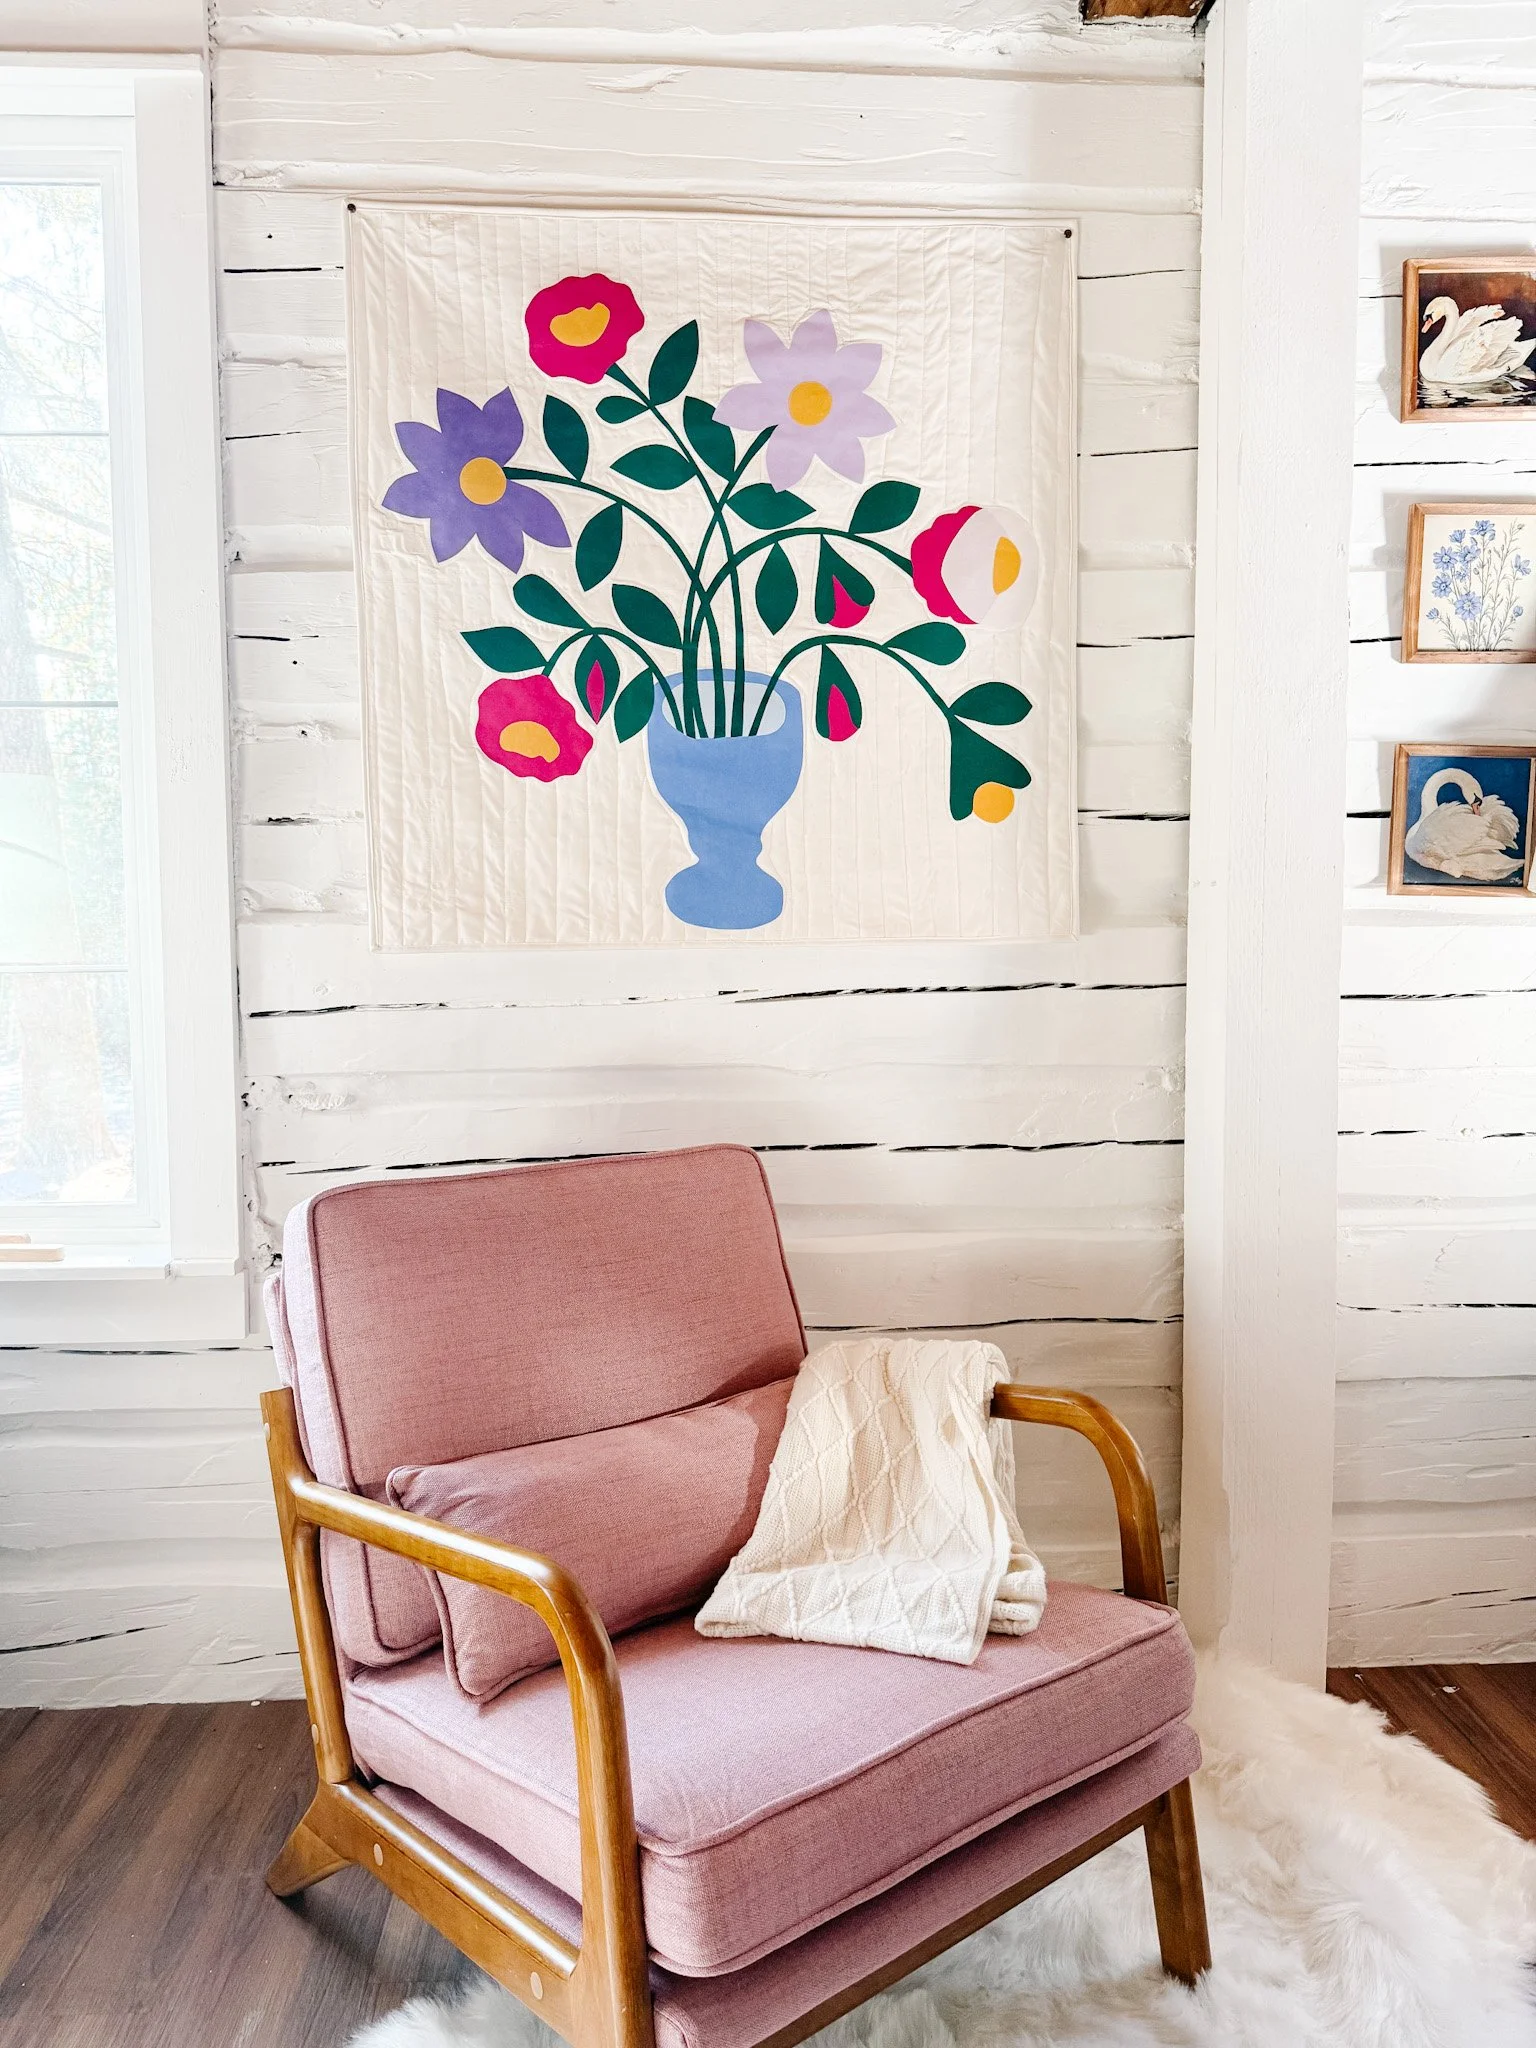
want the pattern?
Vintage-Inspired Floral Applique Quilt Patterns and Finished Quilty Goods. Get 10% off your first order👇🏻
Shop Patterns: https://thelmaquilts.com/patterns
Finished Quilty Goods: https://thelmaquilts.com/goods
Etsy: https://thelmaquilts.etsy.com
Email: hello@thelmaquilts.com
pin it for later
Minimalist knitwear designer.