Tips for How to Lay Out and Arrange your floral Applique Pieces for Quilt Projects by Thelma quilts
If you’re new to appliqué, the layout stage can feel a little intimidating at first. There are quite a few pieces, and it’s not always obvious where to begin. The good news is that once you understand the layering order and a few simple layout tricks, the process becomes calm, creative, and surprisingly enjoyable.
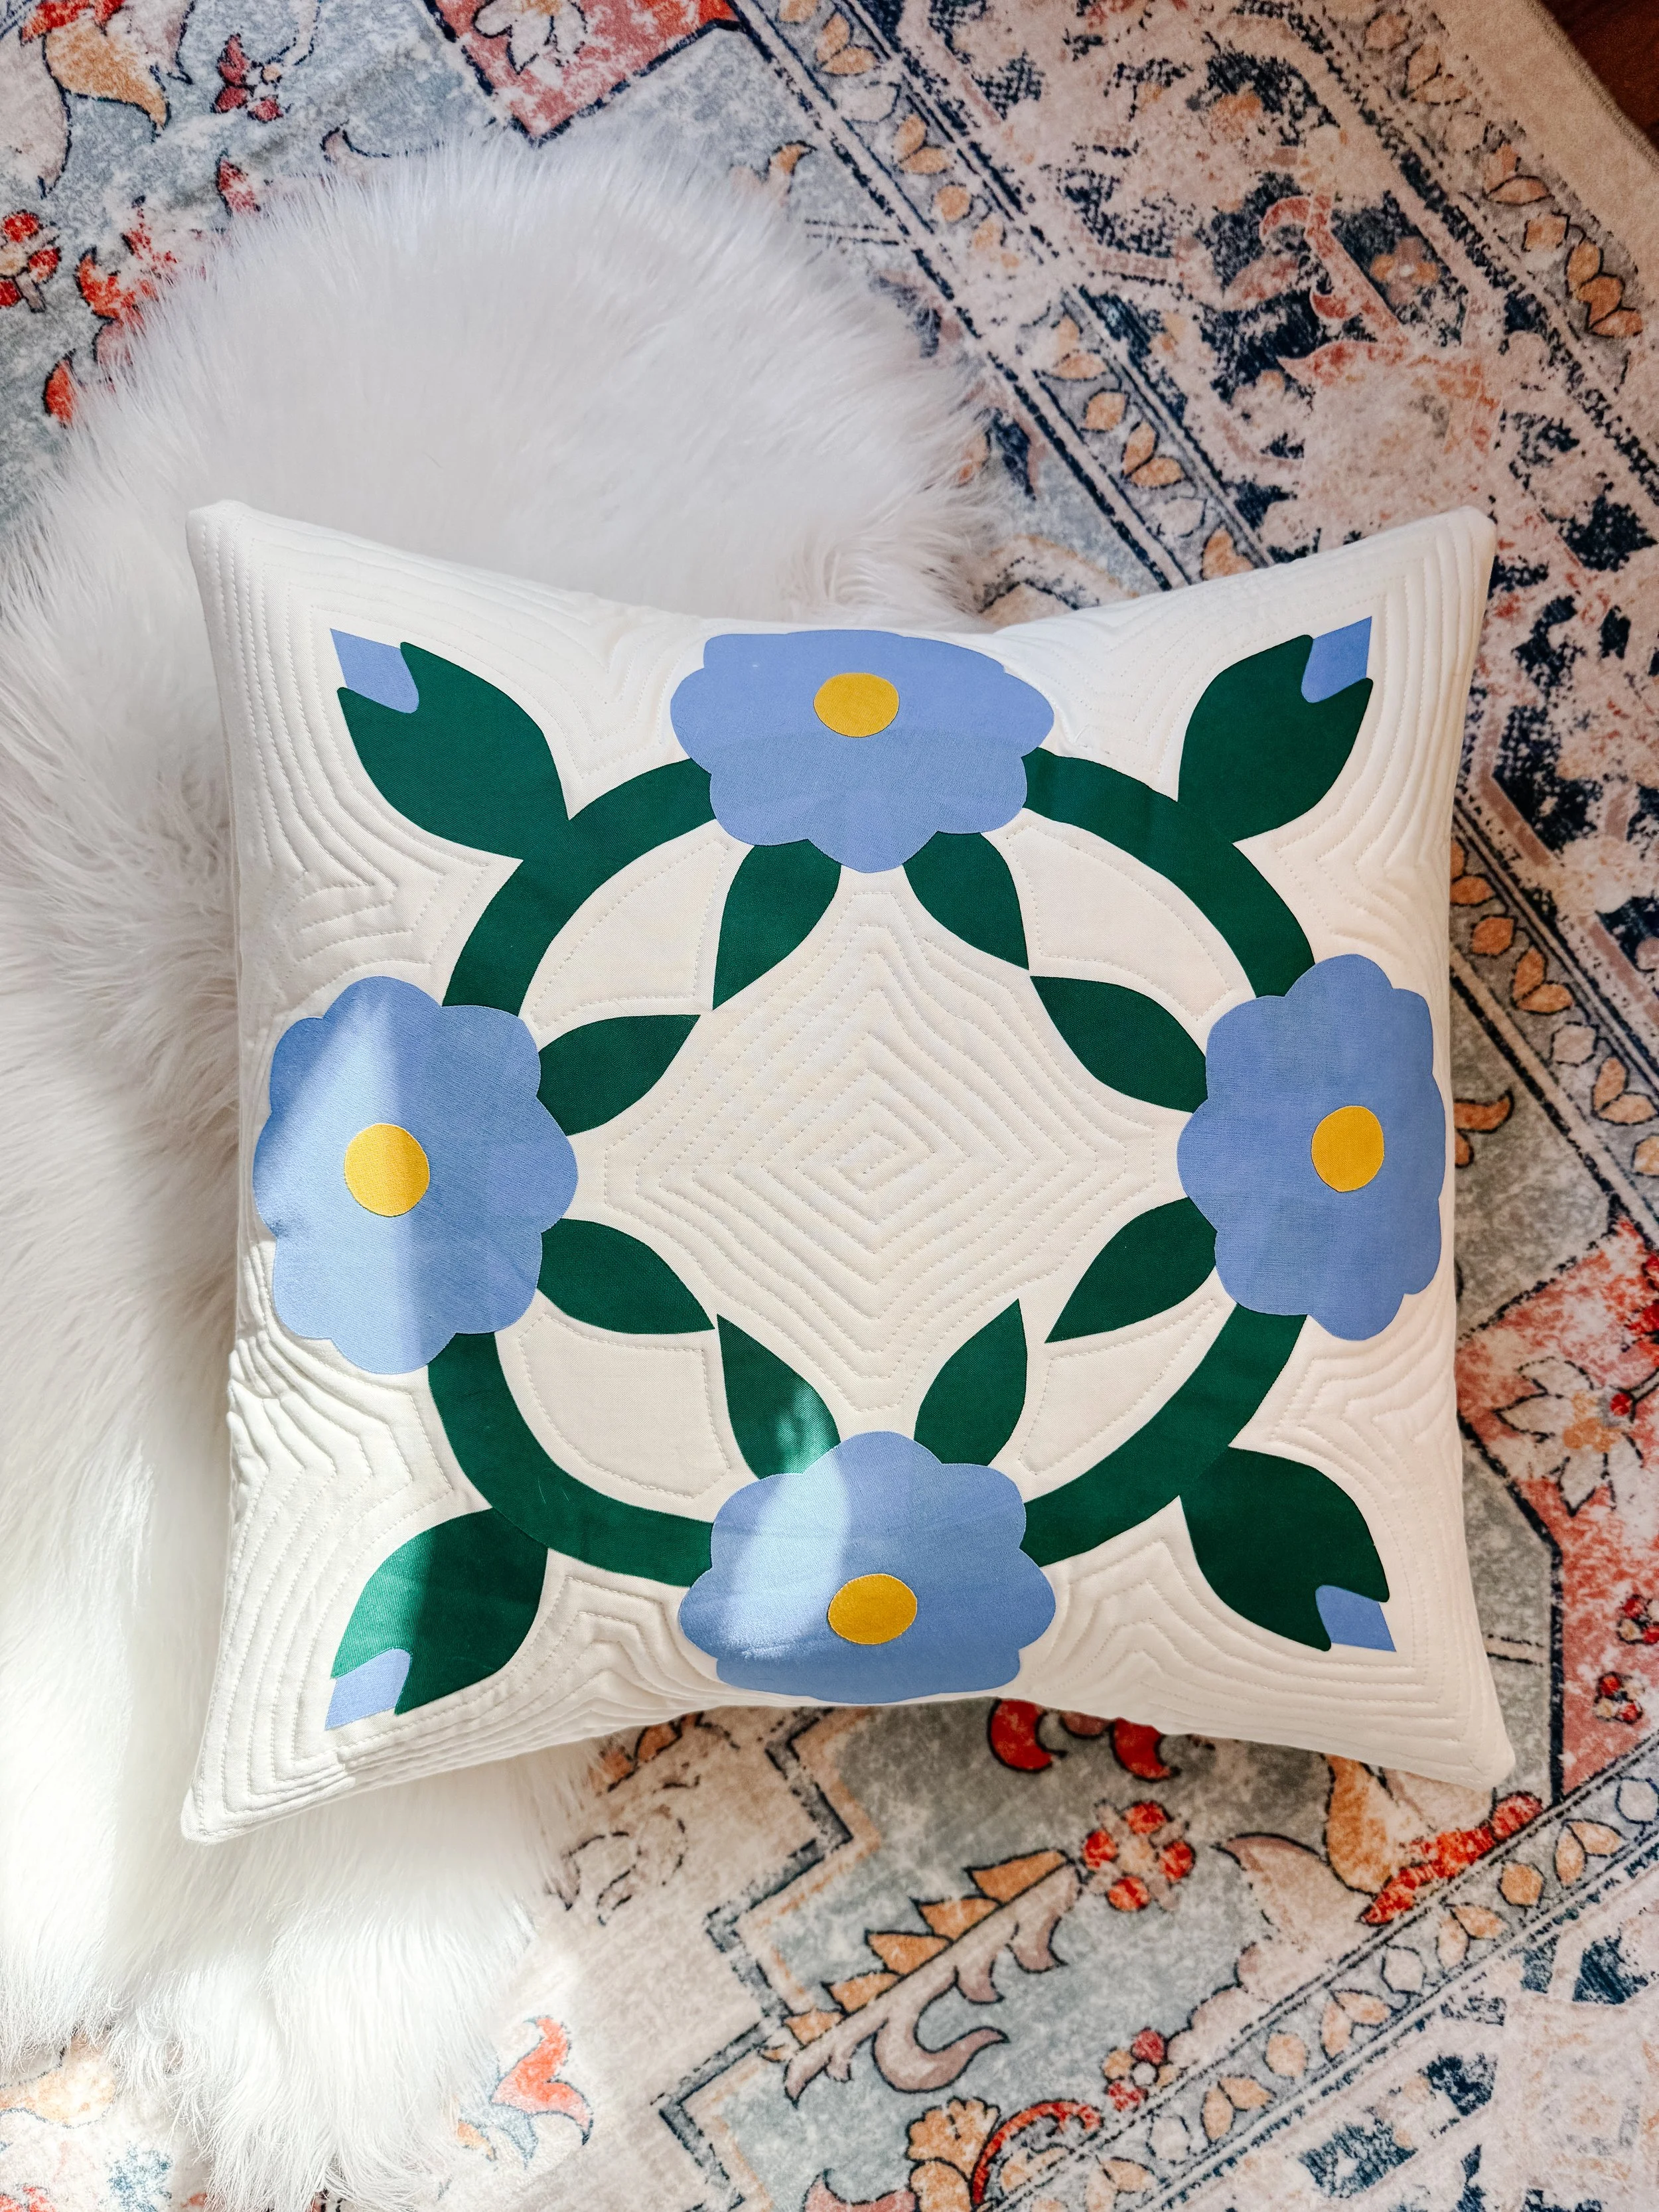
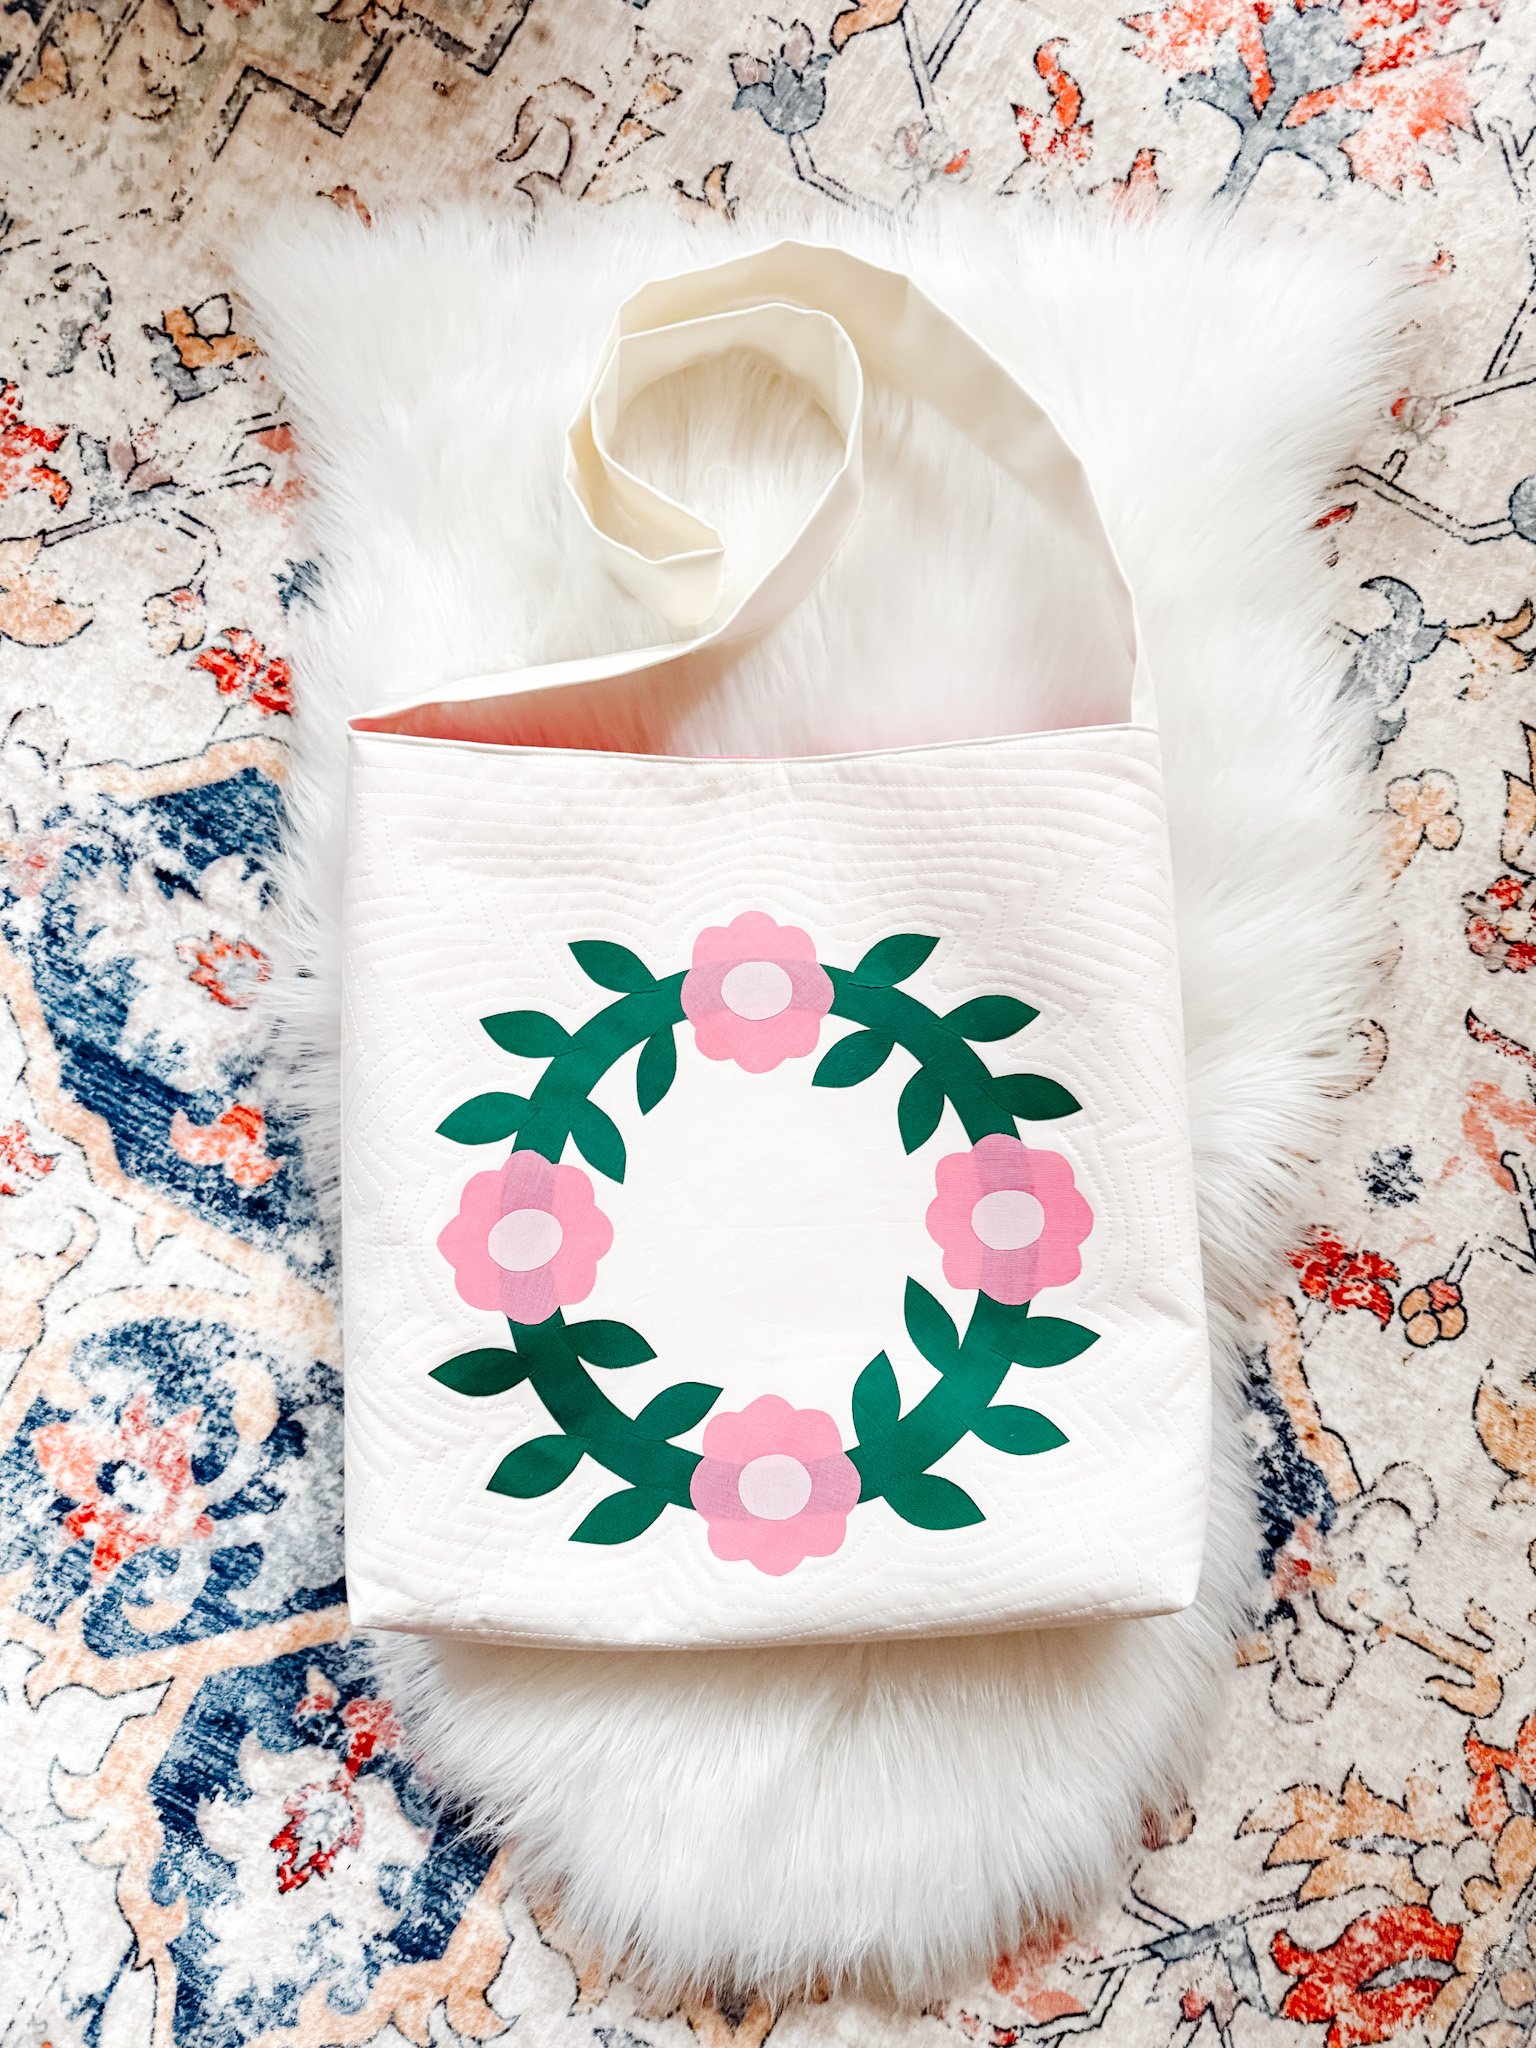
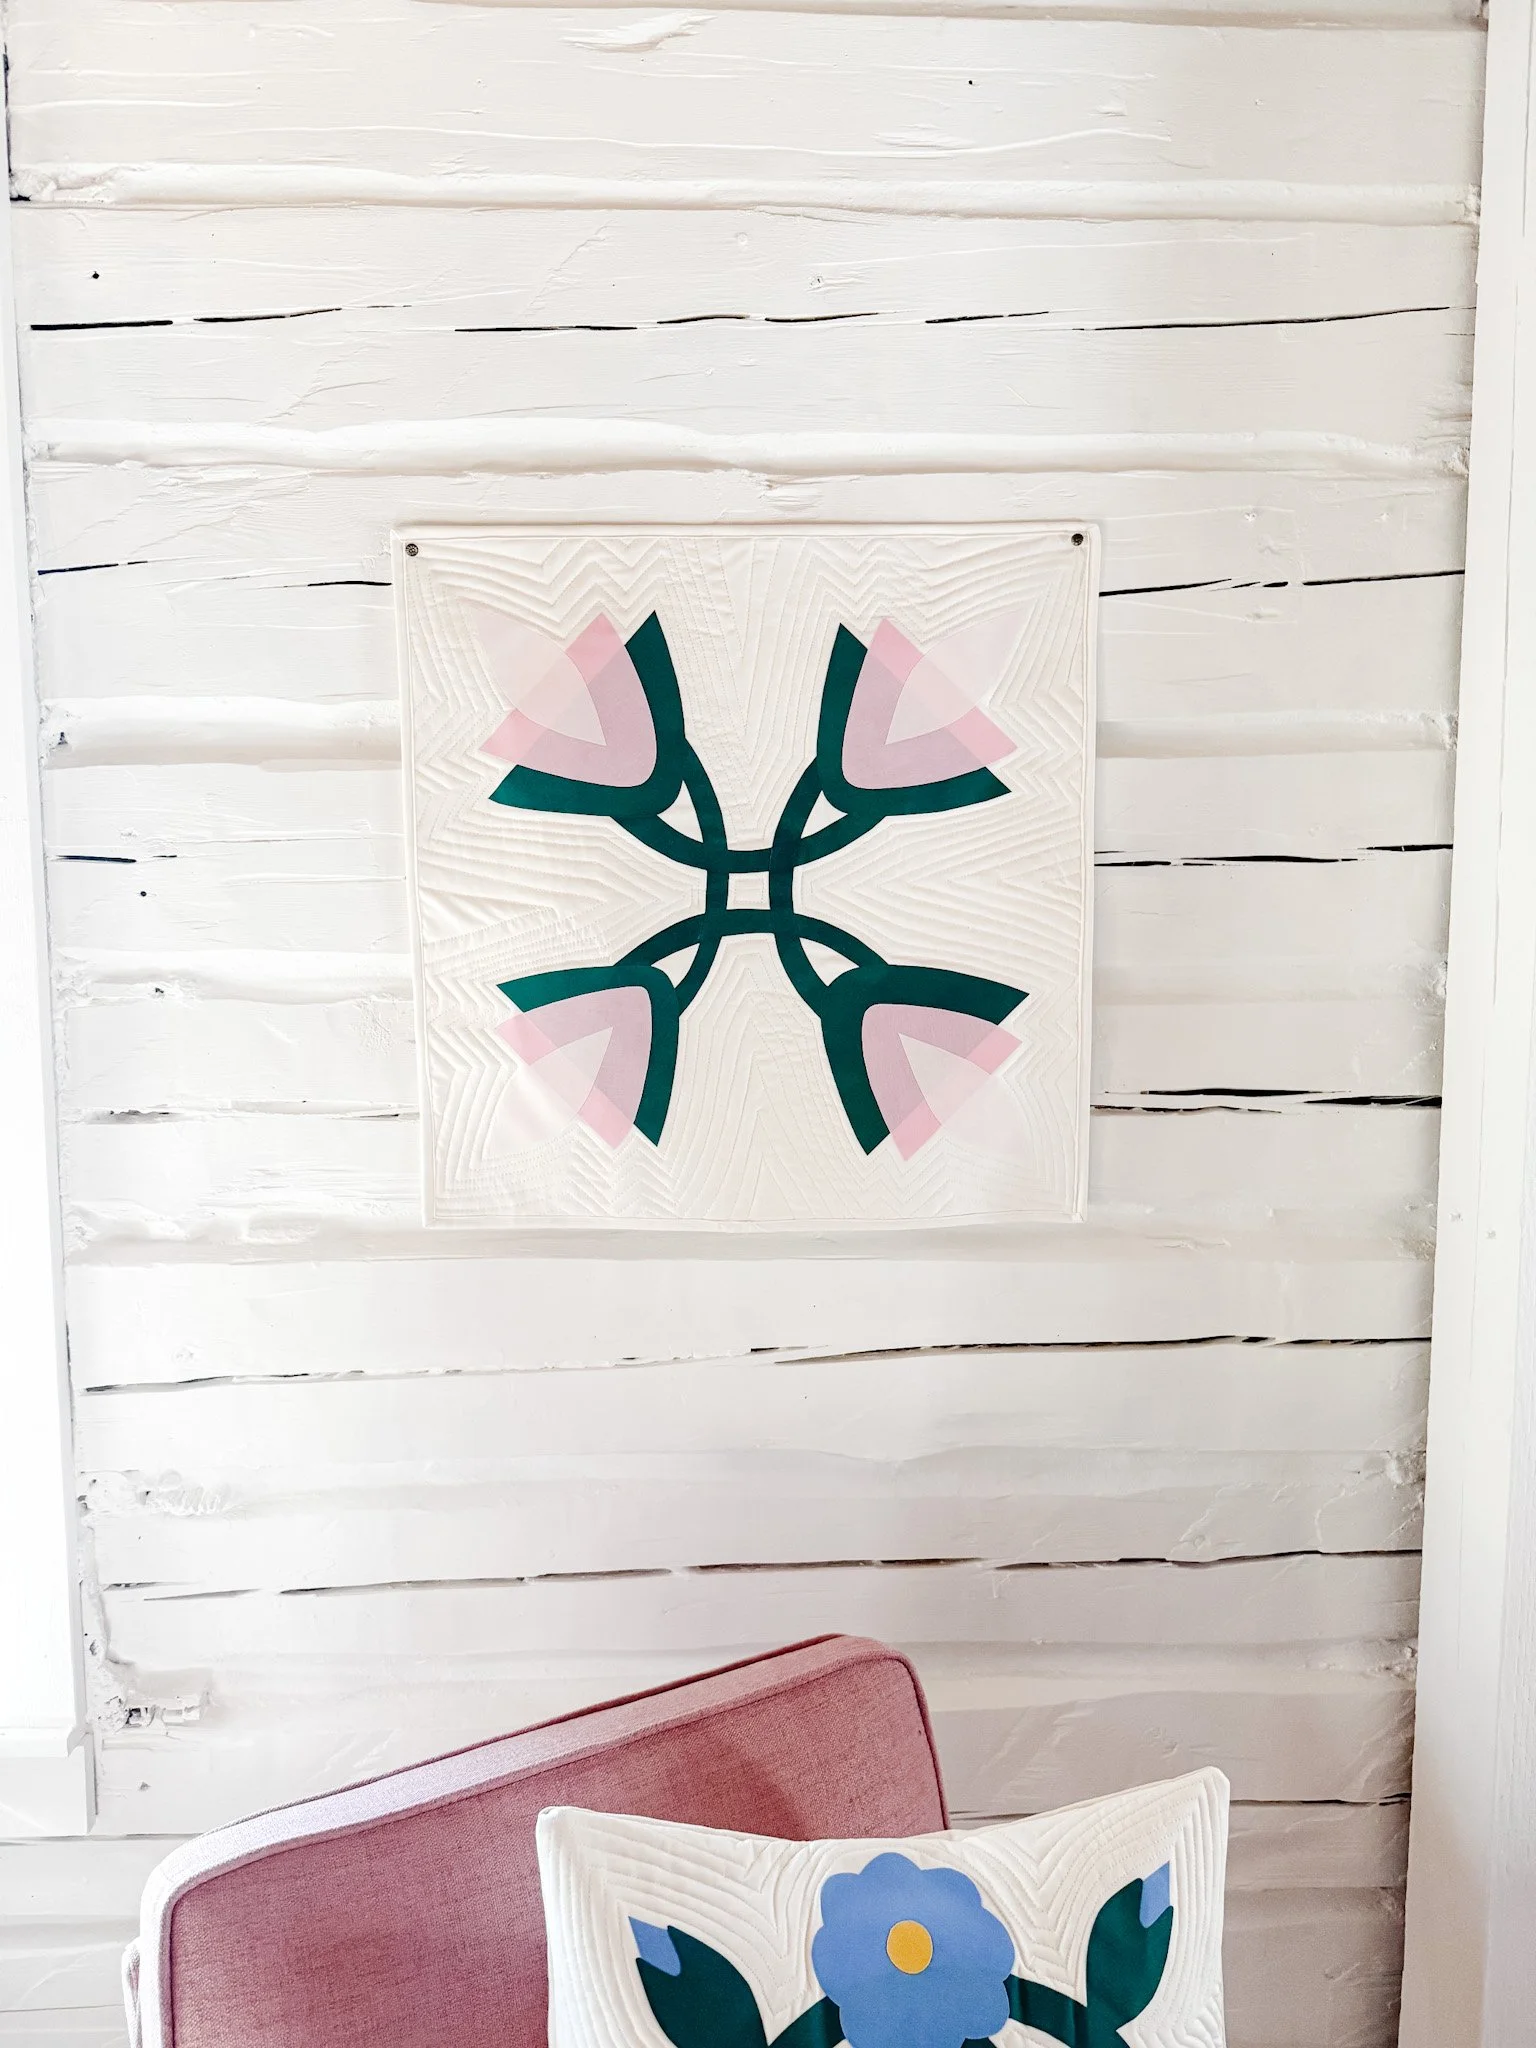
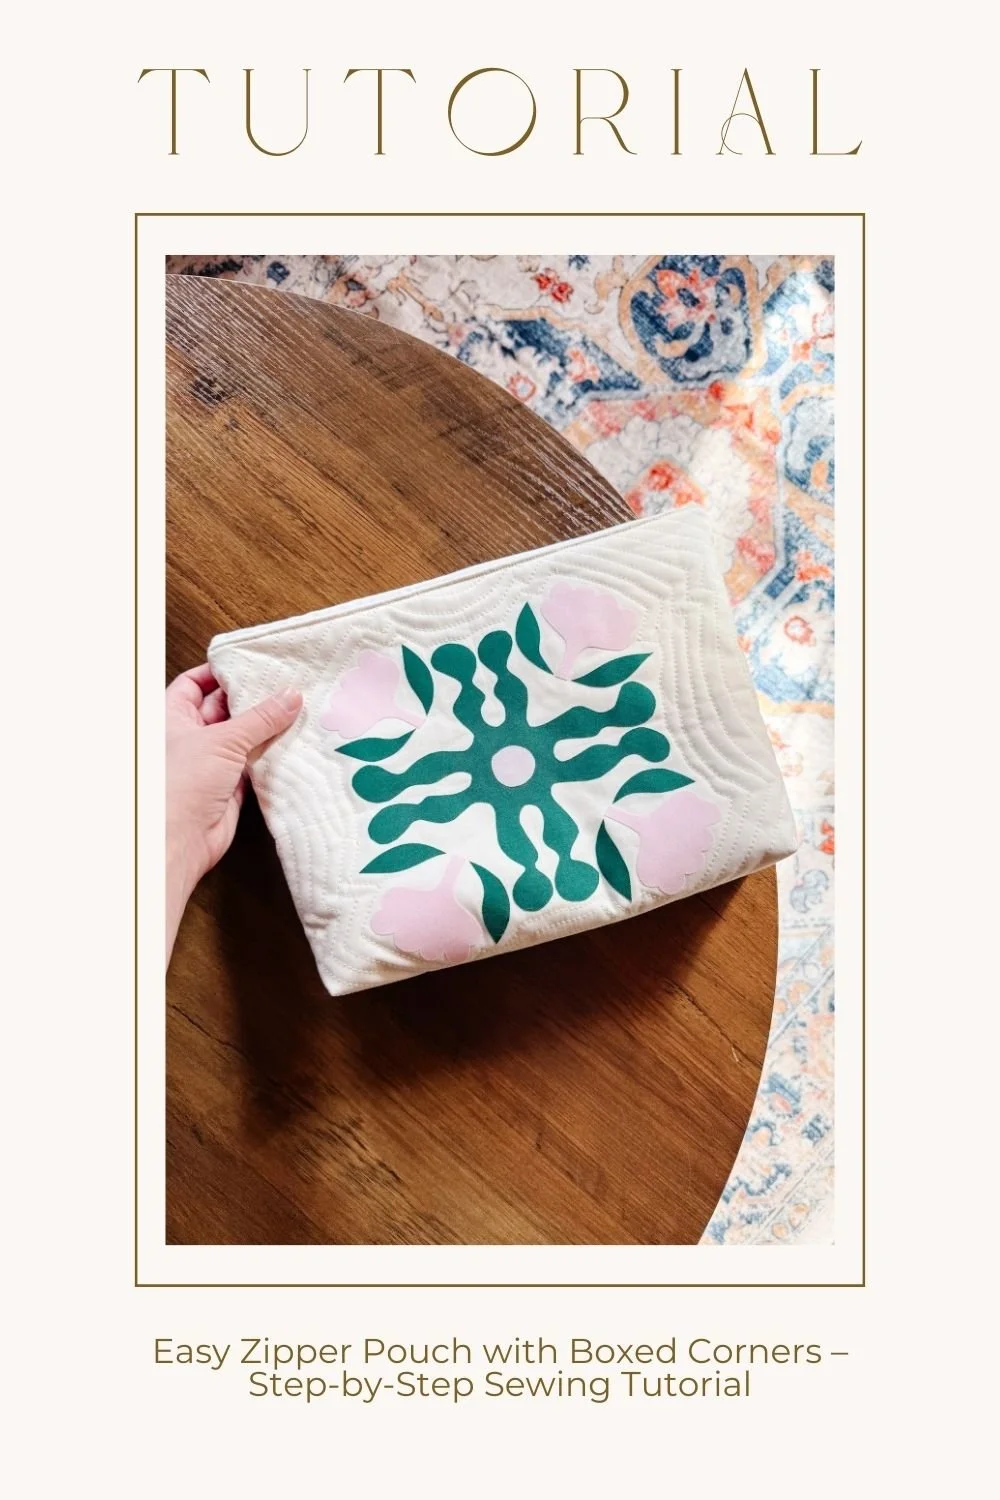
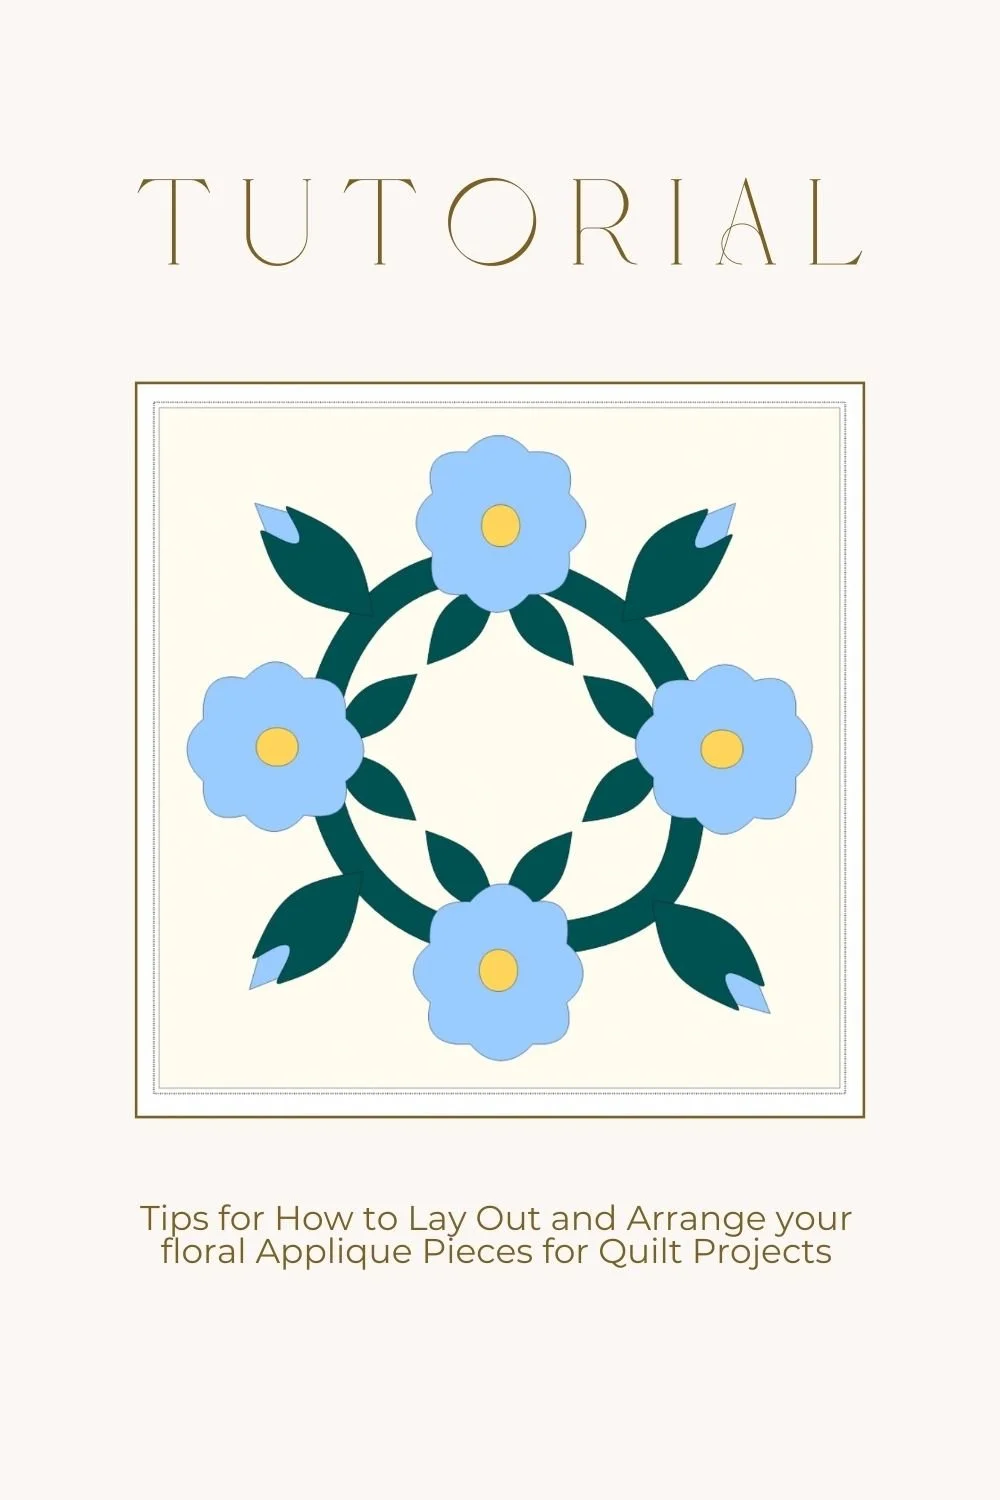
In this tutorial, I’ll walk you through how to lay out the appliqué pieces for the Diamond Jubilee Wall Hanging. These same principles apply to most floral appliqué patterns, so once you understand the method, you can use it again and again in future projects.
check out my fave quilting toolspreparing the background
Start by preparing your background fabric. Because darker fabrics can make placement harder to judge, it helps to draw a few light guide lines. If you’re using a light background, I suggest using a washable graphite pencil (marking with light lines) or offer your background a light crease ironing.
Using a chalk pencil, draw a line from corner to corner across the fabric. Then draw the opposite diagonal so the lines form an “X.” Next, fold or measure the background in half horizontally and vertically to locate the center point.
These guide lines act like a map for your design. They help you keep the motif centered and ensure the composition stays balanced as you build the appliqué.
Before placing any pieces, remember to leave a seam allowance around the entire background. Keep all appliqué pieces comfortably away from the outer edges so they won’t be caught in the seam when the quilt is assembled. I normally leave 1/2 - 1” around the entire perimeter of the background.

starting from the center
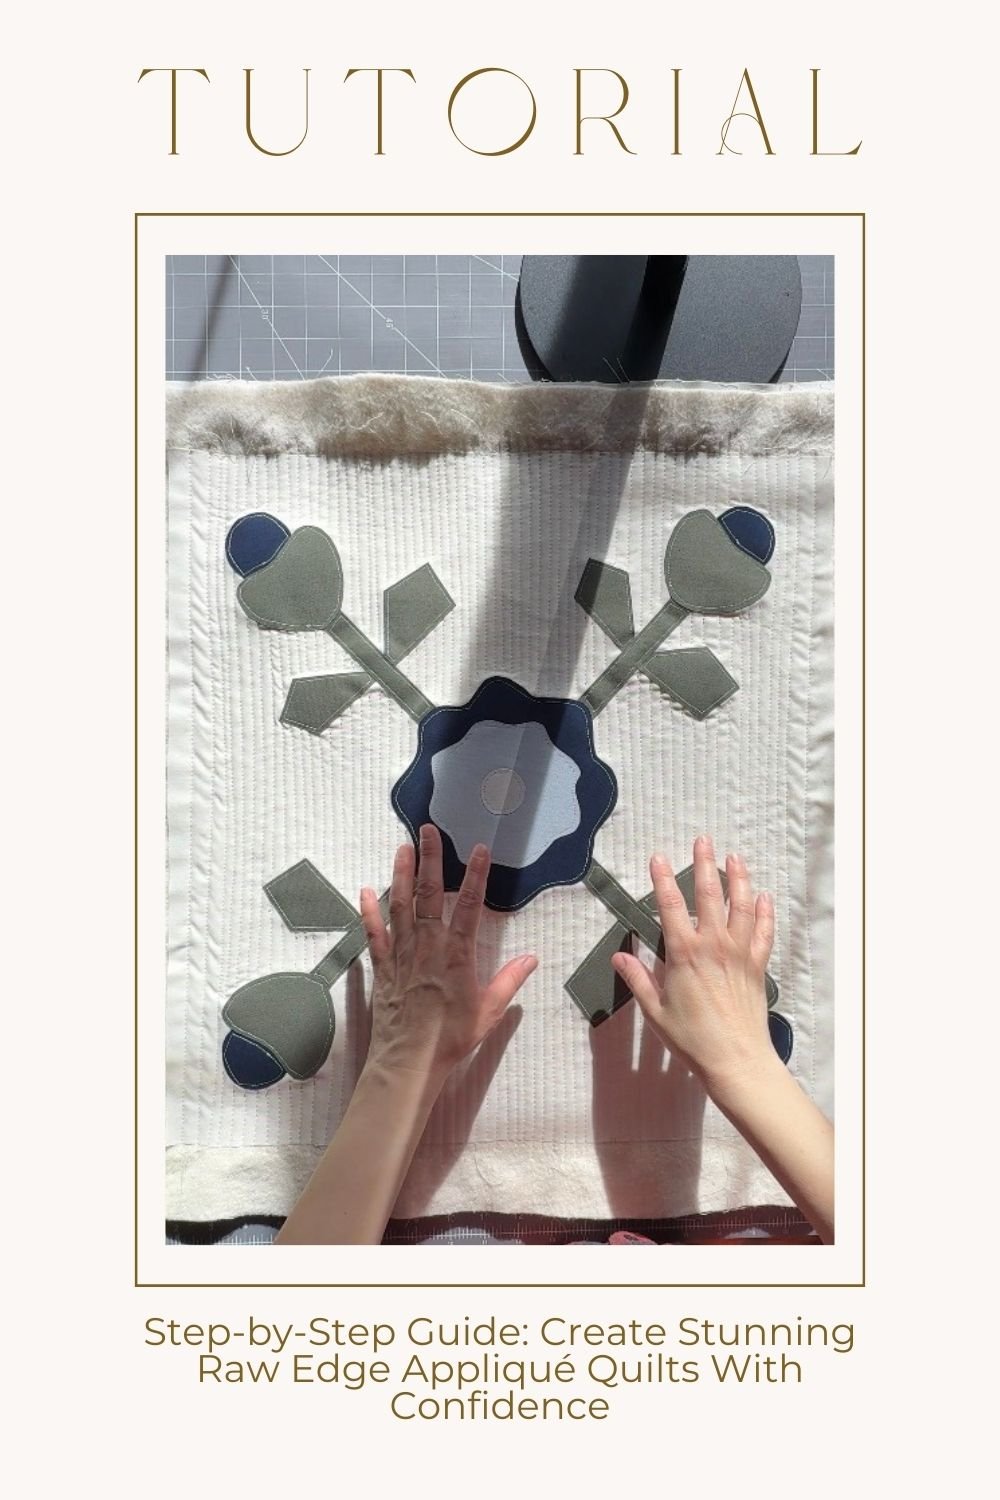
I find it helpful to begin at the center of the design and work outward. Start by positioning the center motif along the marked center line of the background fabric. From there, add the remaining pieces working toward the bottom, then the sides, and finally the top.
This approach keeps the design visually balanced and helps prevent pieces from drifting out of alignment as the composition grows.
finding the center of larger pieces
For larger appliqué shapes, it can be useful to locate their center before placing them.
A simple trick is to gently fold the piece in half and lightly press it with your fingers to create a faint crease. This gives you a reference point without creating a hard fold in the fabric. You can then align that crease with the center line on the background fabric.
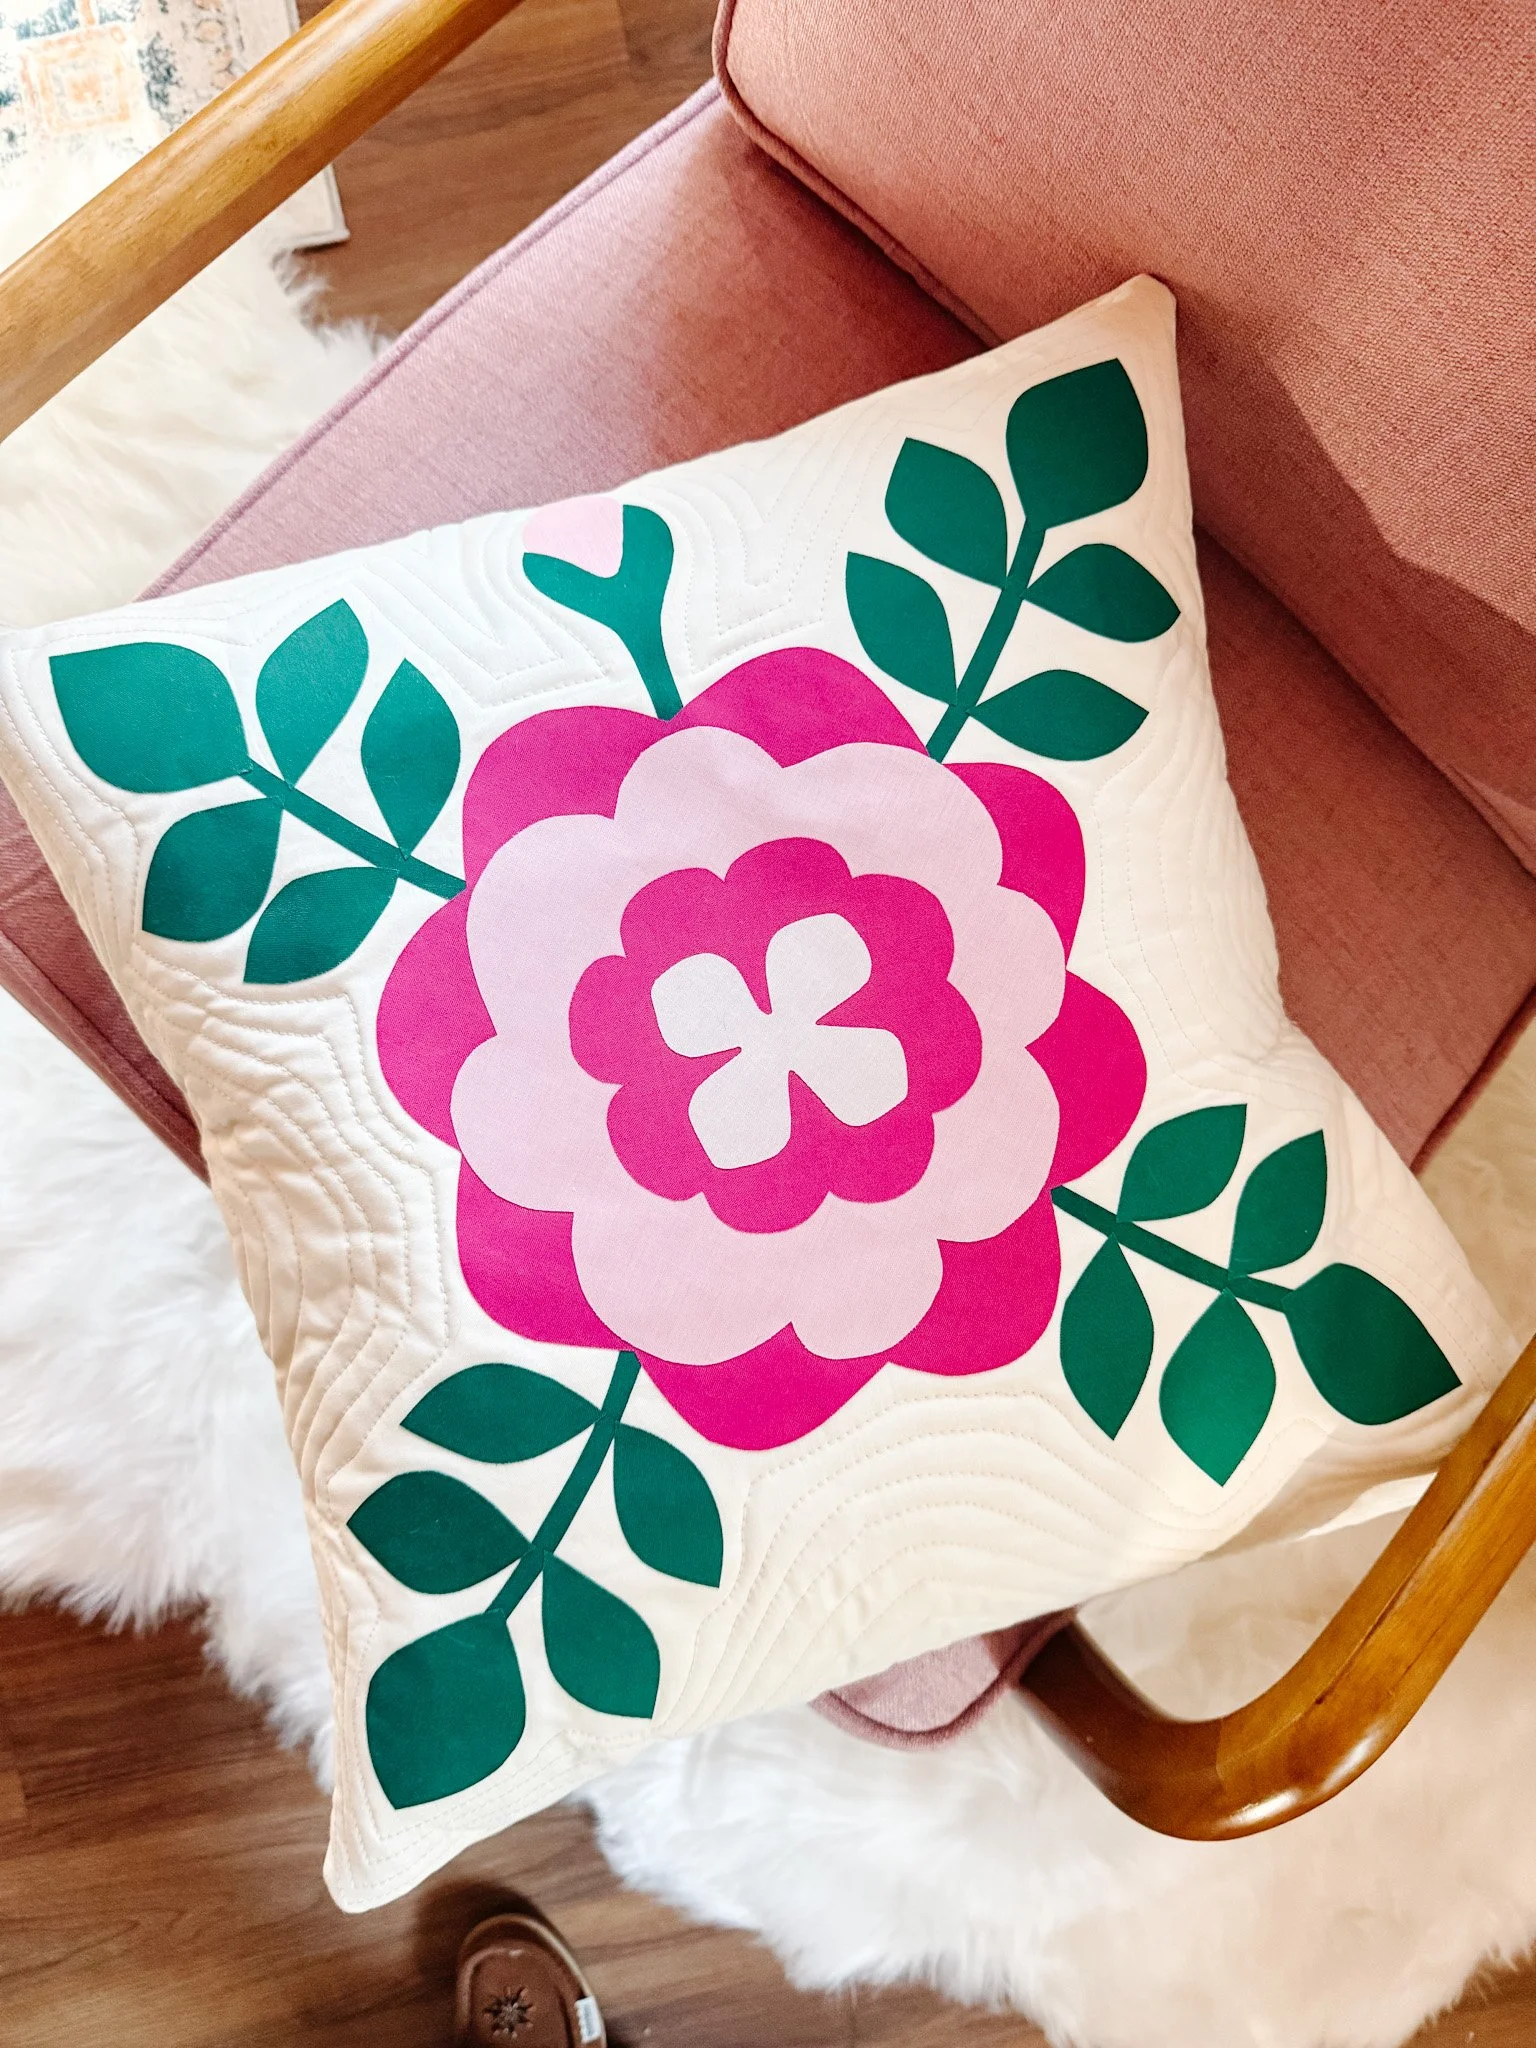
layering order for floral appliqué
Appliqué designs are built in layers. Understanding the order of those layers is key to getting a clean, natural-looking result.
The general layering order is:
stems → leaves → flower bases → petals → centers
Stems go down first because they are partially hidden by the flowers and leaves. Leaves are layered next, followed by the flower bases and petals. The flower centers are usually the final pieces added because they sit on top of everything else.
If you follow this order, your design will naturally build from background elements to foreground details.
use a glue stick first — don’t fuse yet
Before reaching for the iron, it helps to temporarily hold your pieces in place using a simple school glue stick.
Apply just a tiny amount of glue to the back of each piece — only enough to keep it from sliding around. This allows you to step back, adjust placement, and make changes without committing permanently.
This step is surprisingly helpful because it’s very common to realize a piece is missing or slightly off once everything is laid out. Using glue first gives you the flexibility to move things around until the design feels right. Always, always use a washable, clear glue stick like Elmer’s. Do not use liquid glue!
Once you’re happy with the layout of a section, you can take it to the iron and fuse those pieces in place.
fusing your appliqué pieces
When it’s time to fuse the appliqué, use a medium iron setting (often the wool setting). Press the iron down firmly for about 6–8 seconds.
Avoid sliding or swishing the iron across the fabric. Moving the iron can shift the pieces and distort the layout. Instead, press straight down, hold, then lift.
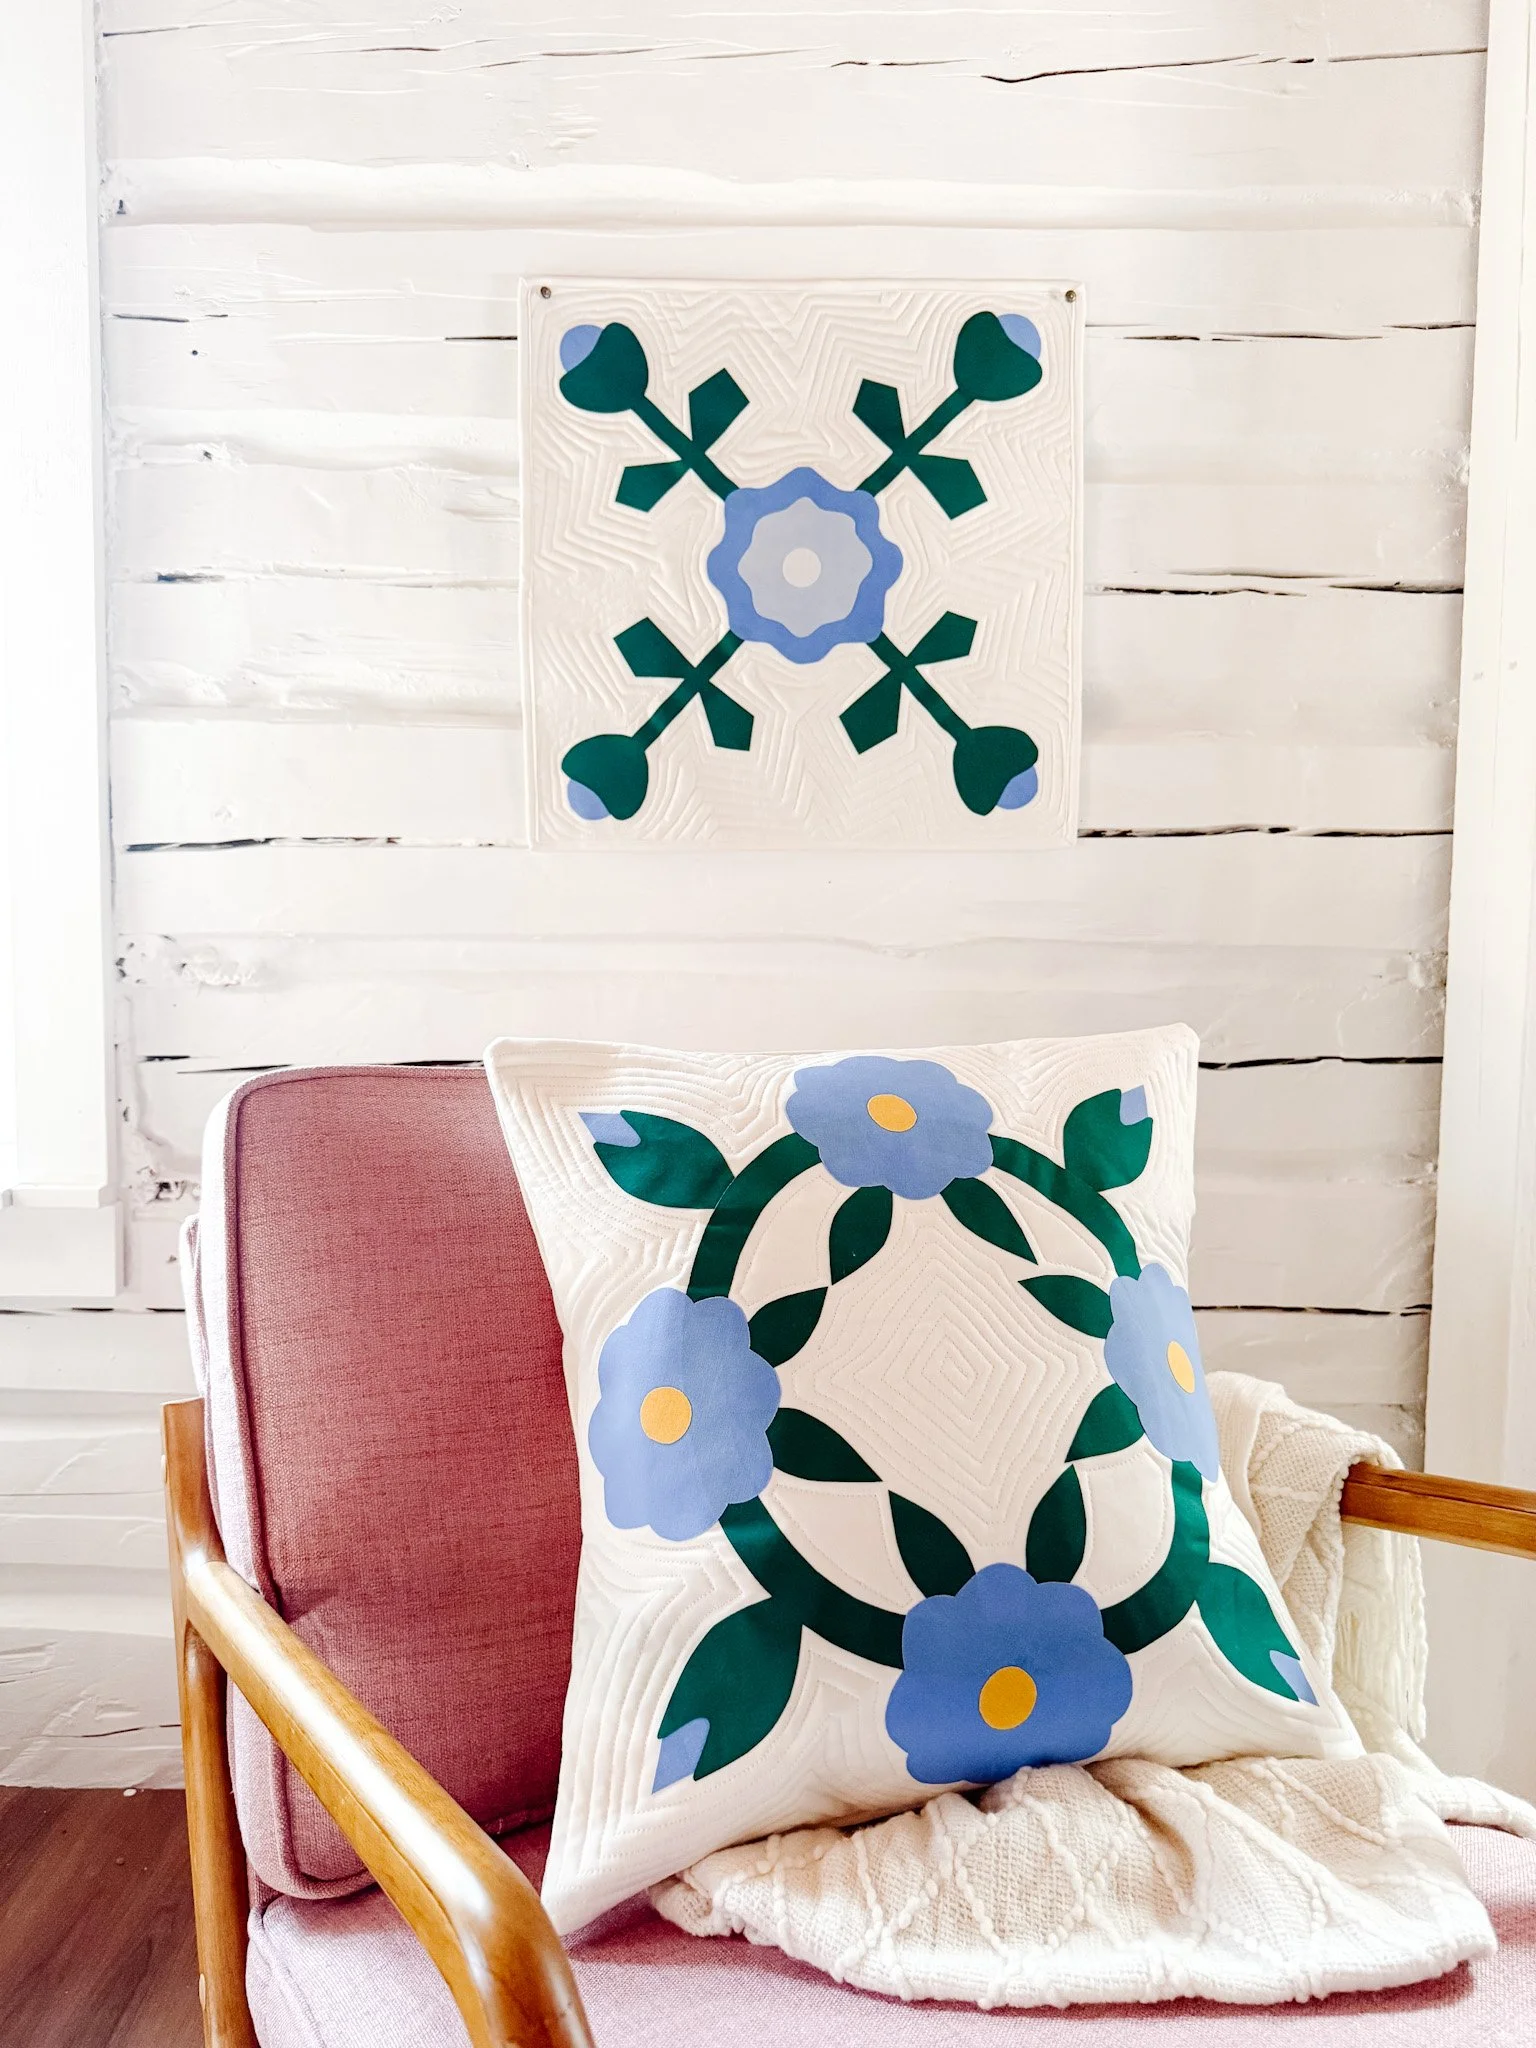
Working in sections is often easiest. For example, once the lower portion of the design looks balanced, you can fuse that area before continuing upward.
Then move on to the remaining stems, leaves, and flowers until the entire design is assembled.
adjusting for balance
One of the nicest things about appliqué is that it allows for a bit of artistic freedom. The templates provide a guide, but you can still make small adjustments to improve the balance of the composition.
If a leaf feels too crowded, shift it slightly. If two shapes are touching in an awkward way, give them a little breathing room. Step back occasionally and look at the whole design before committing with the iron.
The goal isn’t perfection — it’s creating a layout that feels balanced and pleasing to your eye.
stitching the appliqué
Once all the pieces are fused in place, the design is ready to be stitched.
Many sewists use a zigzag or blanket stitch for appliqué, but a straight stitch can also create a beautiful finish, especially for wall hangings or decorative pieces.
A straight stitch around 2–2.5 mm works well and creates a soft, subtle outline around each shape. Over time, the edges may fray slightly, but this can add a lovely handmade texture to the piece.
Some sewists prefer using an appliqué foot for visibility, while others find that a zipper foot provides excellent control when stitching close to the edge. I LOVE using a zipper foot for this because it offers a perfect seam allowance for straight stitches.
final thoughts
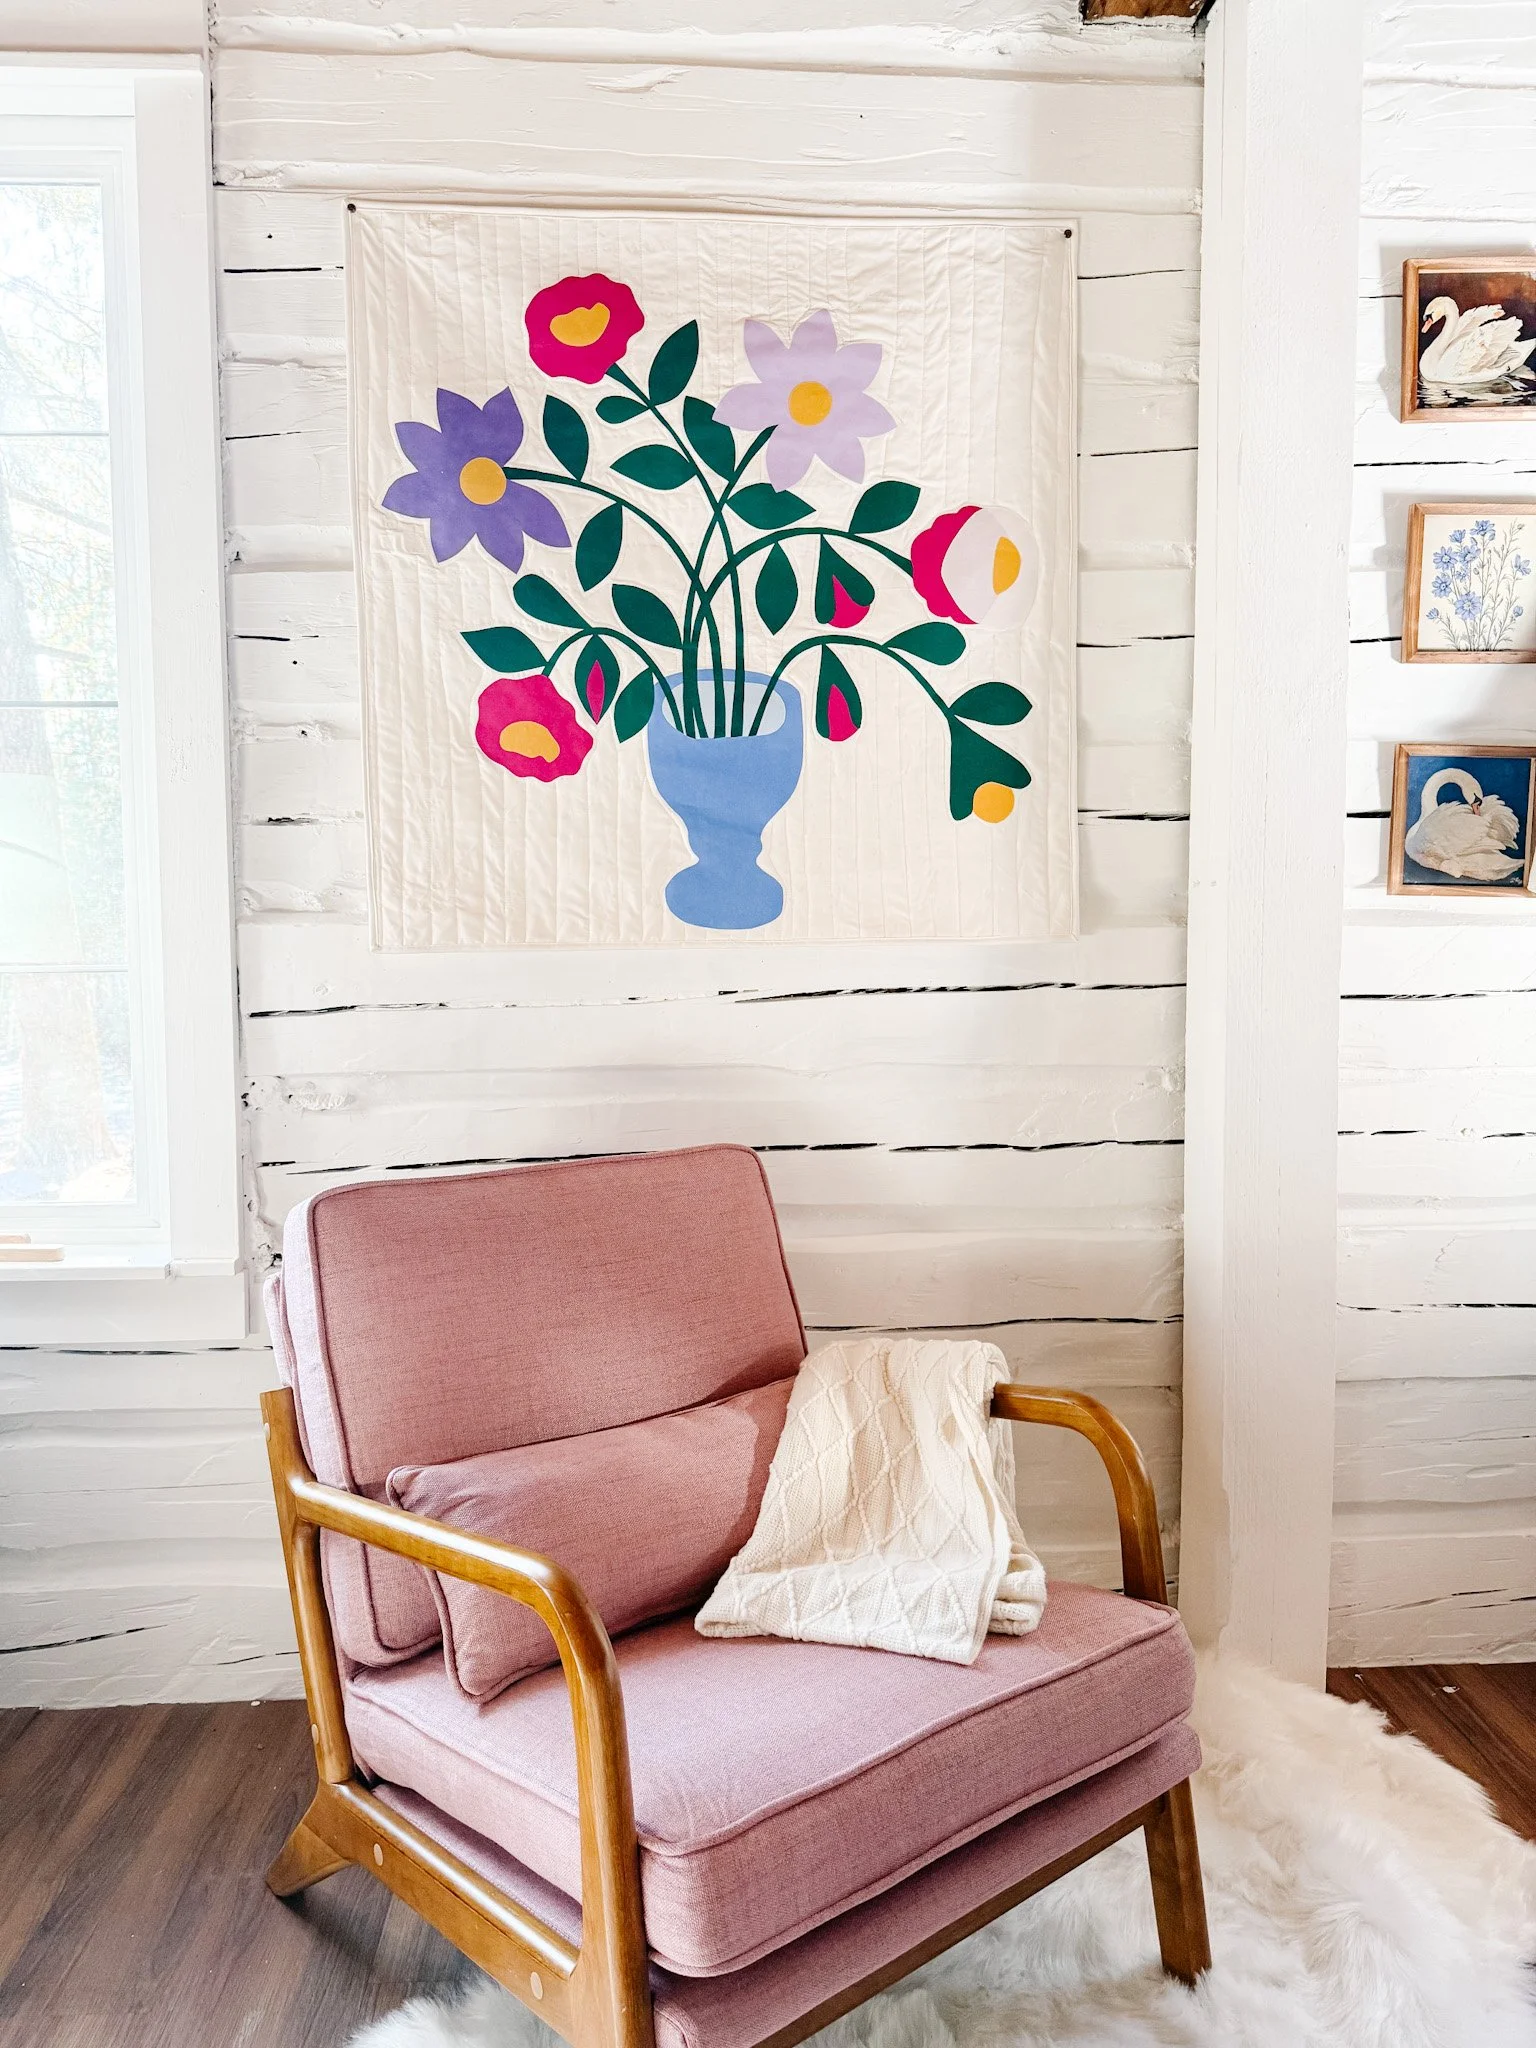
Laying out appliqué pieces is a bit like arranging flowers in a bouquet. Take your time, experiment with placement, and enjoy the process of building the design layer by layer.
Start at the center, work outward, follow the layering order, and use a little glue to hold things in place before fusing. With those simple steps, even complex floral appliqué designs become much easier to assemble.
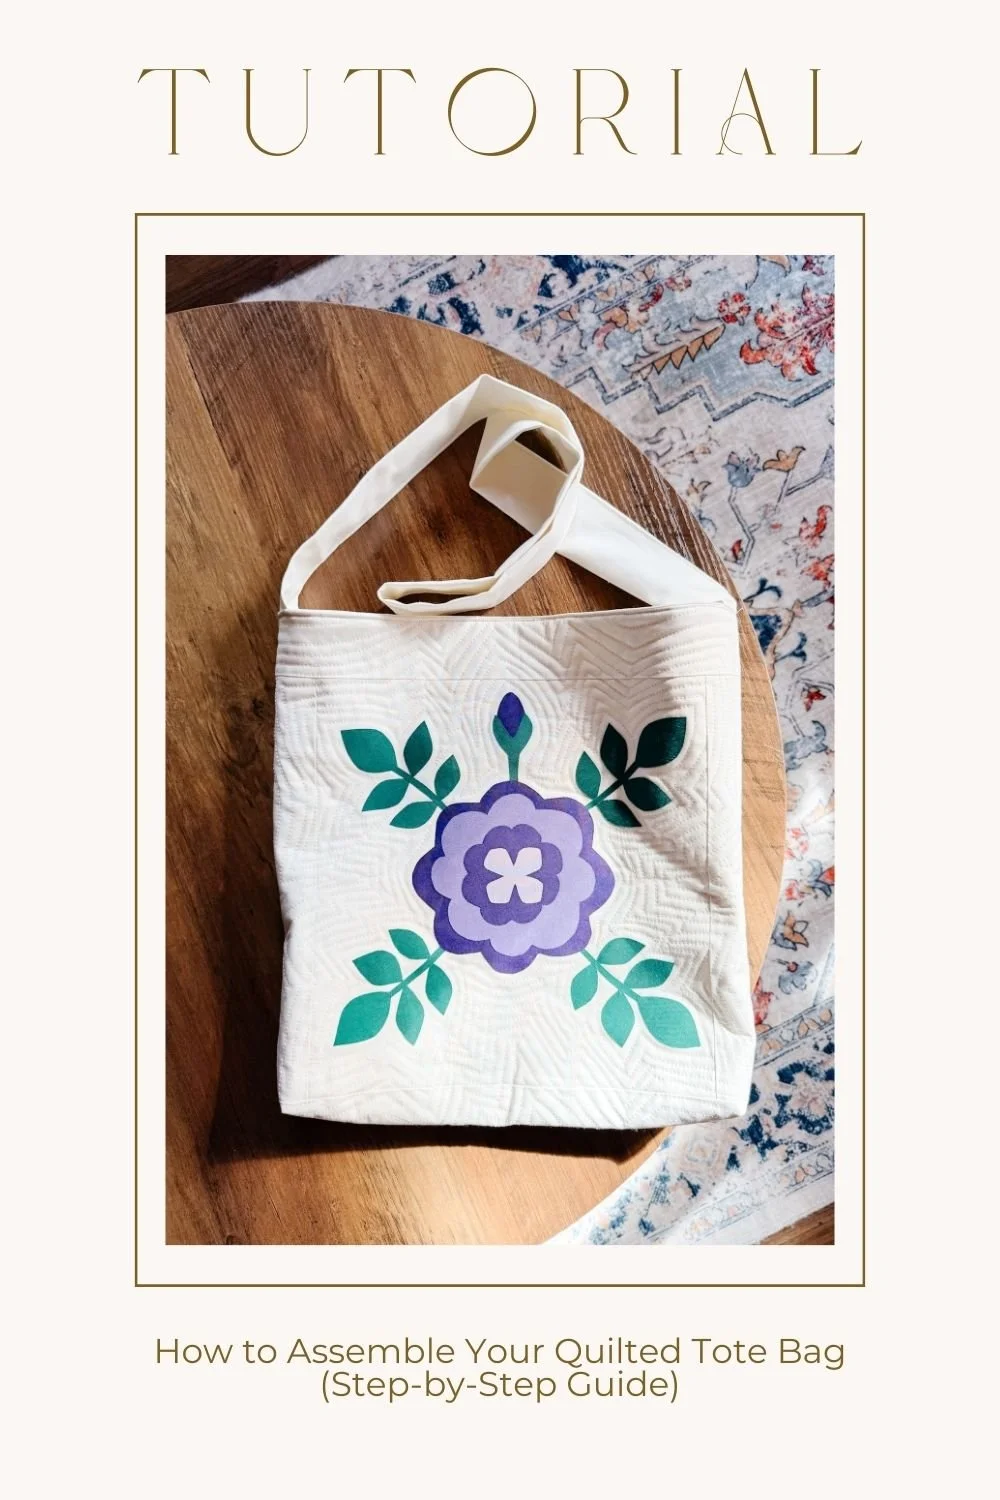
Once everything is fused and stitched, you’ll have a beautifully layered motif ready to become part of your finished quilt.
Happy stitching.
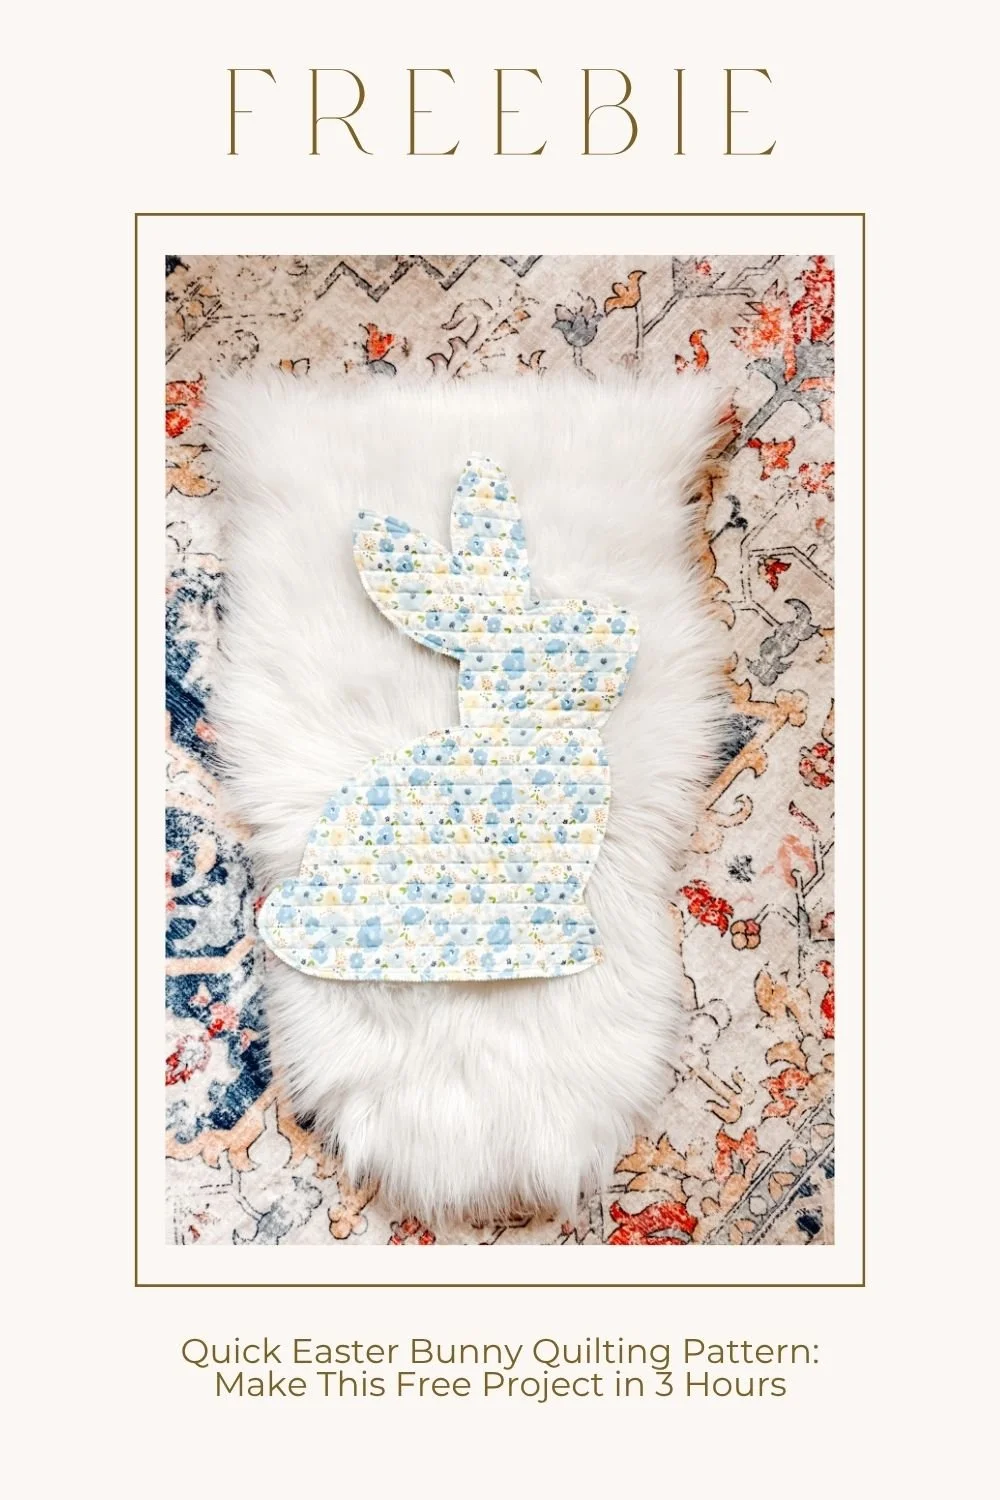
check out my fave quilting toolspin it for later
Minimalist knitwear designer.