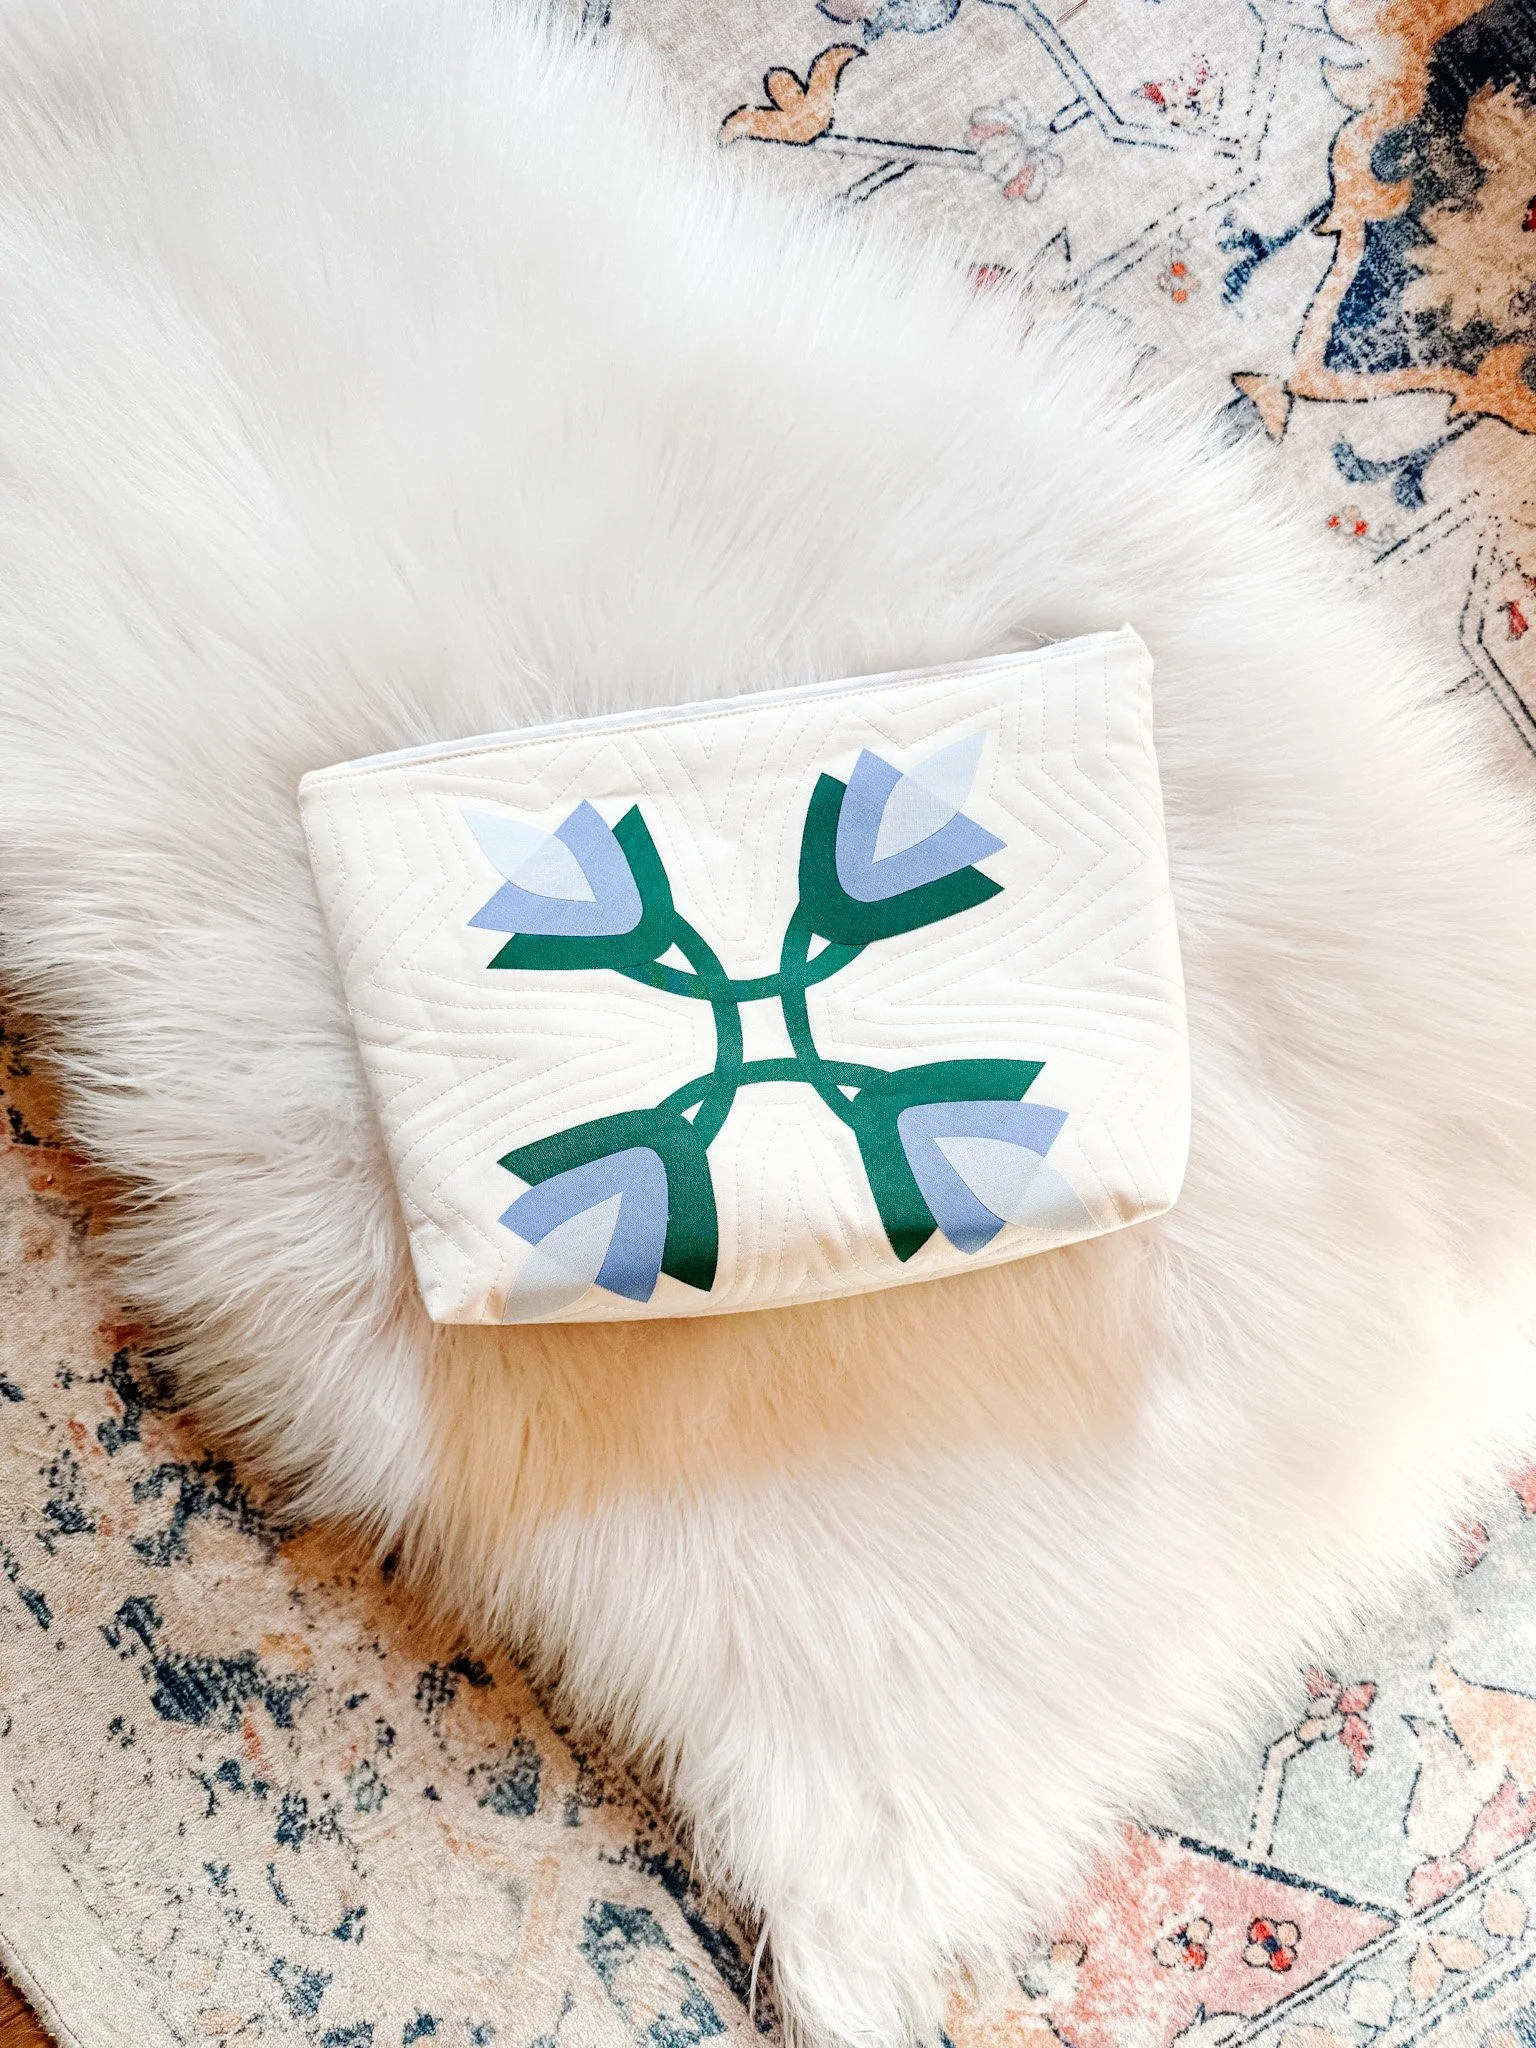
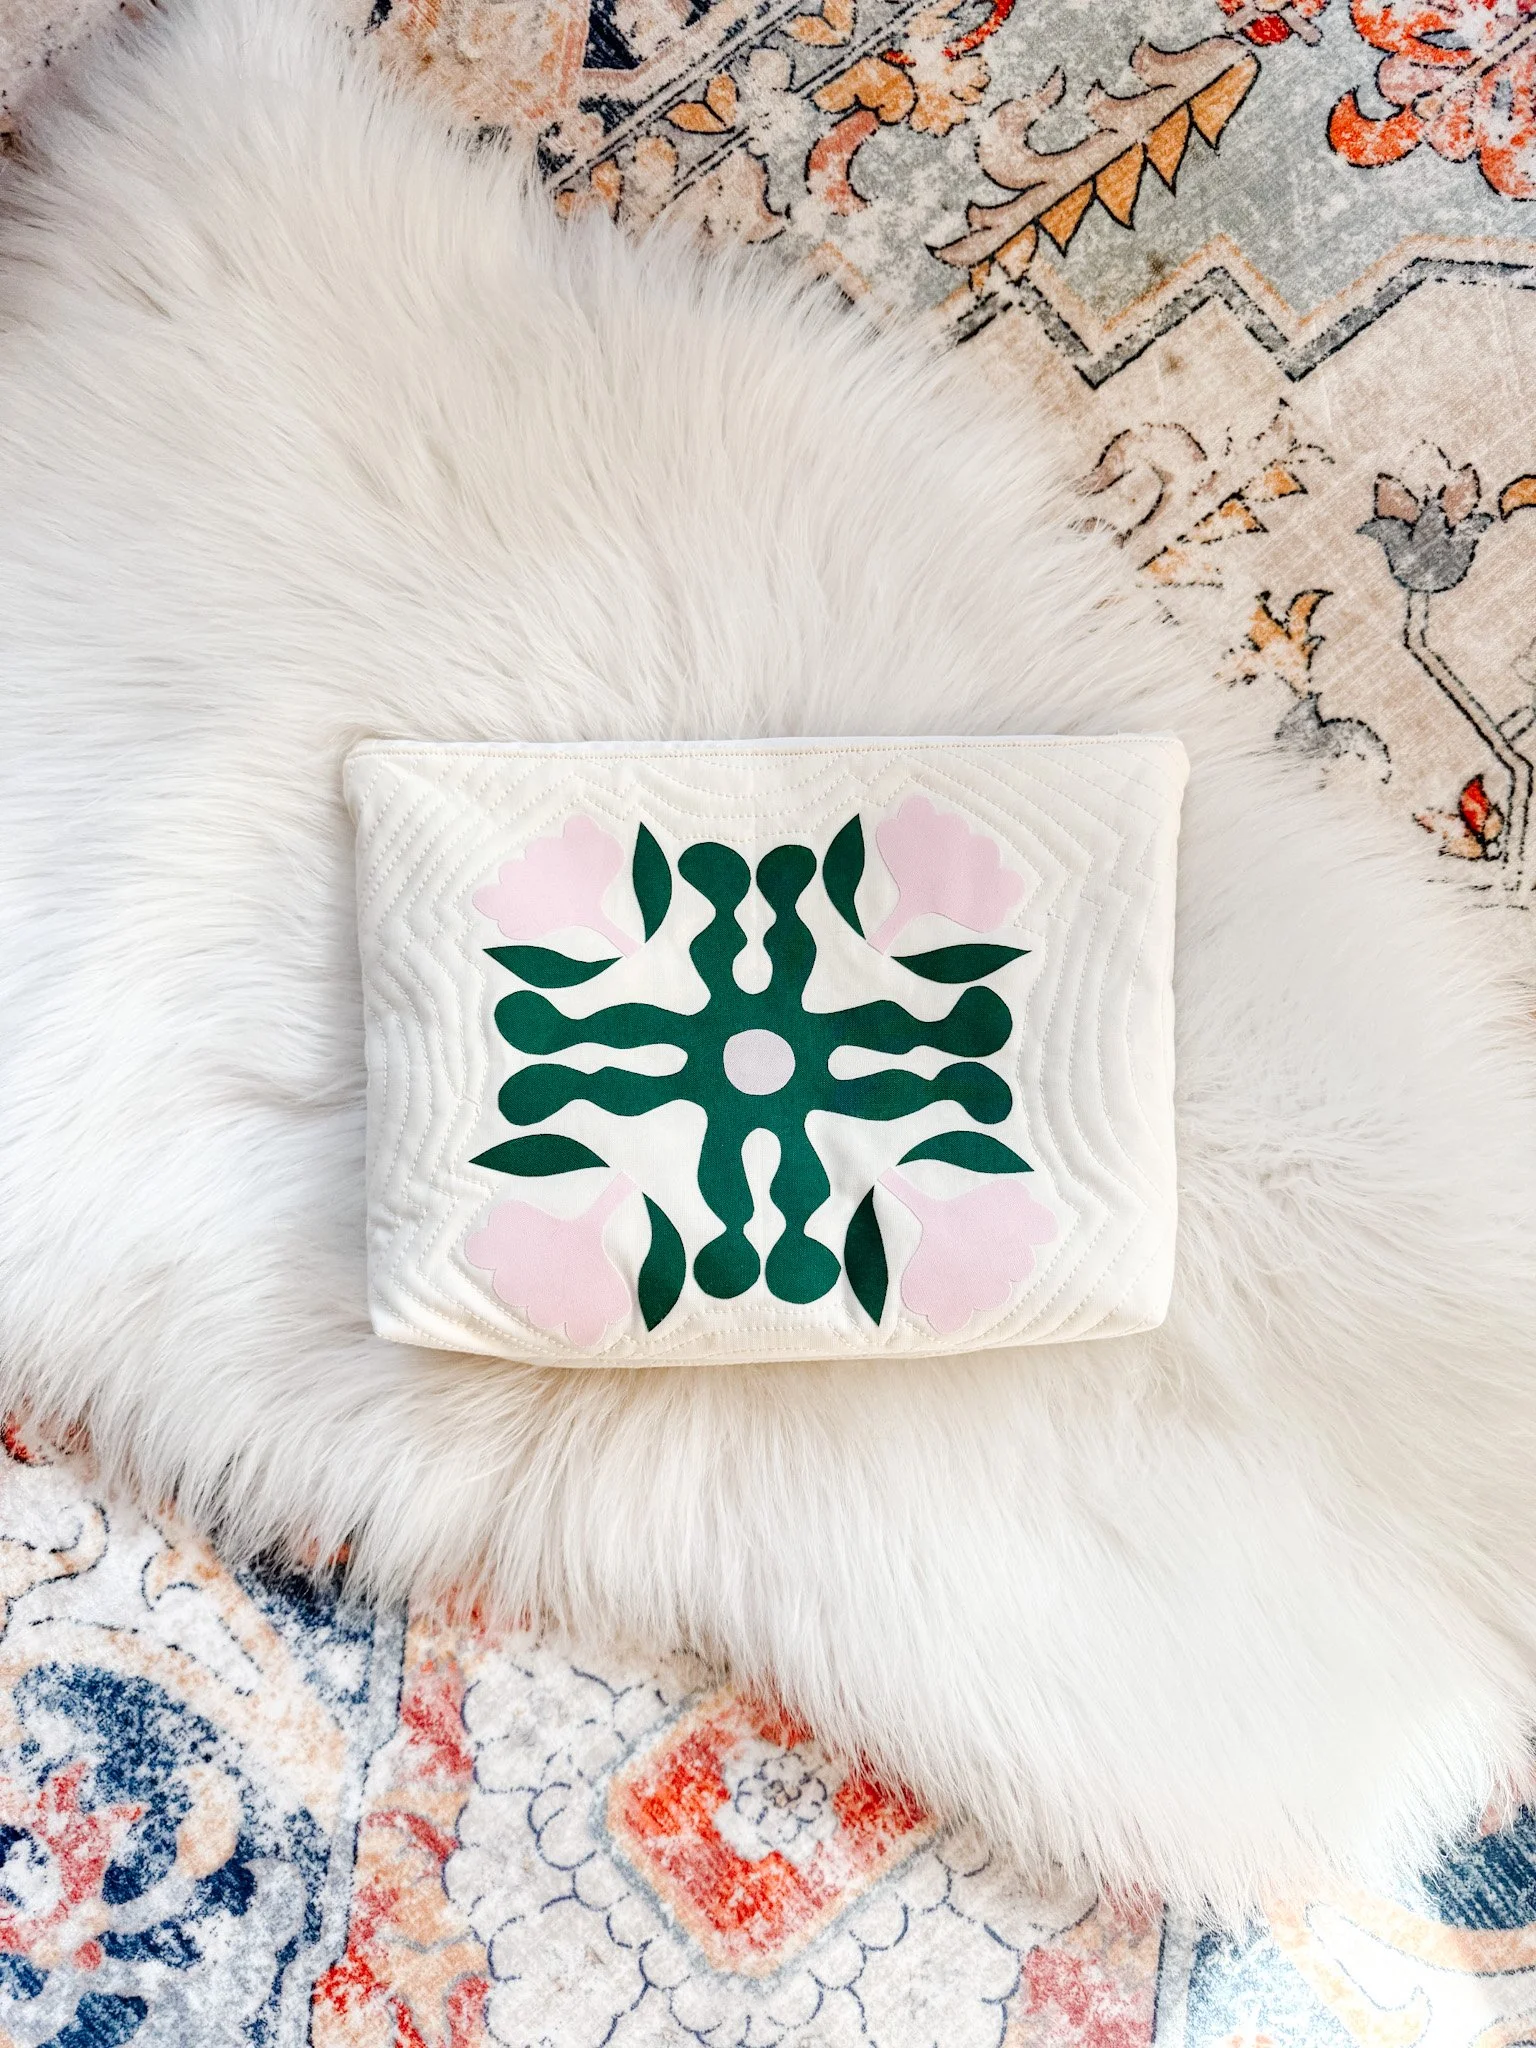
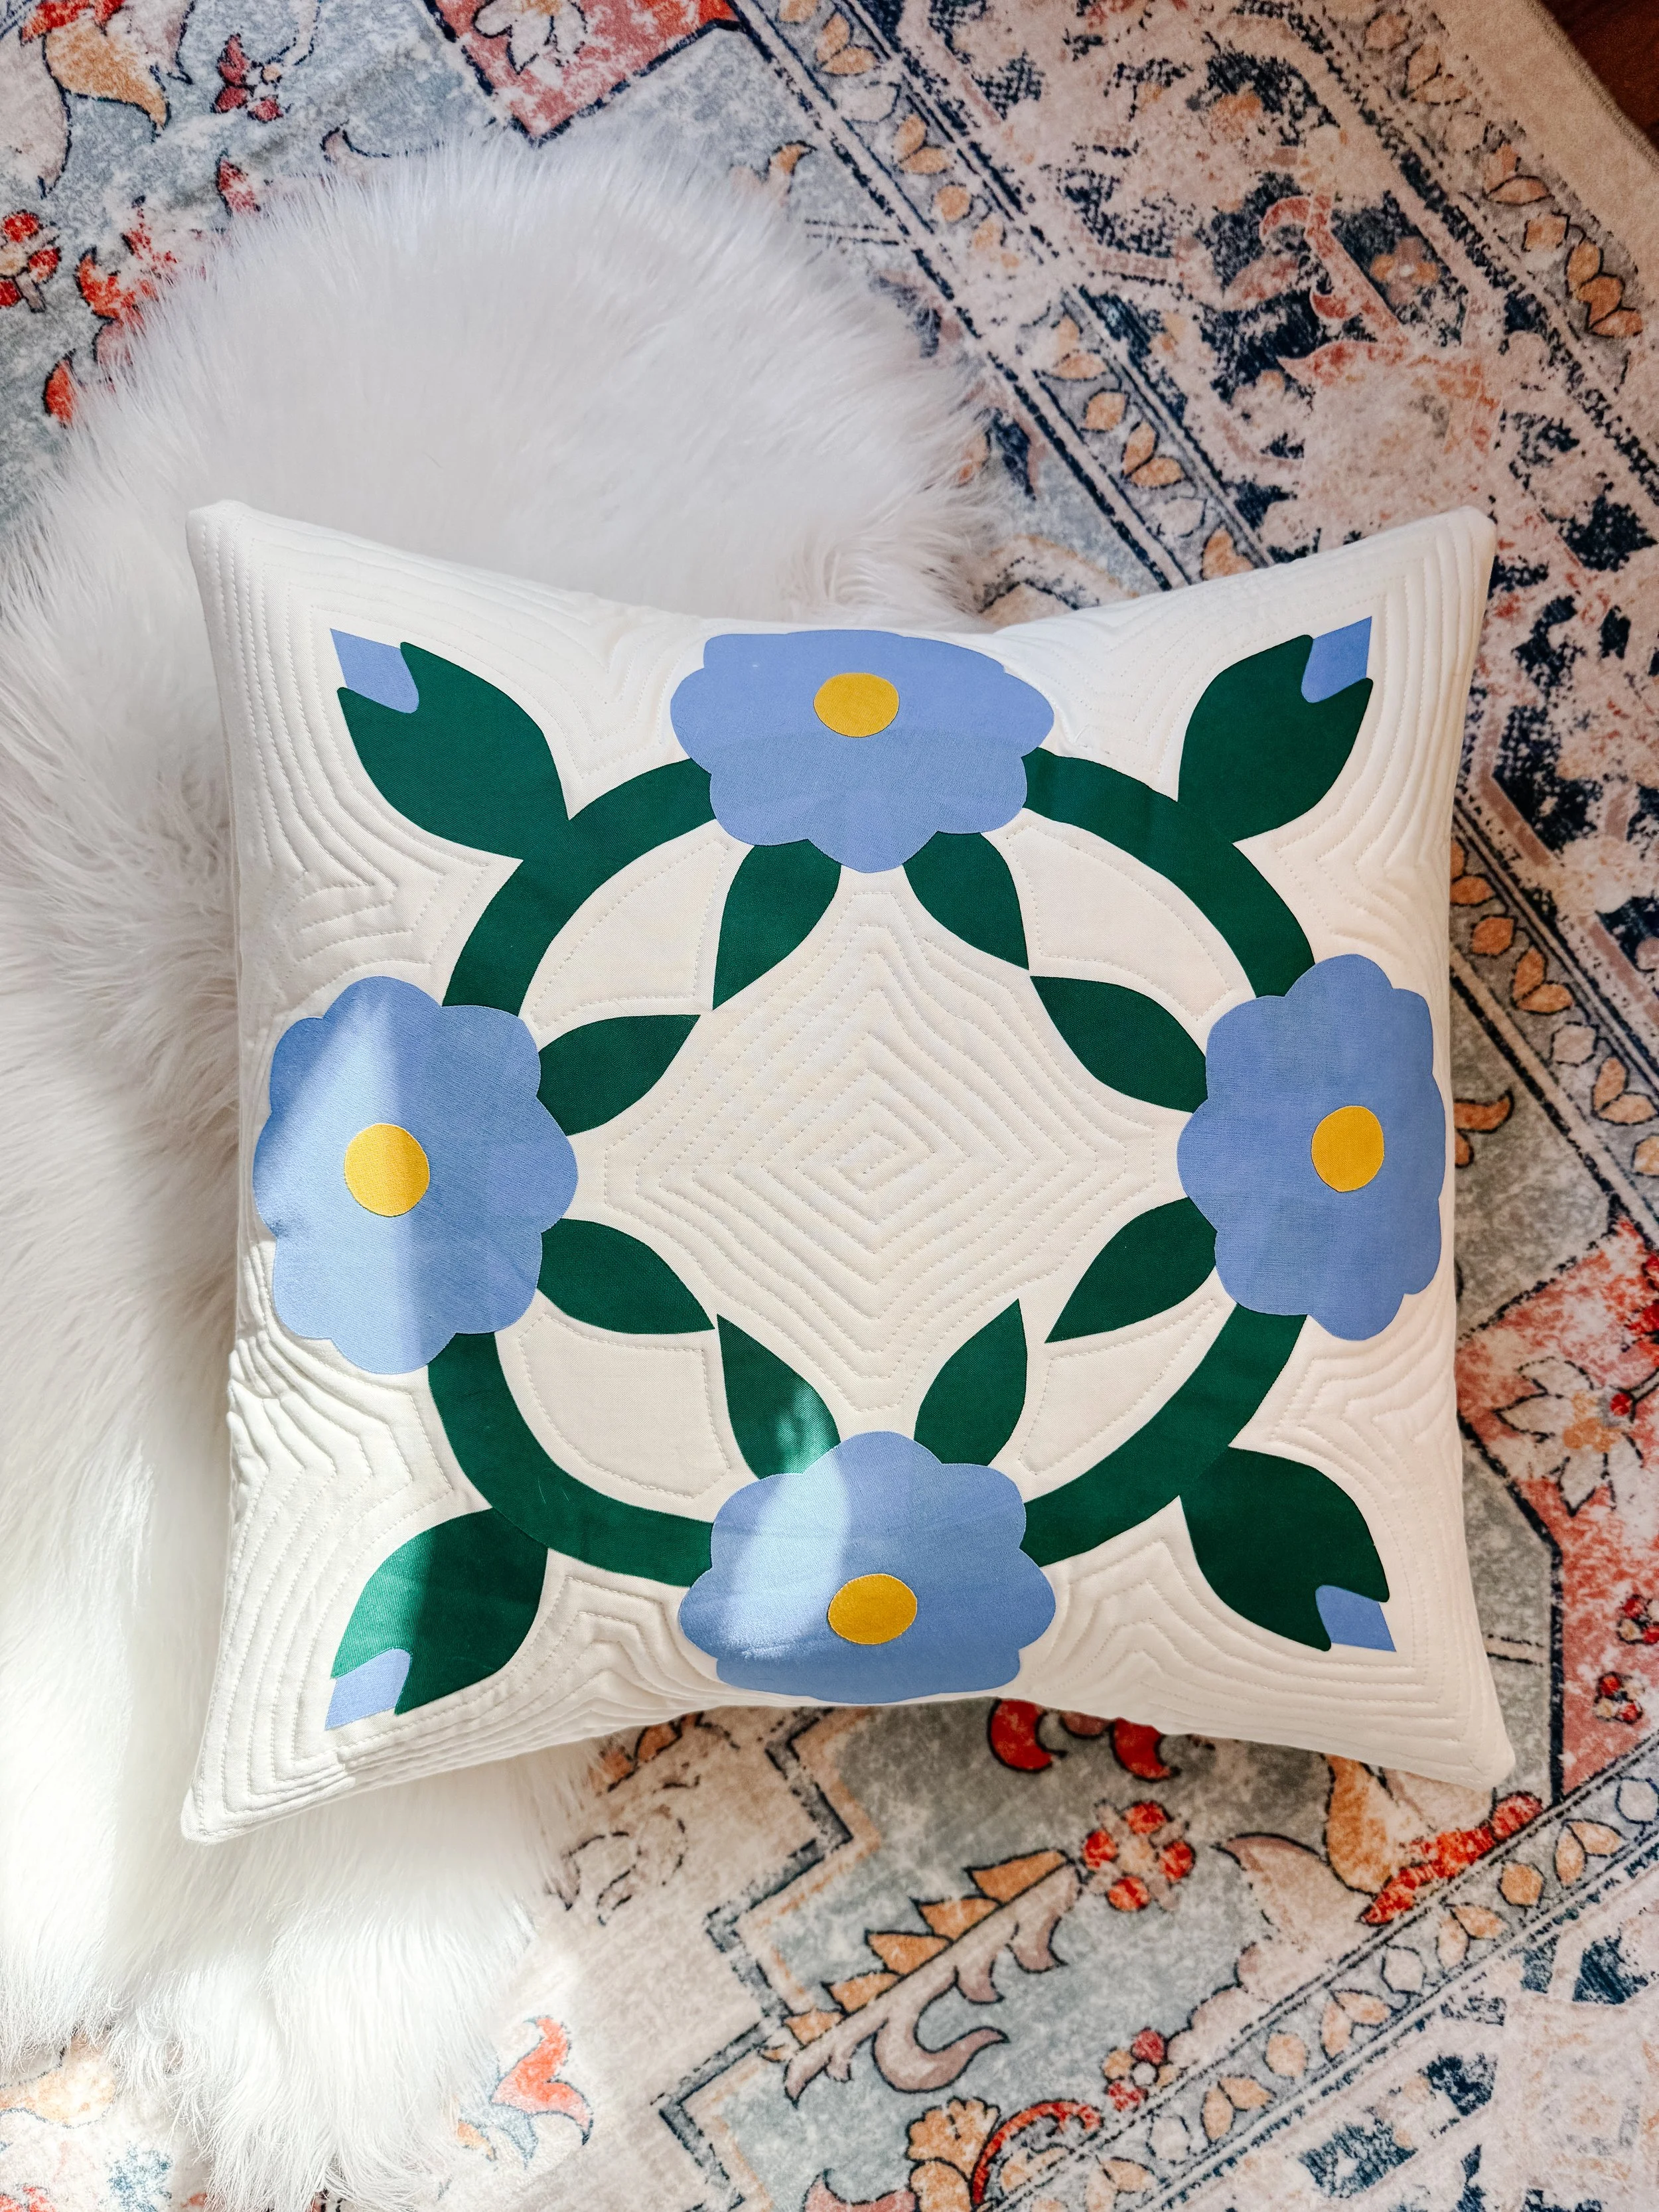
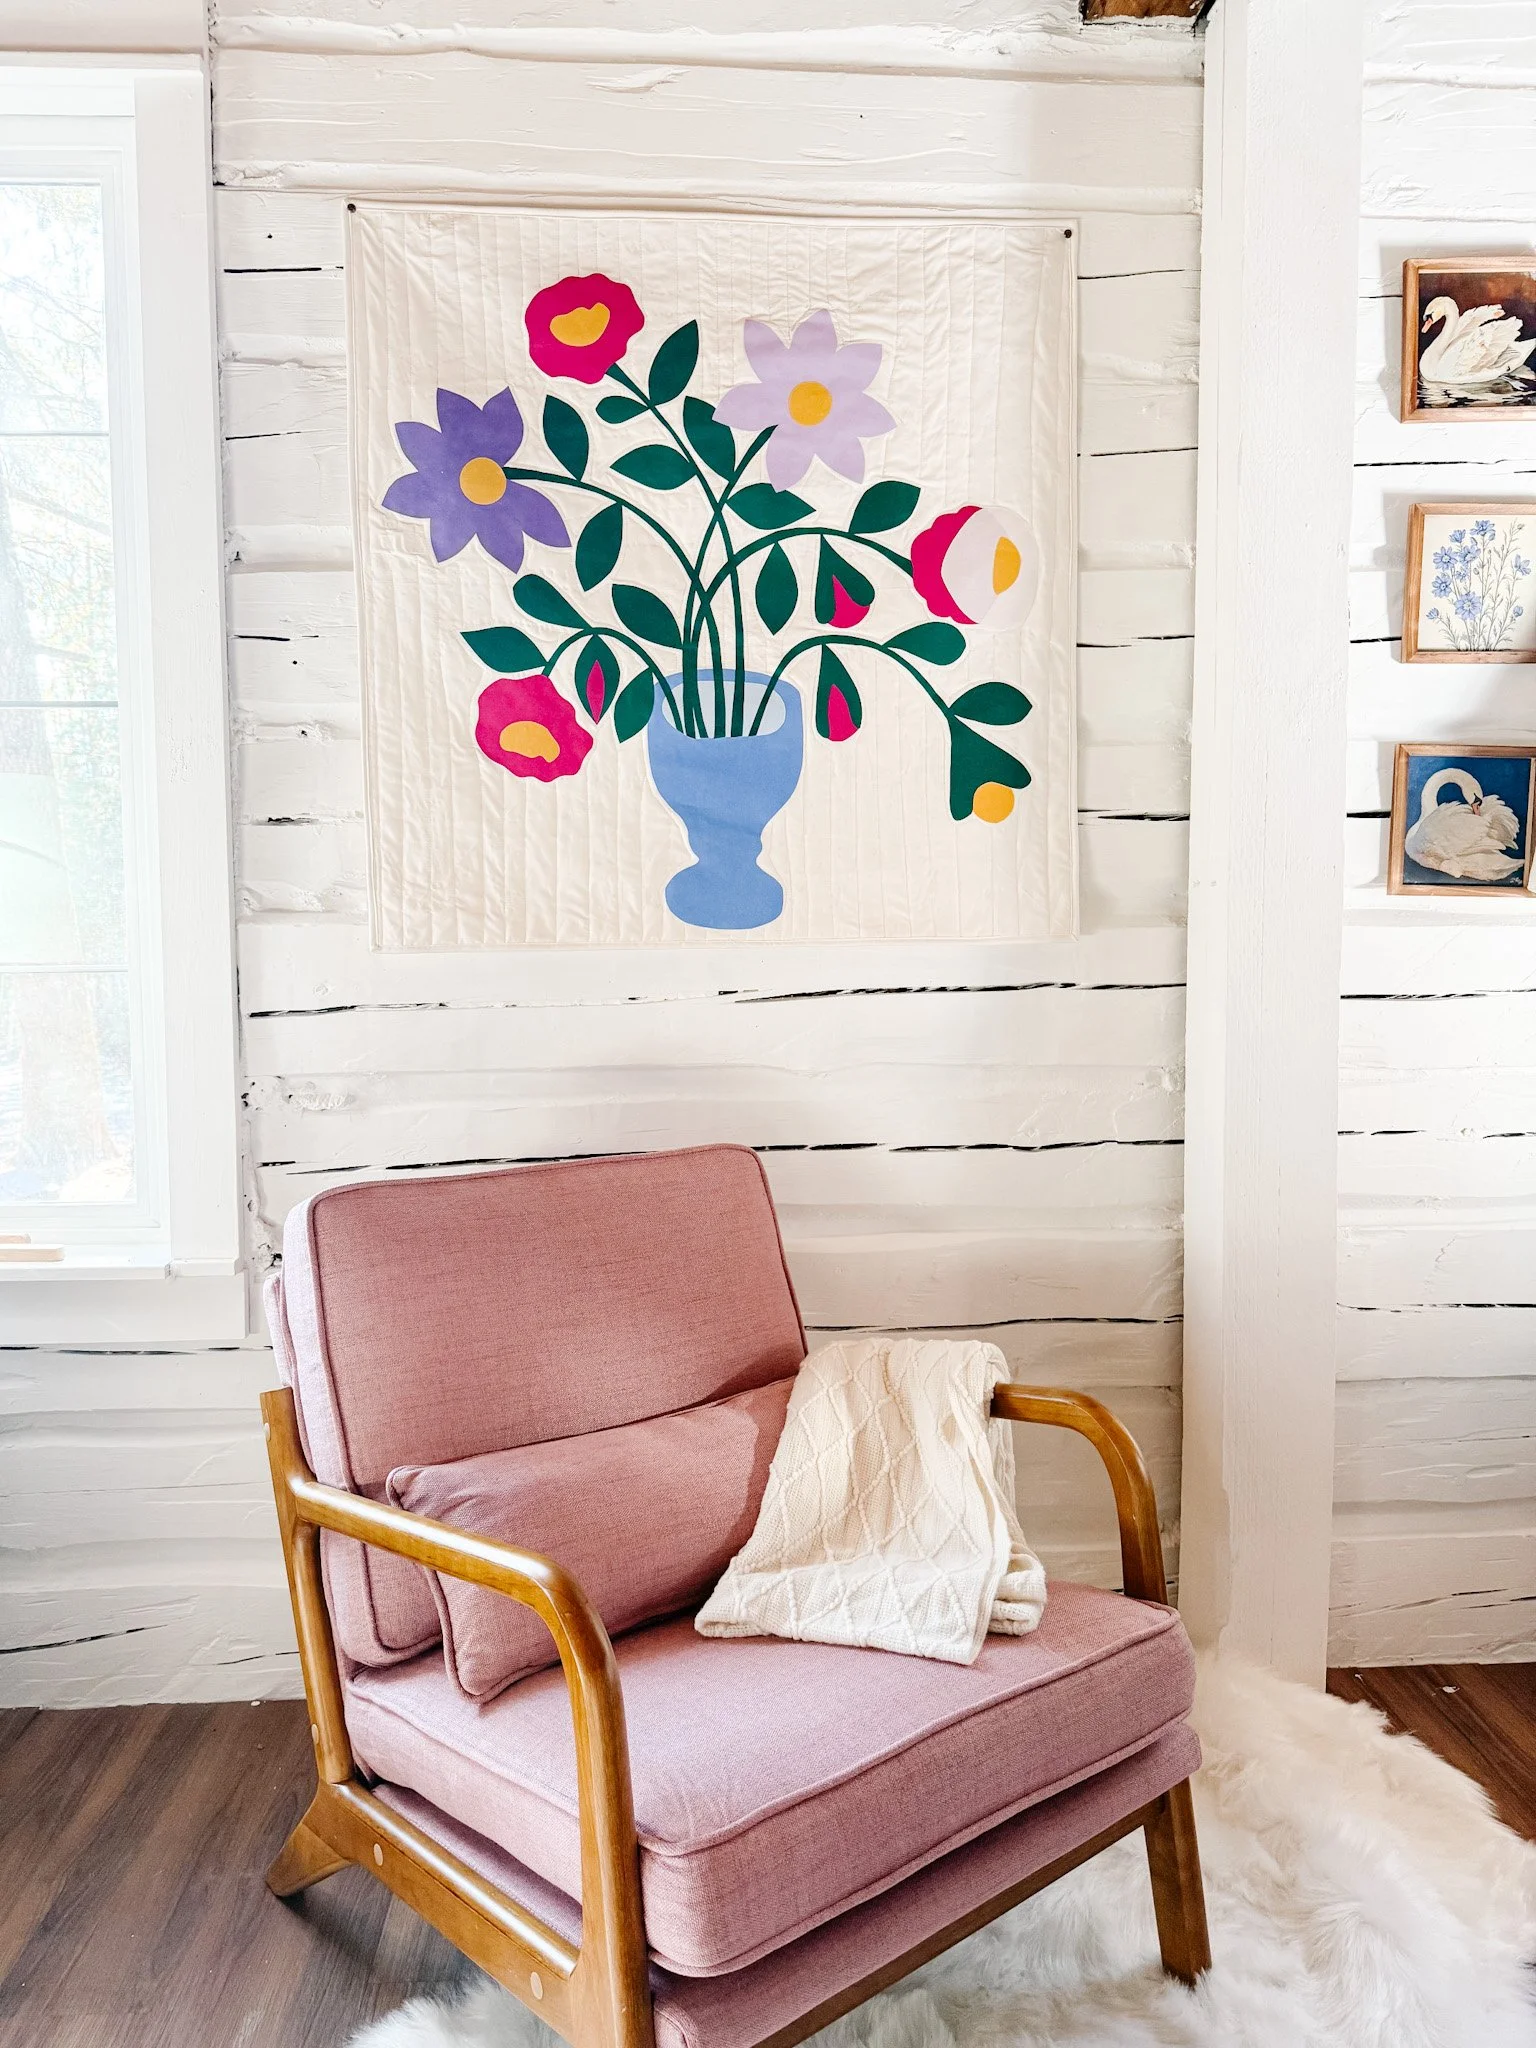
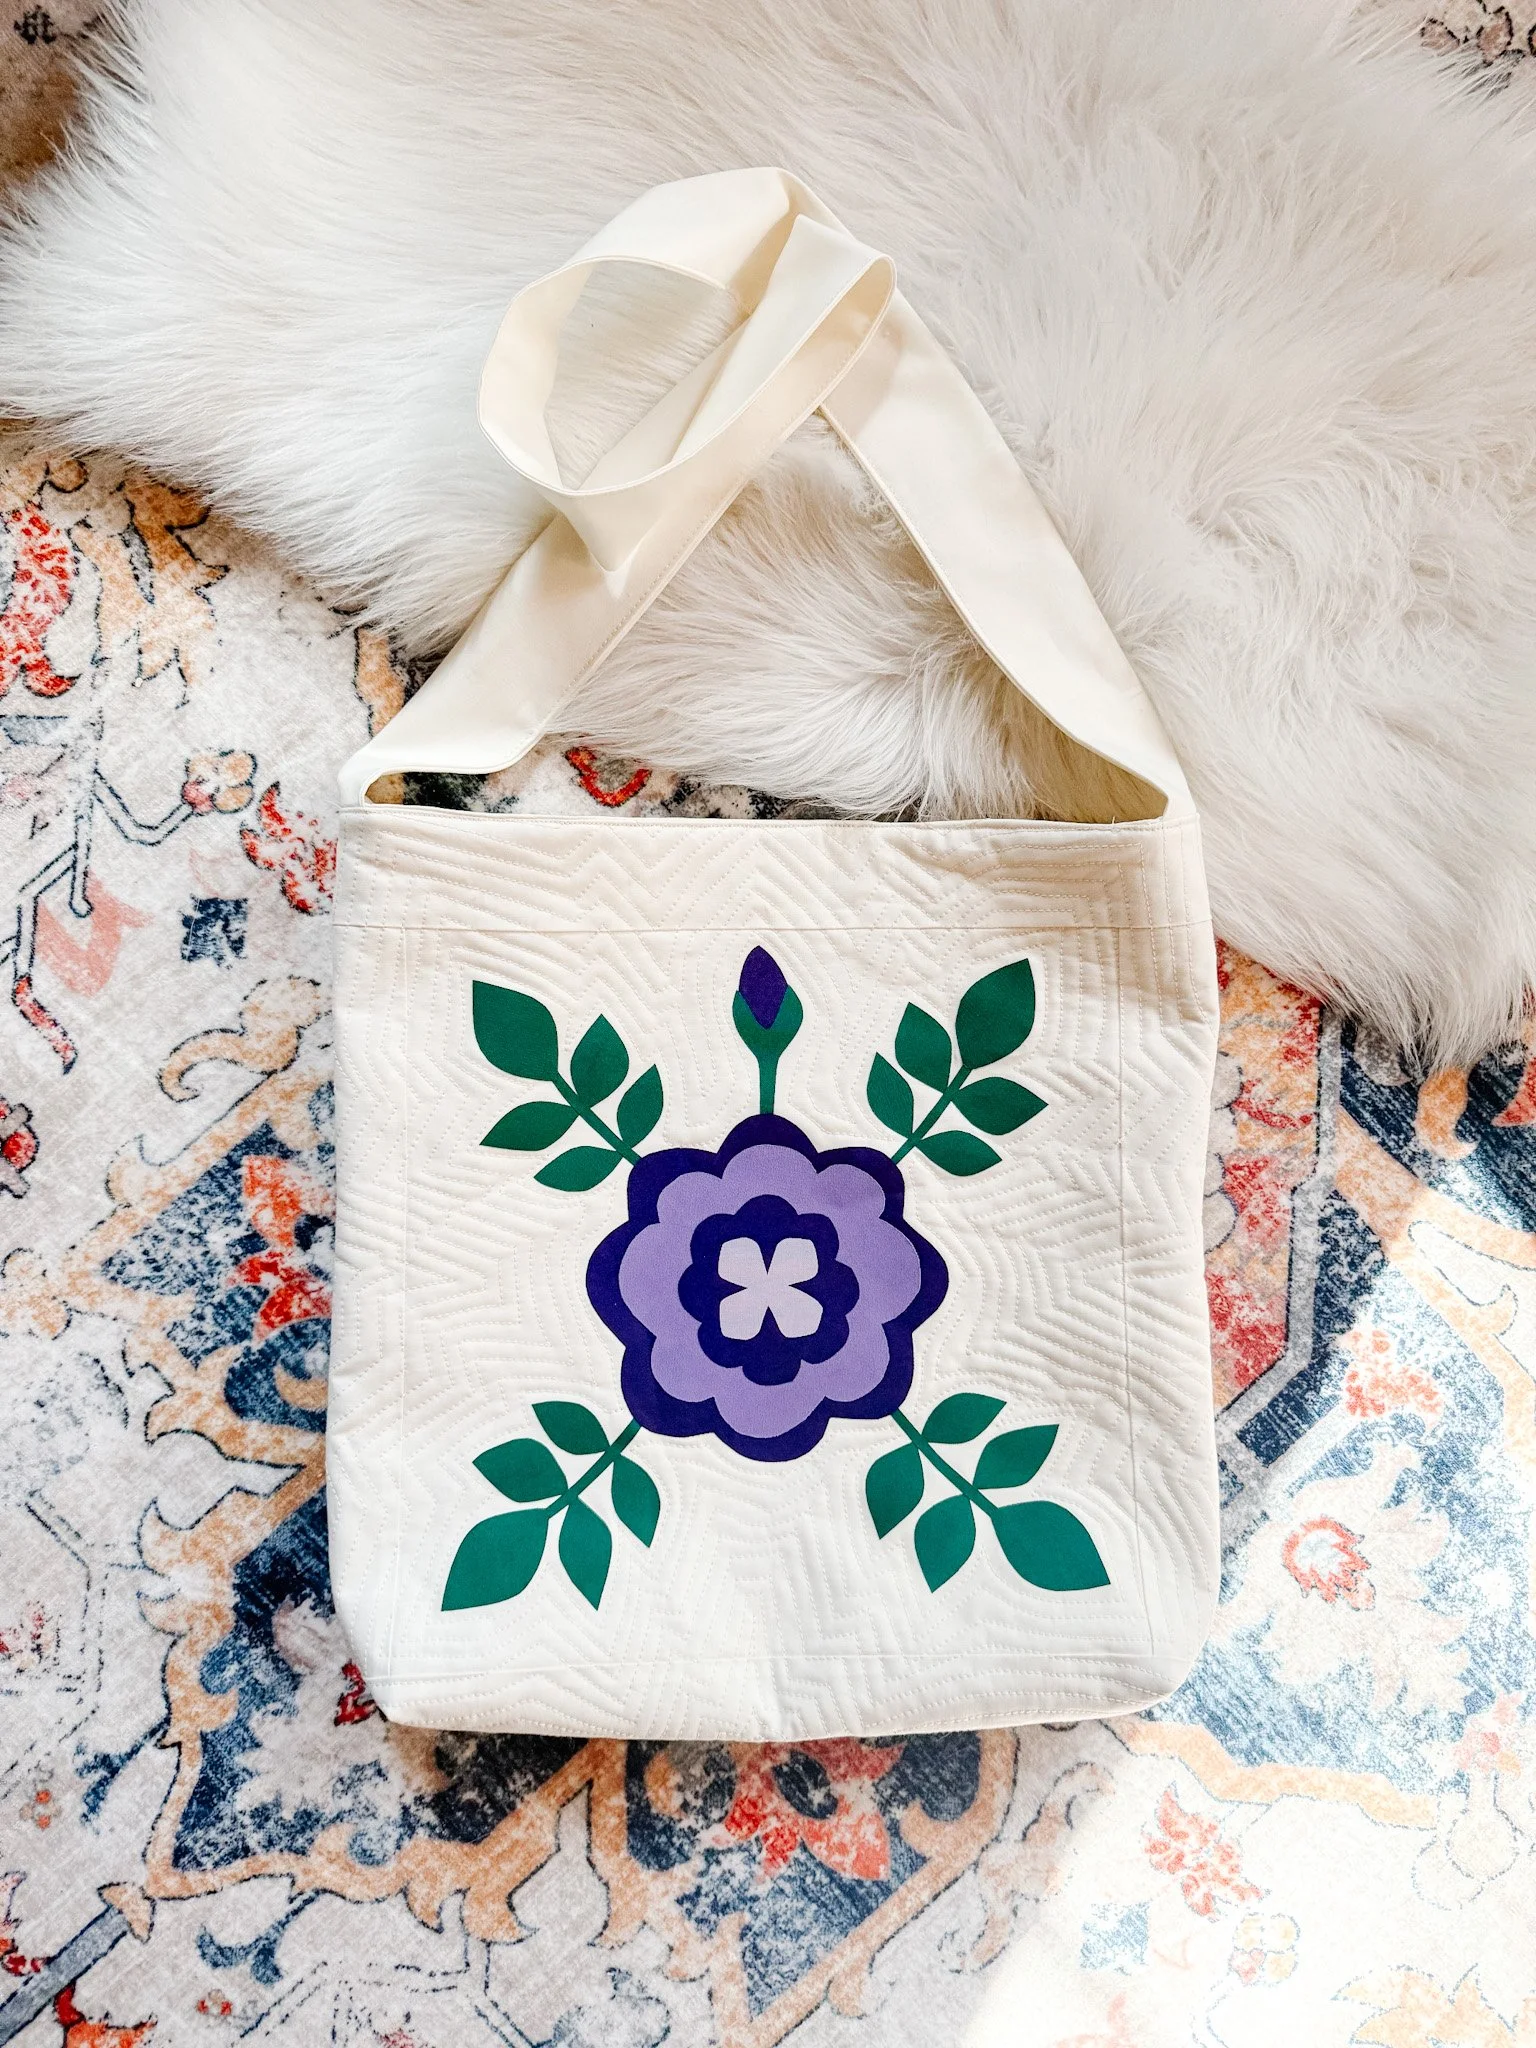
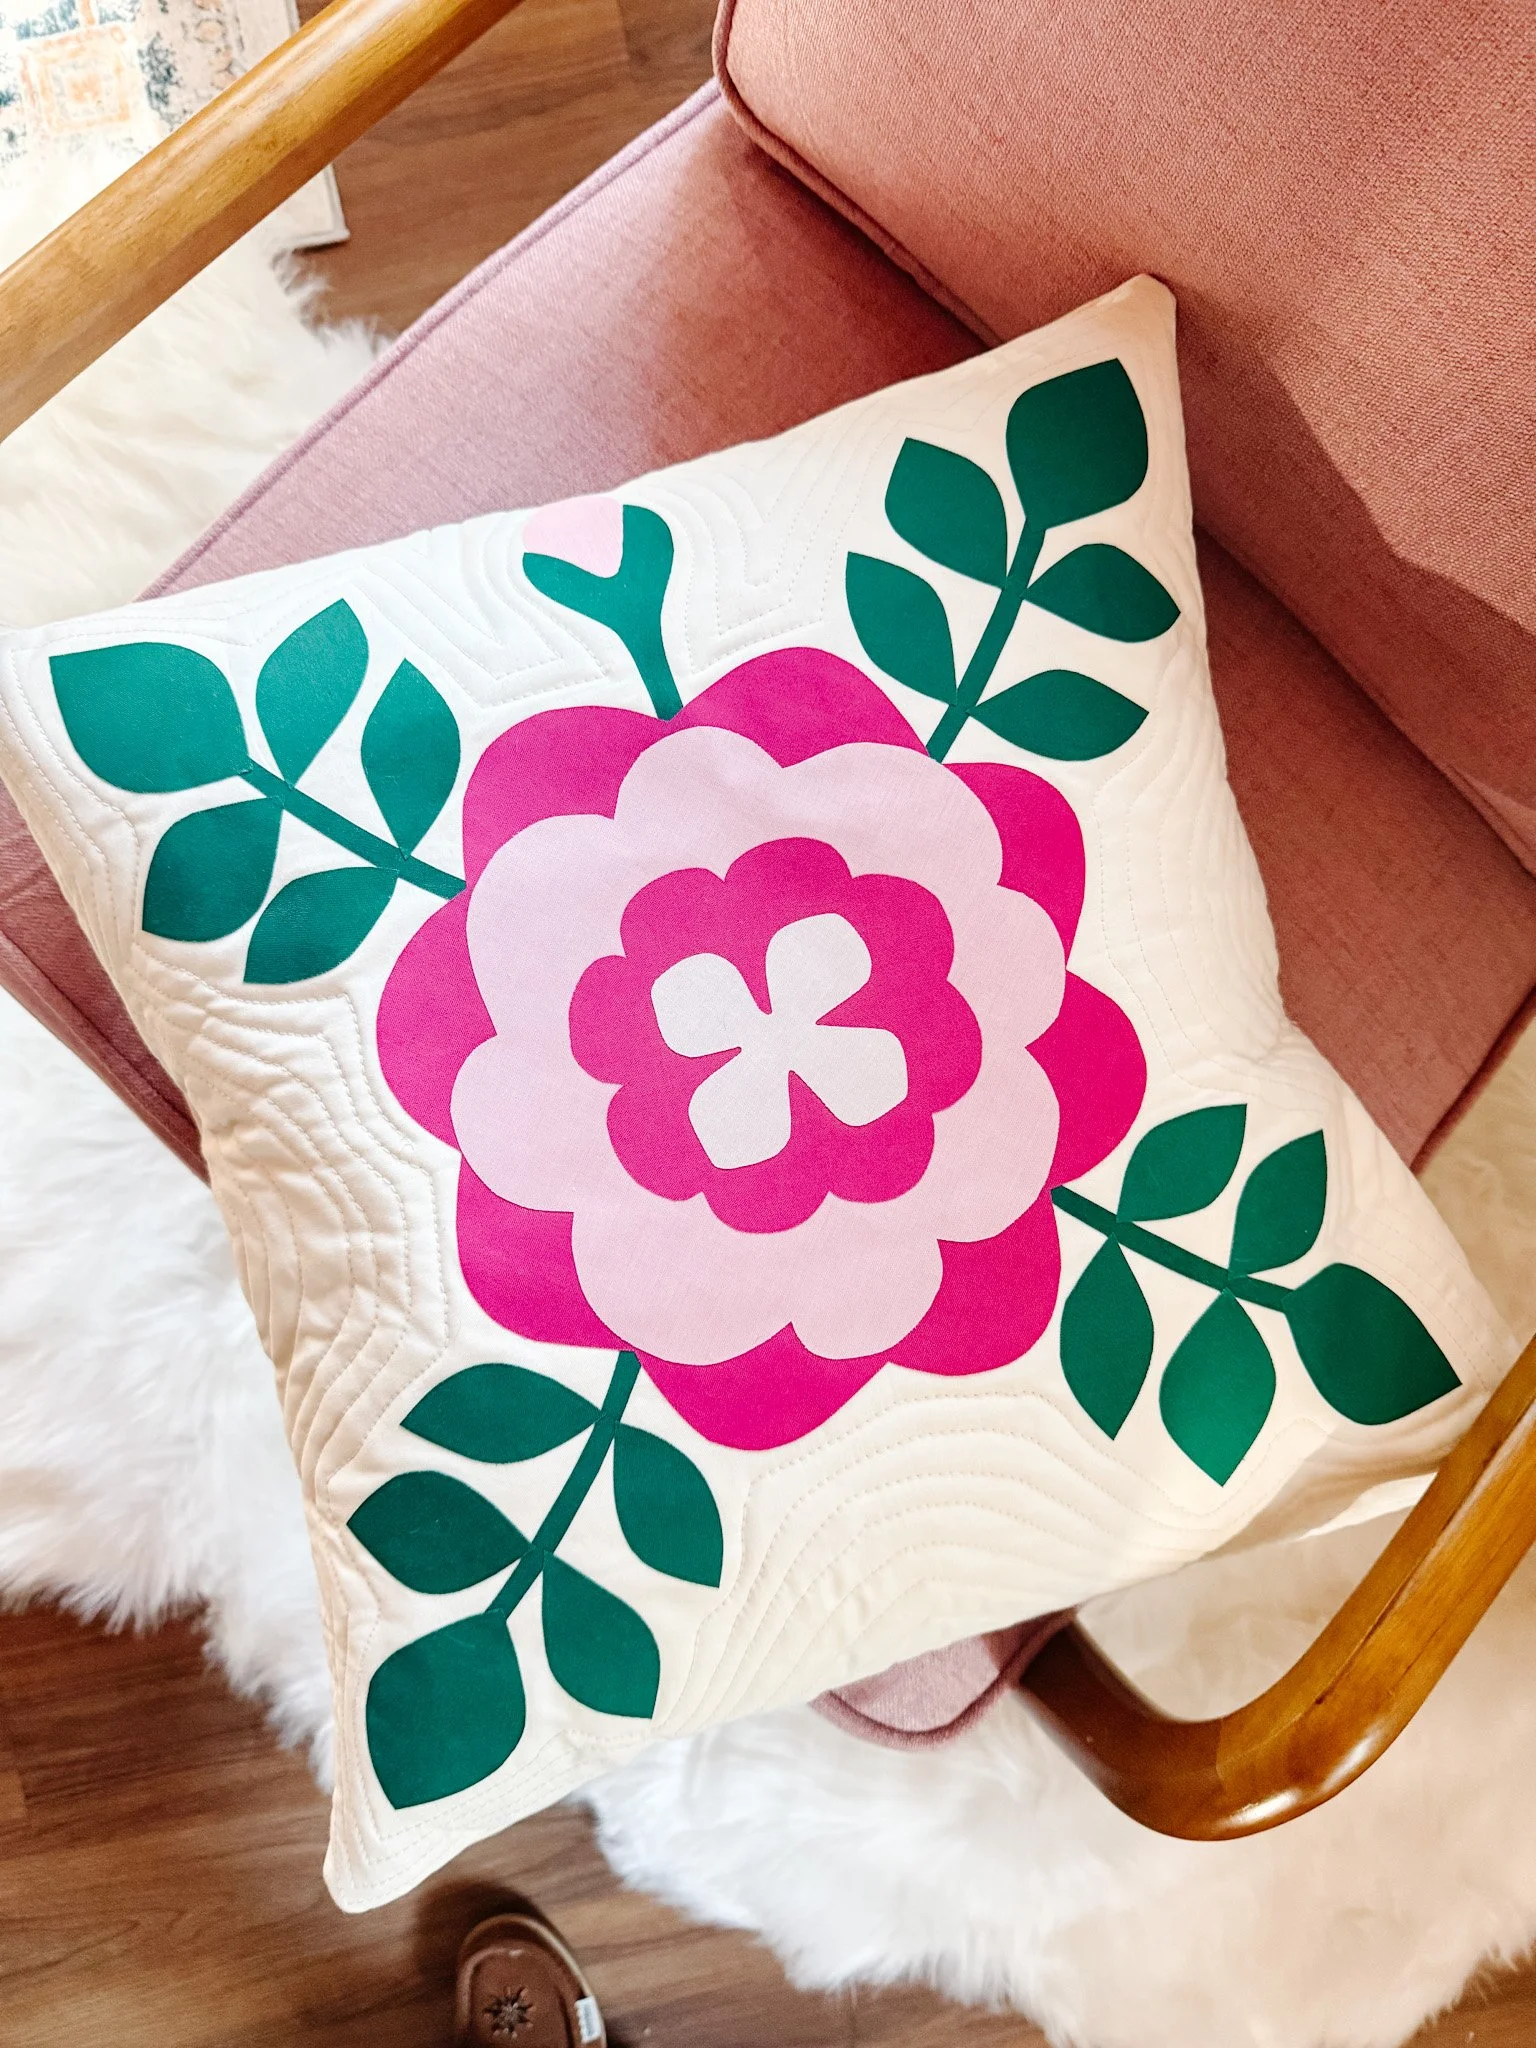
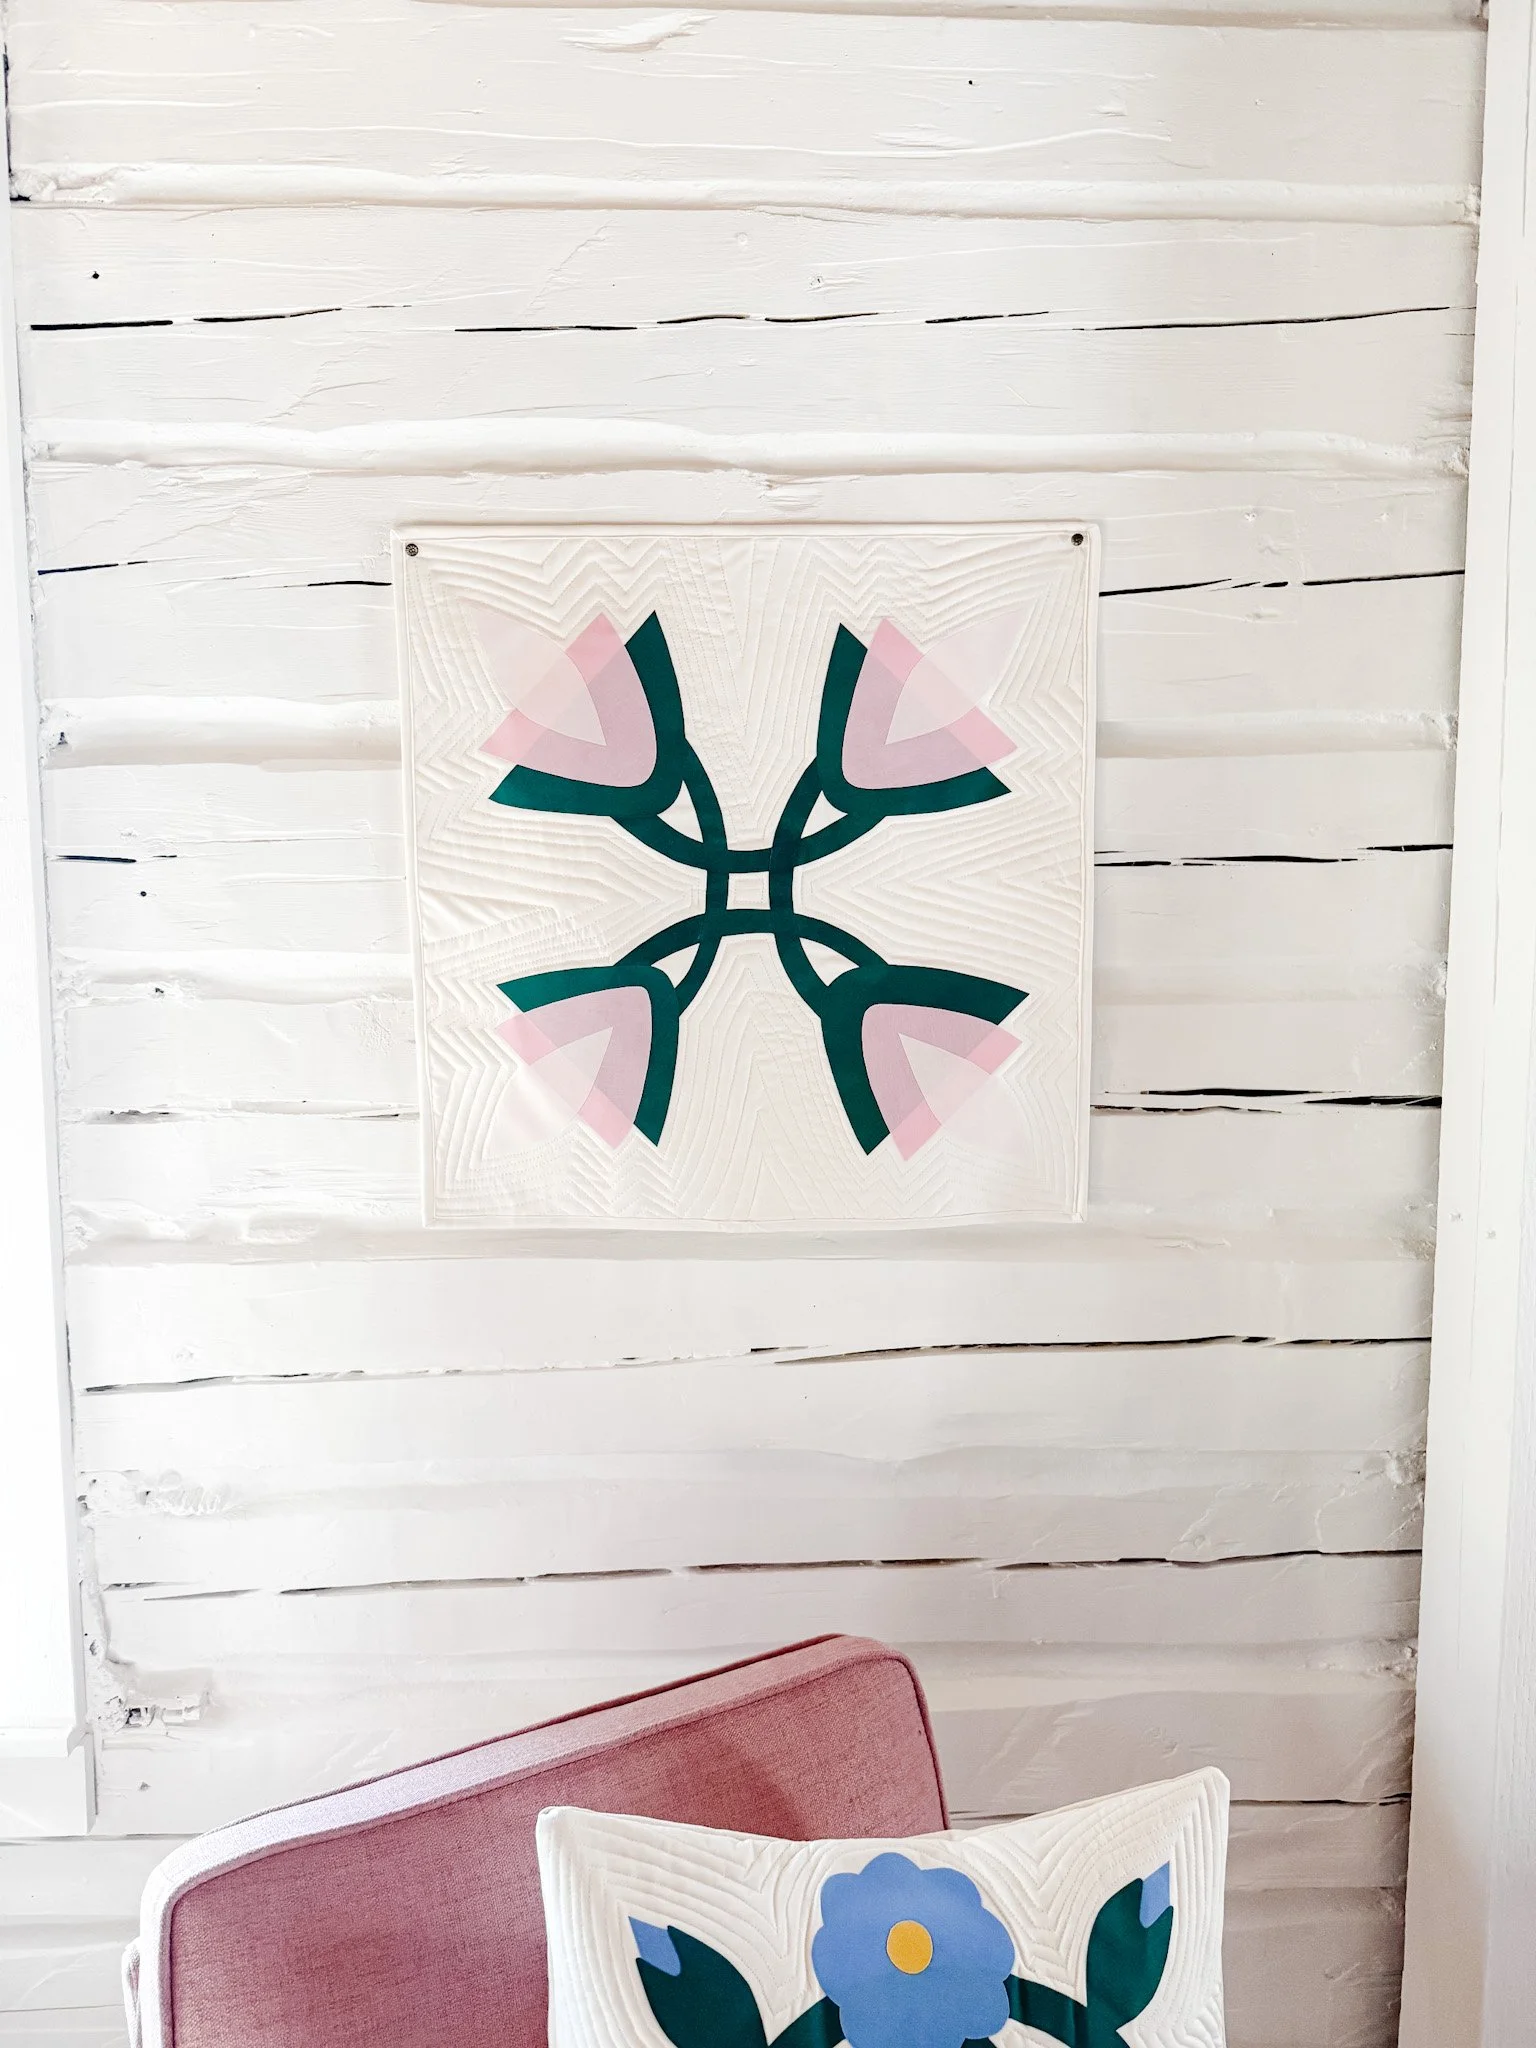
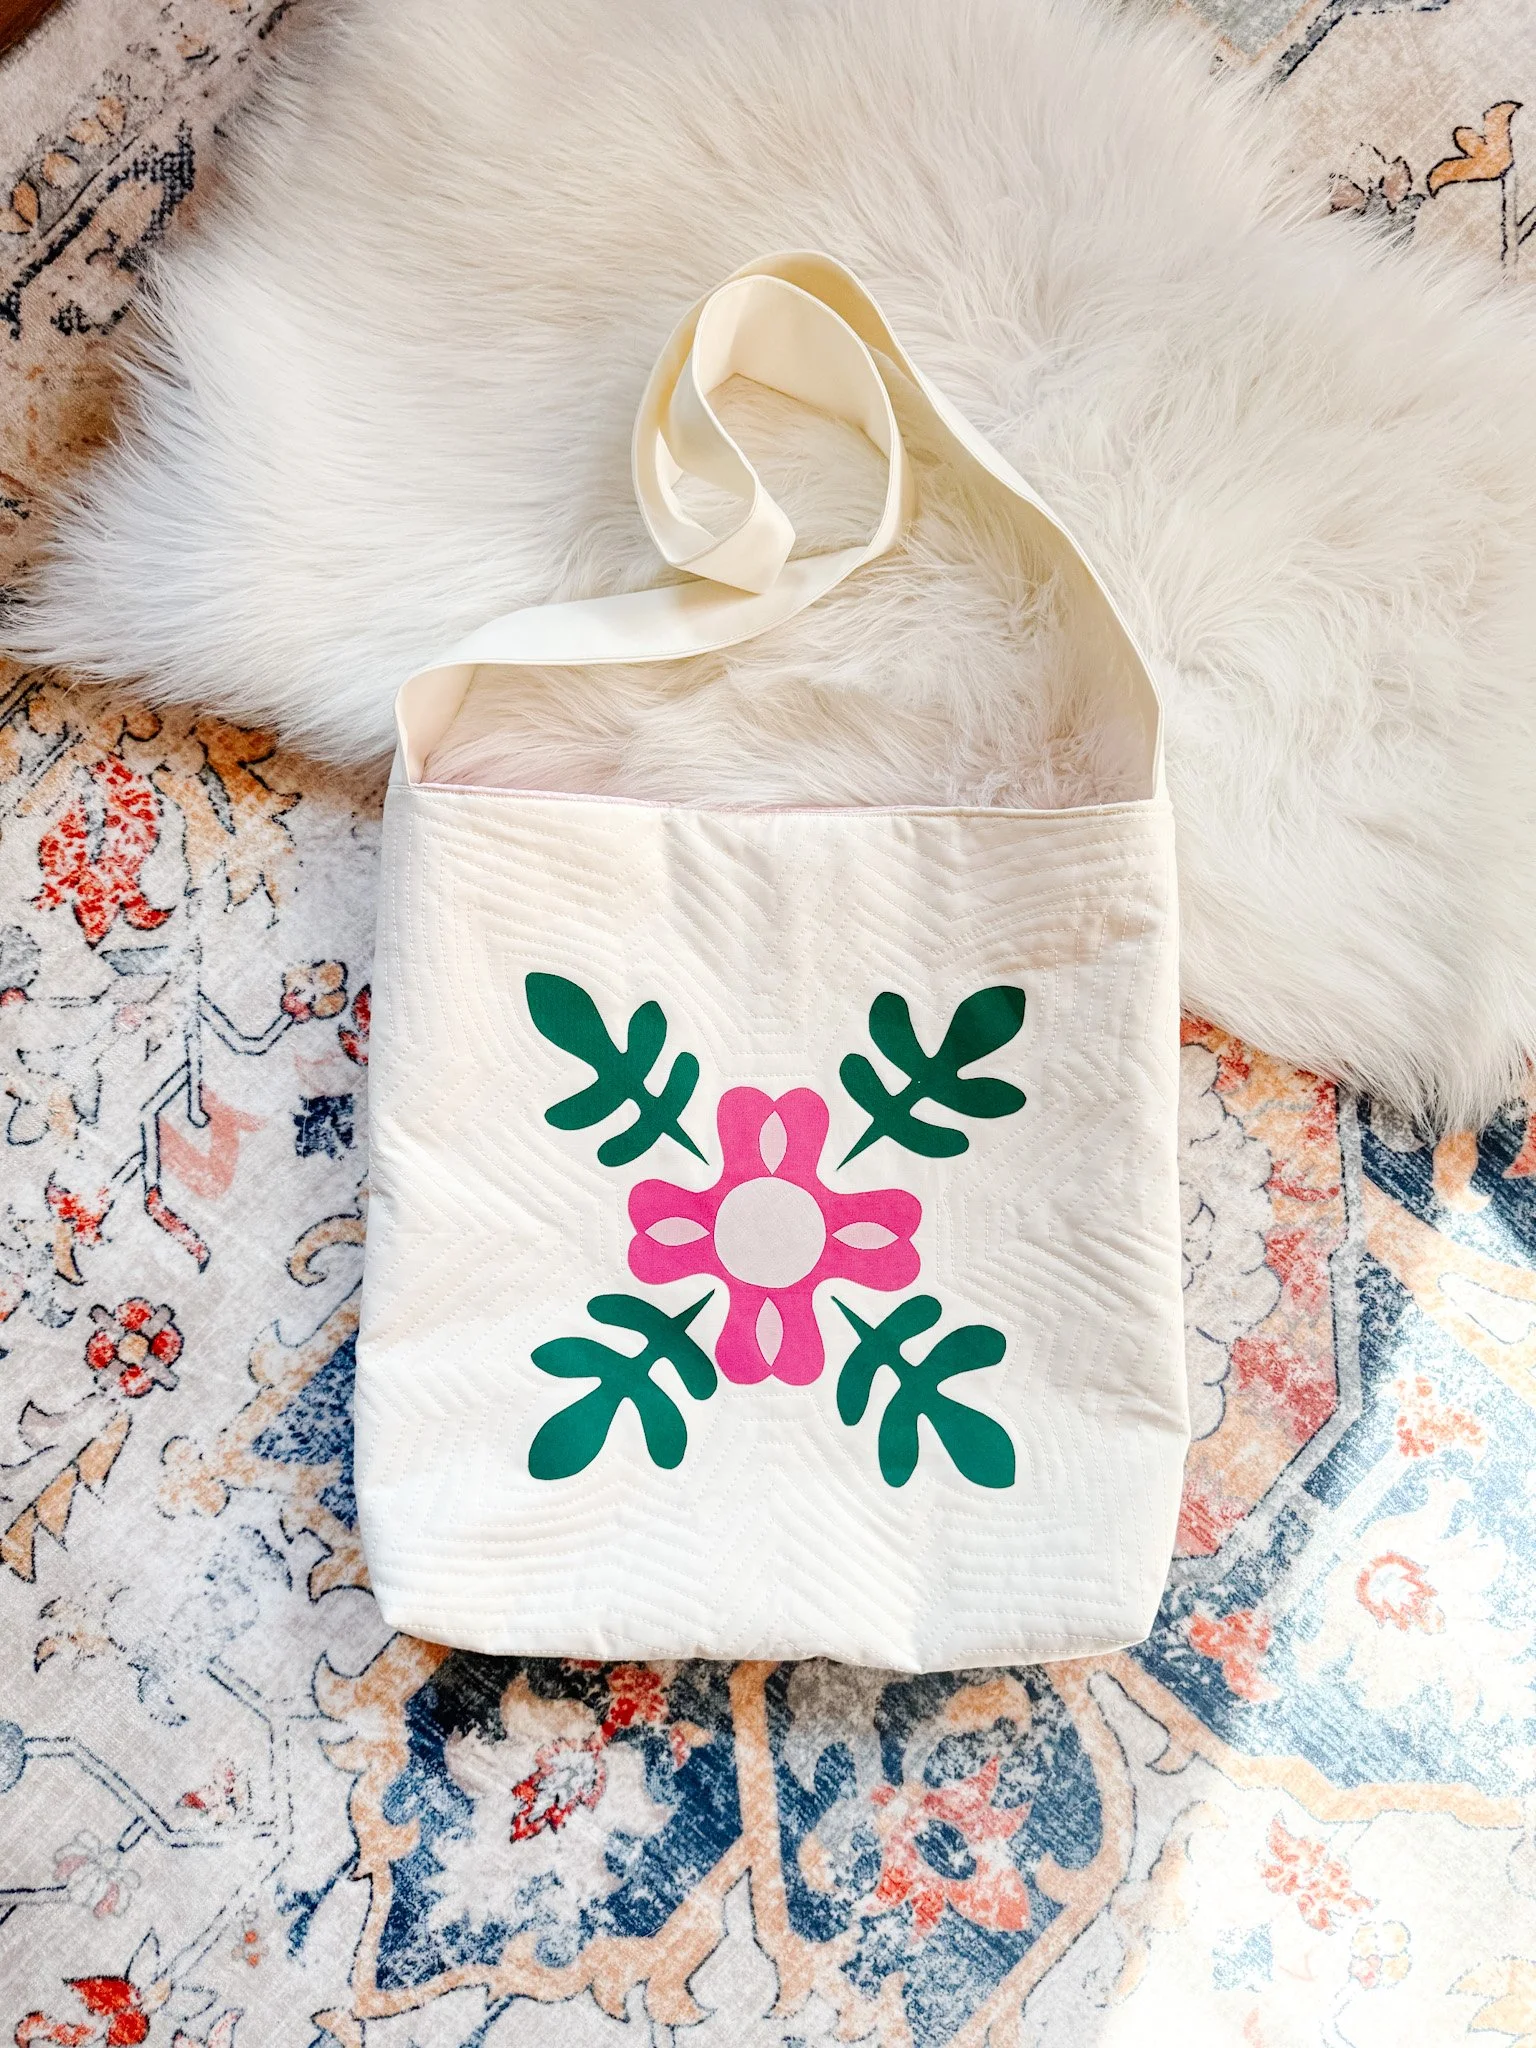
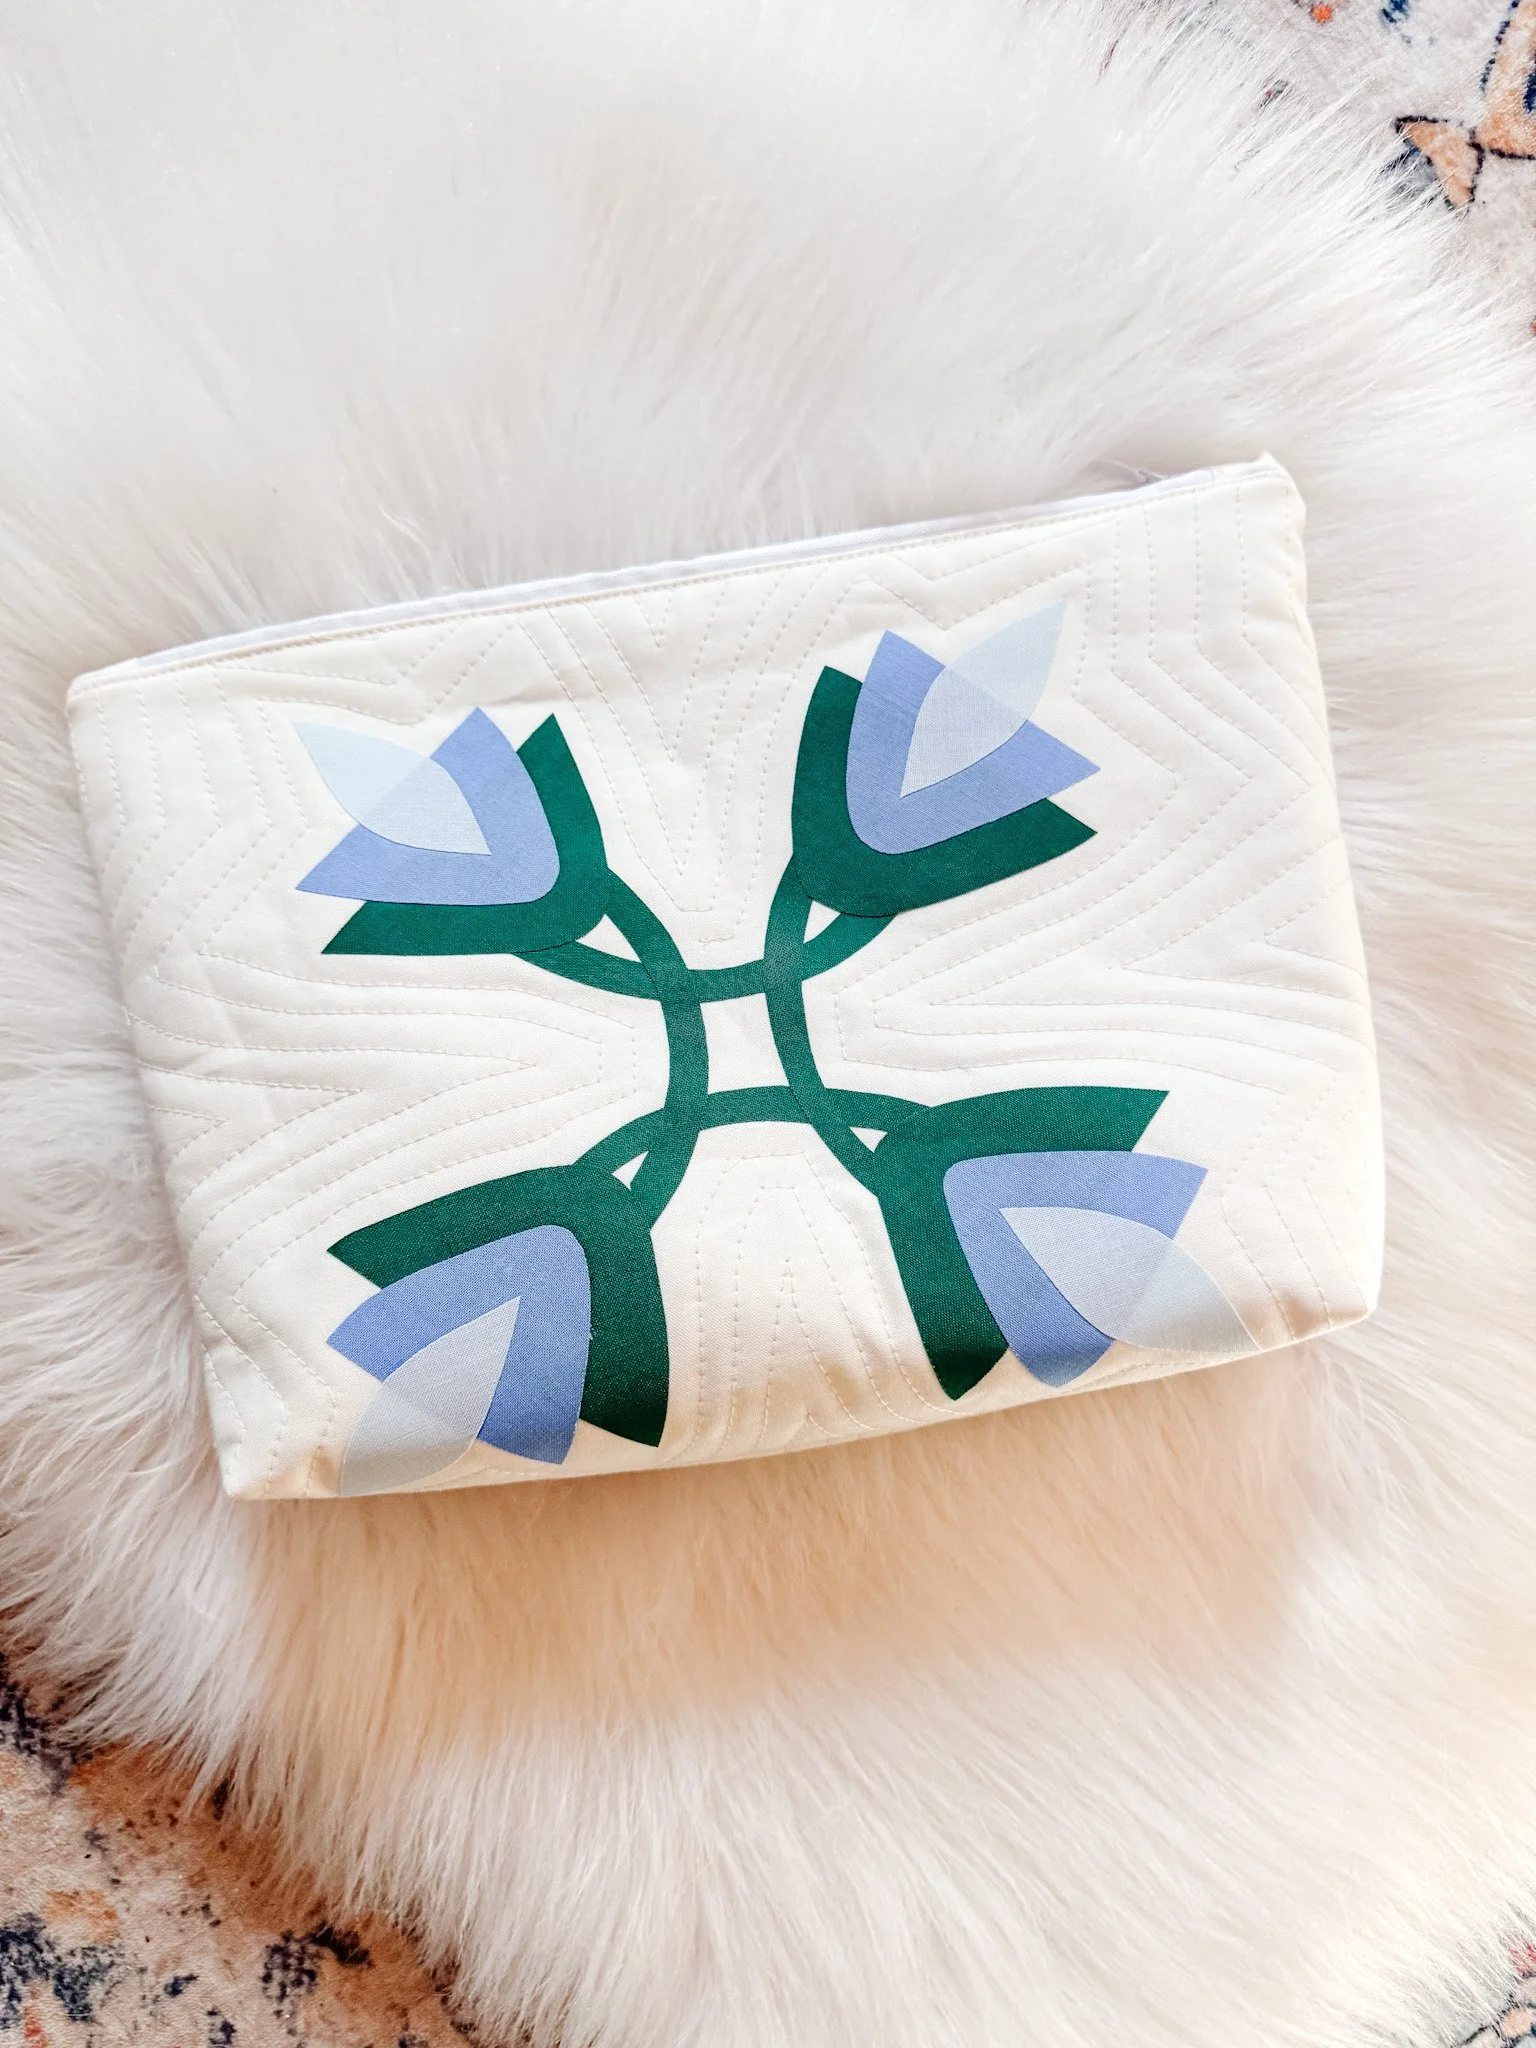
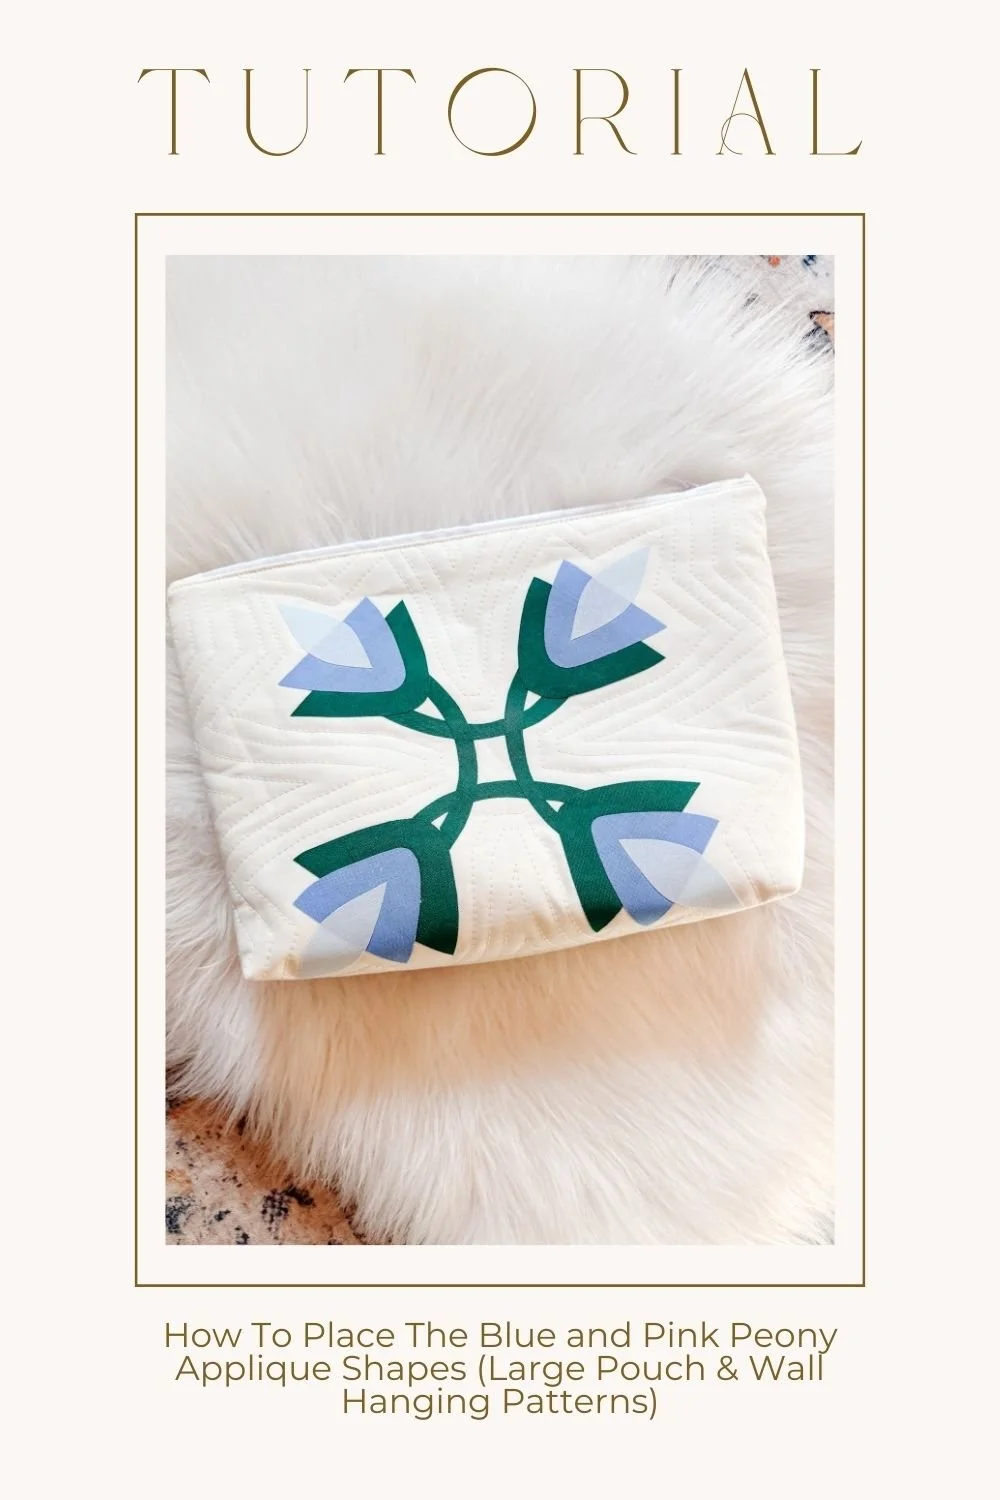
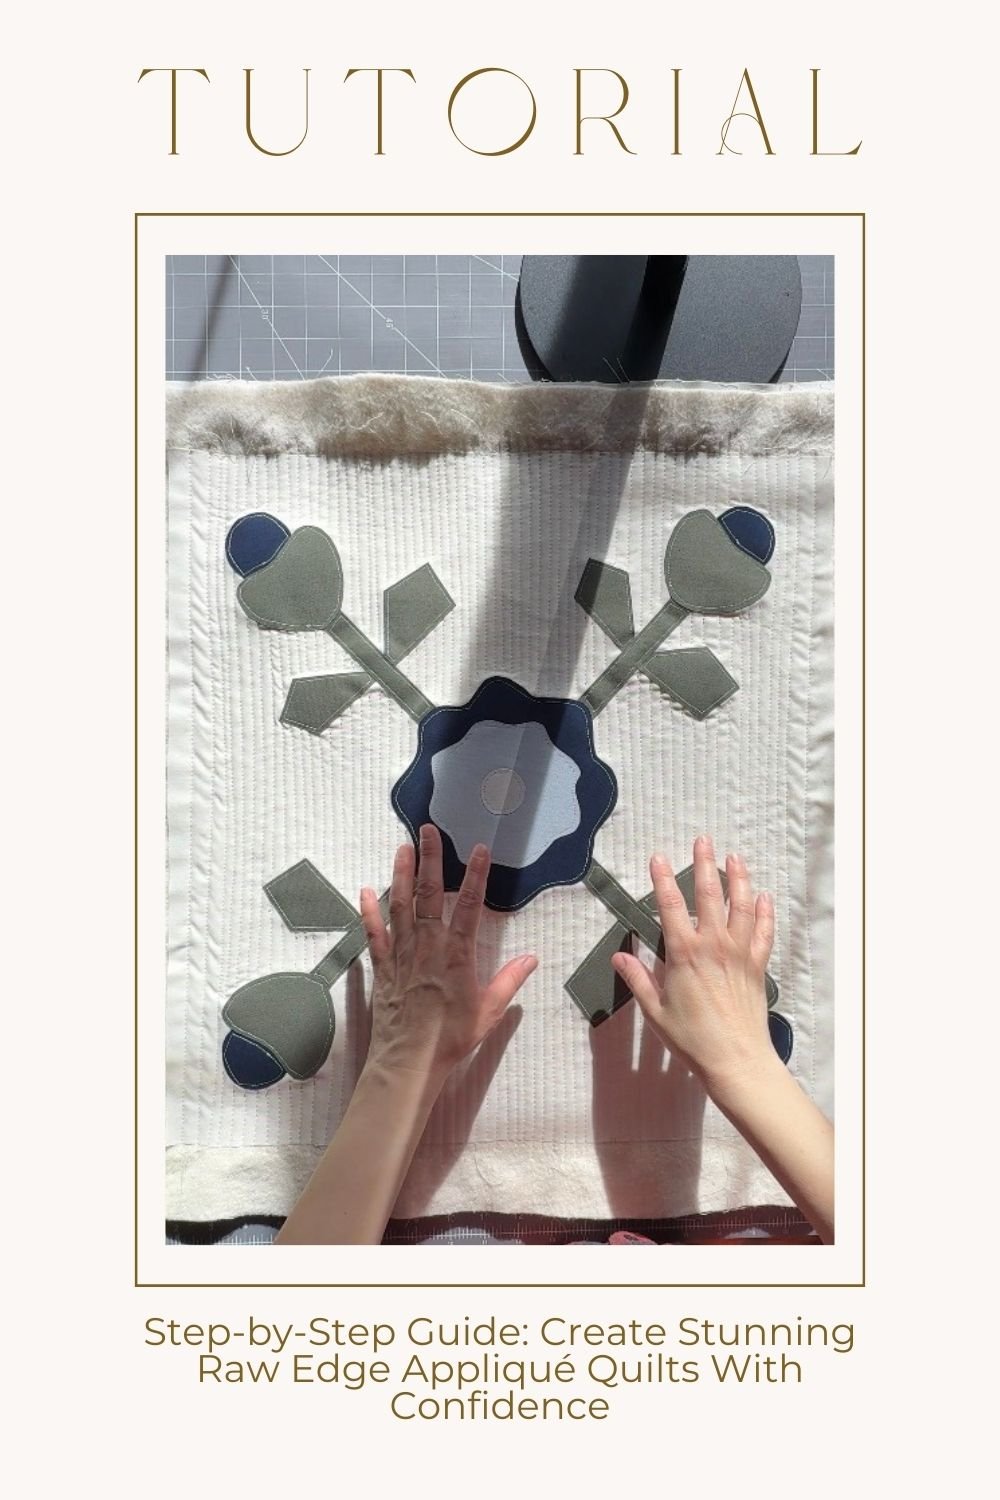
How To Place The Blue and Pink Peony Applique Shapes (Large Pouch & Wall Hanging Patterns)
If you’re working on the Blue and Pink Peony appliqué patterns — this is your step-by-step guide for placing the design exactly the way it’s intended.
This tutorial is exclusive to this design because the placement is a little different than my other patterns.
The stems are more detailed.
The layering matters more.
And if you try to “wing it” without a system… it can get frustrating fast.
So I’m going to walk you through how I actually do it — in a way that keeps it simple, flexible, and honestly… way more enjoyable.
check out my fave quilting toolsbefore you start (don’t skip this)
You’ll need:
Your appliqué background fabric (cut + pressed)
Printed templates and the legend
All appliqué pieces prepped with fusible
A washable glue stick
Your iron (for later — not yet)
The templates are color-coded and lettered. Use that. Don’t try to memorize shapes — that’s a waste of energy.

step 1: create your placement guides (the “bullseye”)
This is where most people already go wrong — they eyeball everything from the start.
Don’t.
Take your background and:
Fold it in half → finger press
Fold it again the other way → finger press
Now you’ve created a centered crosshair — your “bullseye.”
No pens. No chalk. No guessing.
And importantly: don’t iron these lines.
Finger press only — they’ll disappear later and that’s what you want.
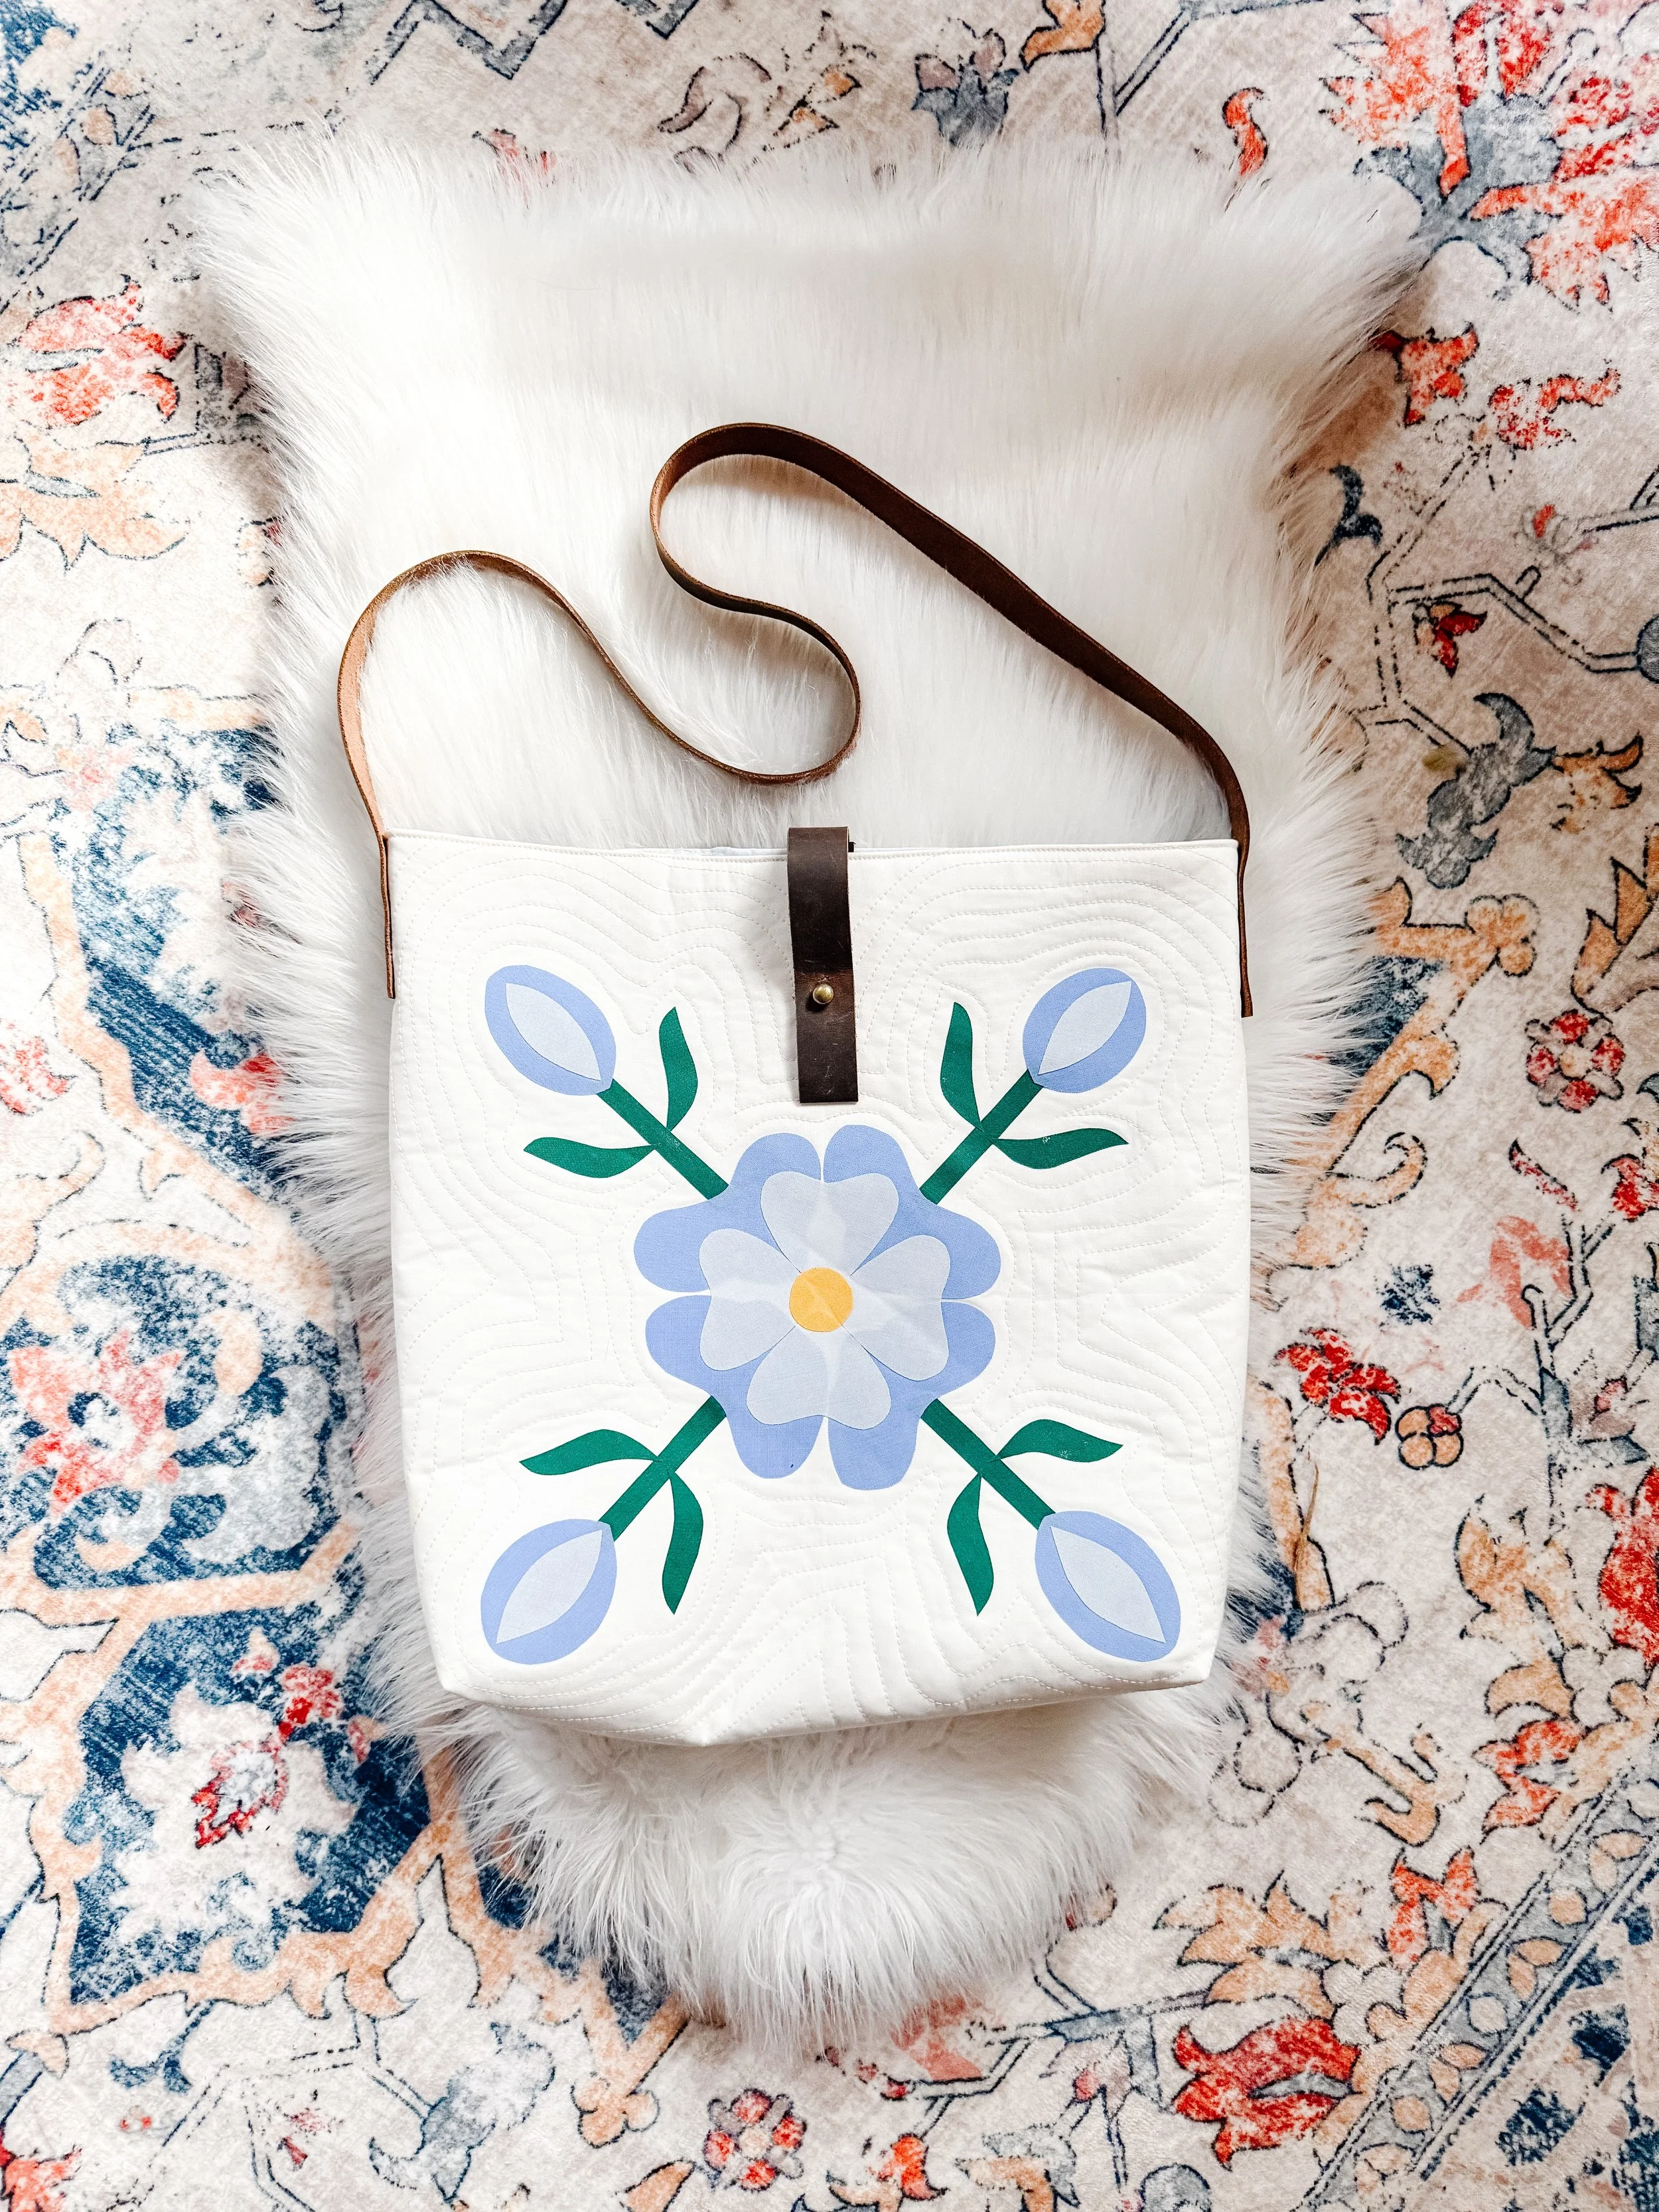
step 2: start with the vines (your foundation layer)
Always start with the pieces that sit underneath everything else.
For this design → that’s your vines.
Peel off the backing and look for the shiny side — that’s your fusible side going down.
Now here’s the move that matters:
Use a tiny dab of glue stick.
Not to glue it permanently — just to tack it in place.
If you go straight to the iron and it’s wrong? You’re stuck.
Glue = control.
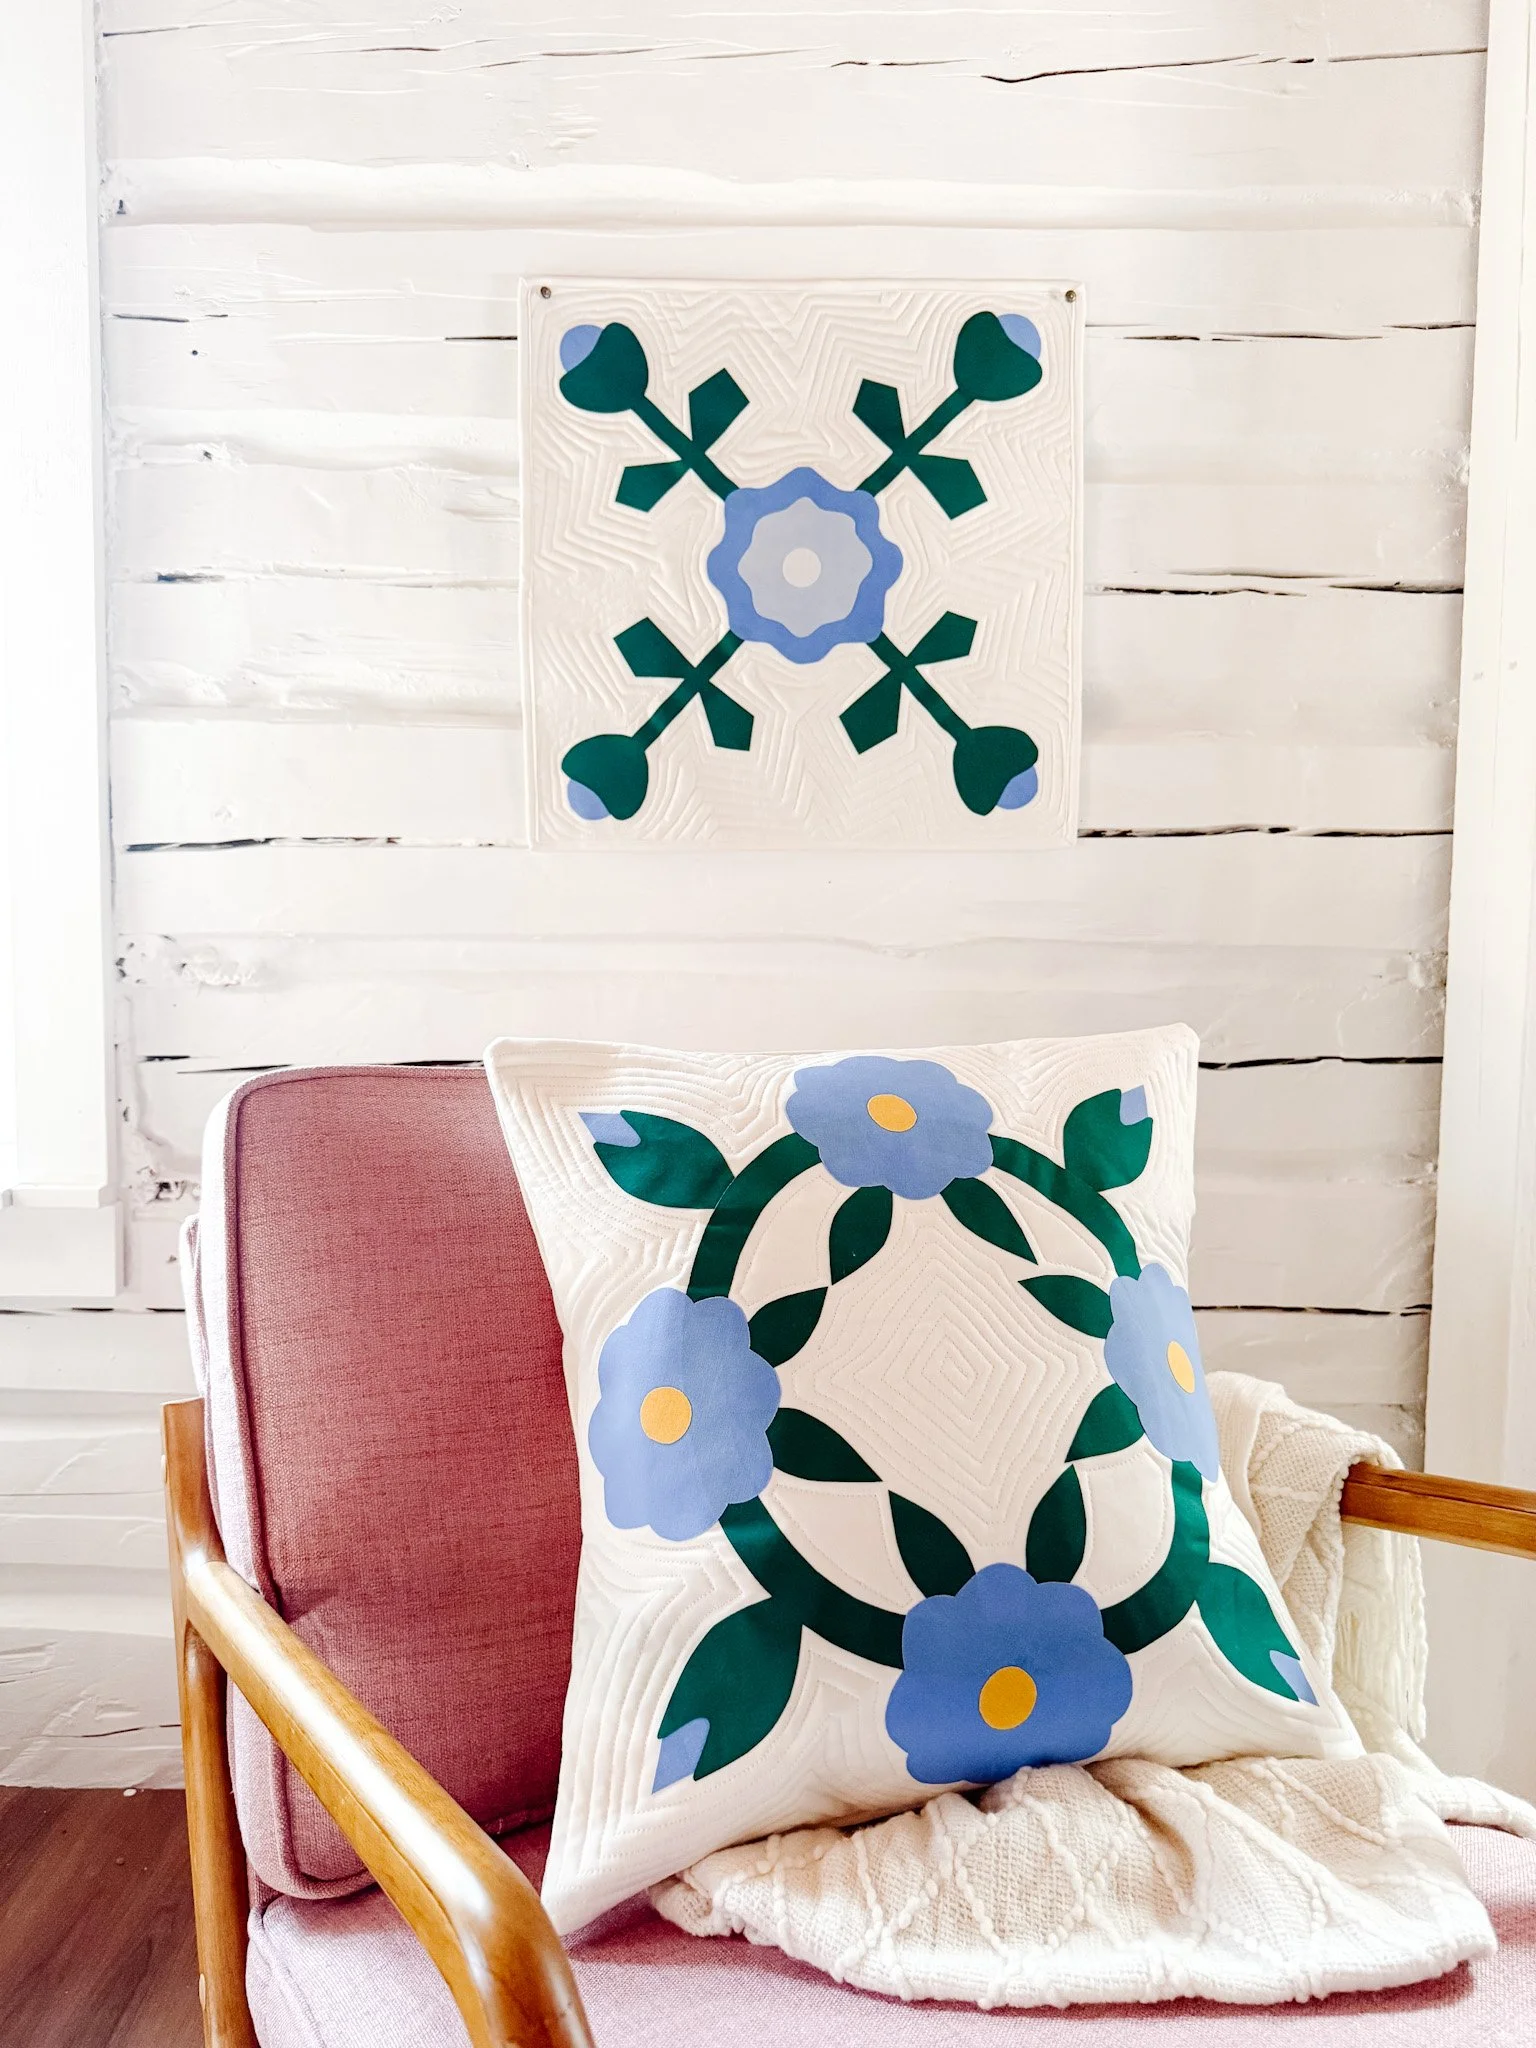
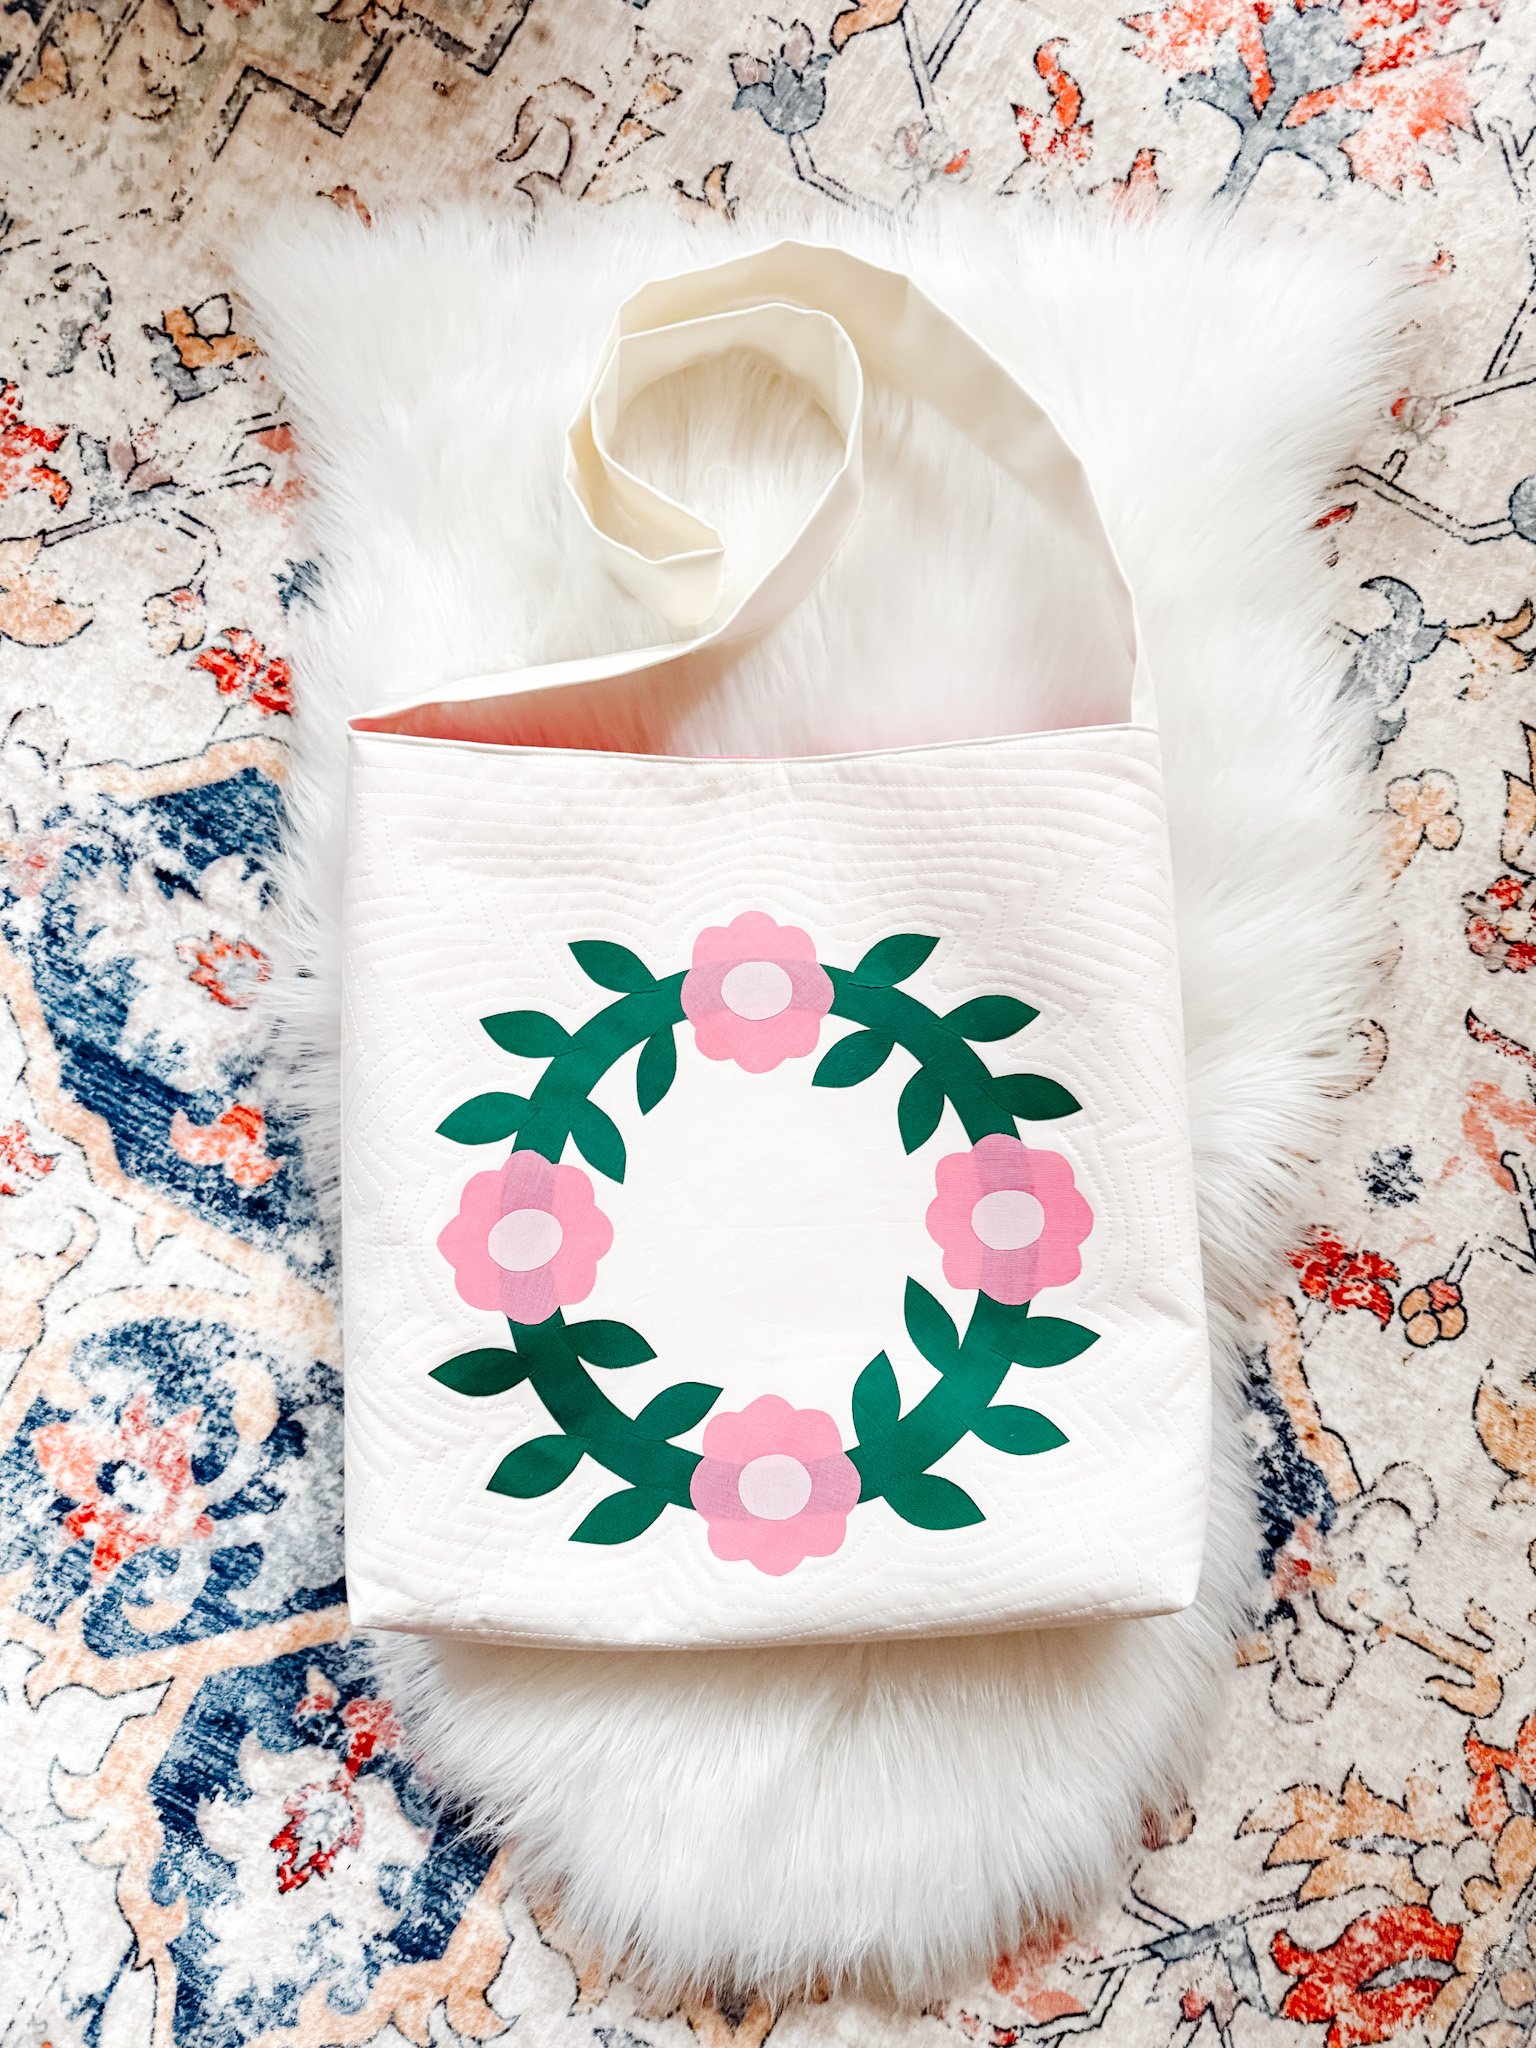
step 3: build the structure before the details
This pattern is rated intermediate for a reason.
Not because it’s hard to sew — but because placement requires awareness of layering and flow.
So don’t jump to flowers right away.
Instead:
Place all vines
Adjust until the flow feels balanced
Then move on
If your base is off, everything on top will look off.
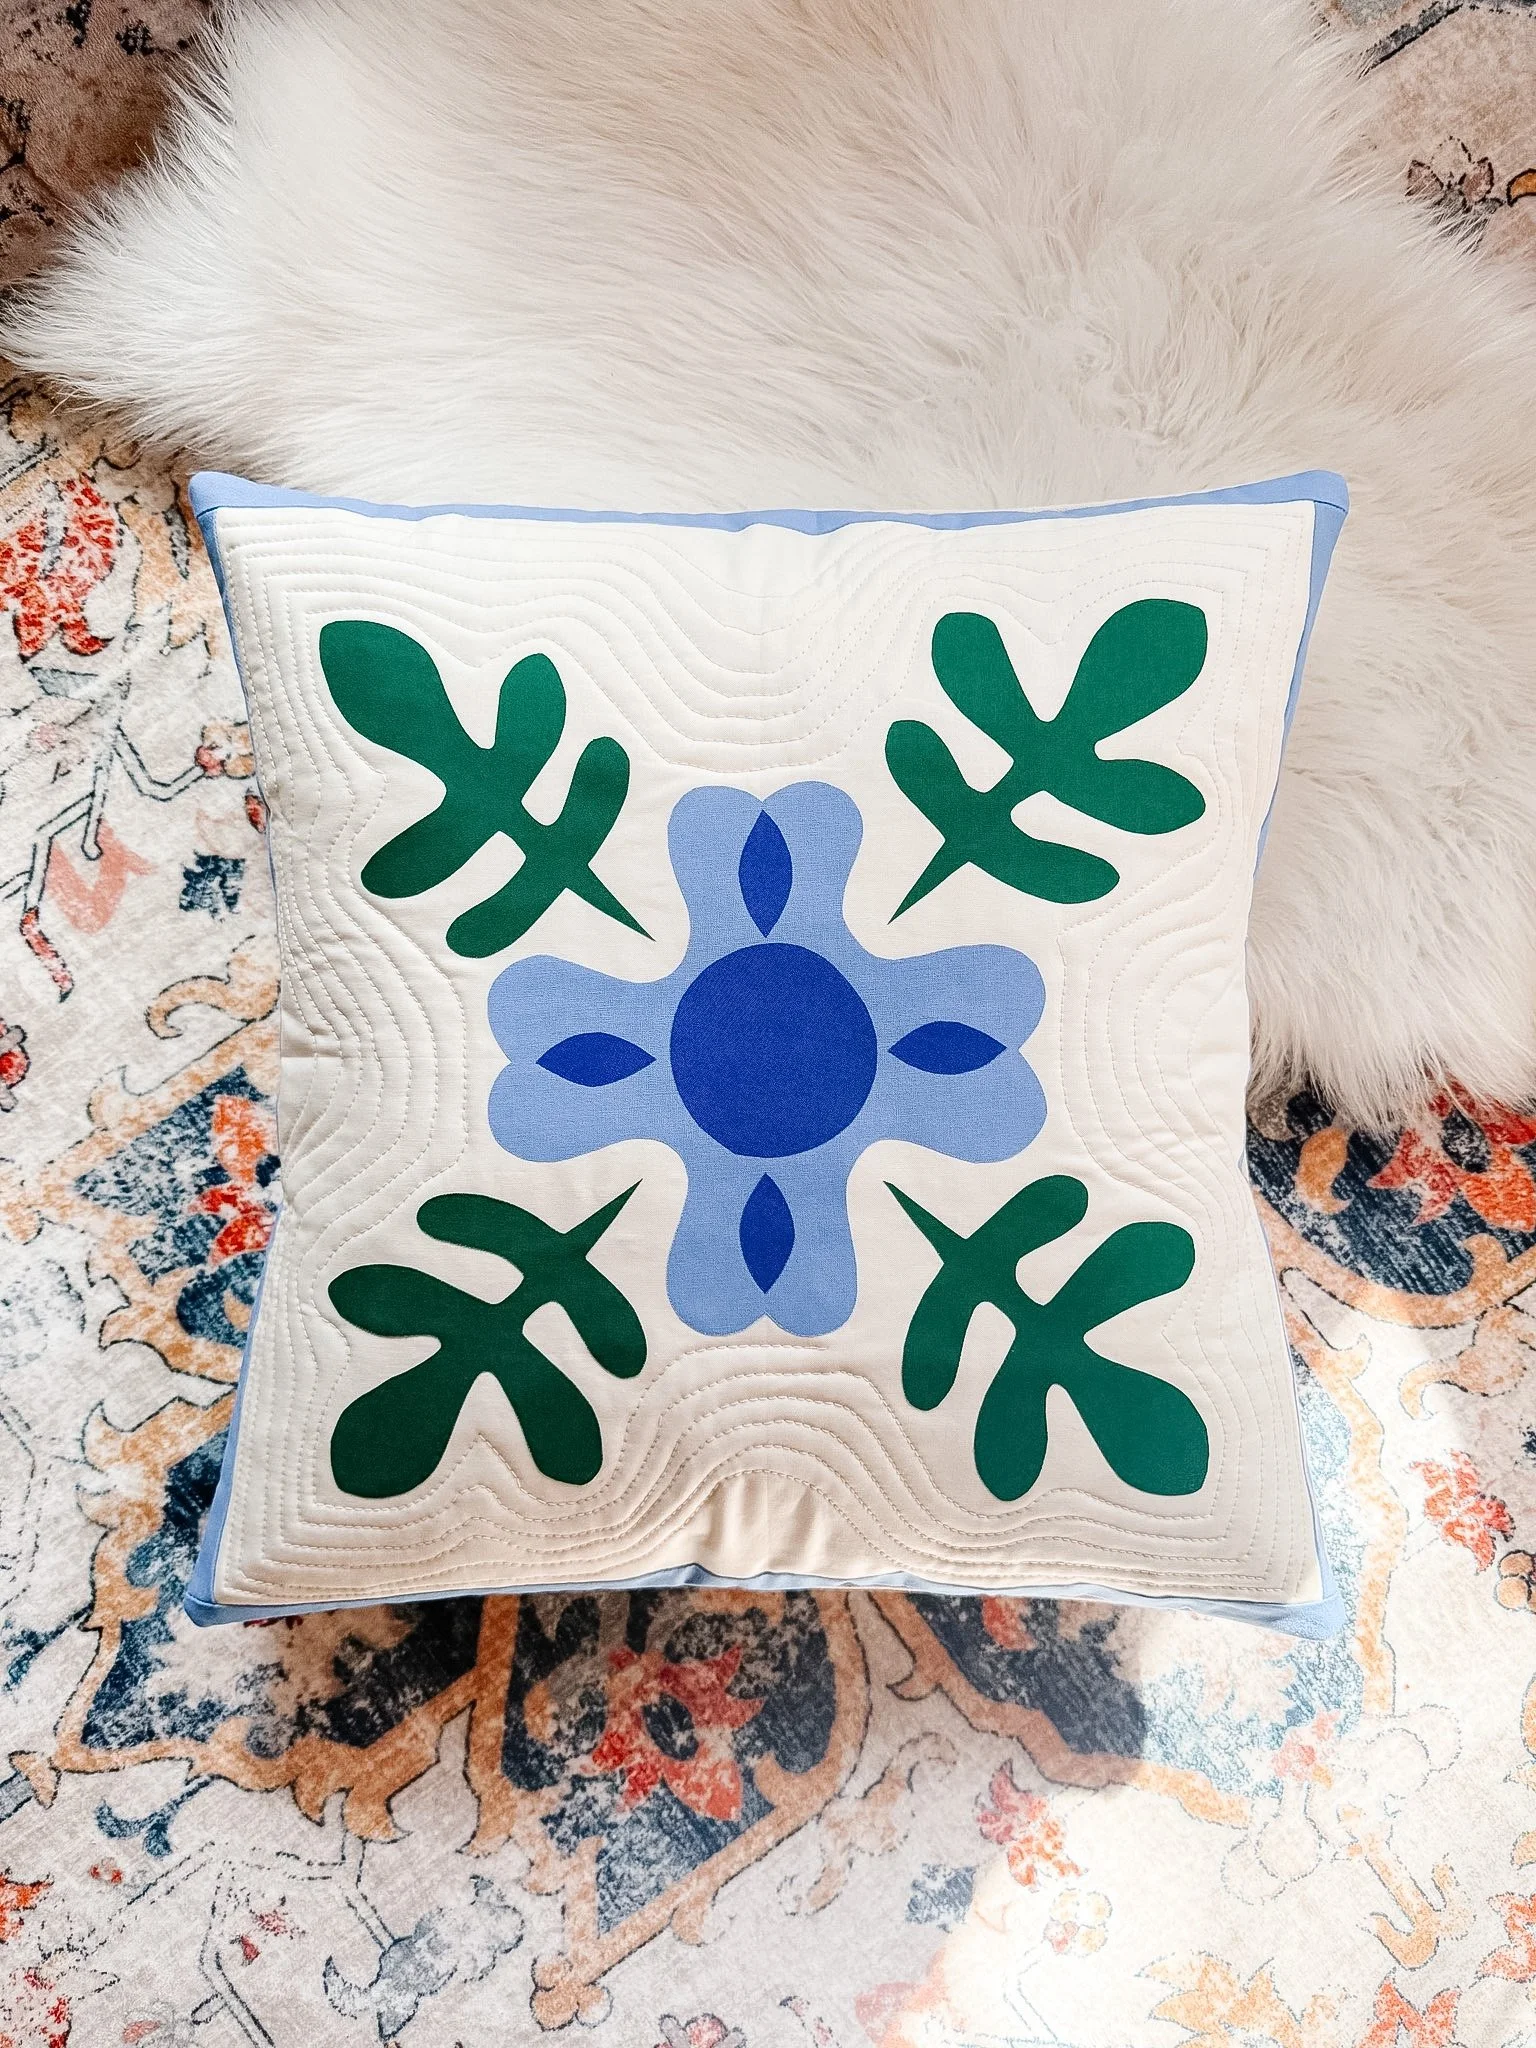
step 4: layer your shapes properly
Now we build.
Green pieces go underneath
Blue/pink elements sit on top
Some shapes intentionally overlap halfway
This is not random.
The design relies on that layered look — it’s what gives it dimension.
And yes — a lot of this is eyeballing and adjusting.
That’s not a flaw. That’s the skill.
step 5: work one section to completion
Instead of placing everything halfway and getting overwhelmed:
Finish one side completely.
Place all pieces for one cluster
Adjust until it feels balanced
Step back and check it
Then move on.
This reduces decision fatigue and keeps your placement consistent.
step 6: accept that this one takes more finesse
I’m going to be blunt here:
This is not a “throw pieces down and go” pattern.
The stems in this design are more intricate than my others, which is exactly why it’s labeled intermediate.
If you’re newer, you might feel a little overwhelmed at first.
That doesn’t mean you can’t do it — it just means you need to slow down and trust the process.
step 7: adjust until it feels balanced (not perfect)
This is where most people sabotage themselves.
They try to make it perfect.
Wrong target.
Instead ask:
Does this feel balanced?
Do the shapes flow together?
Does it look good to me?
That’s the goal.
You’re not a machine — you’re a maker.
step 8: fuse your appliqué (properly)
Once everything is placed:
Use medium-high heat (wool setting works well)
Press for ~8 seconds at a time
Lift and press — do NOT slide your iron
Sliding = shifting your entire layout
(And yes… it’s as annoying as it sounds.)
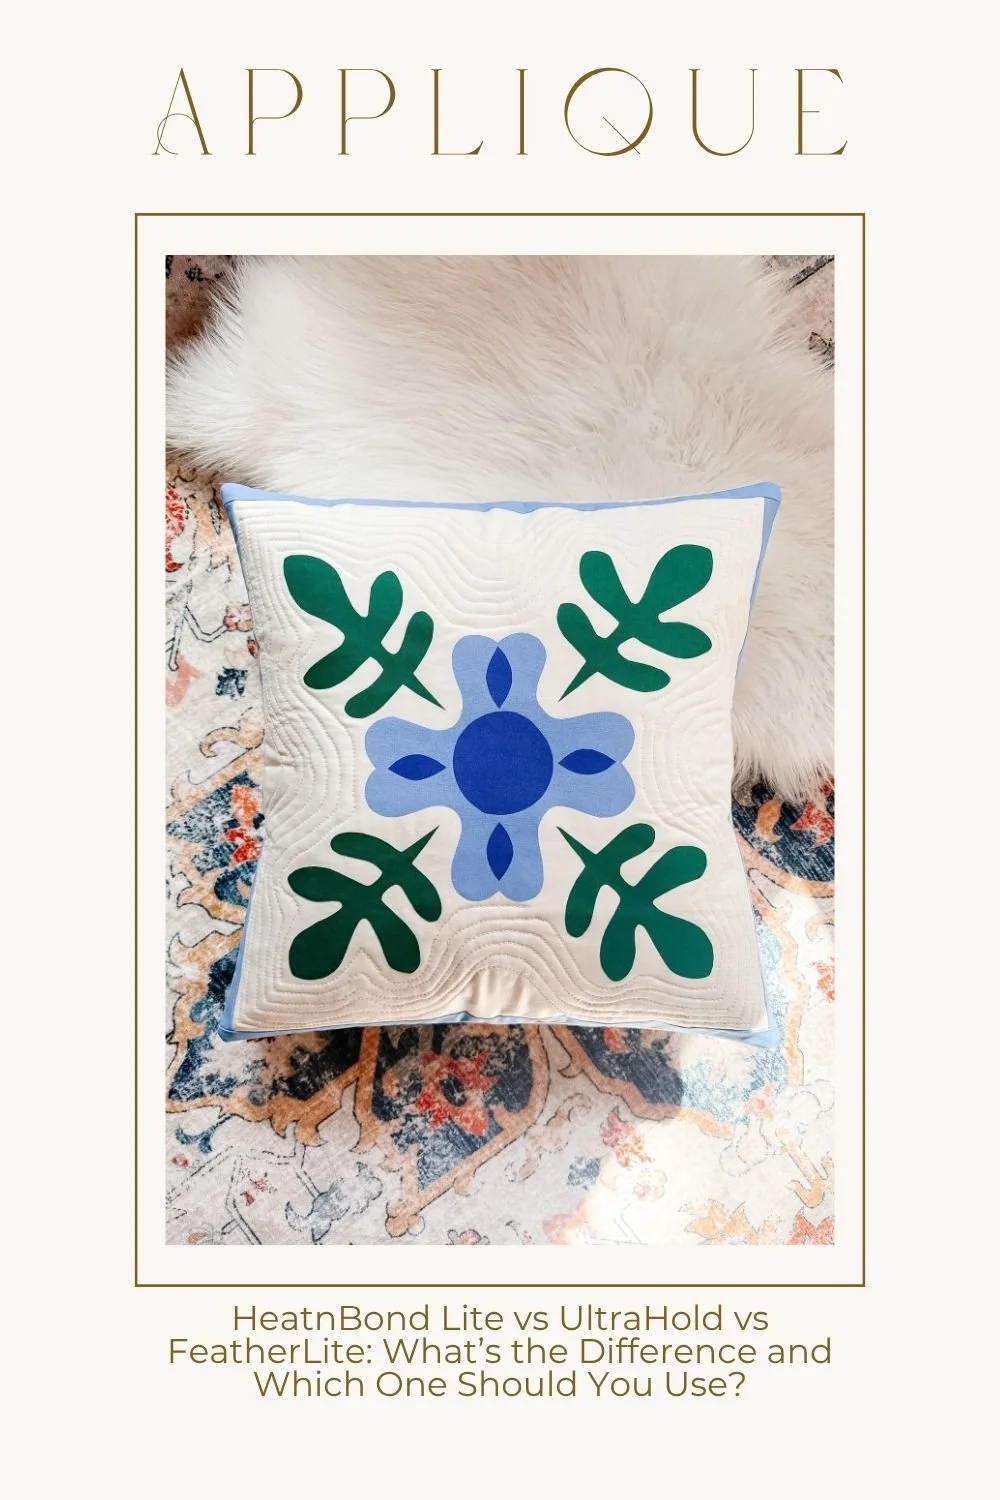
important fusible note (don’t ignore this)
For this project, I used Heat n Bond Ultra Hold.
That means:
You do NOT need to sew it
You should NOT sew it (it can gum up your machine)
If you want to sew your appliqué instead:
→ use Heat n Bond Lite
Different tools, different outcomes.
final reminder (this is the difference)
This design comes together beautifully when you:
Build in layers
Take your time with placement
Adjust freely before fusing
If you rush it, it will feel frustrating.
If you treat it like a process — it becomes one of those “wait… I actually love this” moments.
If you’re working on the Blue or Pink Peony patterns, this is your exact placement method.
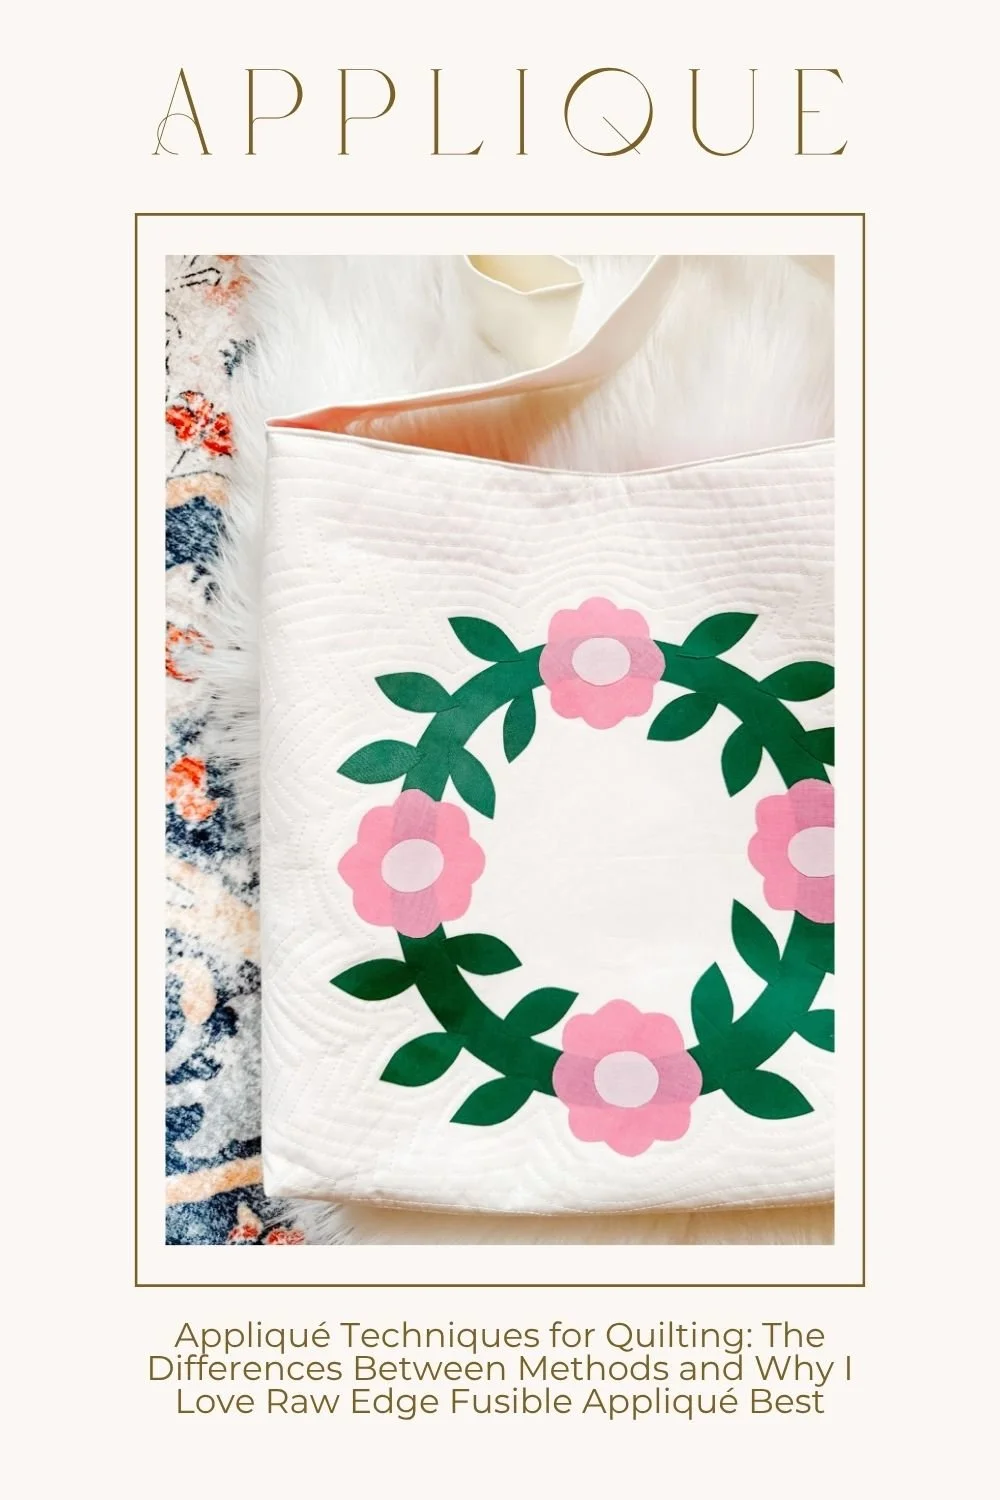
And if you want to go deeper:
I’ve got full tutorials on appliqué techniques, quilting, and finishing on the blog and YouTube.
Now go make something beautiful — and don’t overthink it 😉
check out my fave quilting toolspin it for later
Minimalist knitwear designer.