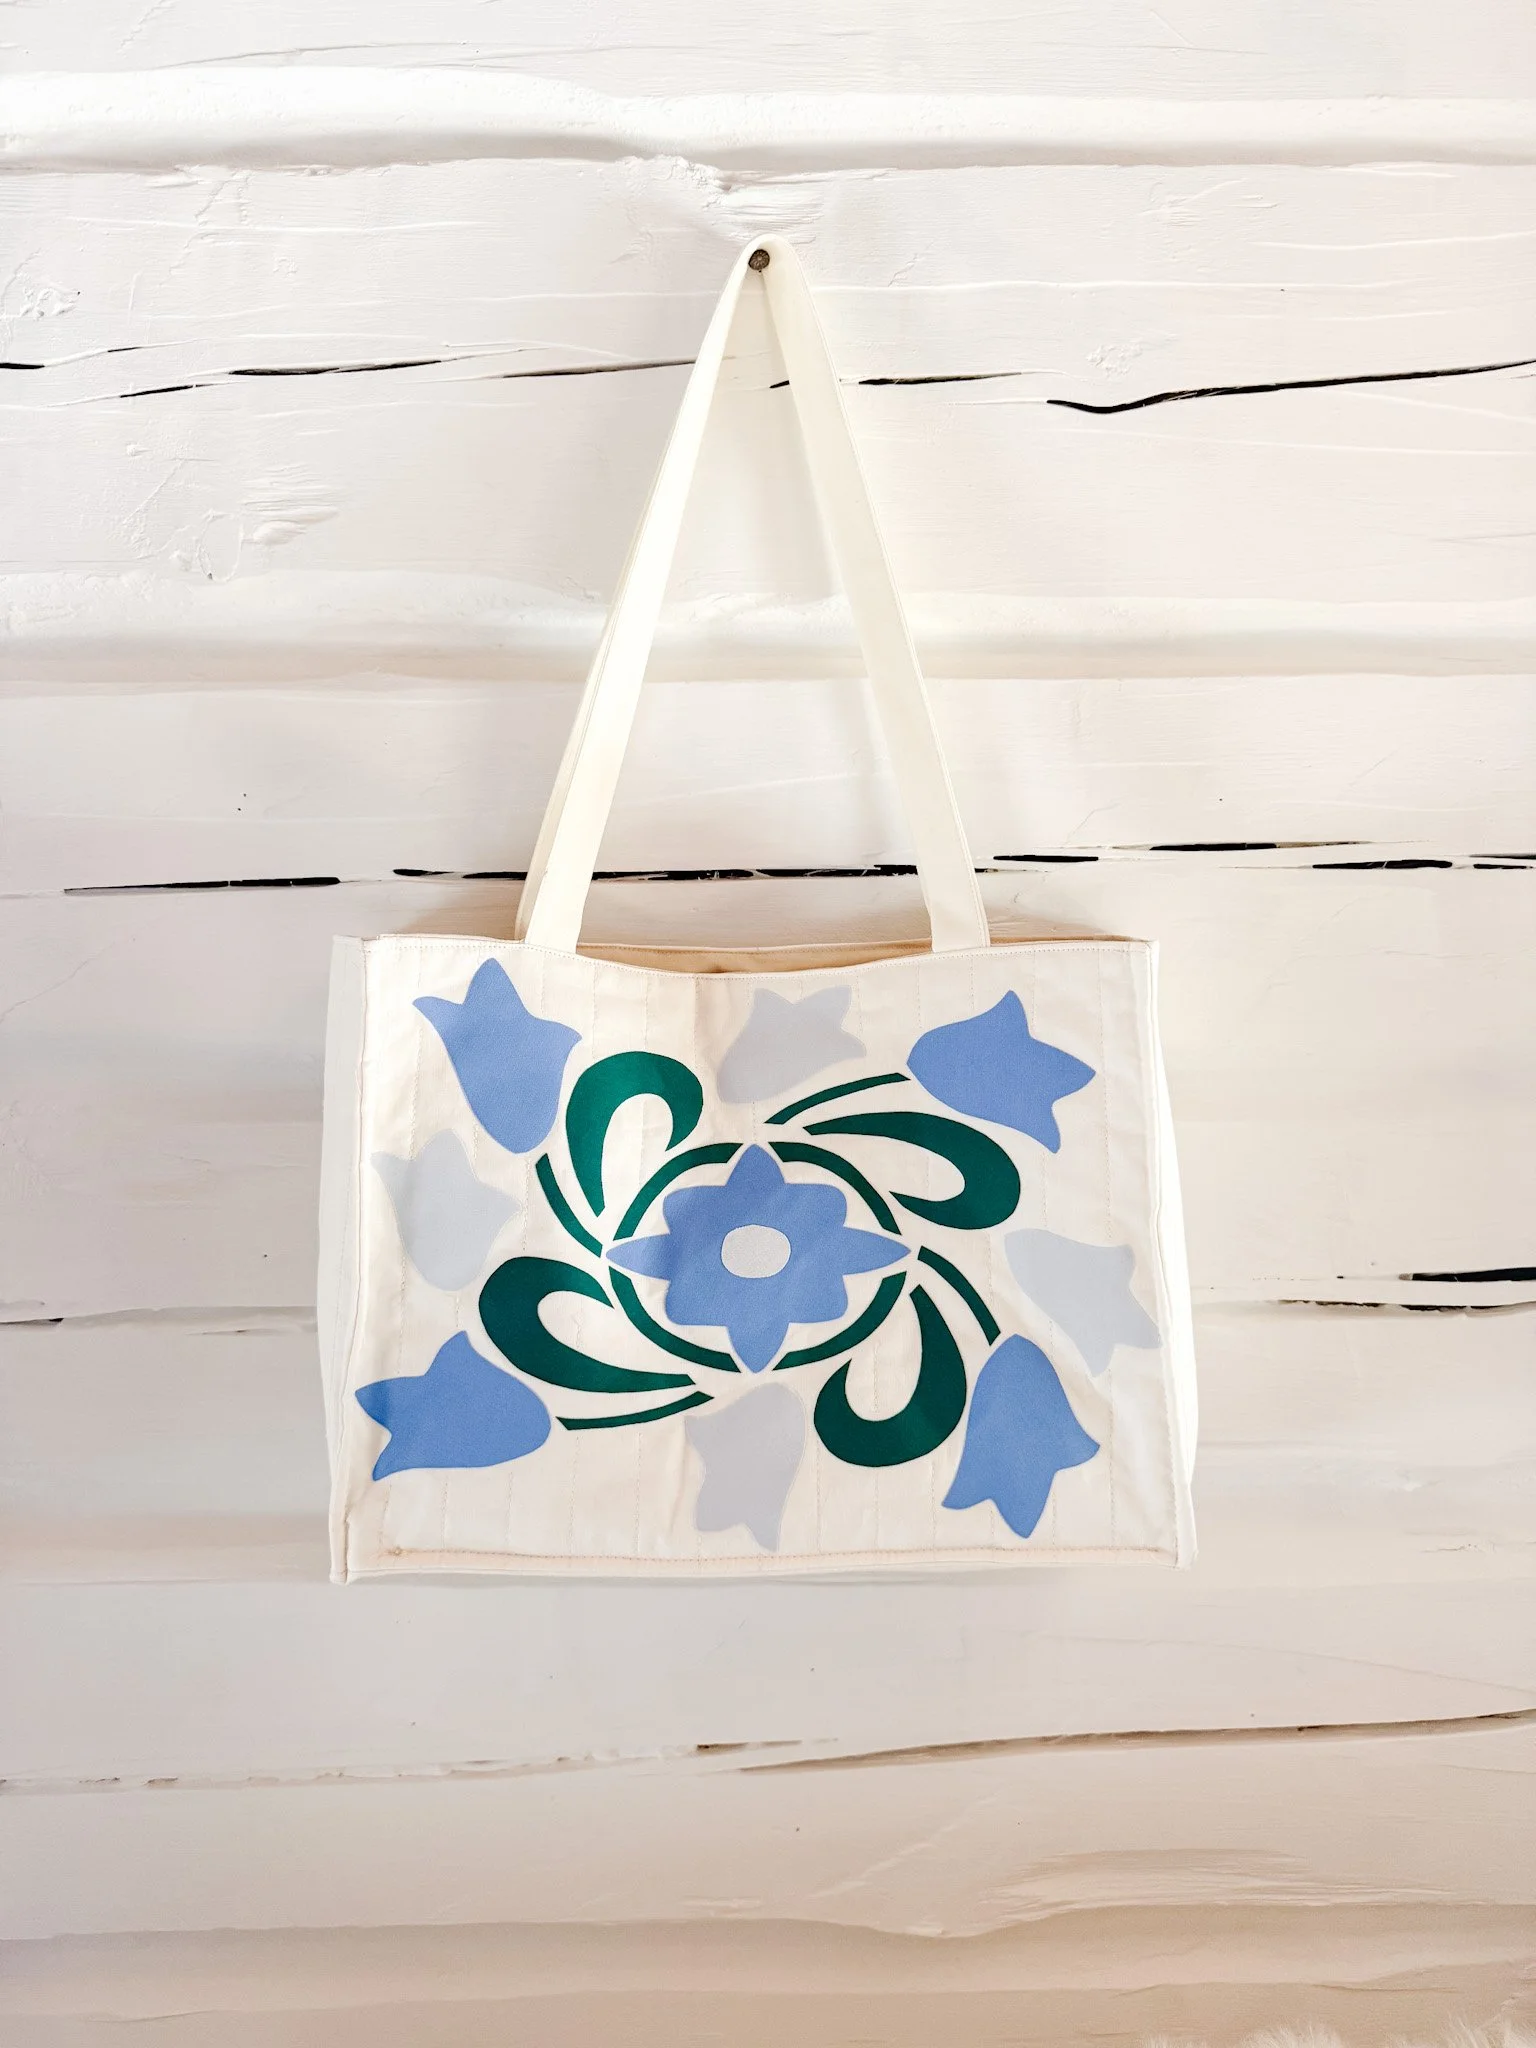
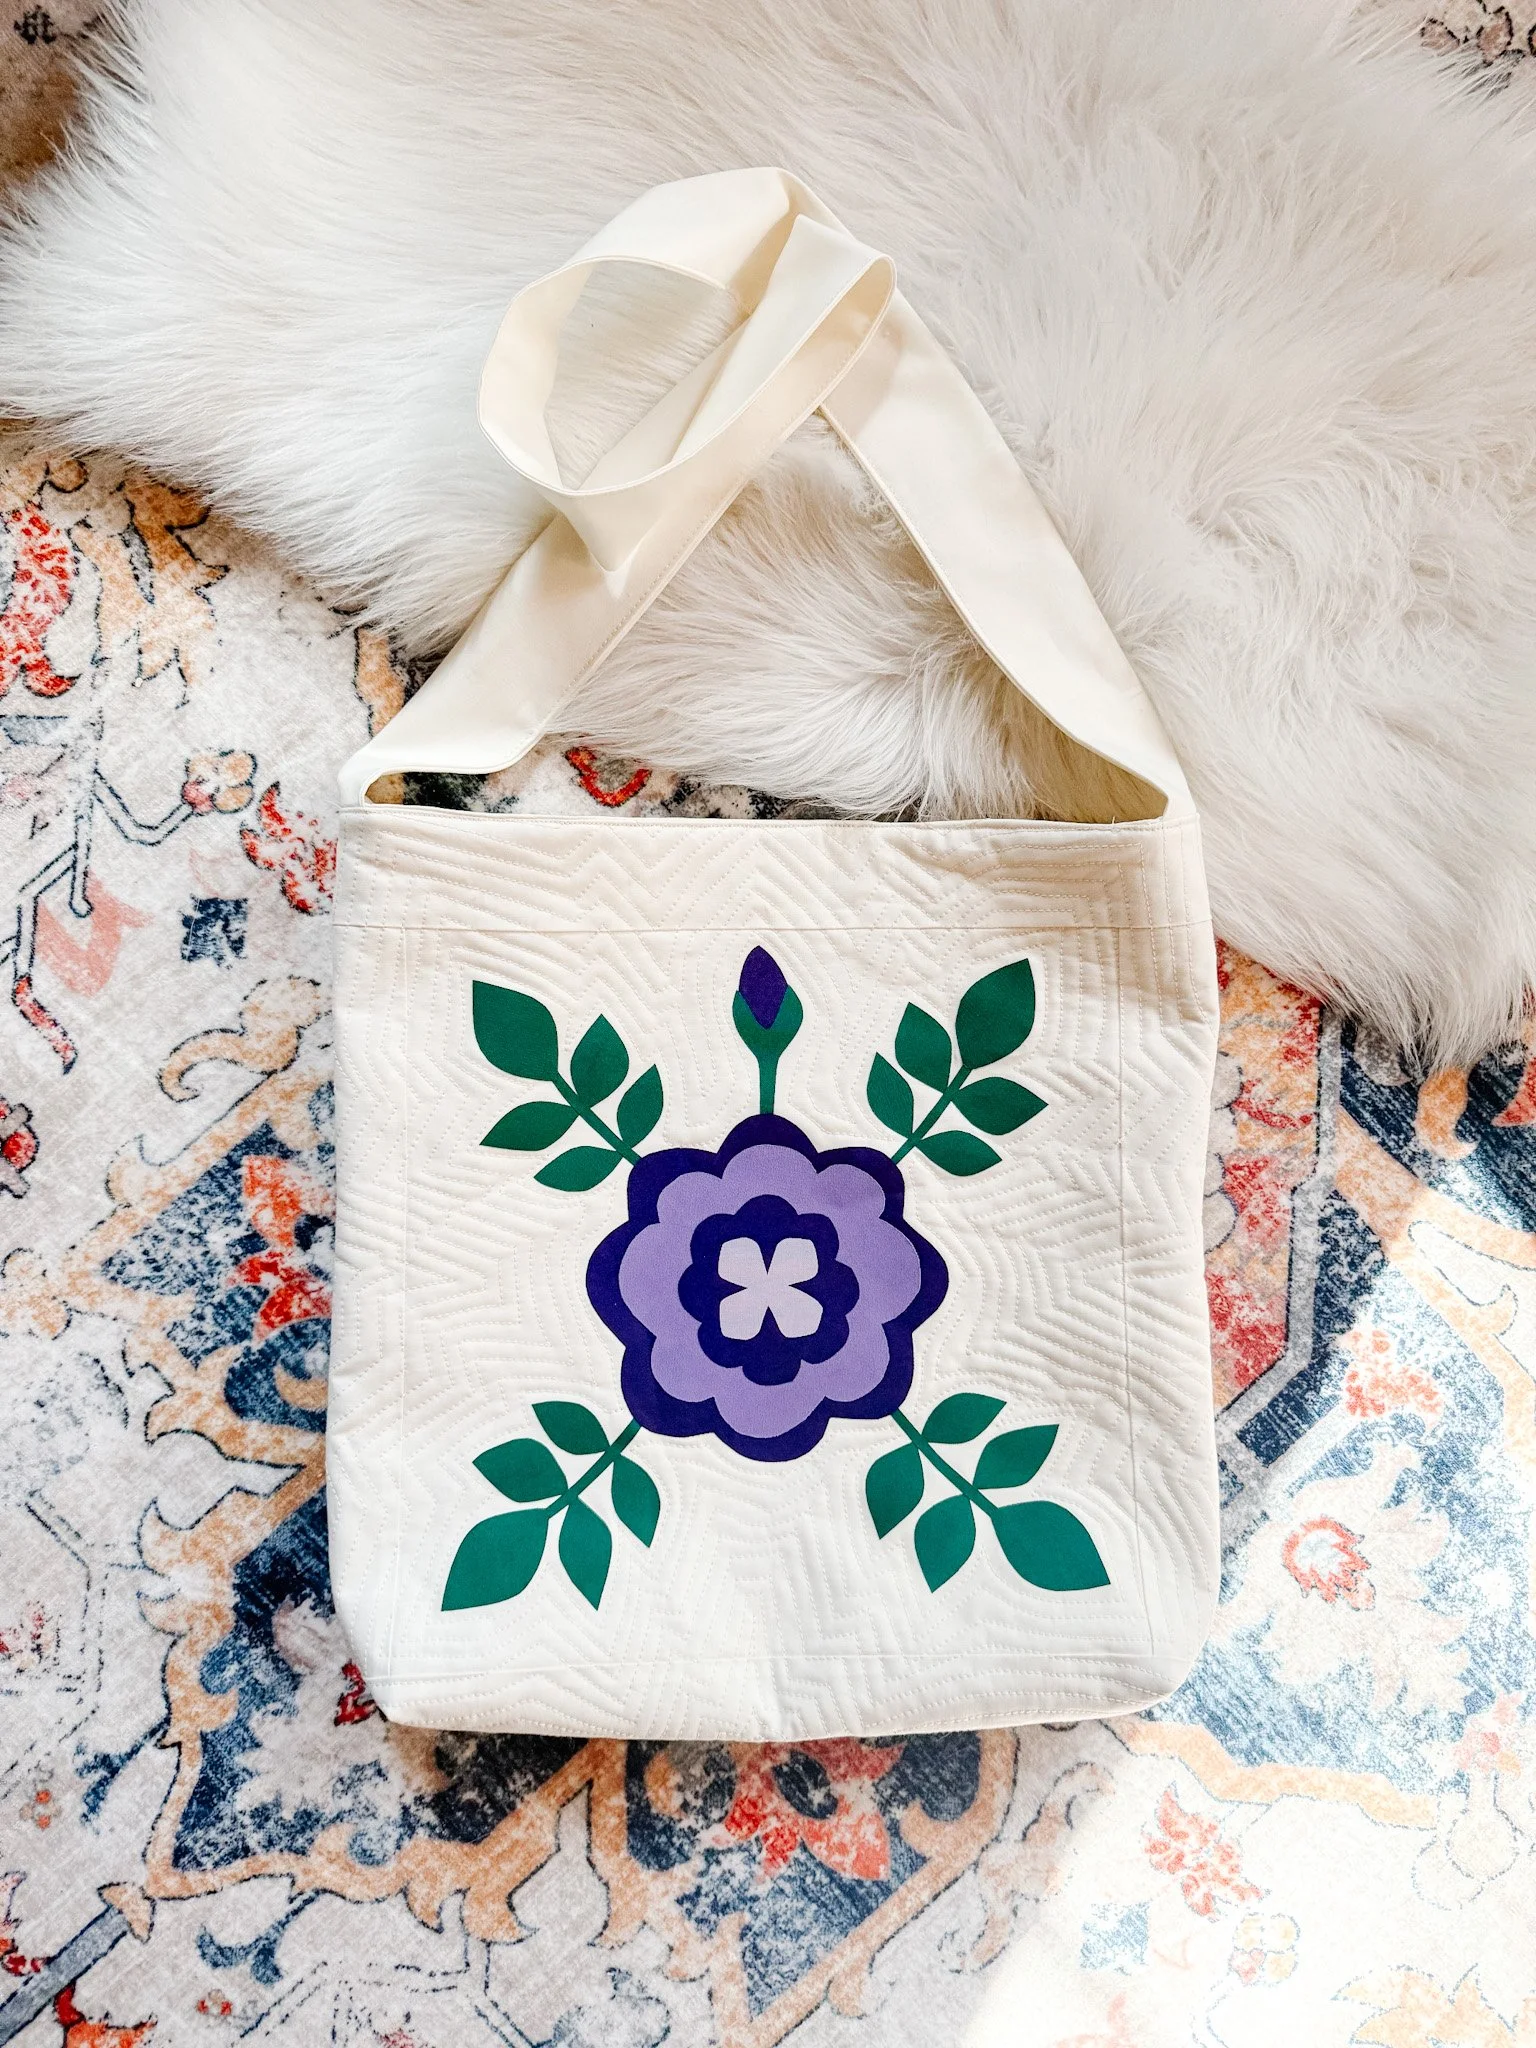
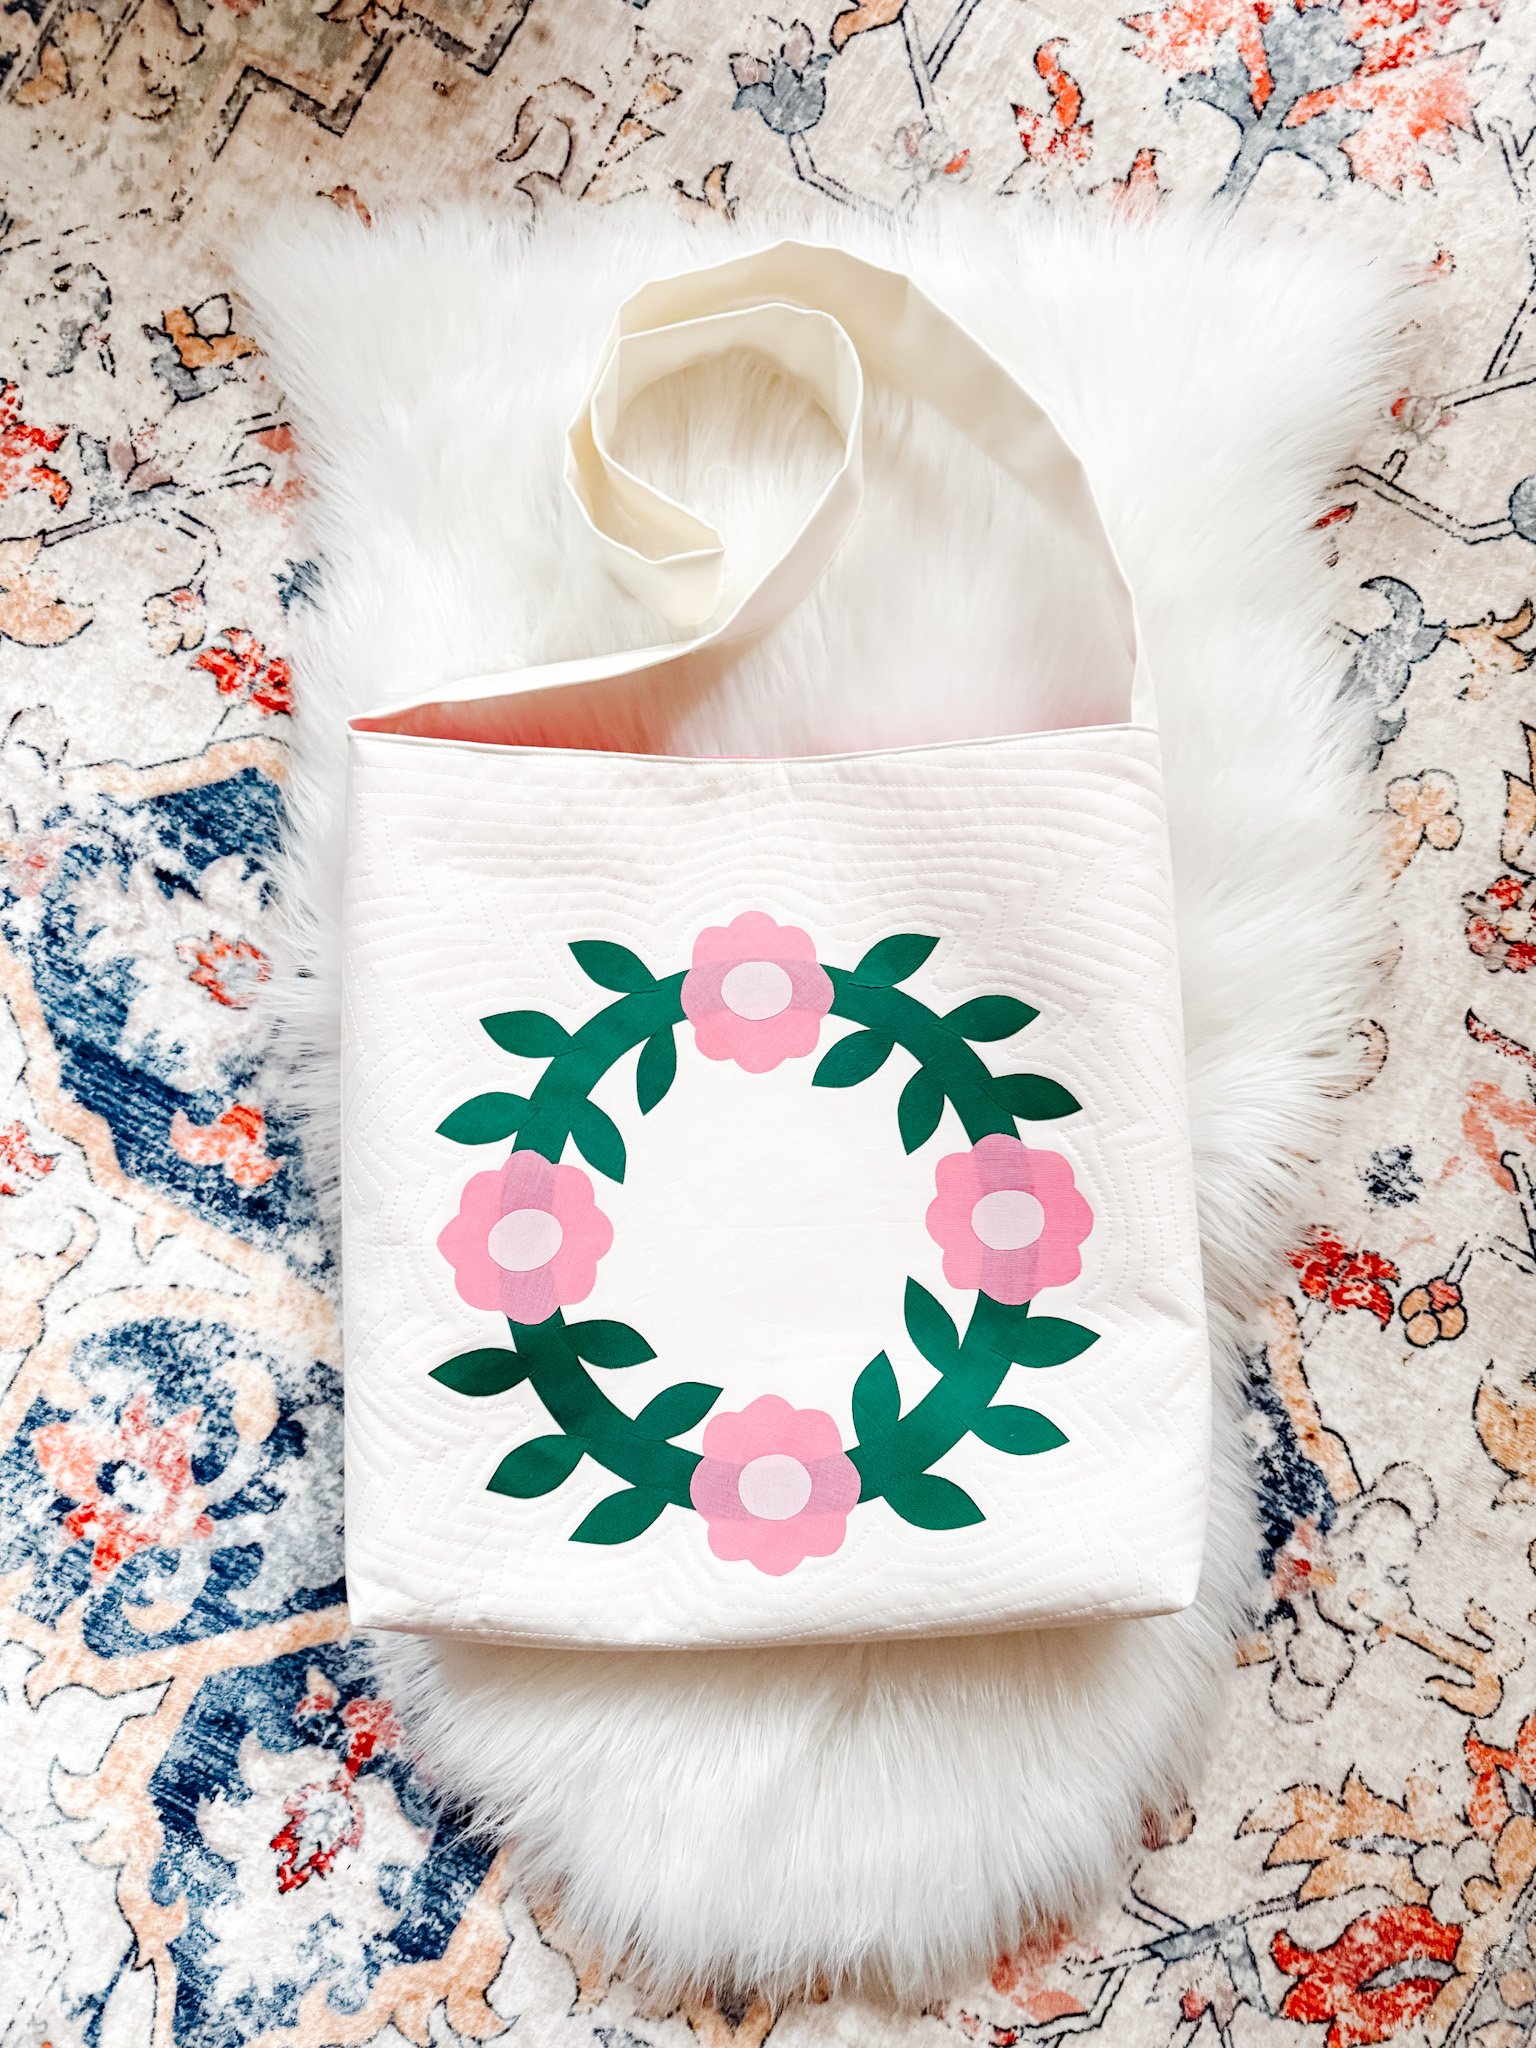
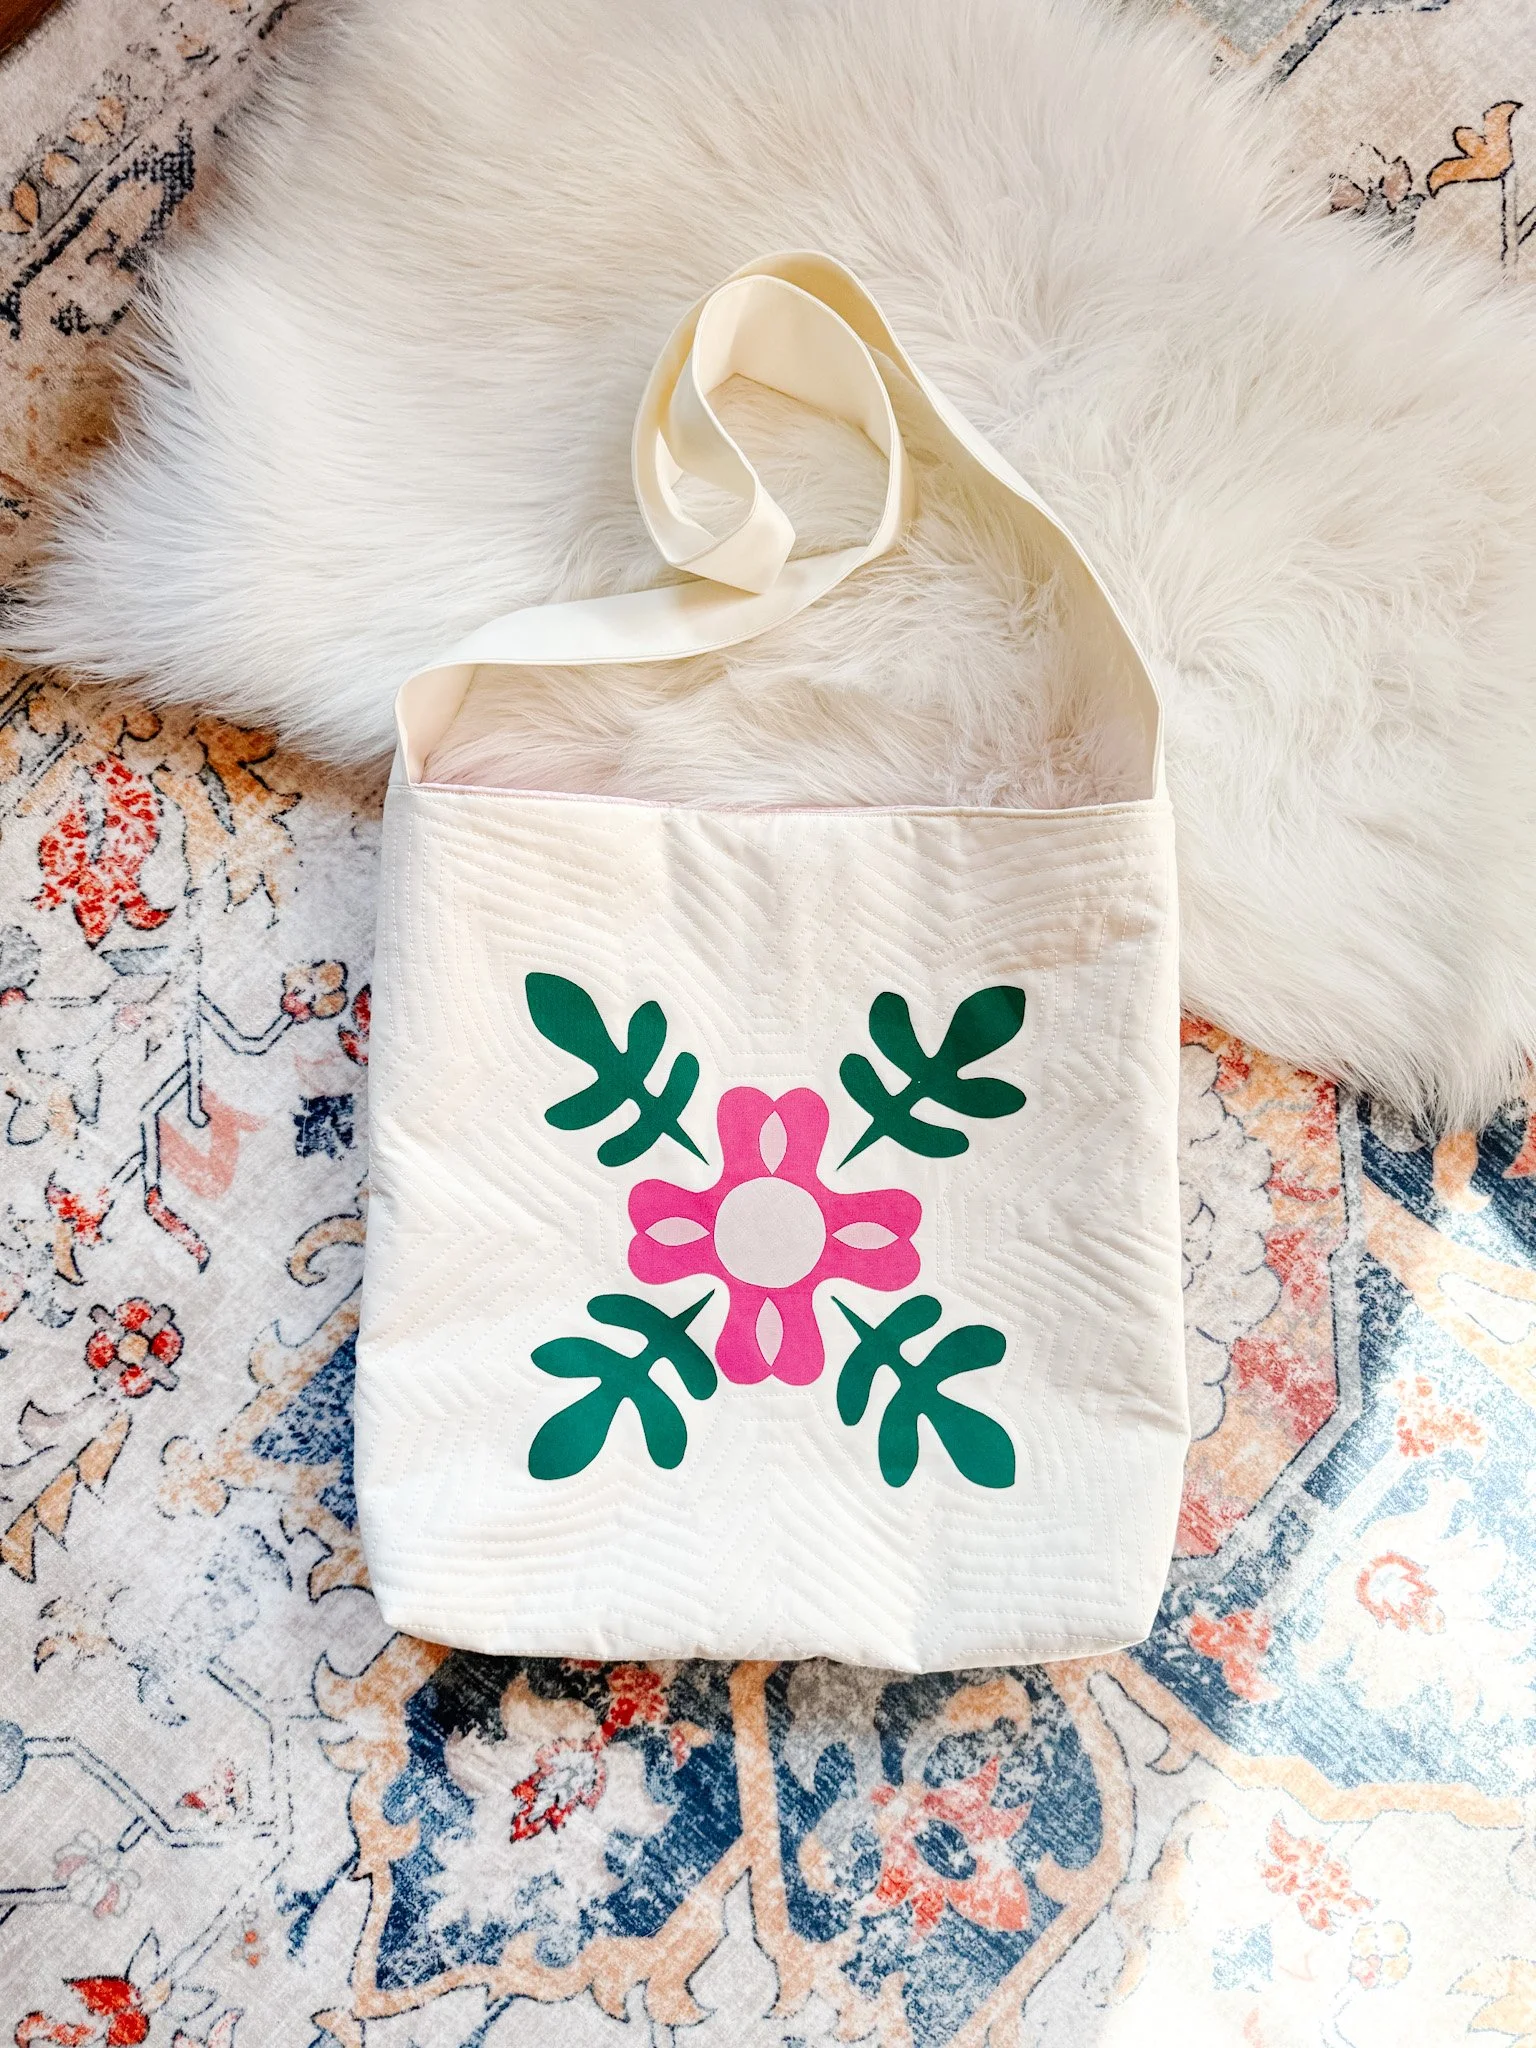
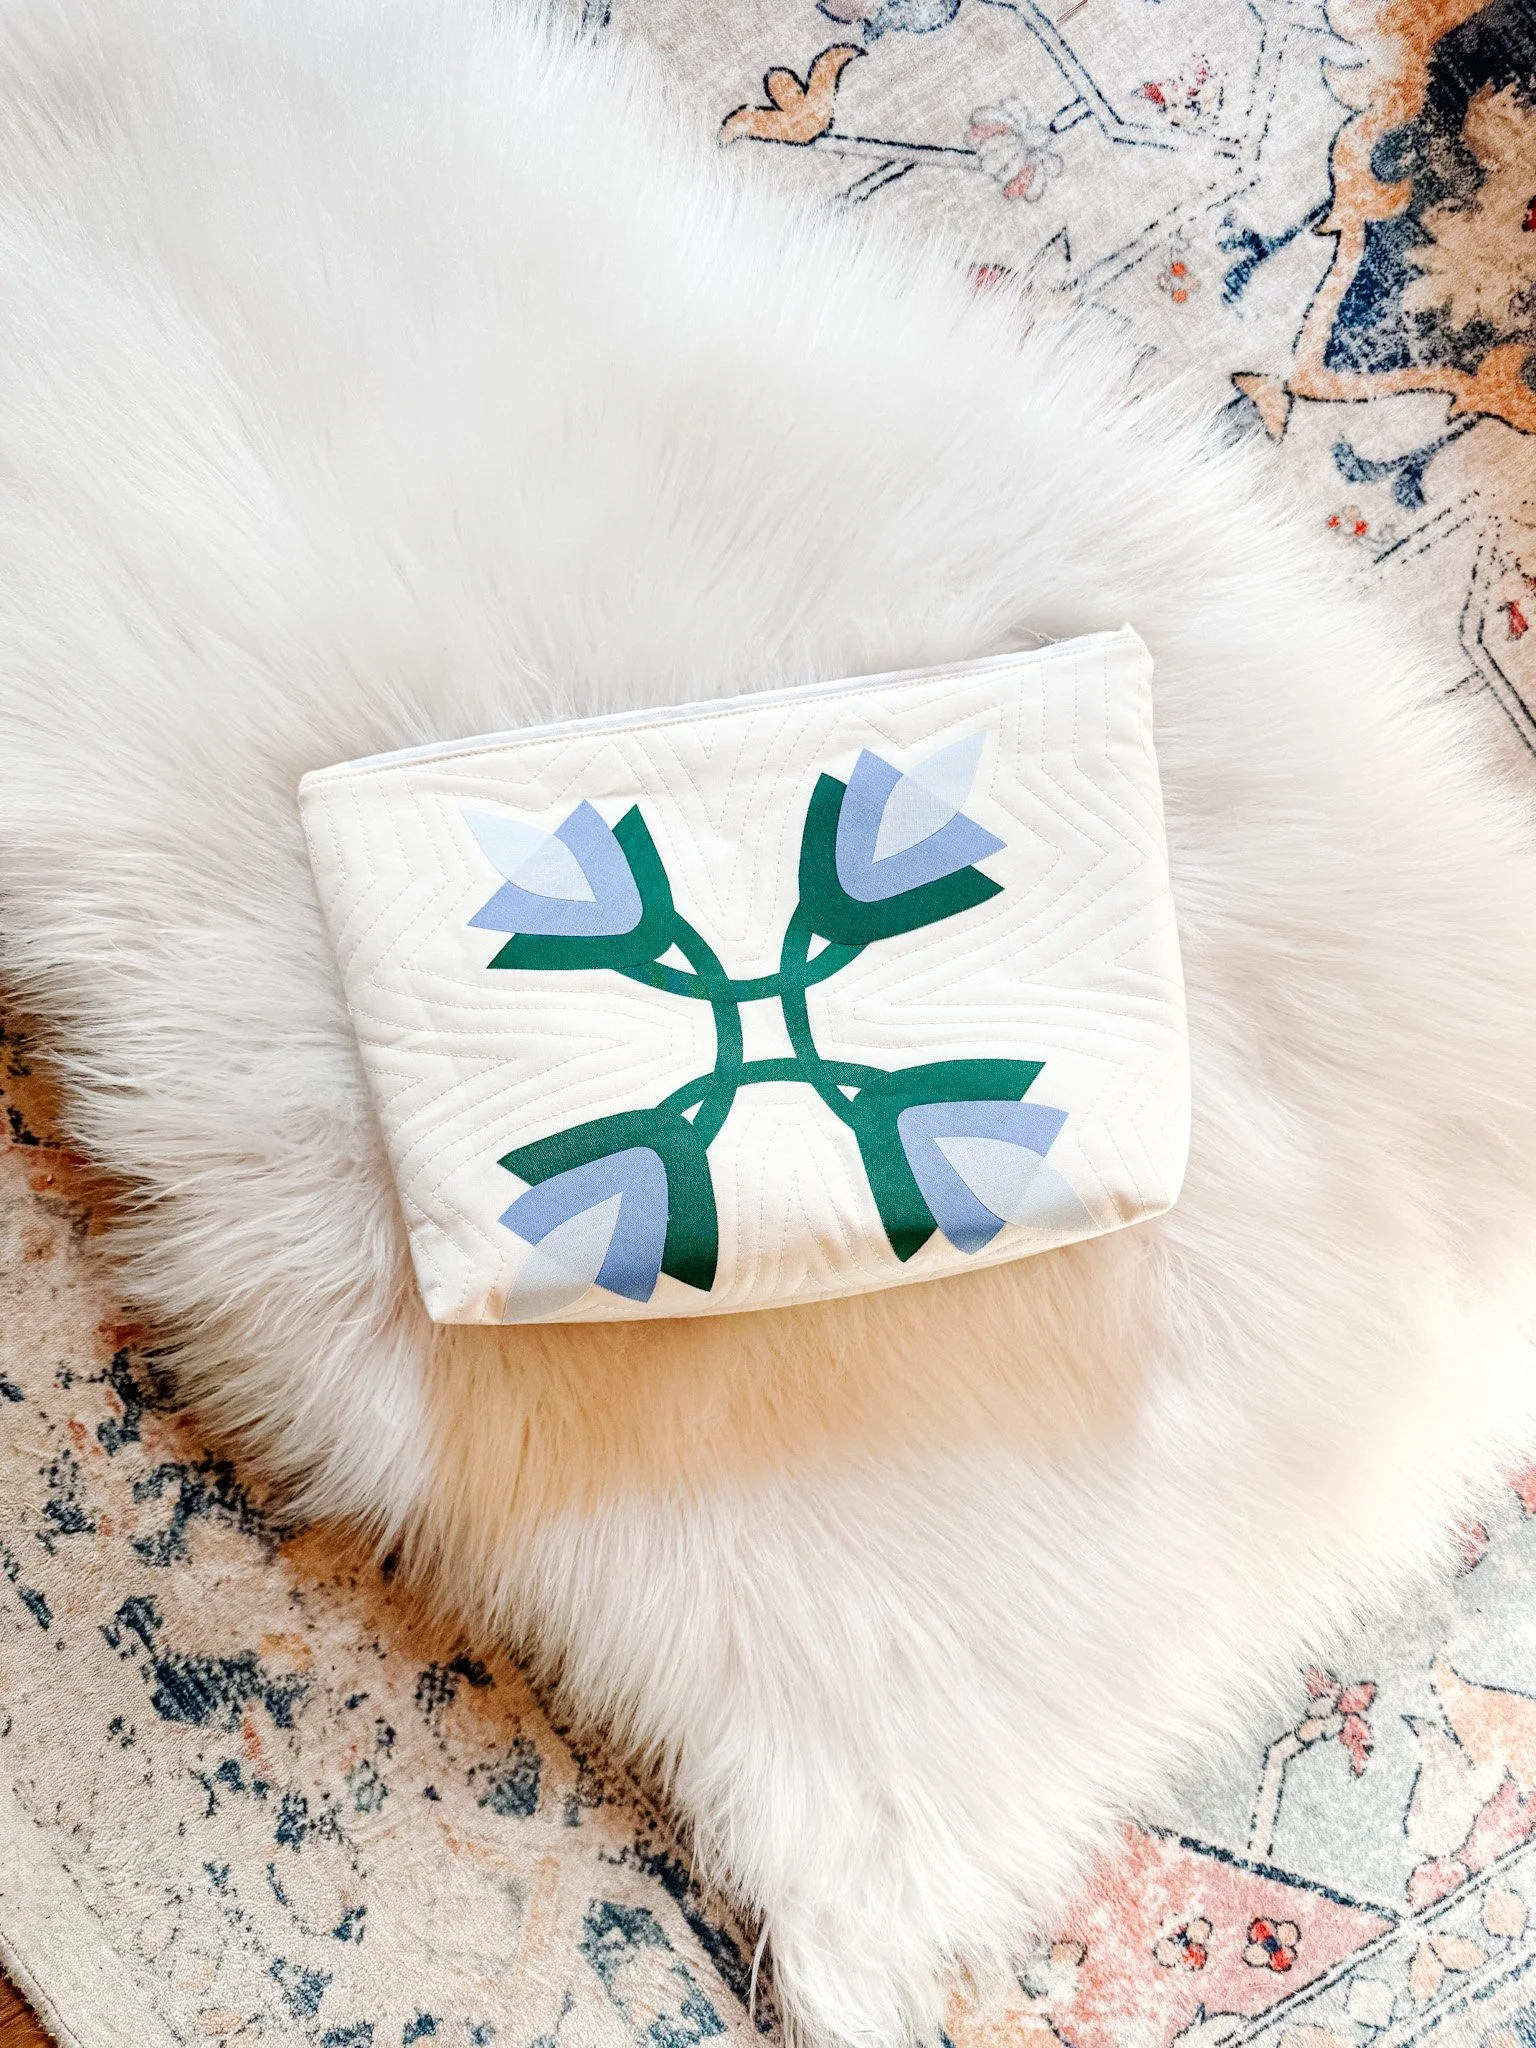
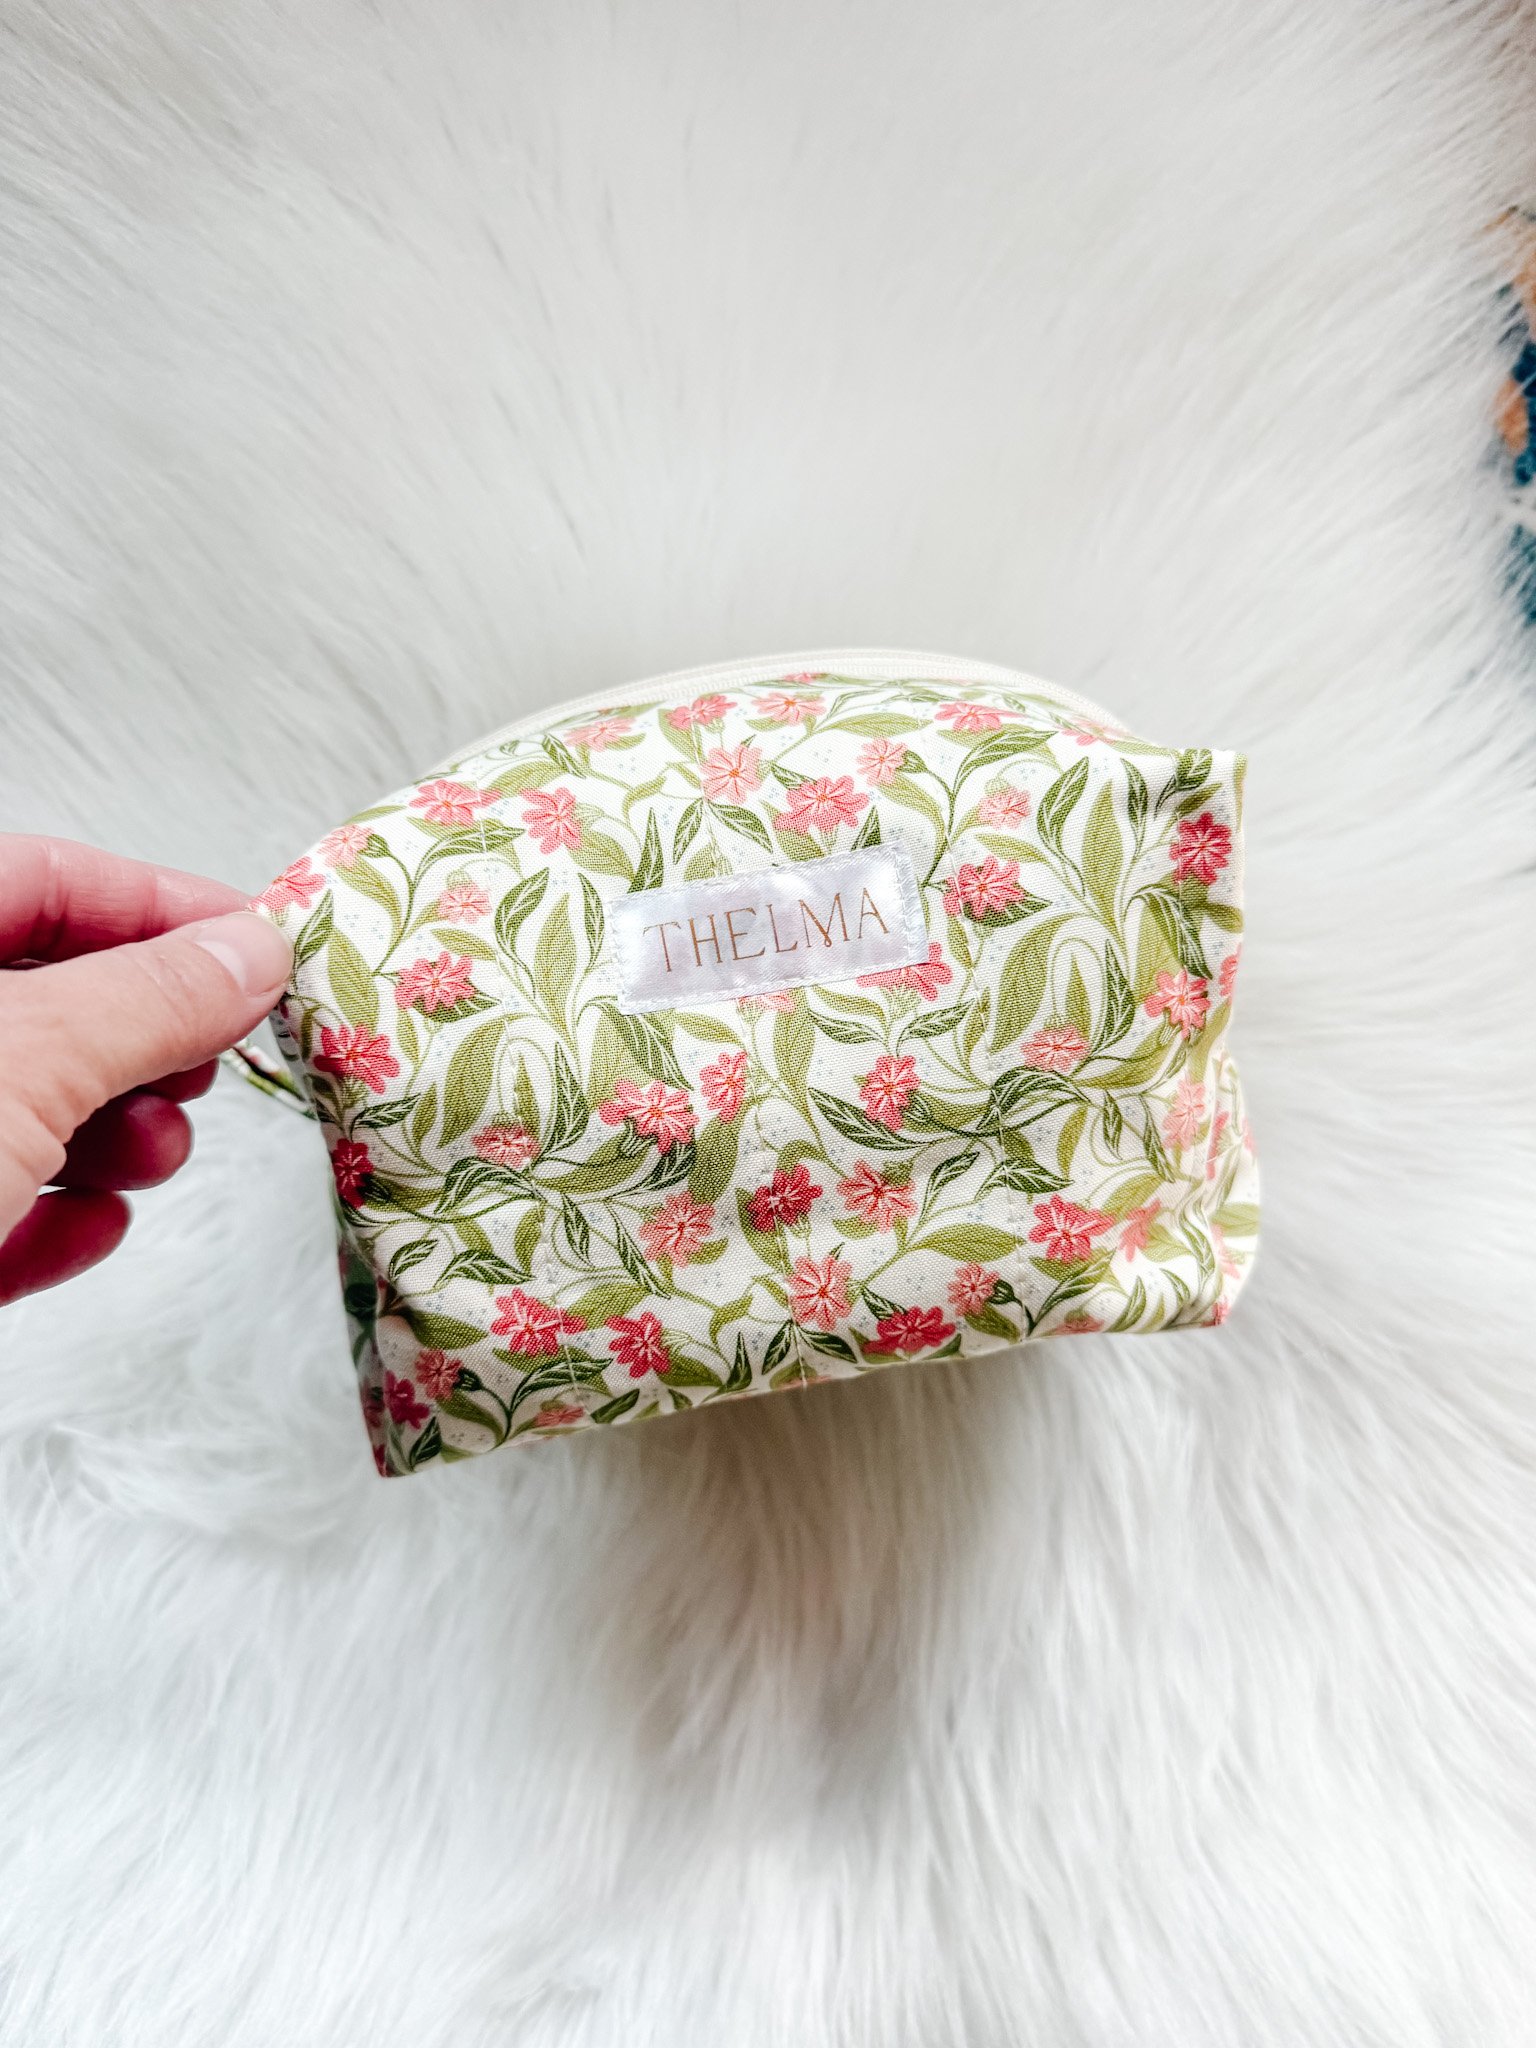
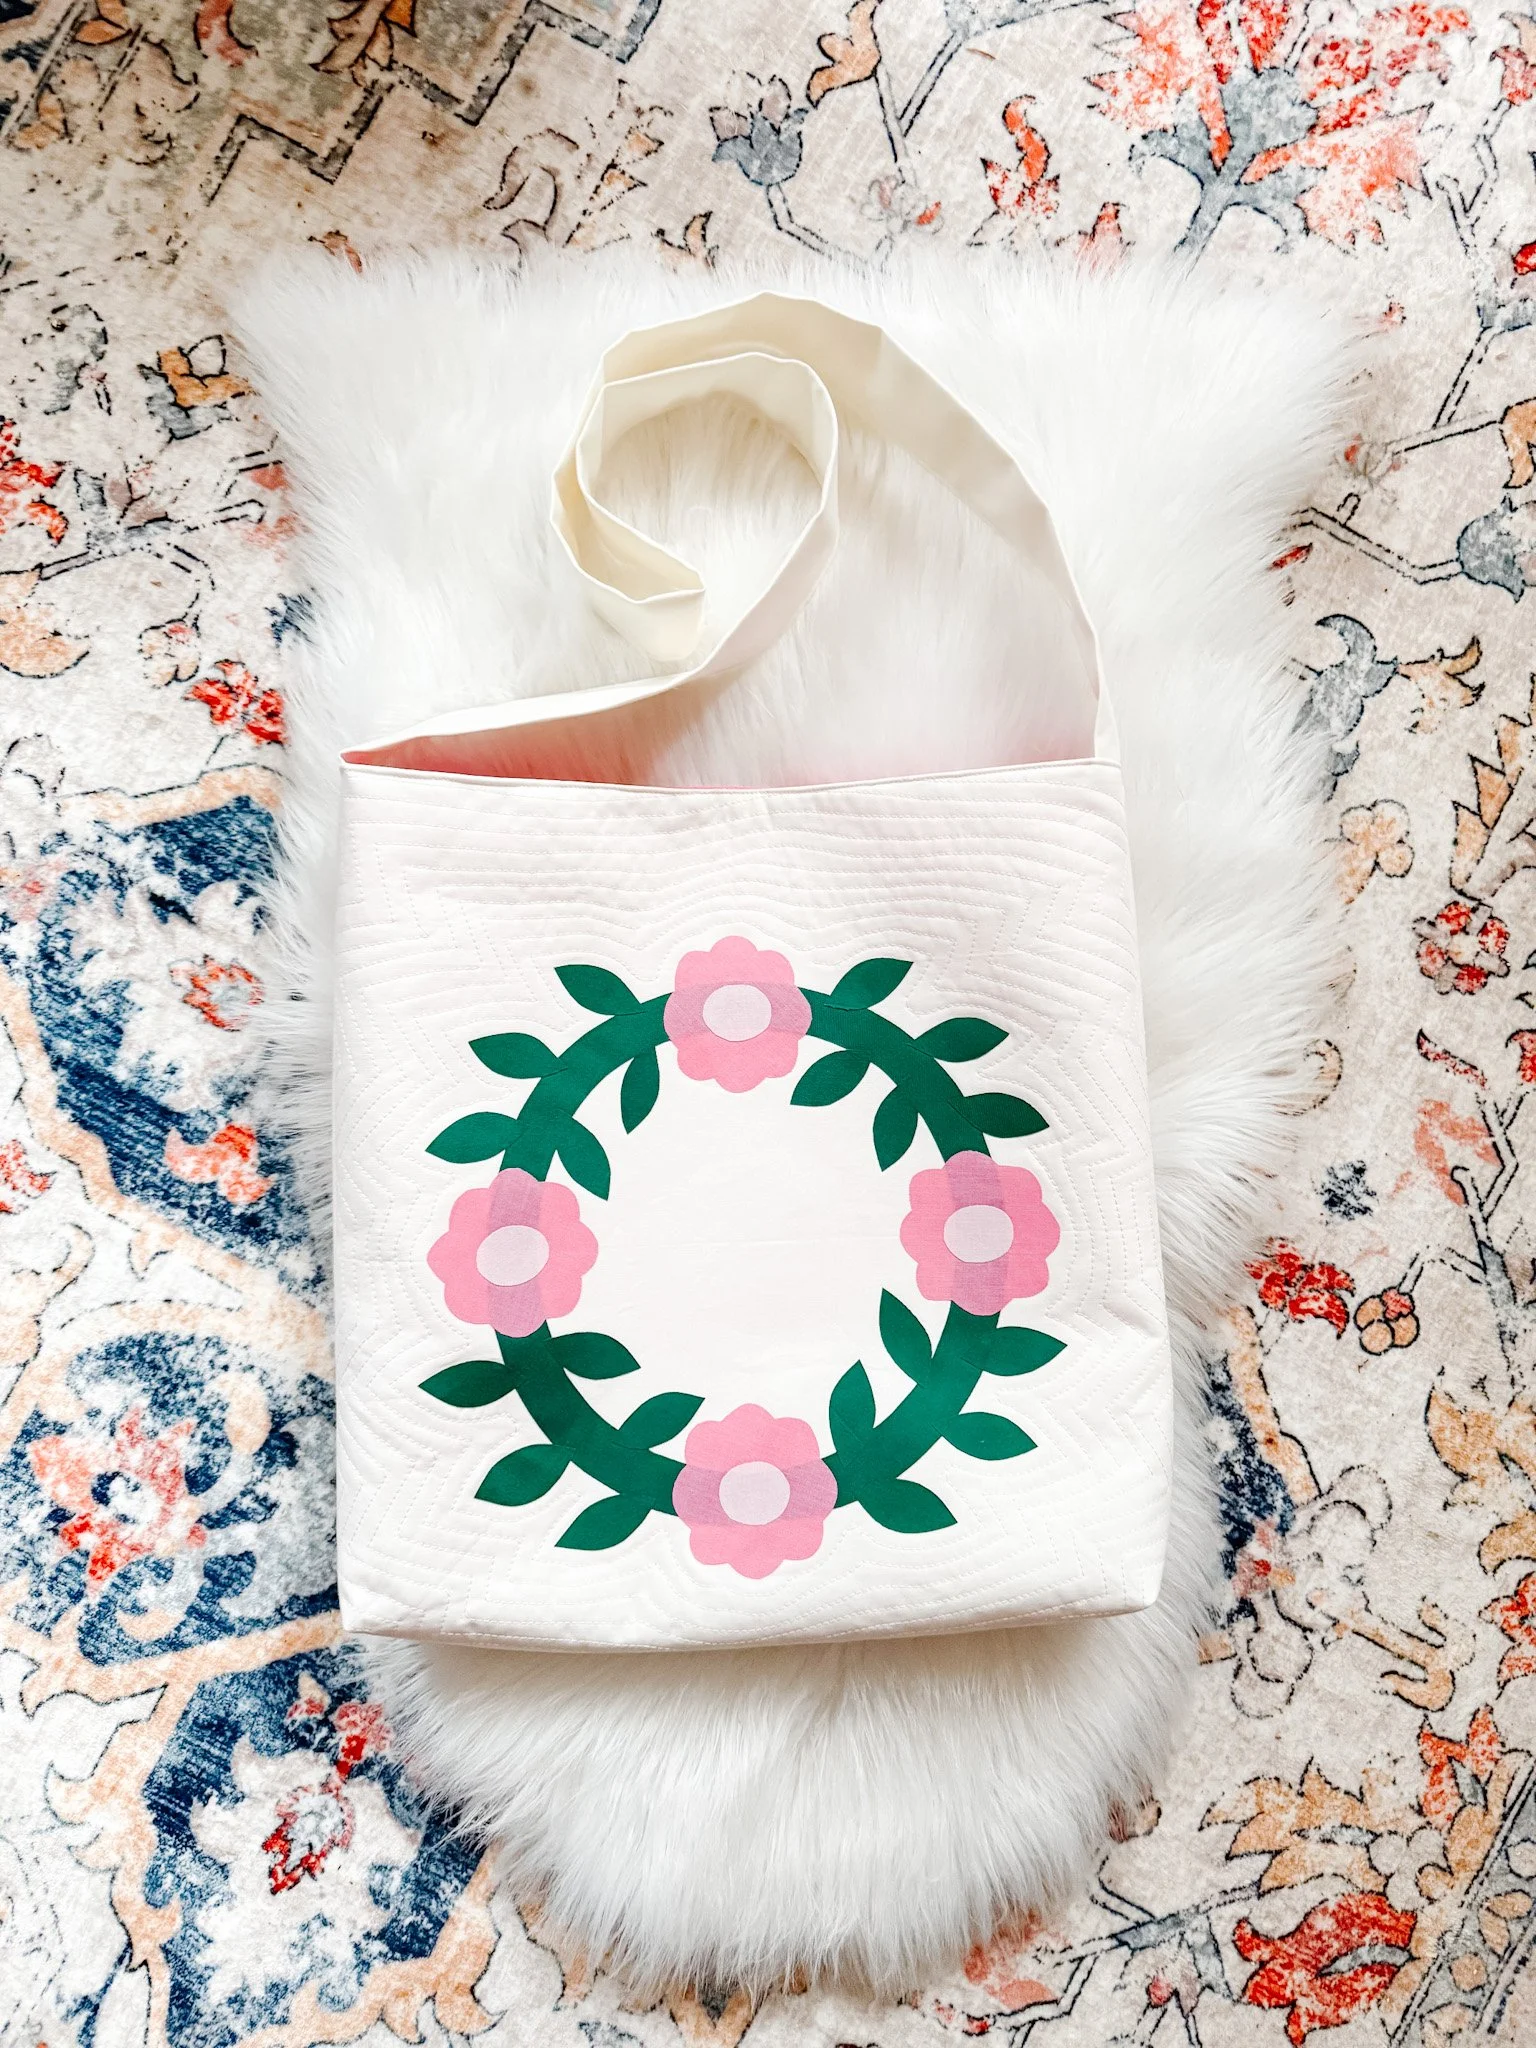
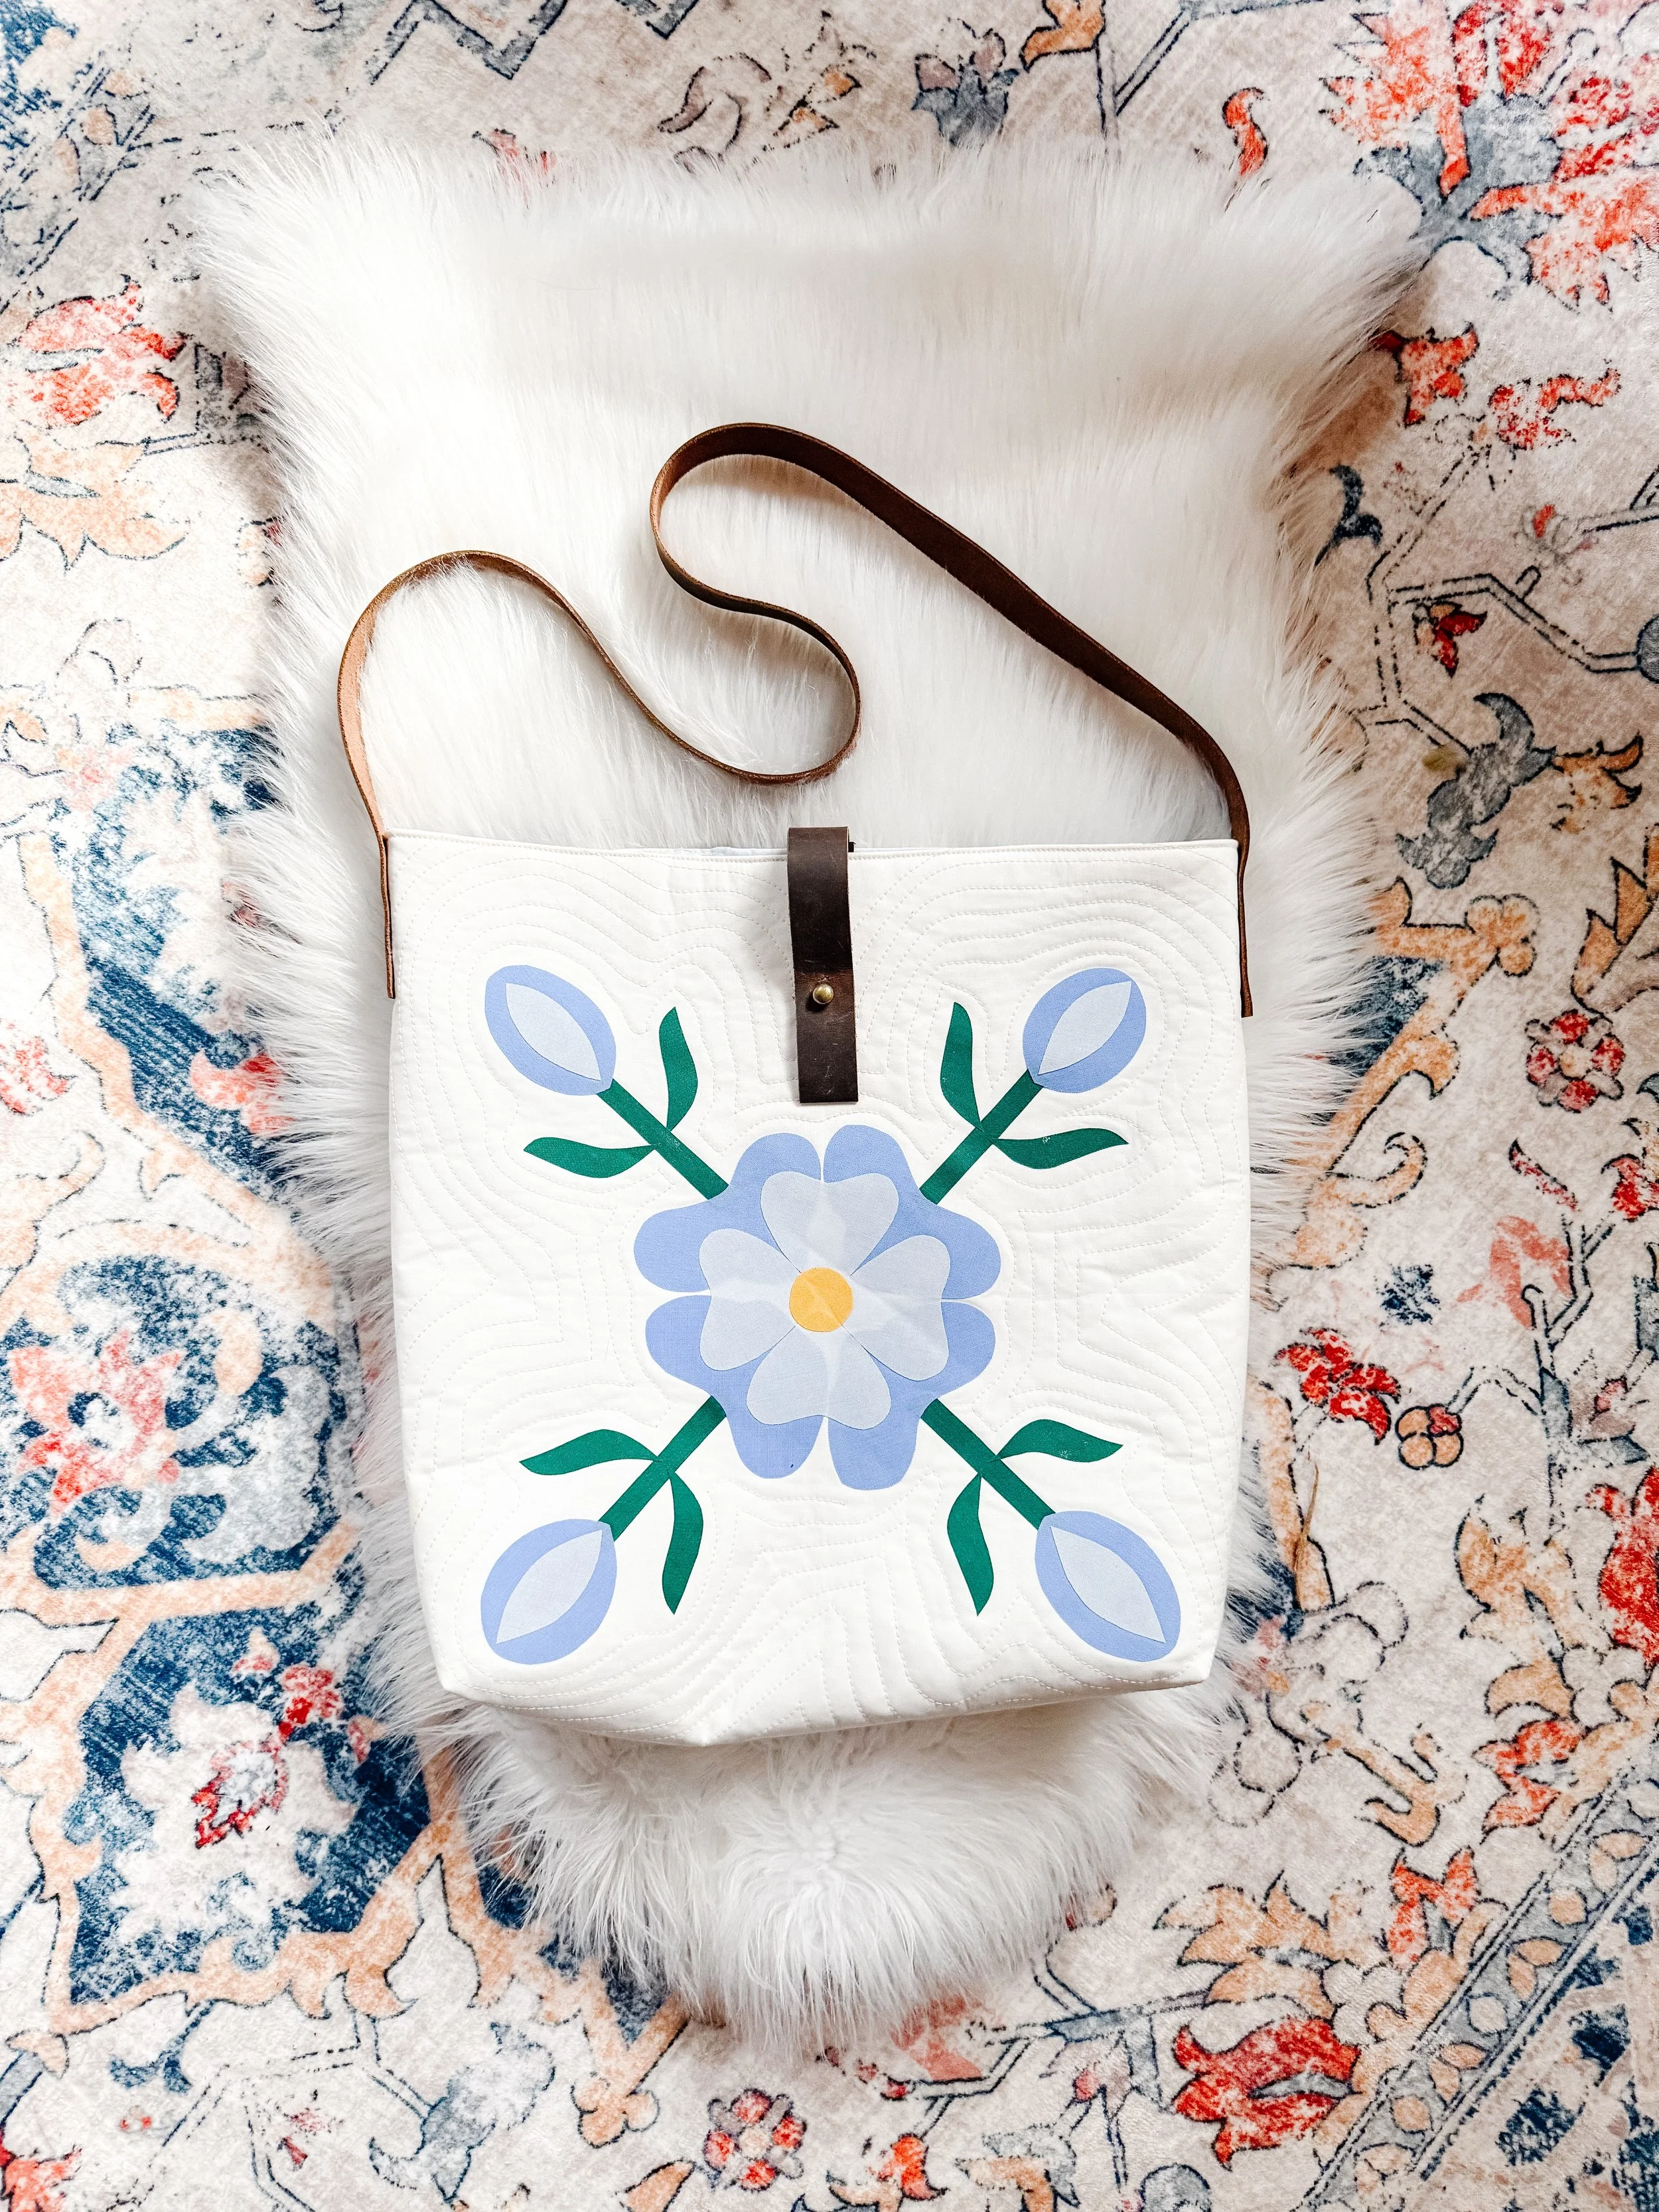
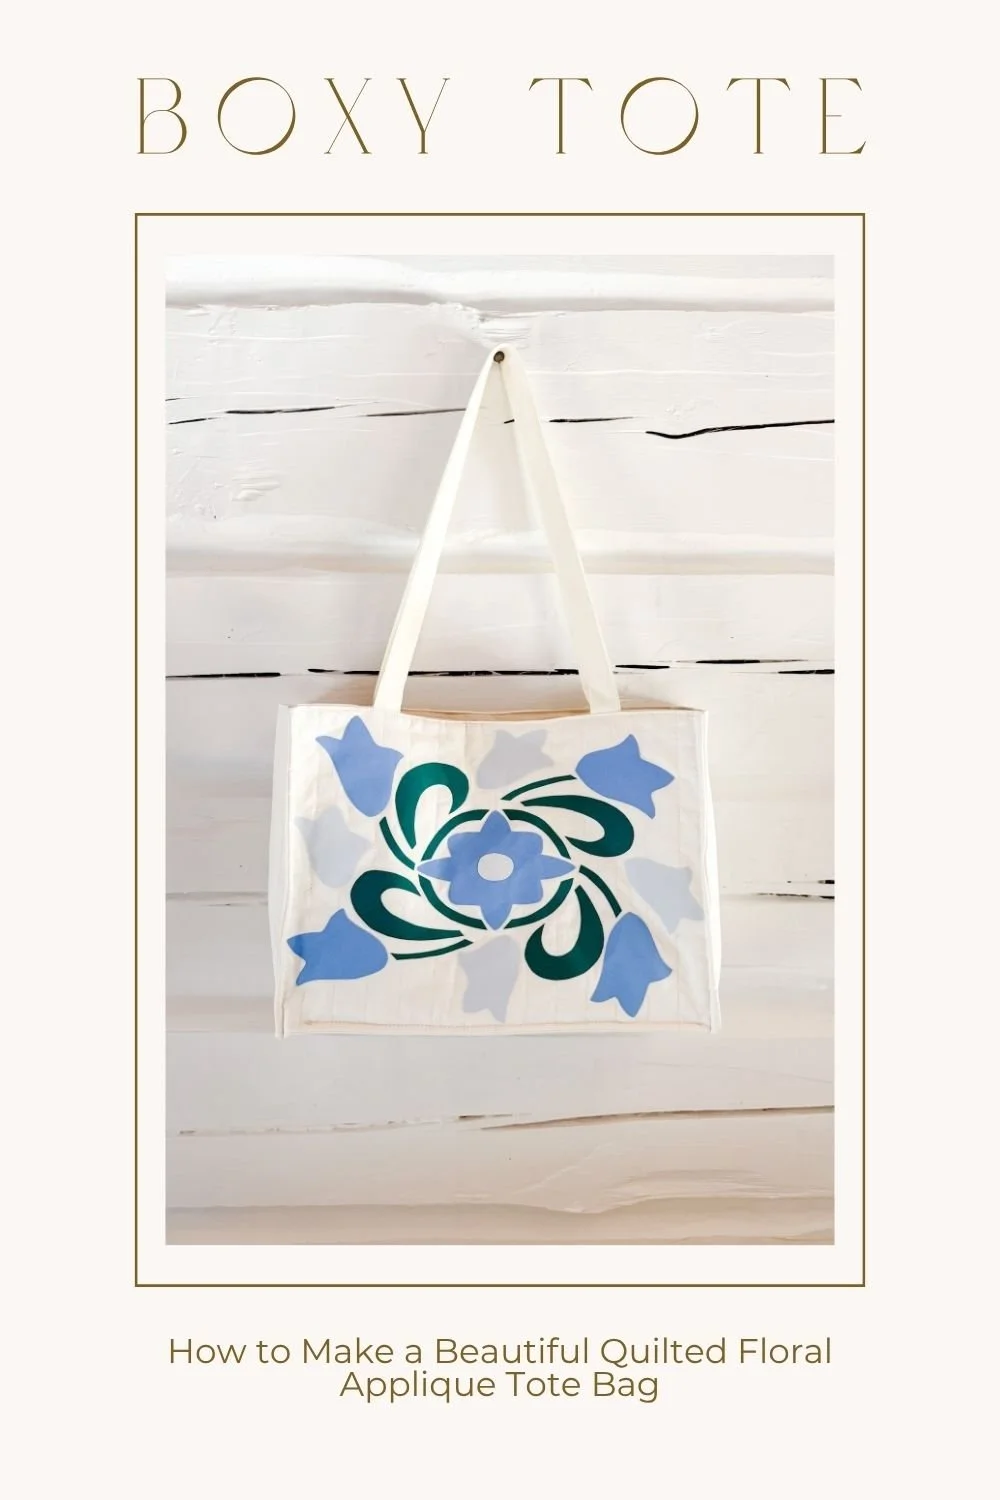
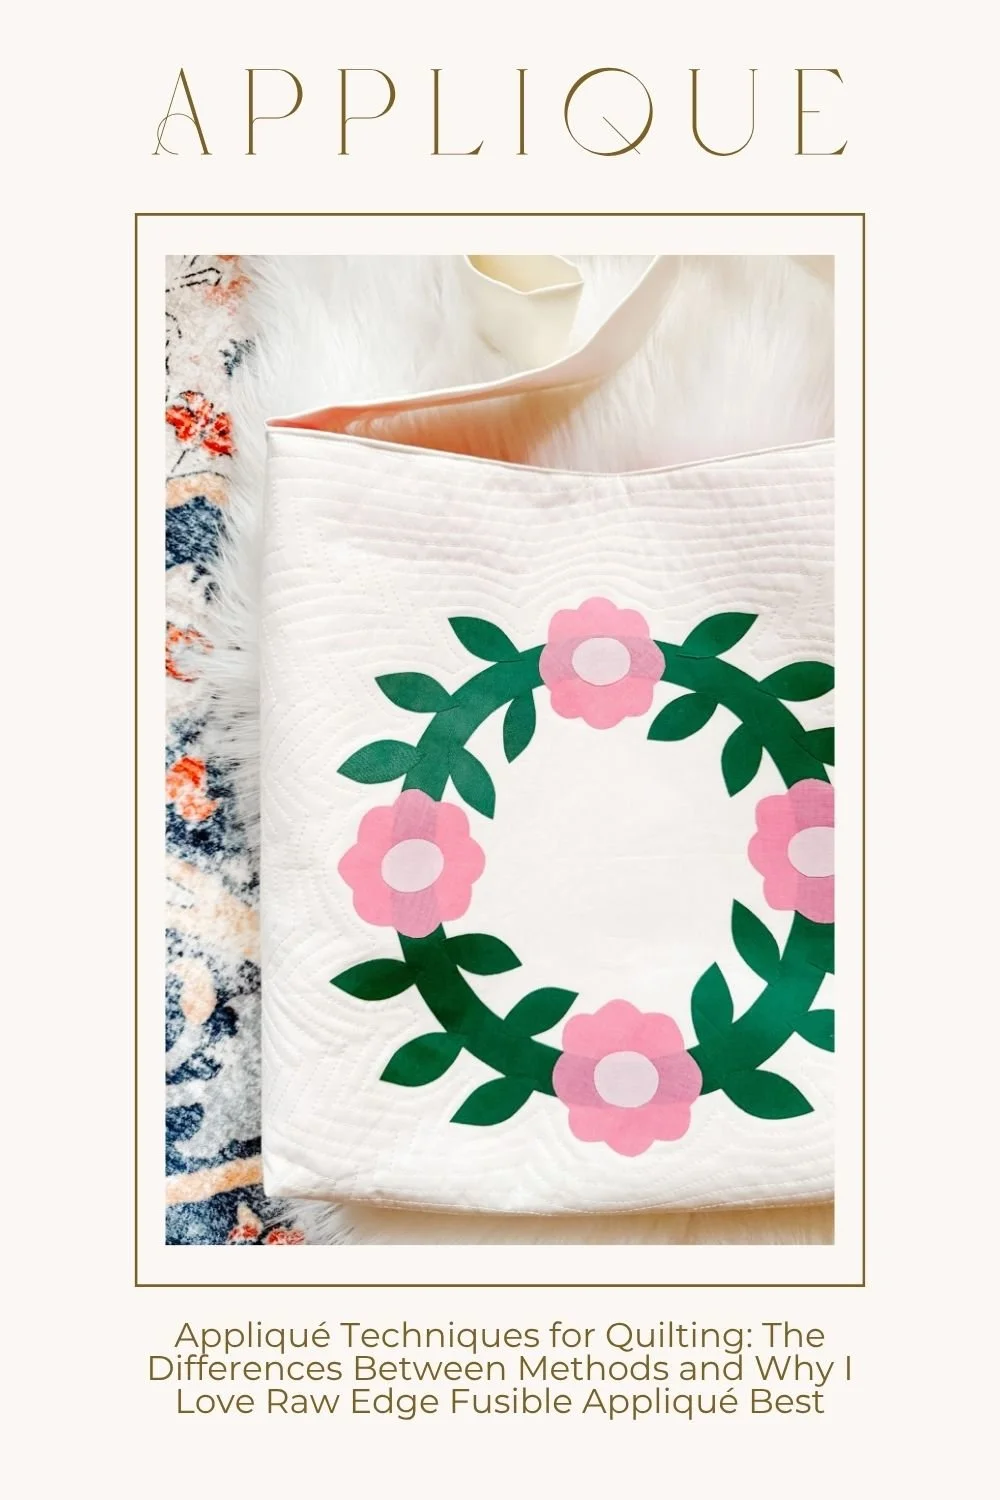
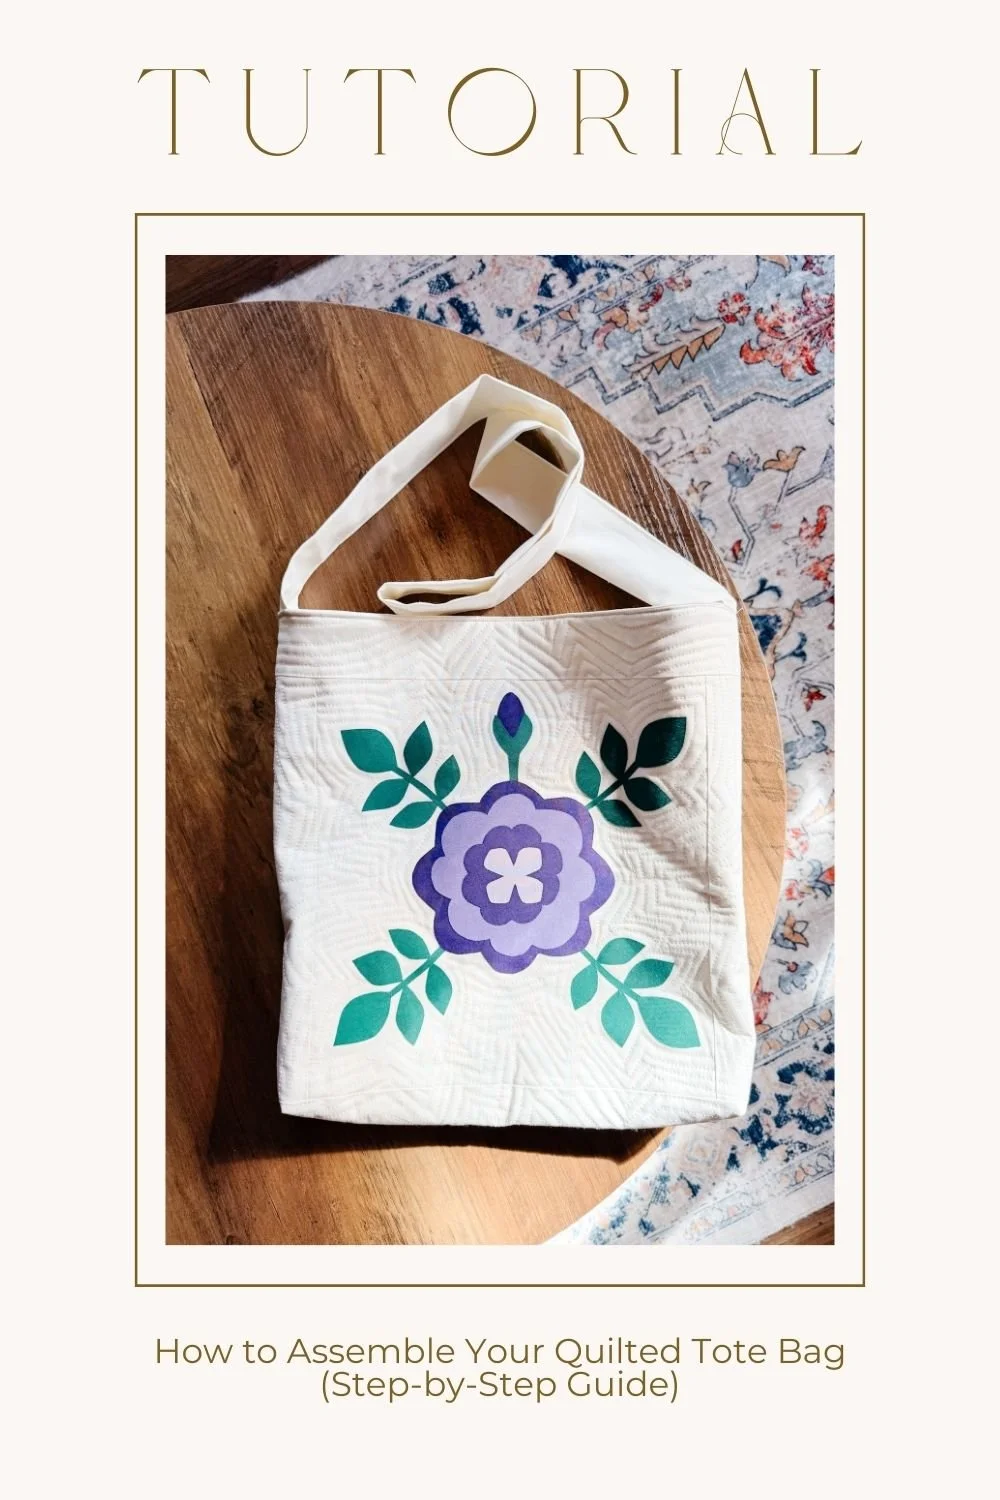
How to Make a Beautiful Quilted Floral Applique Tote Bag
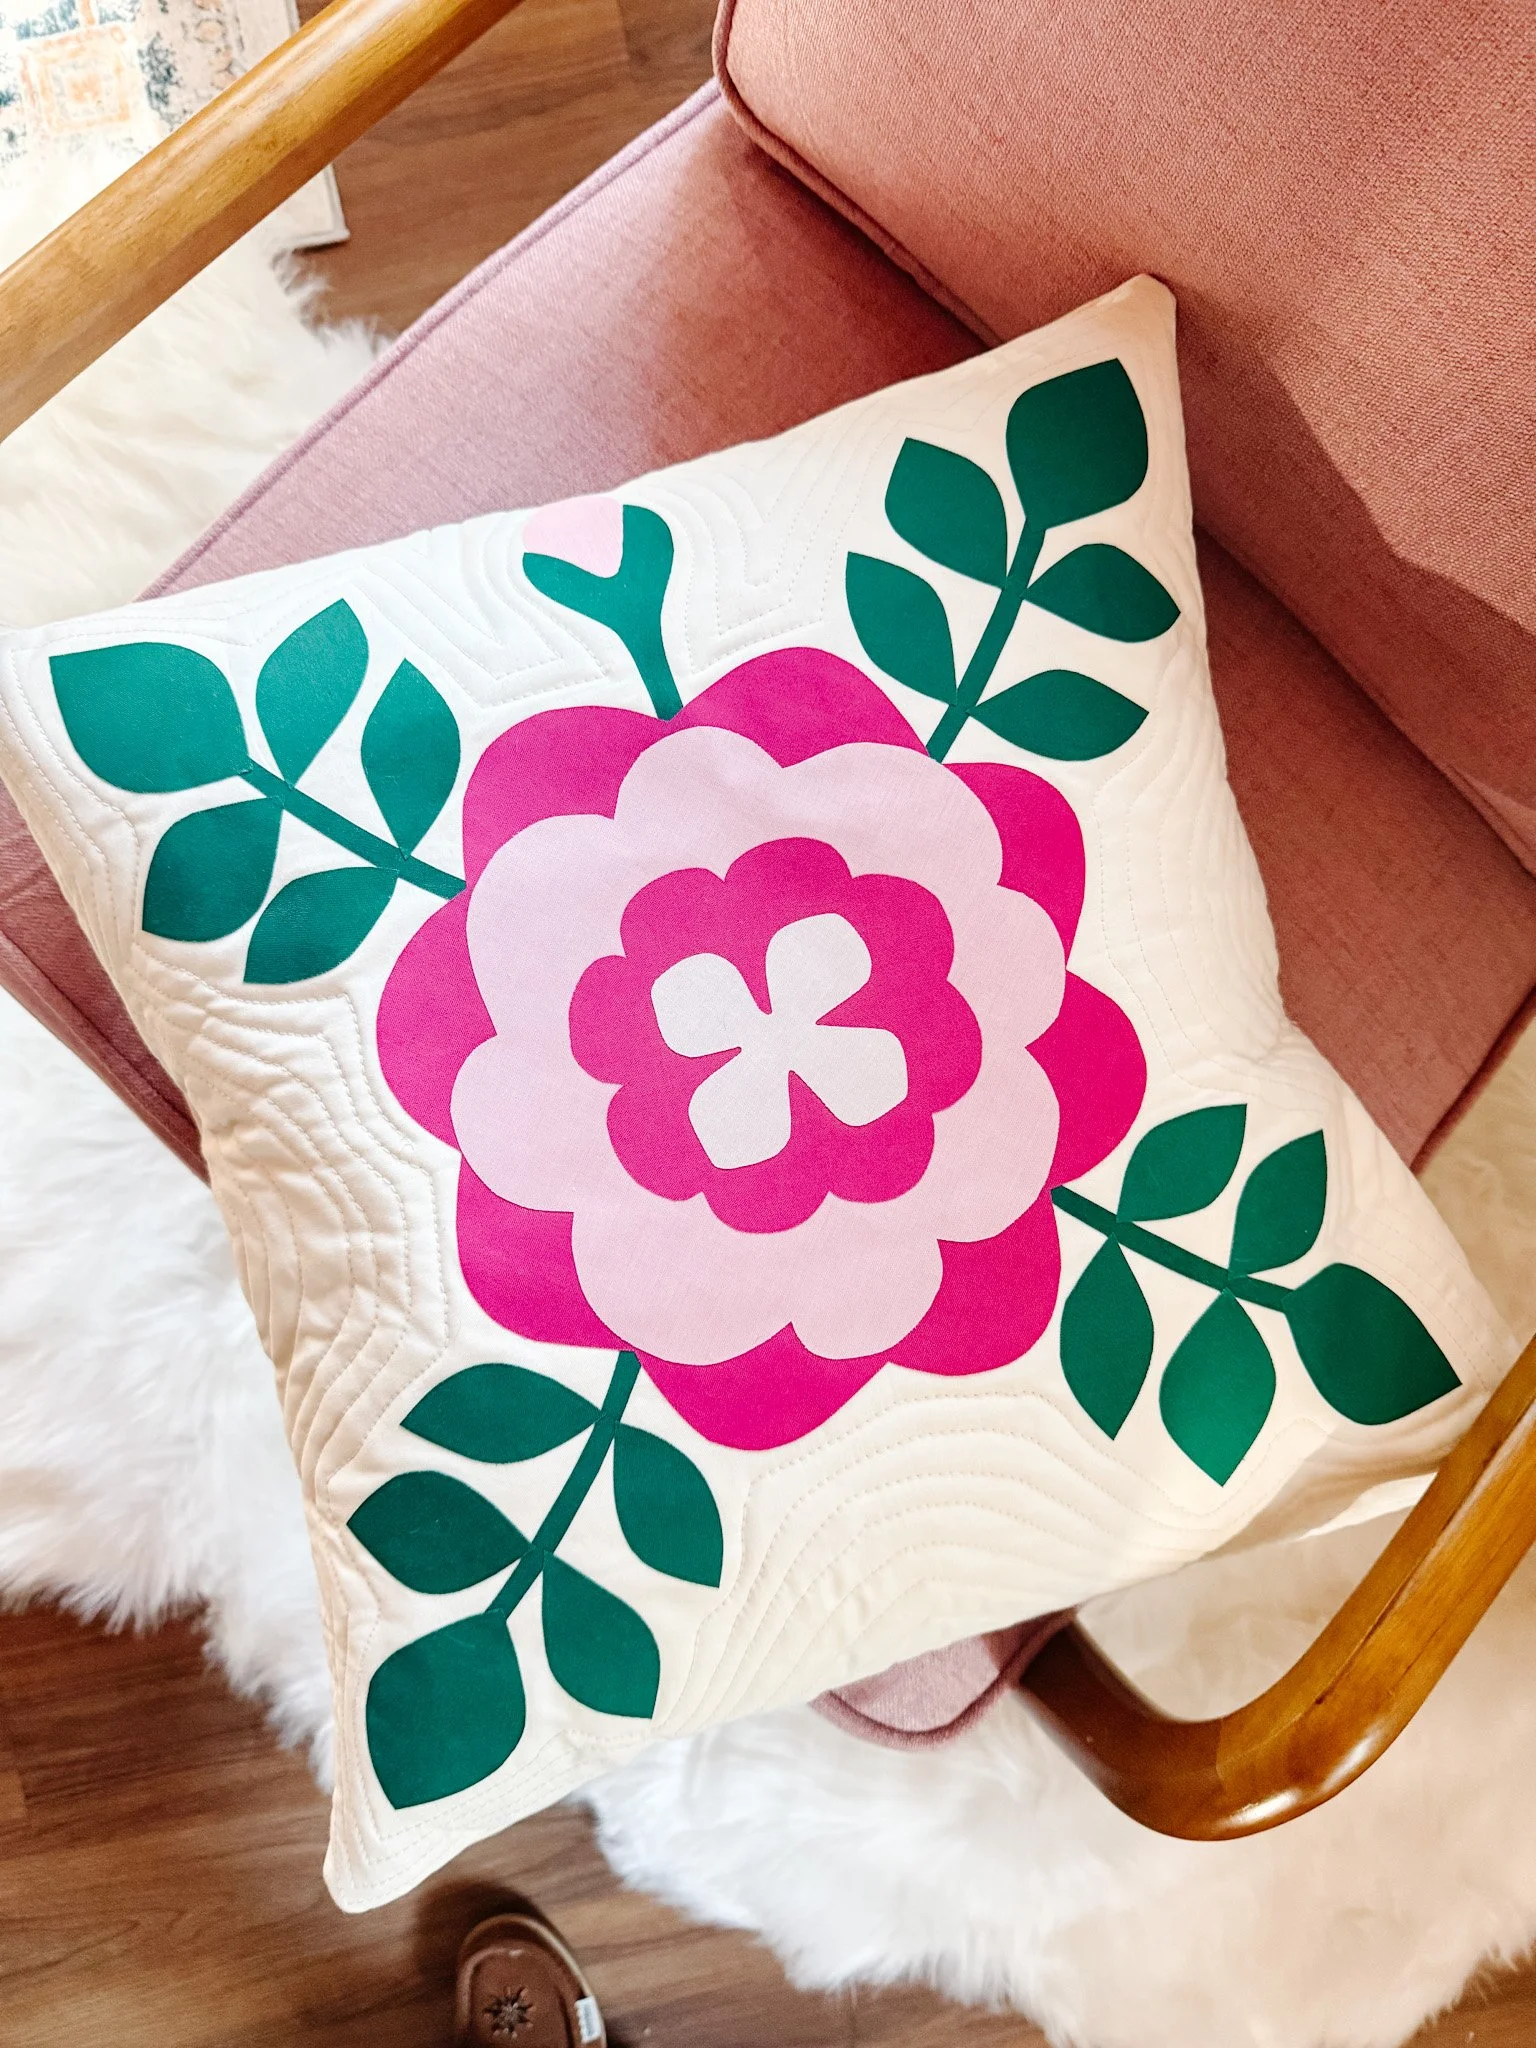
If you’ve been wanting to make a quilted tote bag with appliqué, this floral boxy tote is such a fun project to try. It has that sweet, structured shape I love, enough room for everyday essentials, and it’s a great way to turn a simple quilted panel into something practical you can actually use.
In this tutorial, I walk you through the basics of making the tote, from arranging your appliqué pieces to quilting the exterior panels and sewing the bag together. I’ll be sharing the full video tutorial below, so this post is here to give you a helpful overview and a few key tips before you begin.
What you’ll need
To make this tote, you’ll need your cut pattern pieces, exterior fabric, lining fabric, batting, and your appliqué shapes prepared and ready to go. The full measurements and cutting details are included in the pattern, so be sure to have that on hand before you start. Here’s the link to the pattern: https://thelmaquilts.com/patterns/p/blue-tulips-quilted-applique-boxy-tote-pattern
For this version of the tote, I used HeatnBond Ultra Hold for the appliqué, which means the shapes are fused in place and do not need to be stitched down individually. If you prefer to stitch around each appliqué piece, you can use HeatnBond Lite instead.
check out my fave quilting toolsGetting started with the appliqué
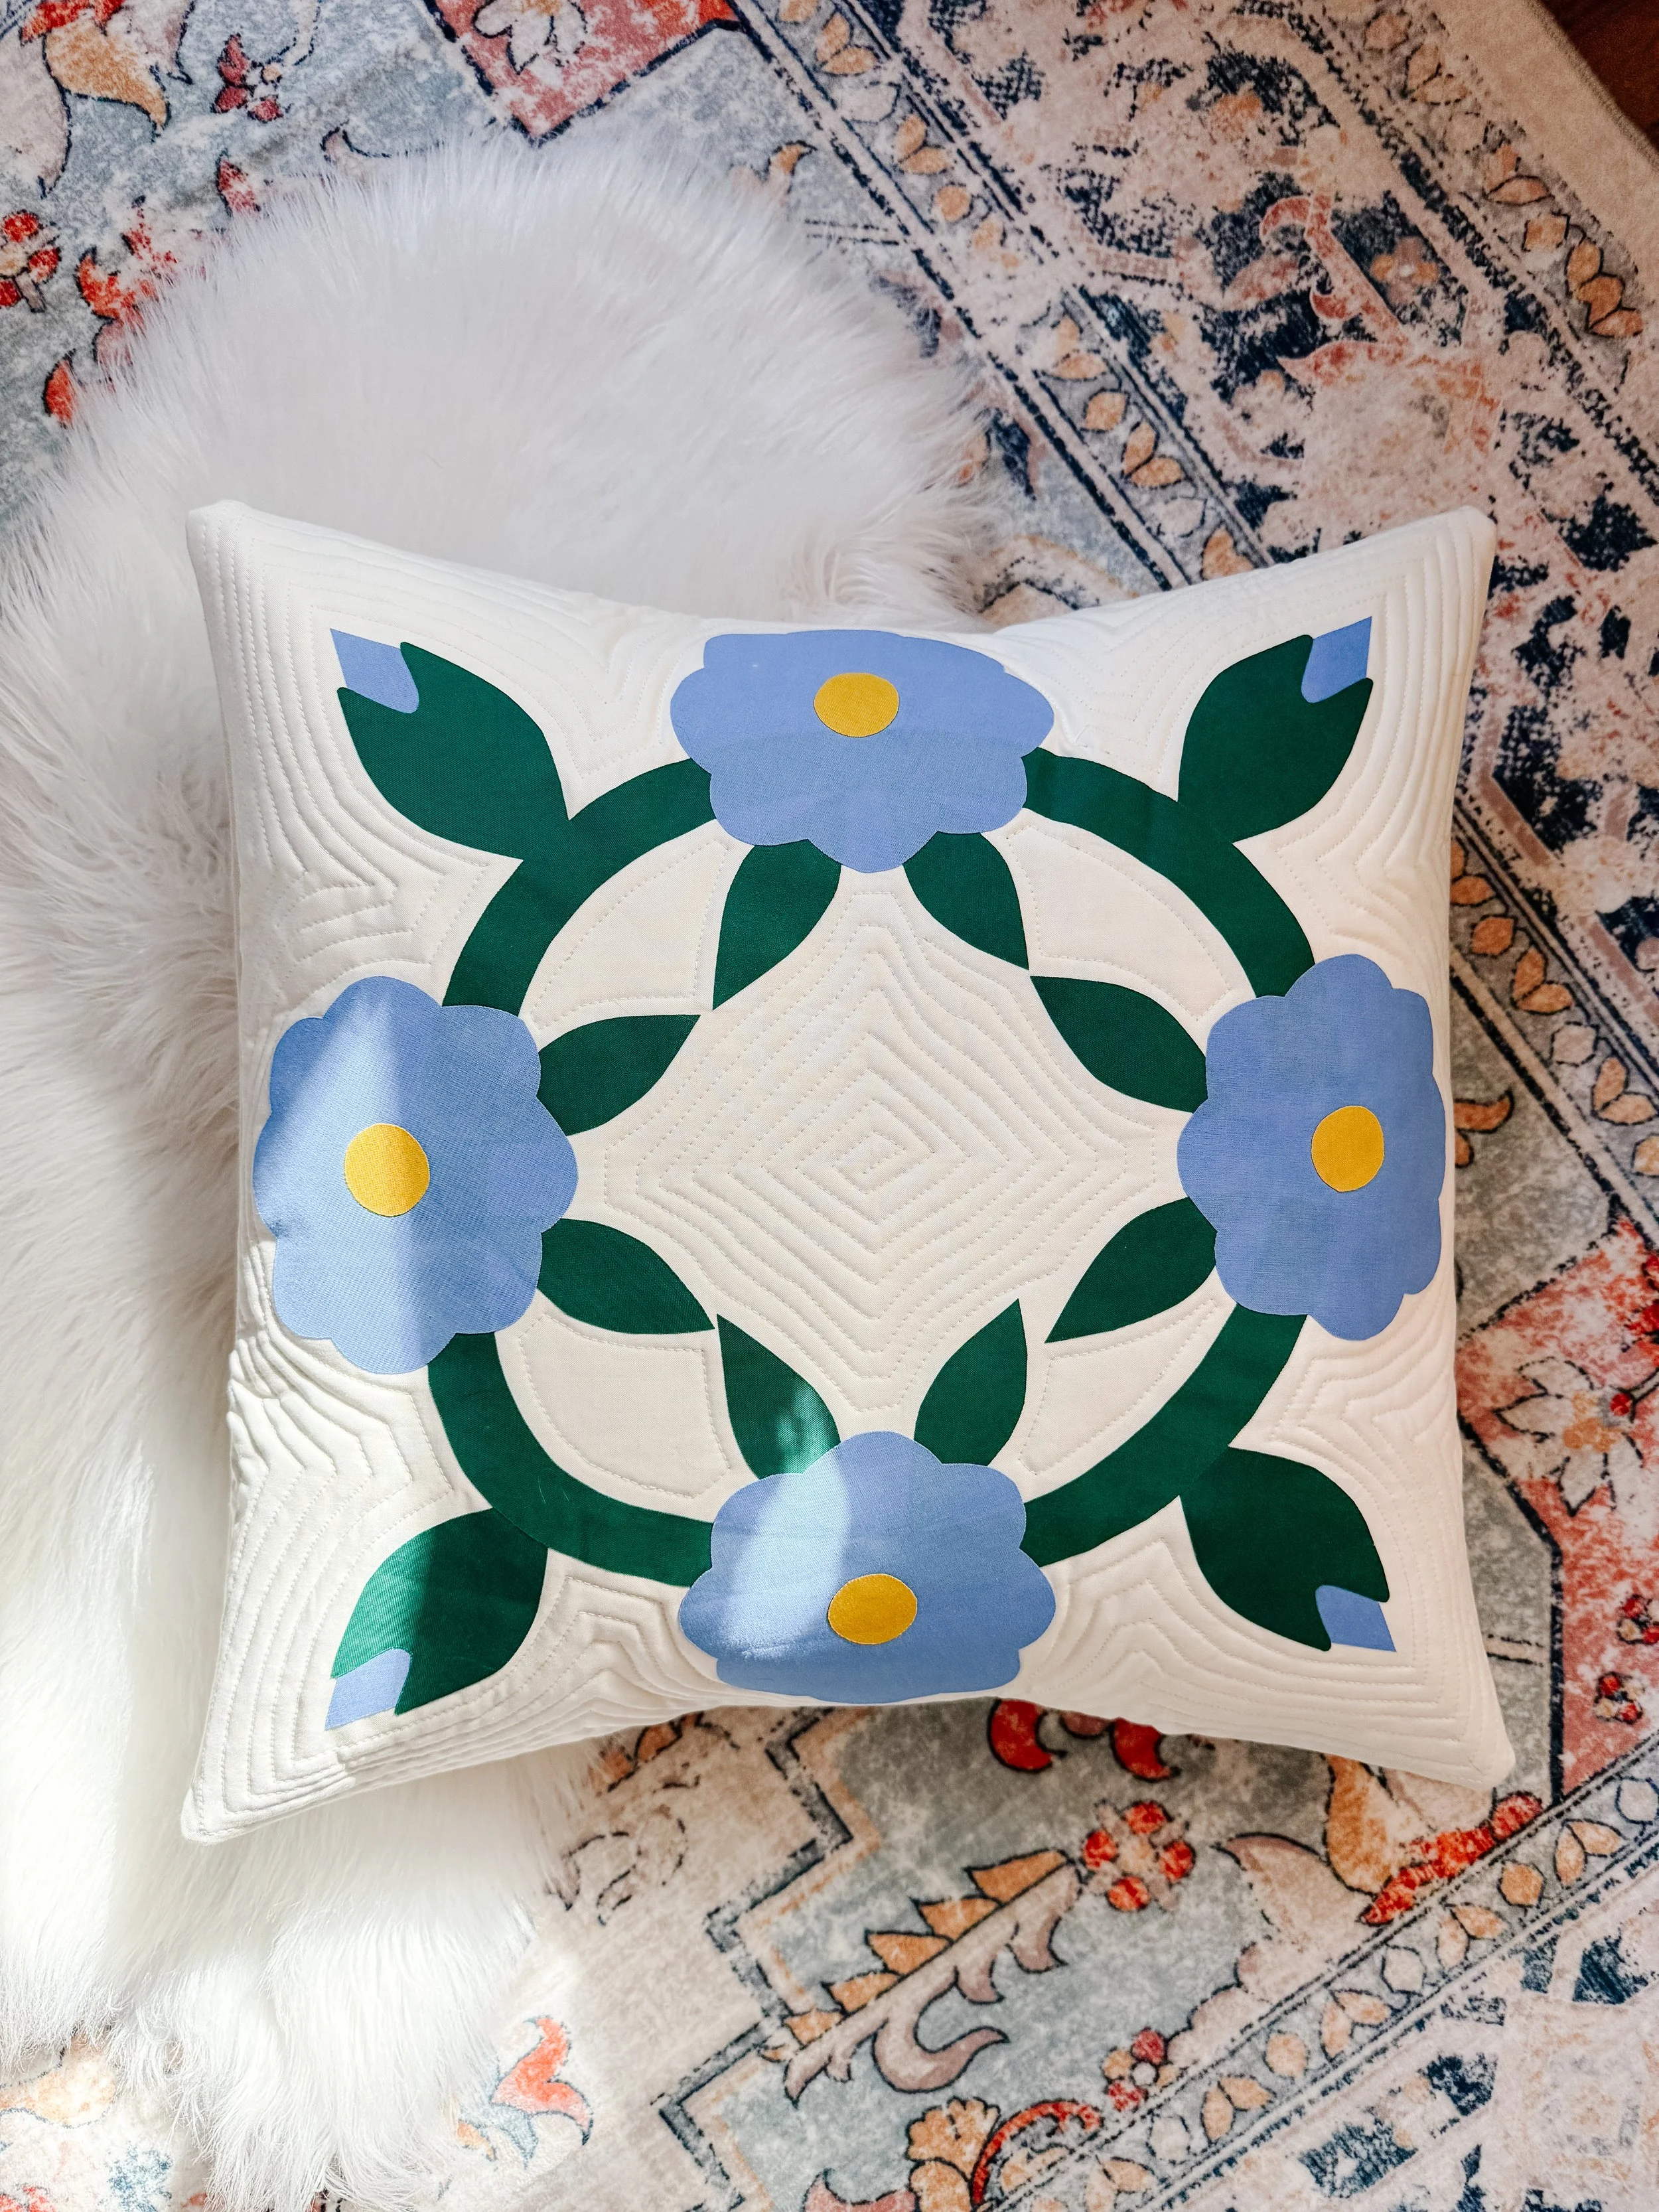
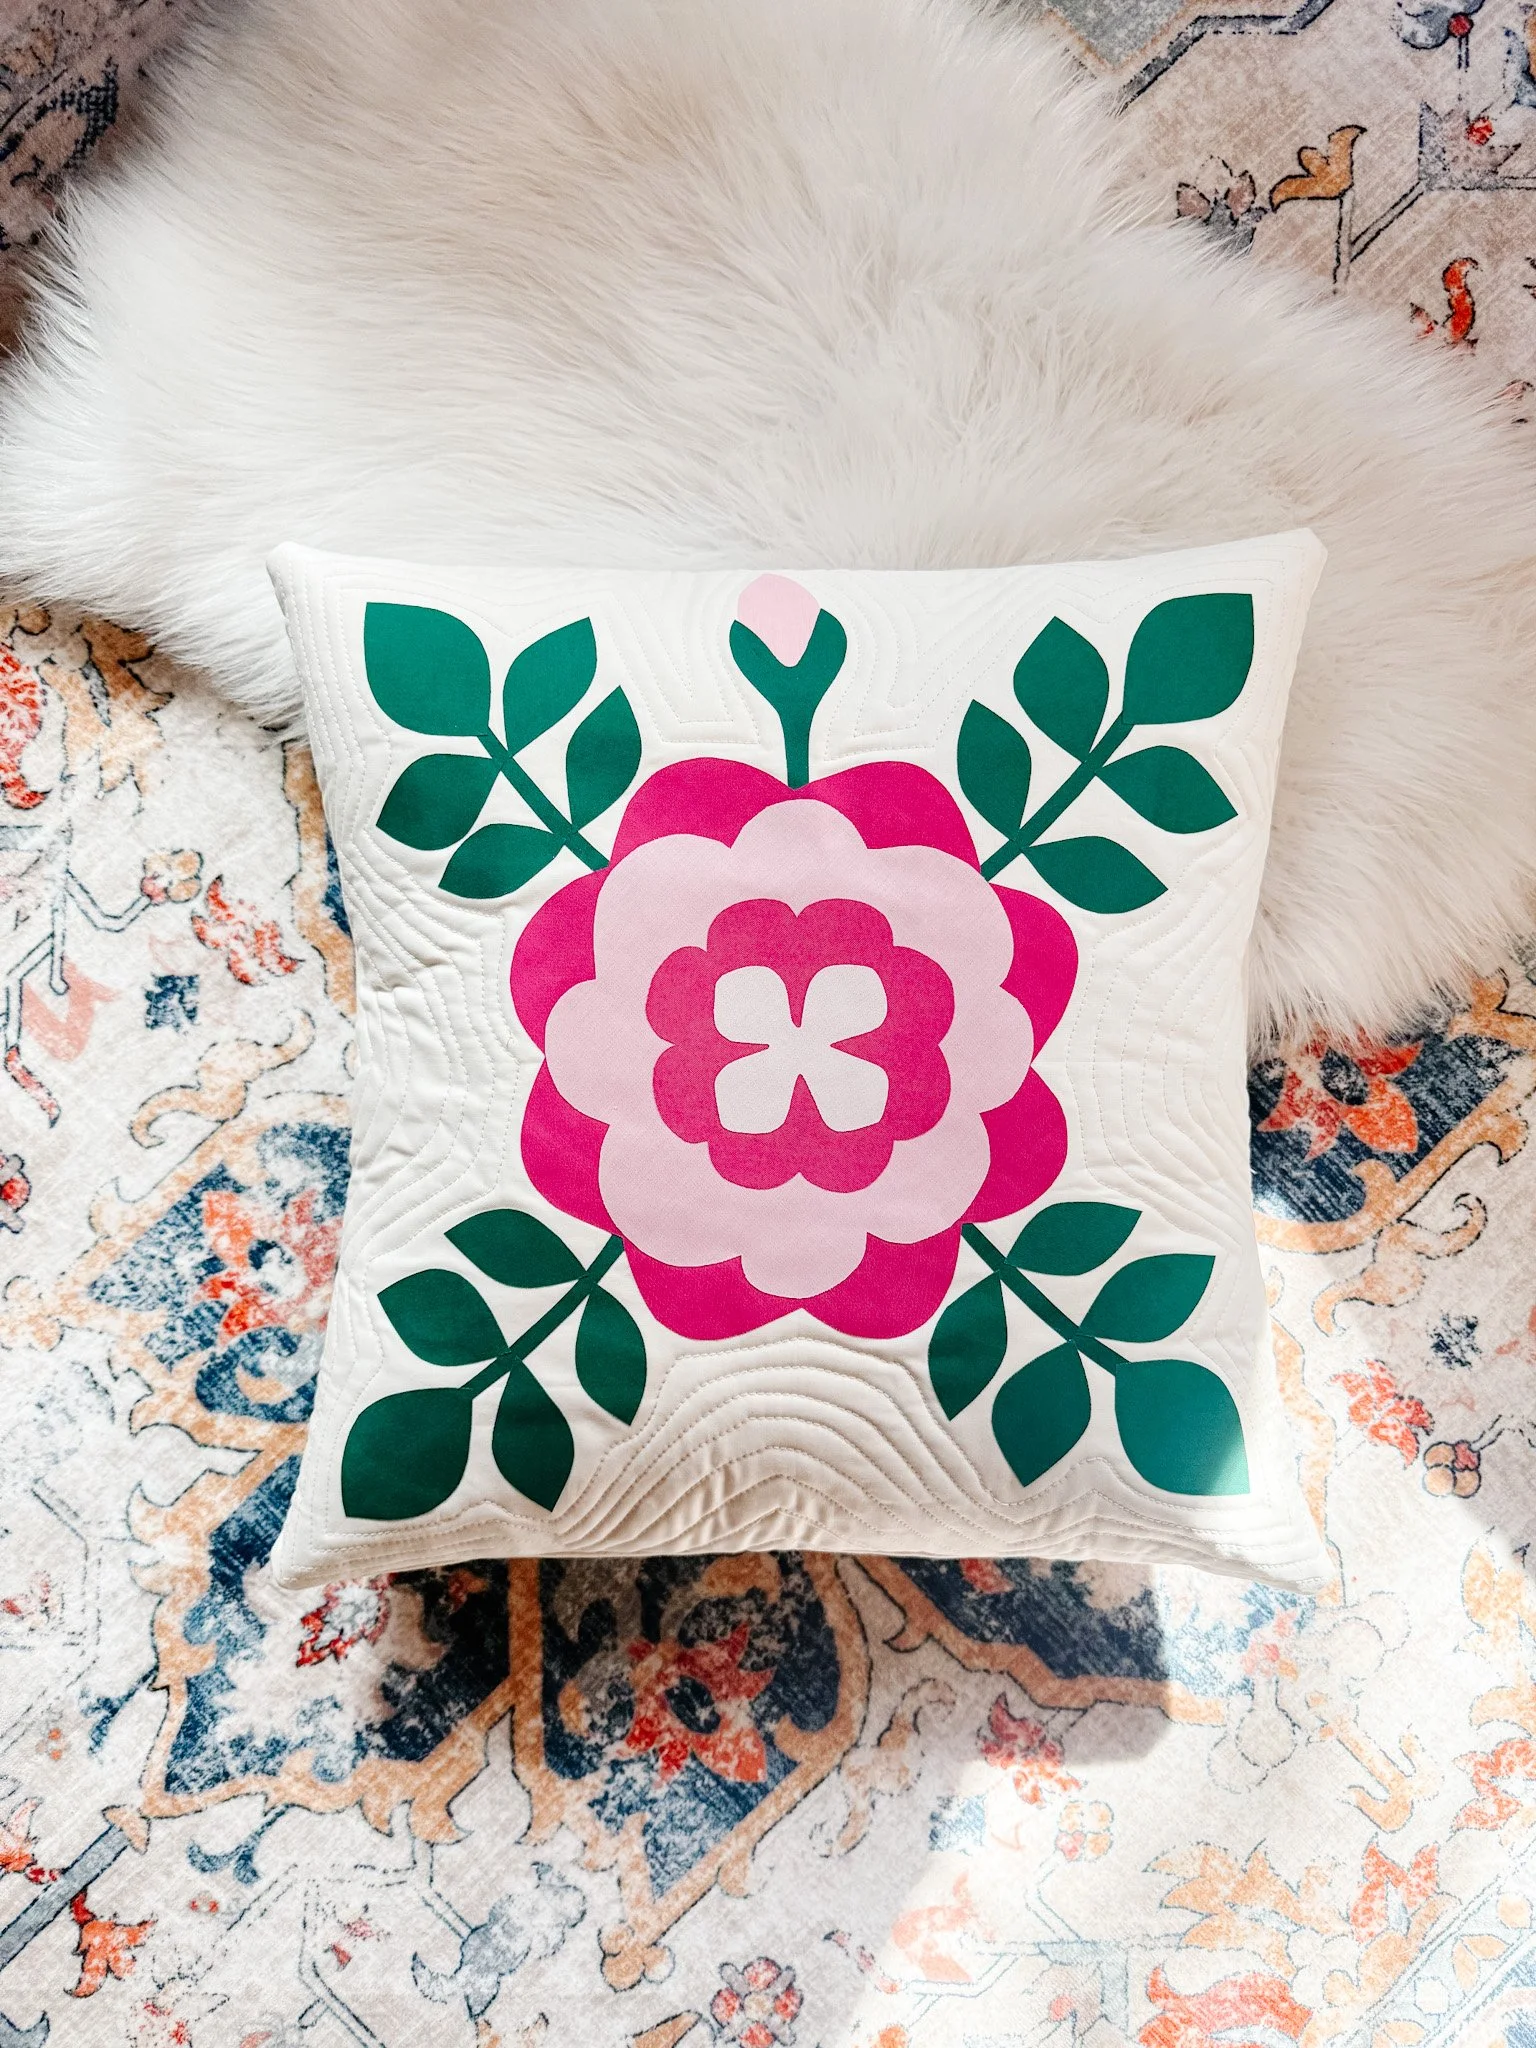
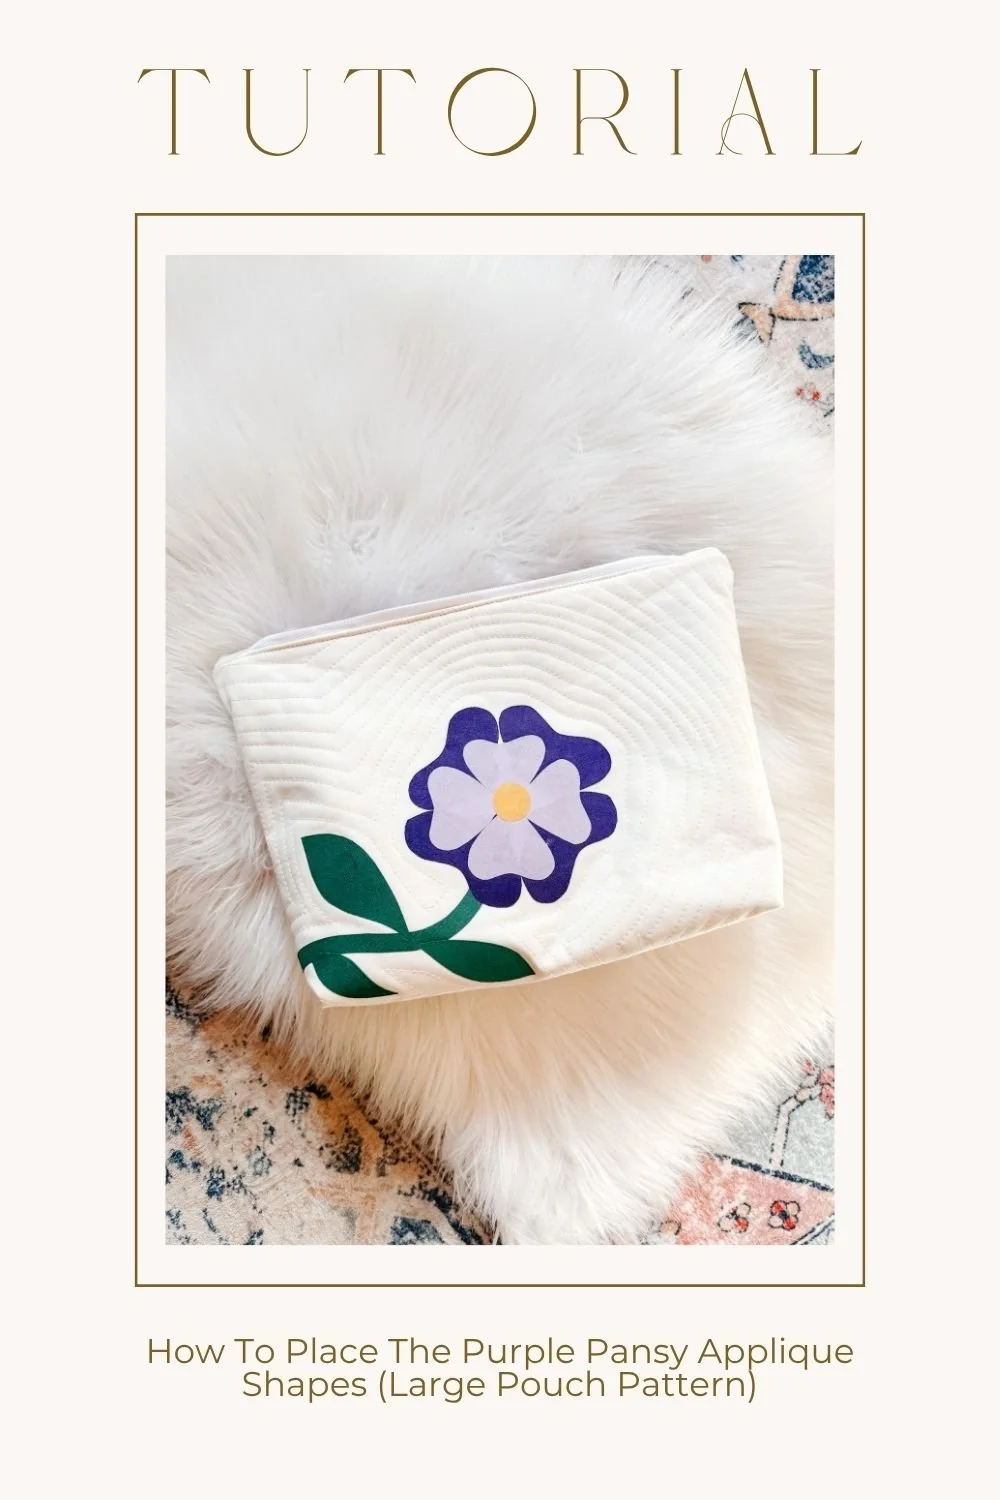
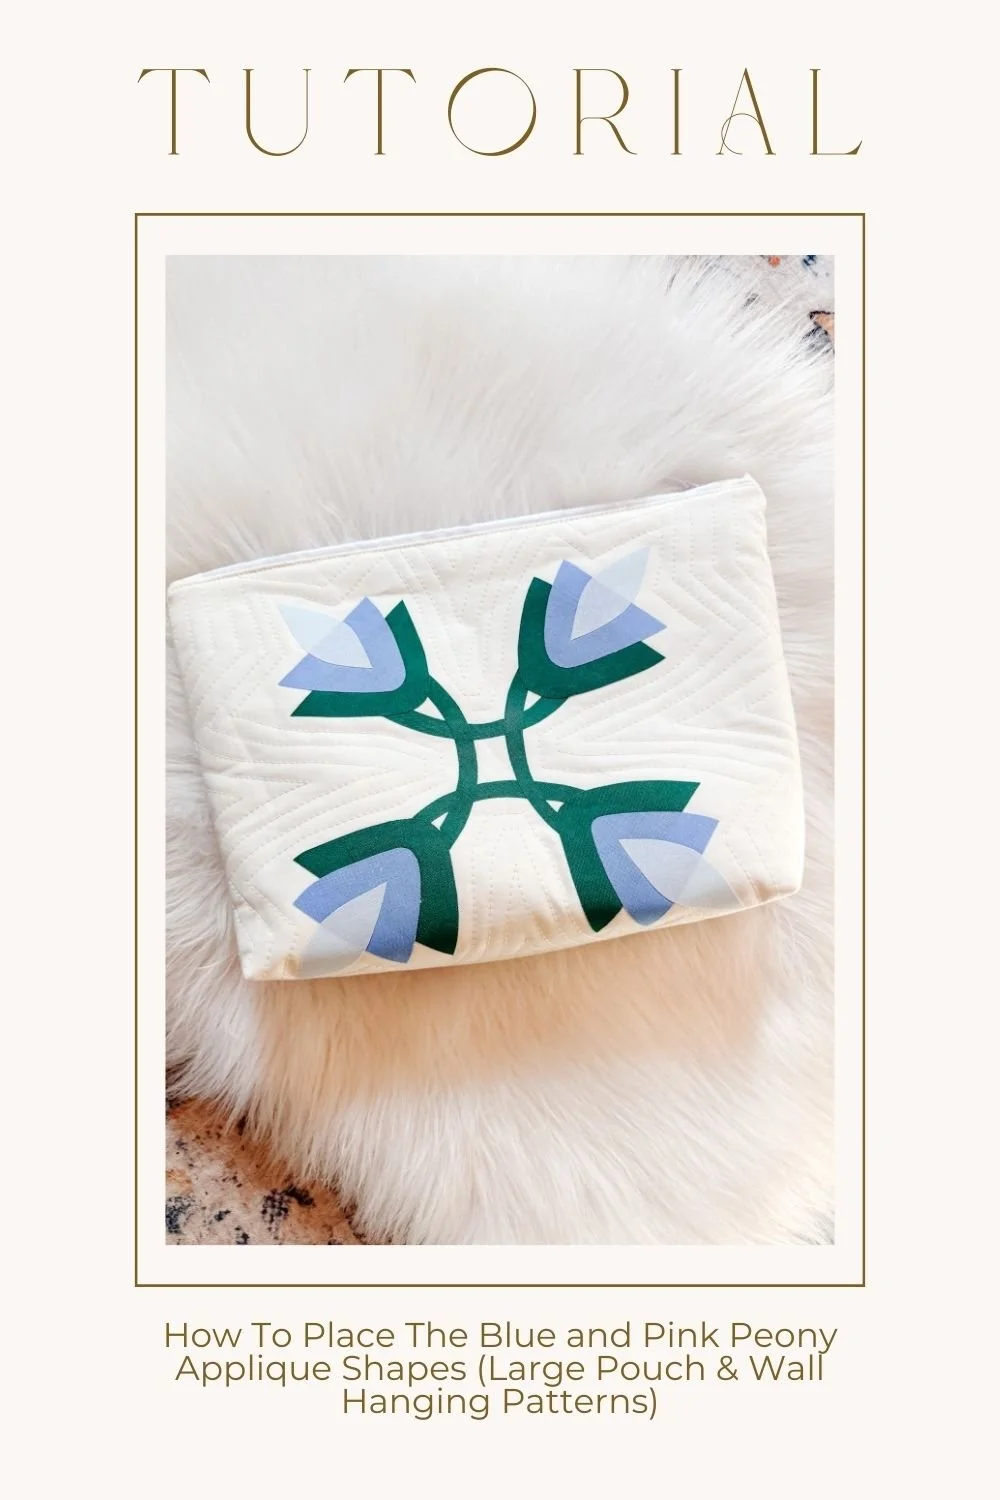
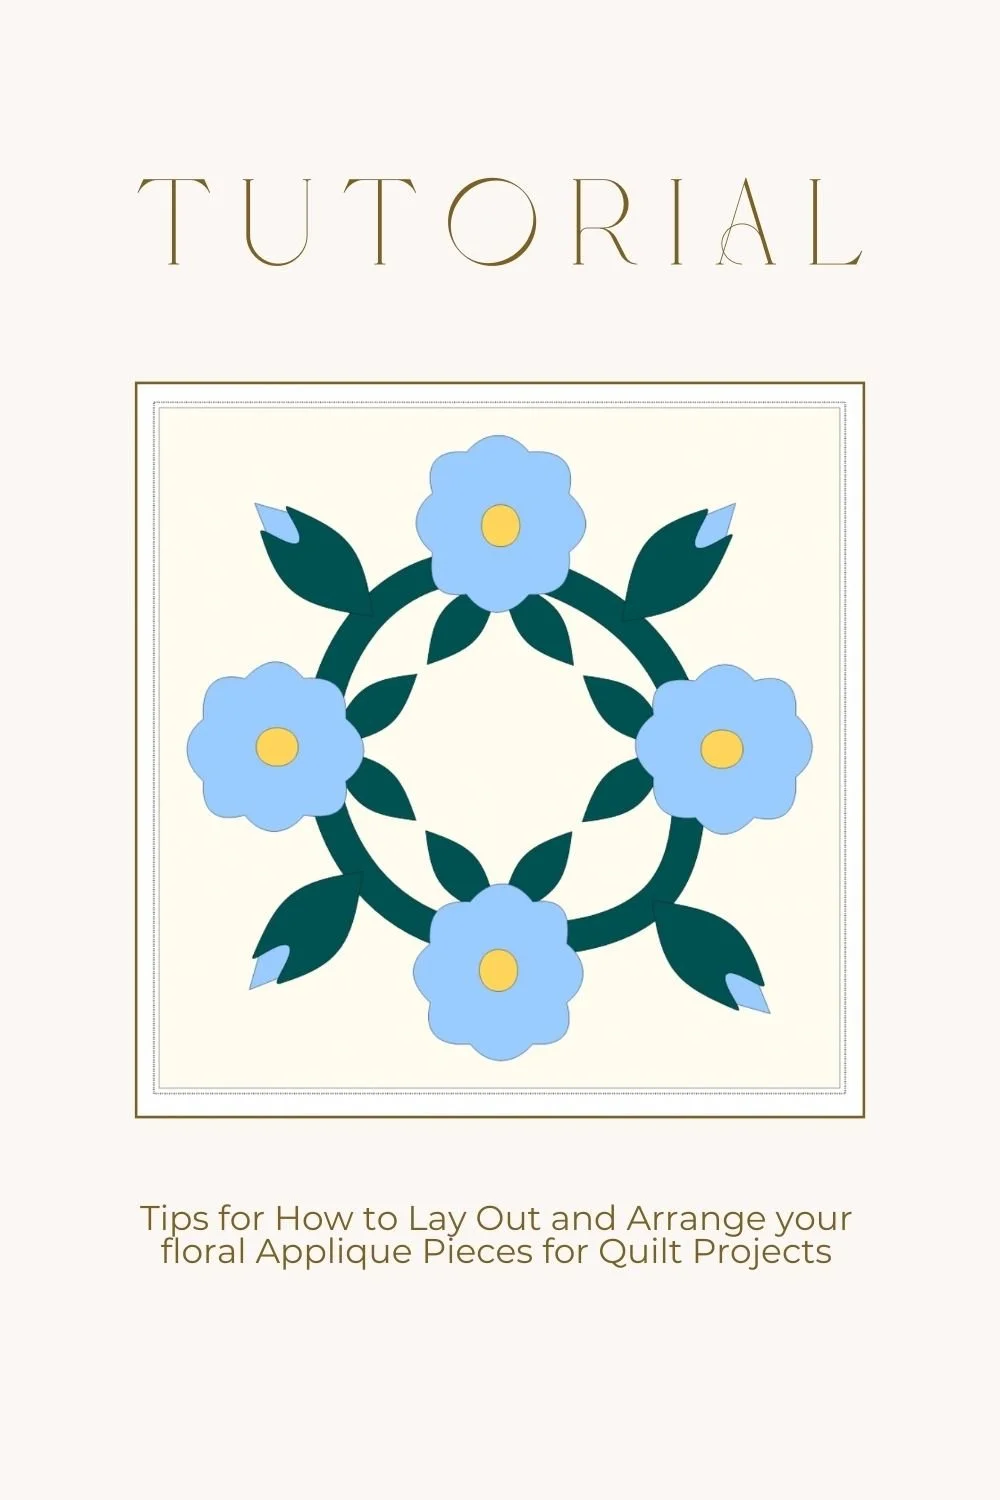
The first step is arranging the appliqué motif on the main exterior panels. I always like to begin by gently creasing the panel in half both ways with my hands so I can find the center. Those creases act as guides and make it much easier to place the design evenly.
From there, I use the appliqué legend from the pattern to start building the motif from the center outward. I usually begin with the center pieces first, then work around them in sections. A washable glue stick is really helpful here because it lets you lightly tack the pieces down before fusing them permanently. That way, if something looks off, you can still move it around.
One important thing to remember is to leave space around the outer edge of the panel. You never want your appliqué too close to the seam allowance because the bag still needs to be assembled later. I suggest a perimeter of 1” where you will not put your shapes.


A quick note about mirroring
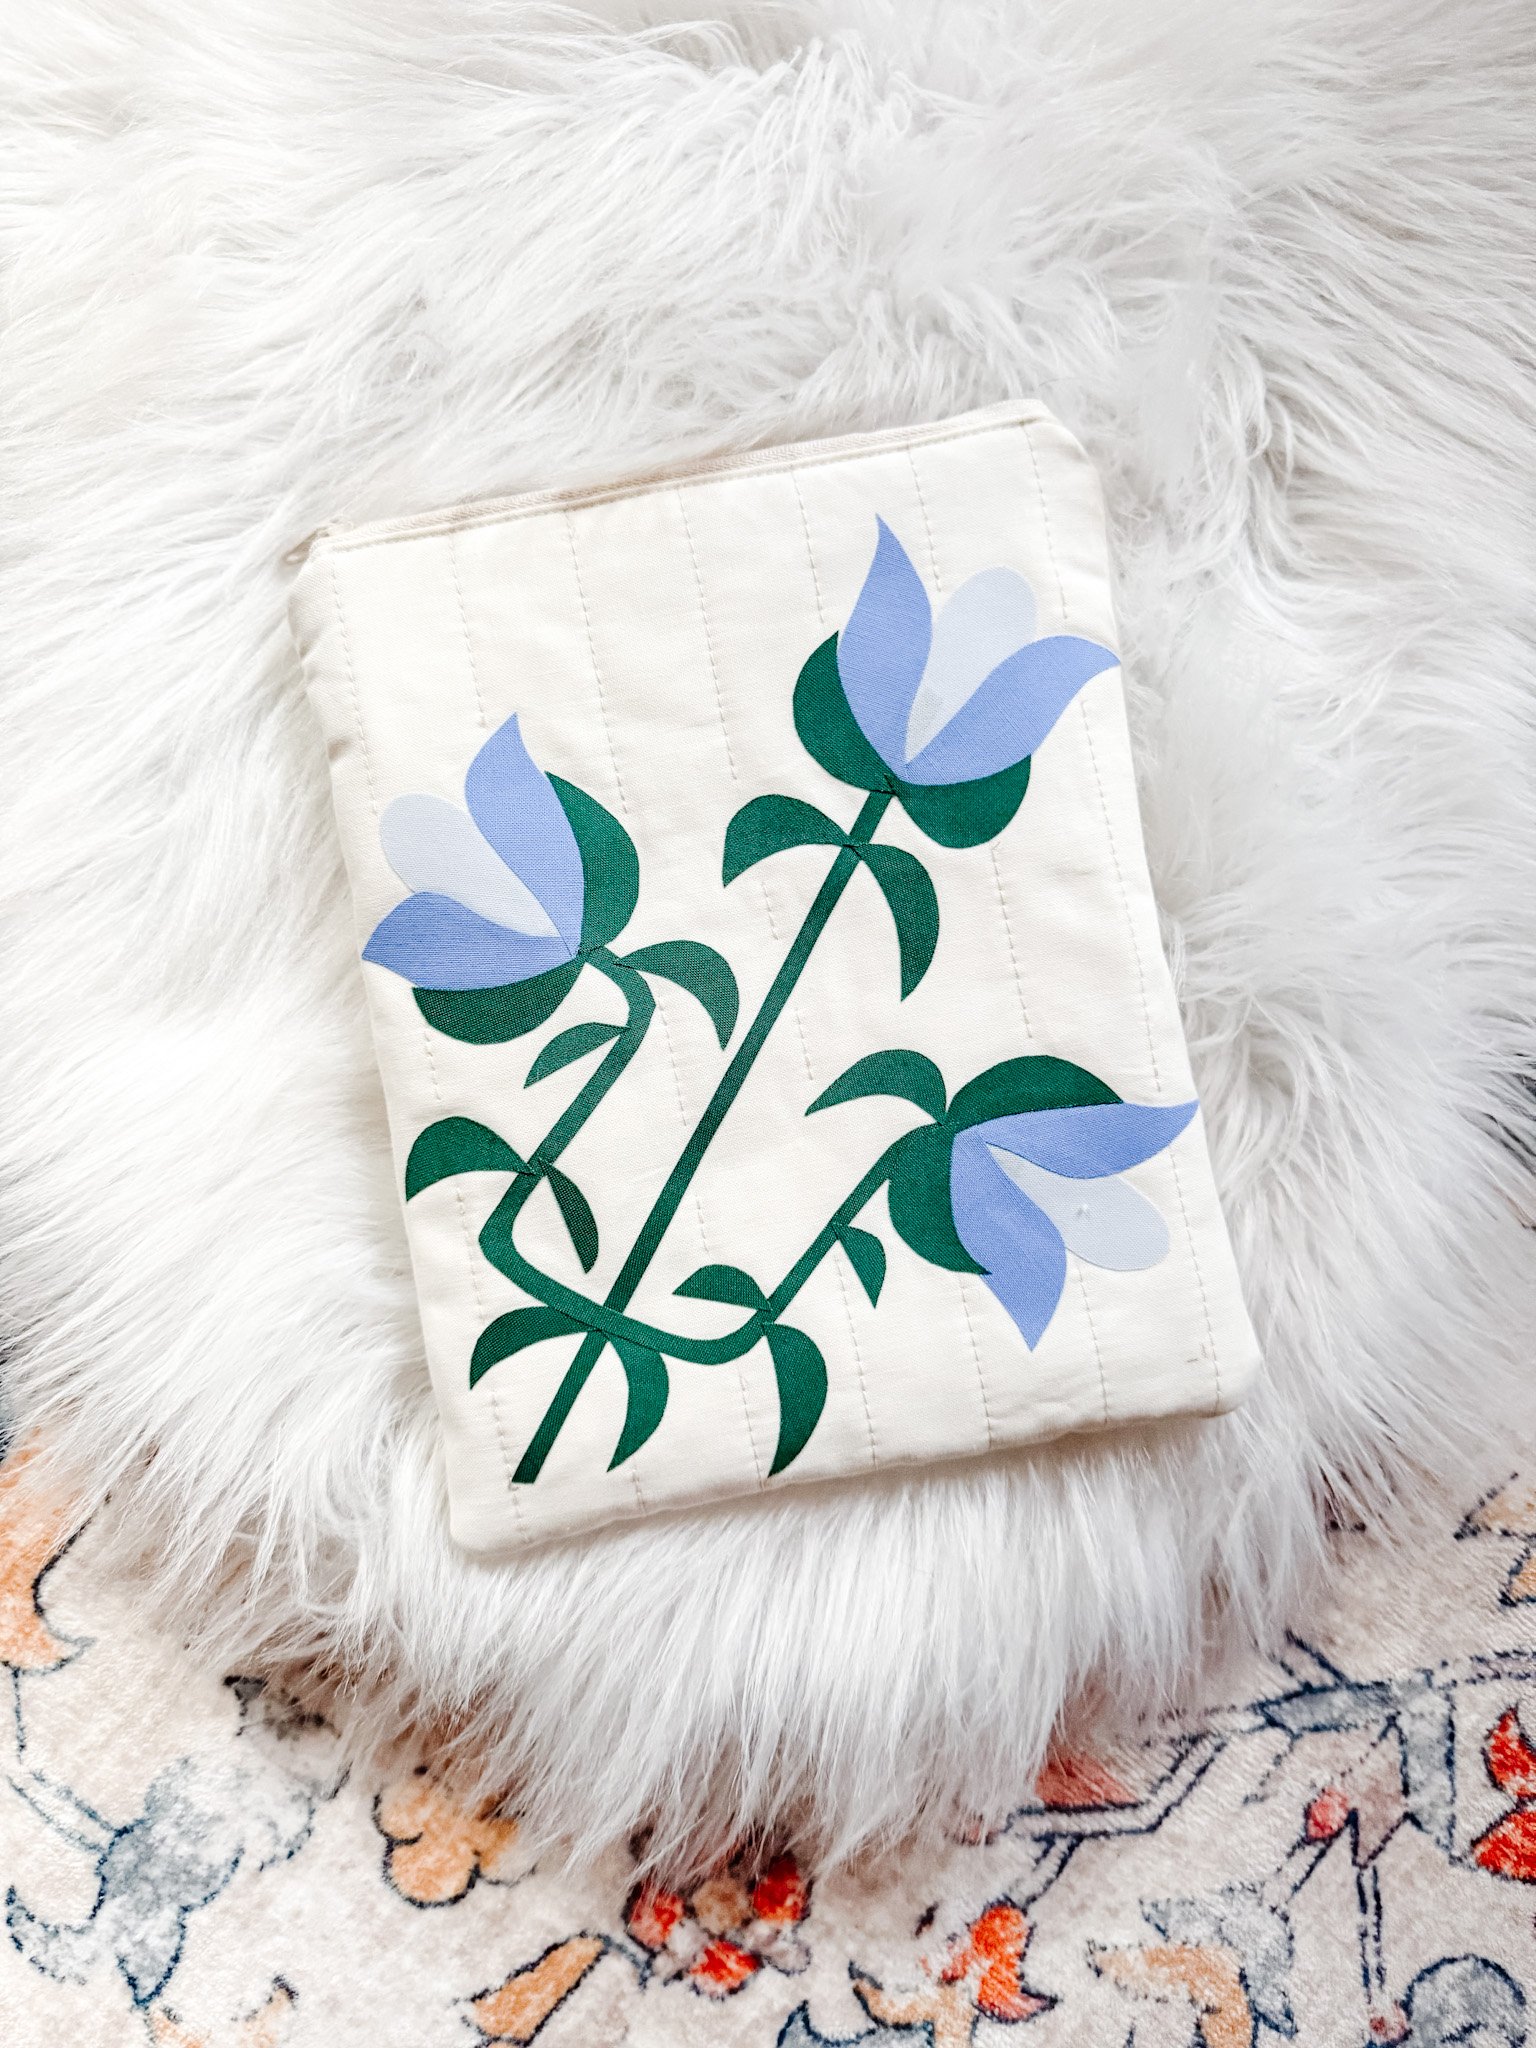
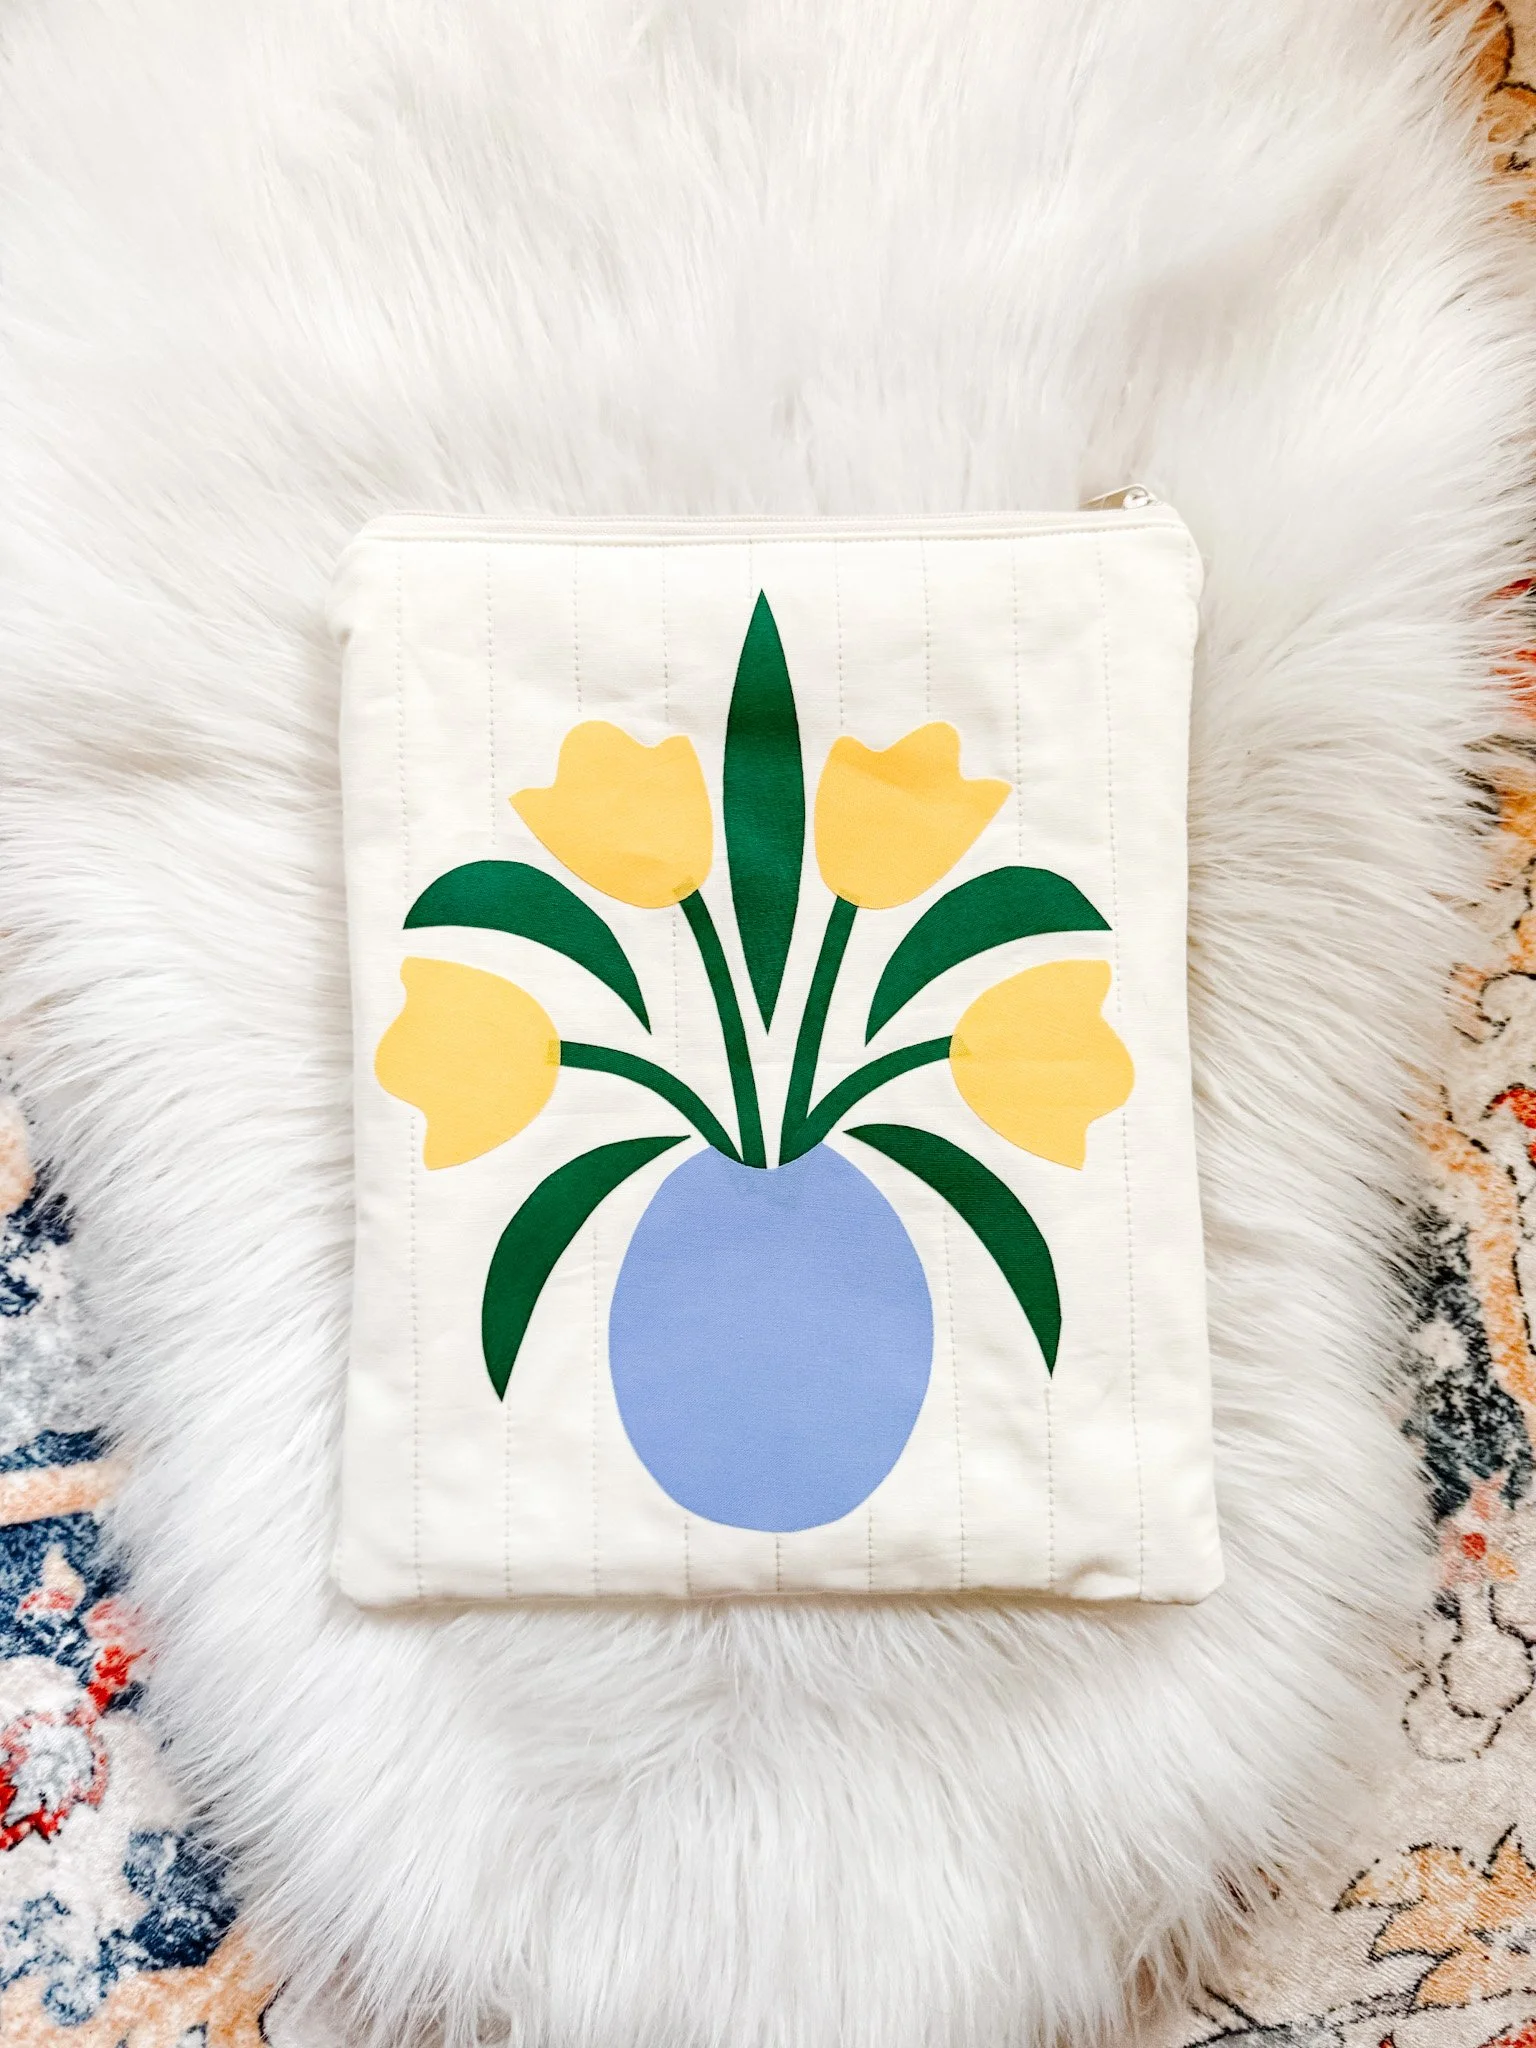
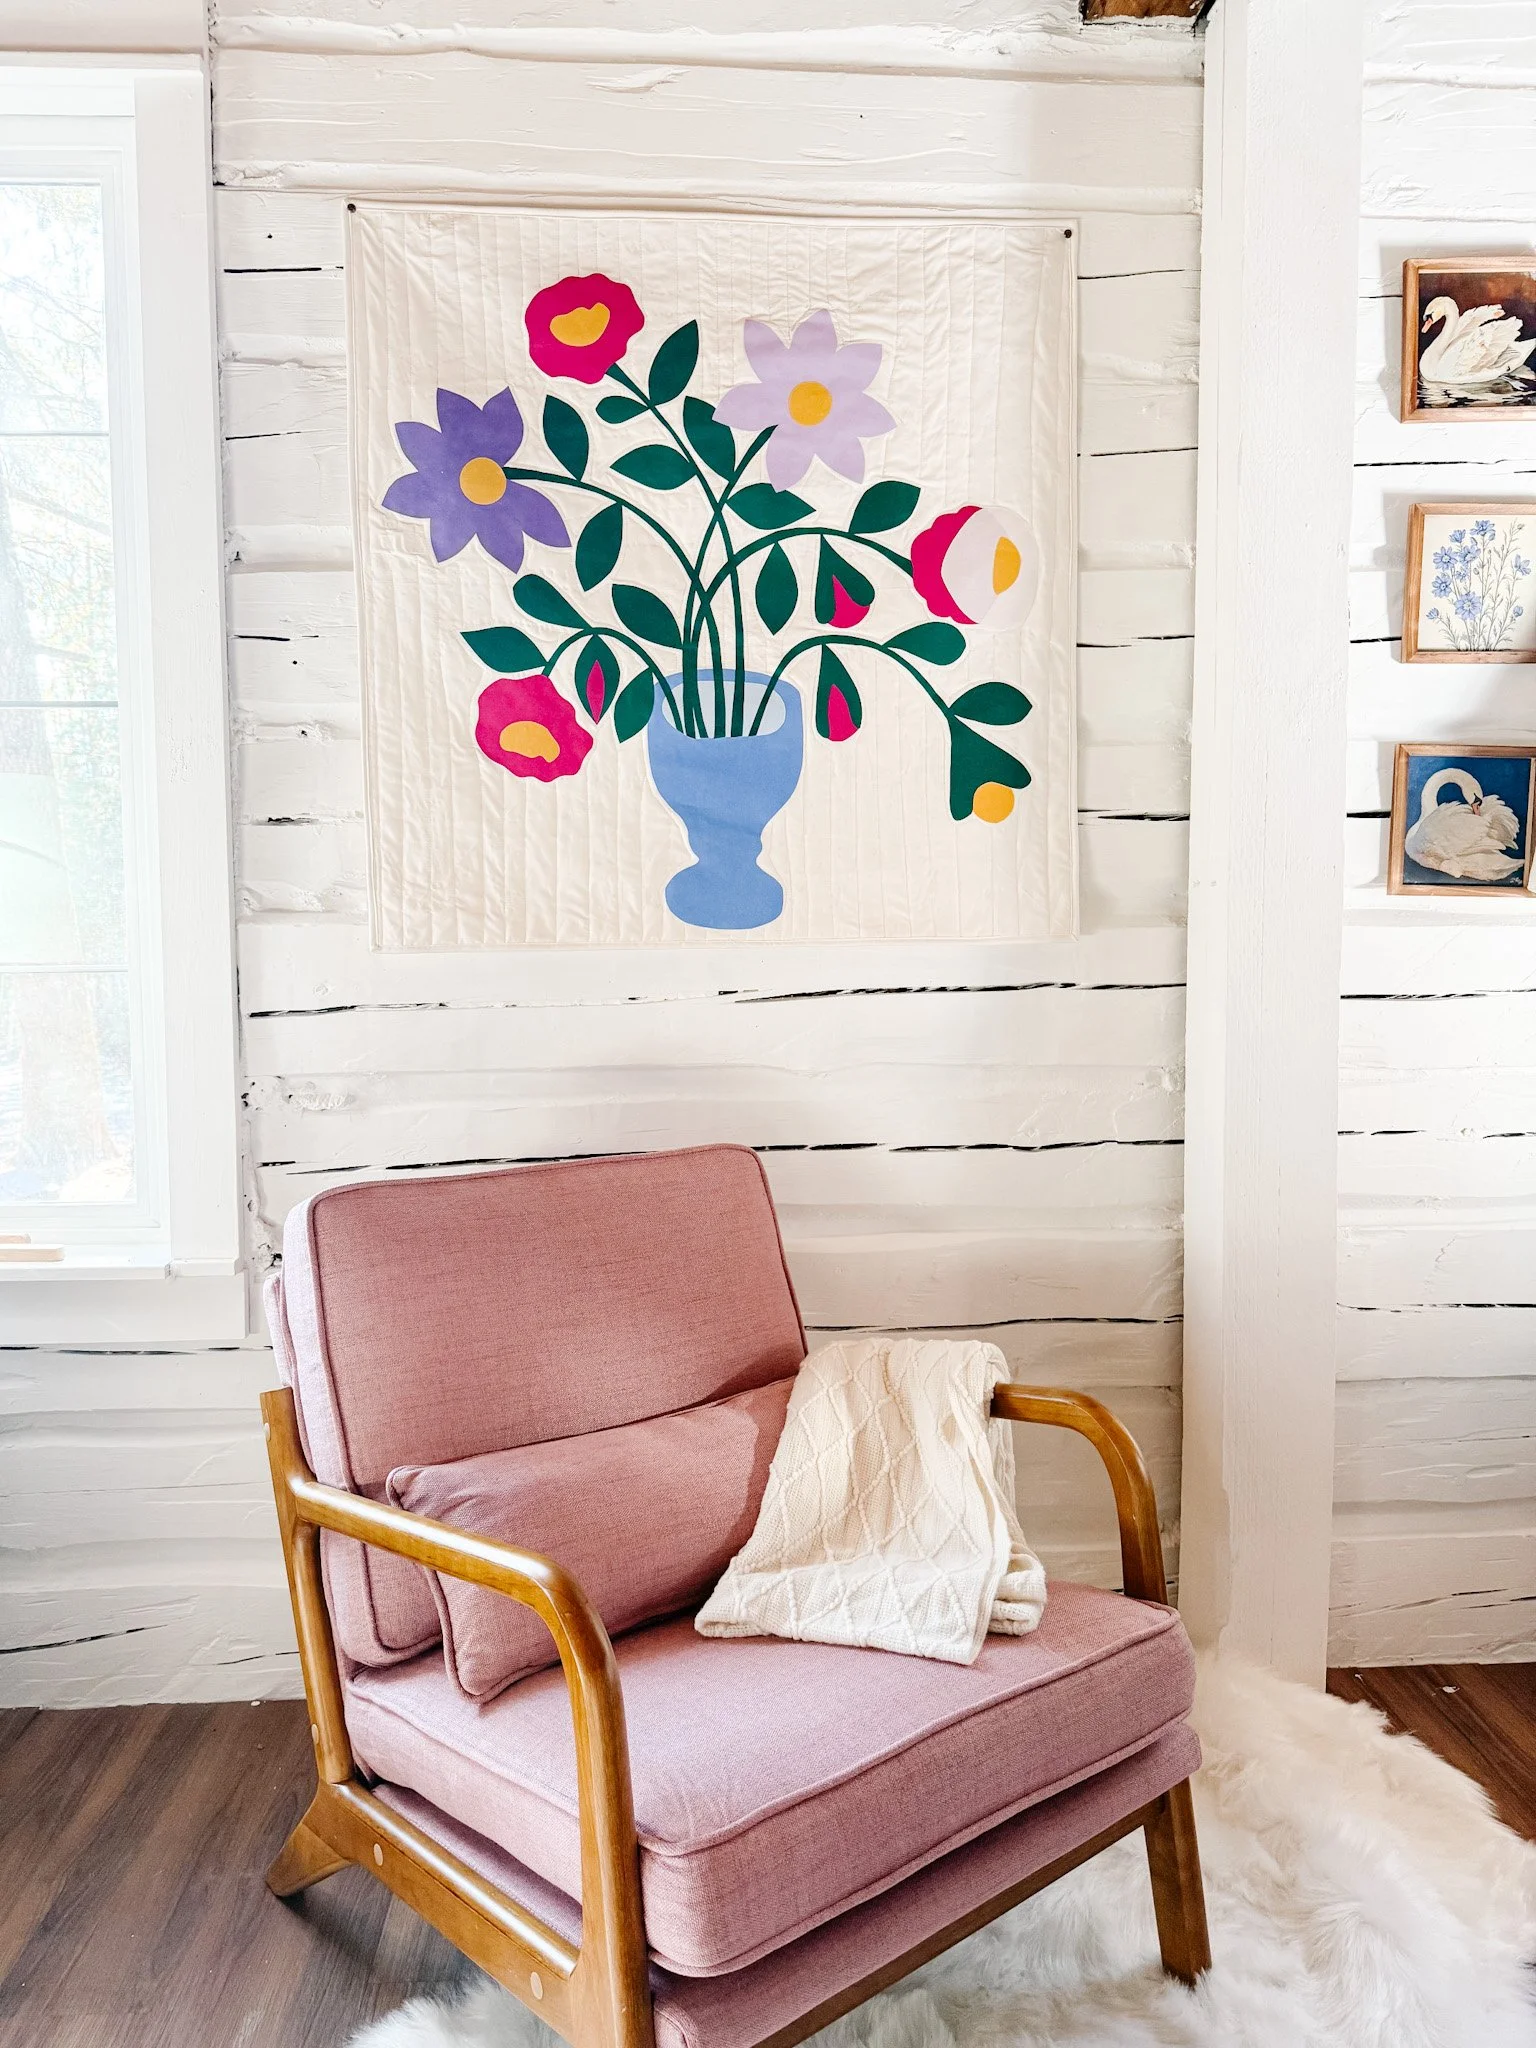
If you use fusible appliqué, make sure your templates are mirrored properly before cutting. If they aren’t, it’s not the end of the world, but you may need to work backwards a bit when placing your shapes. The good news is that floral appliqué is very forgiving, and sometimes adjusting the layout by eye can still give you a beautiful result.
Don’t stress too much about perfection here. The legend is there to guide you, but this is also a place where you can trust your eye and make the design your own.
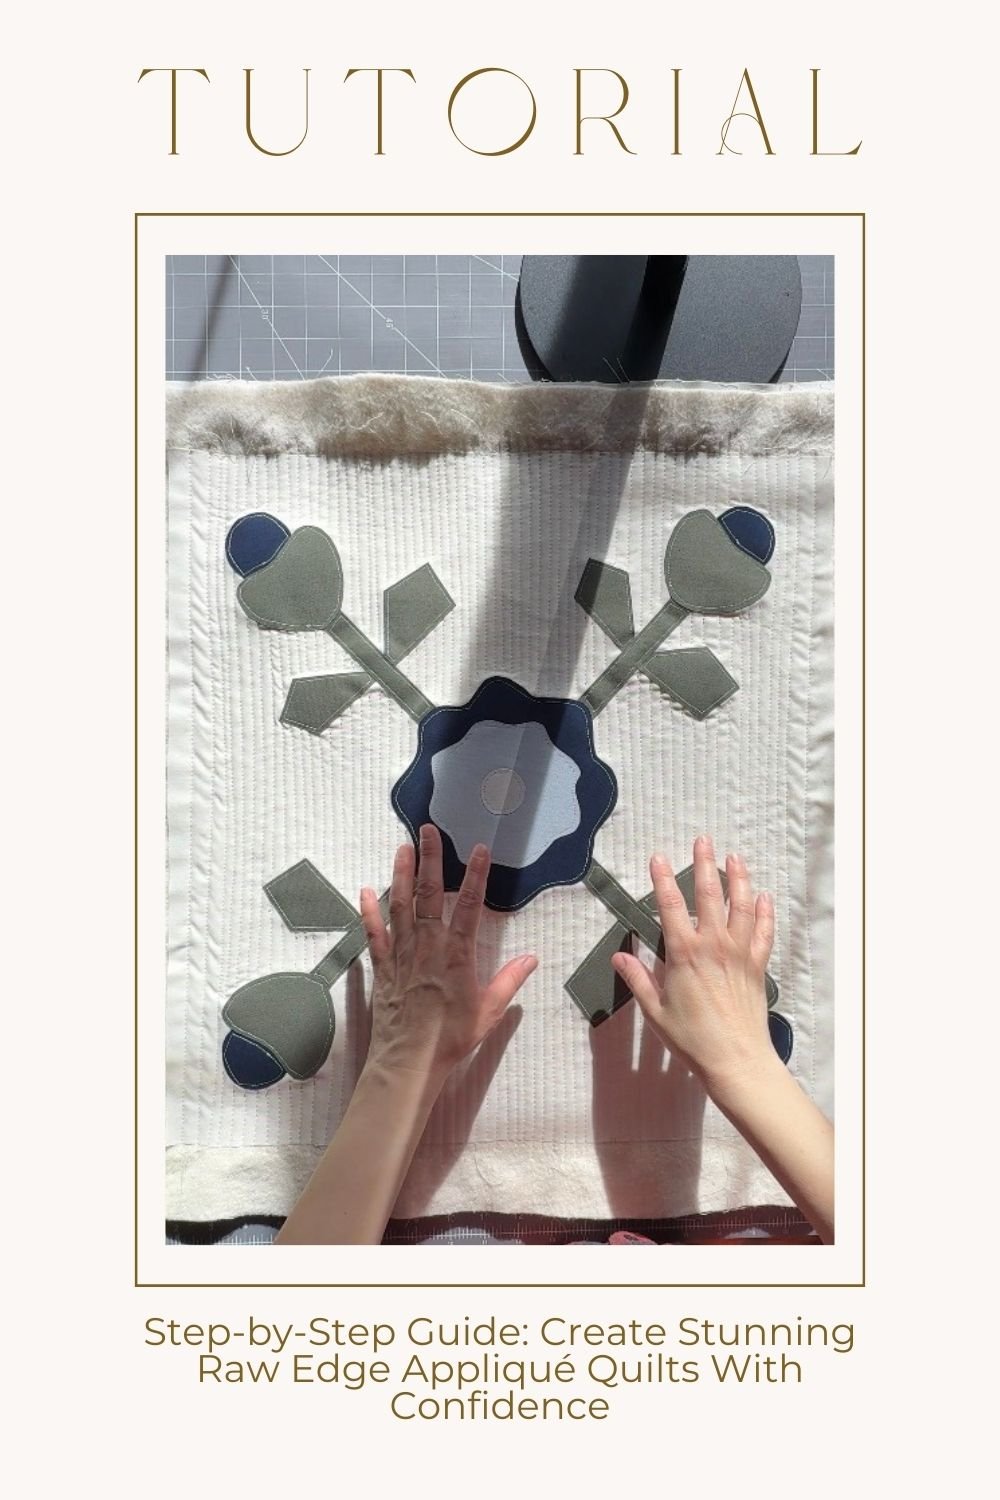
Fusing the design
Once you’re happy with the placement, you can fuse the motif in place with your iron. Press the pieces down using a lift-and-press motion rather than sliding the iron around. That helps keep everything where you want it. Fuse using a med-high heat iron setting (usually a 5 or wool setting) for 8 seconds.
If you’re working with multiple panels, repeat the same process for the second exterior panel before moving on to quilting.
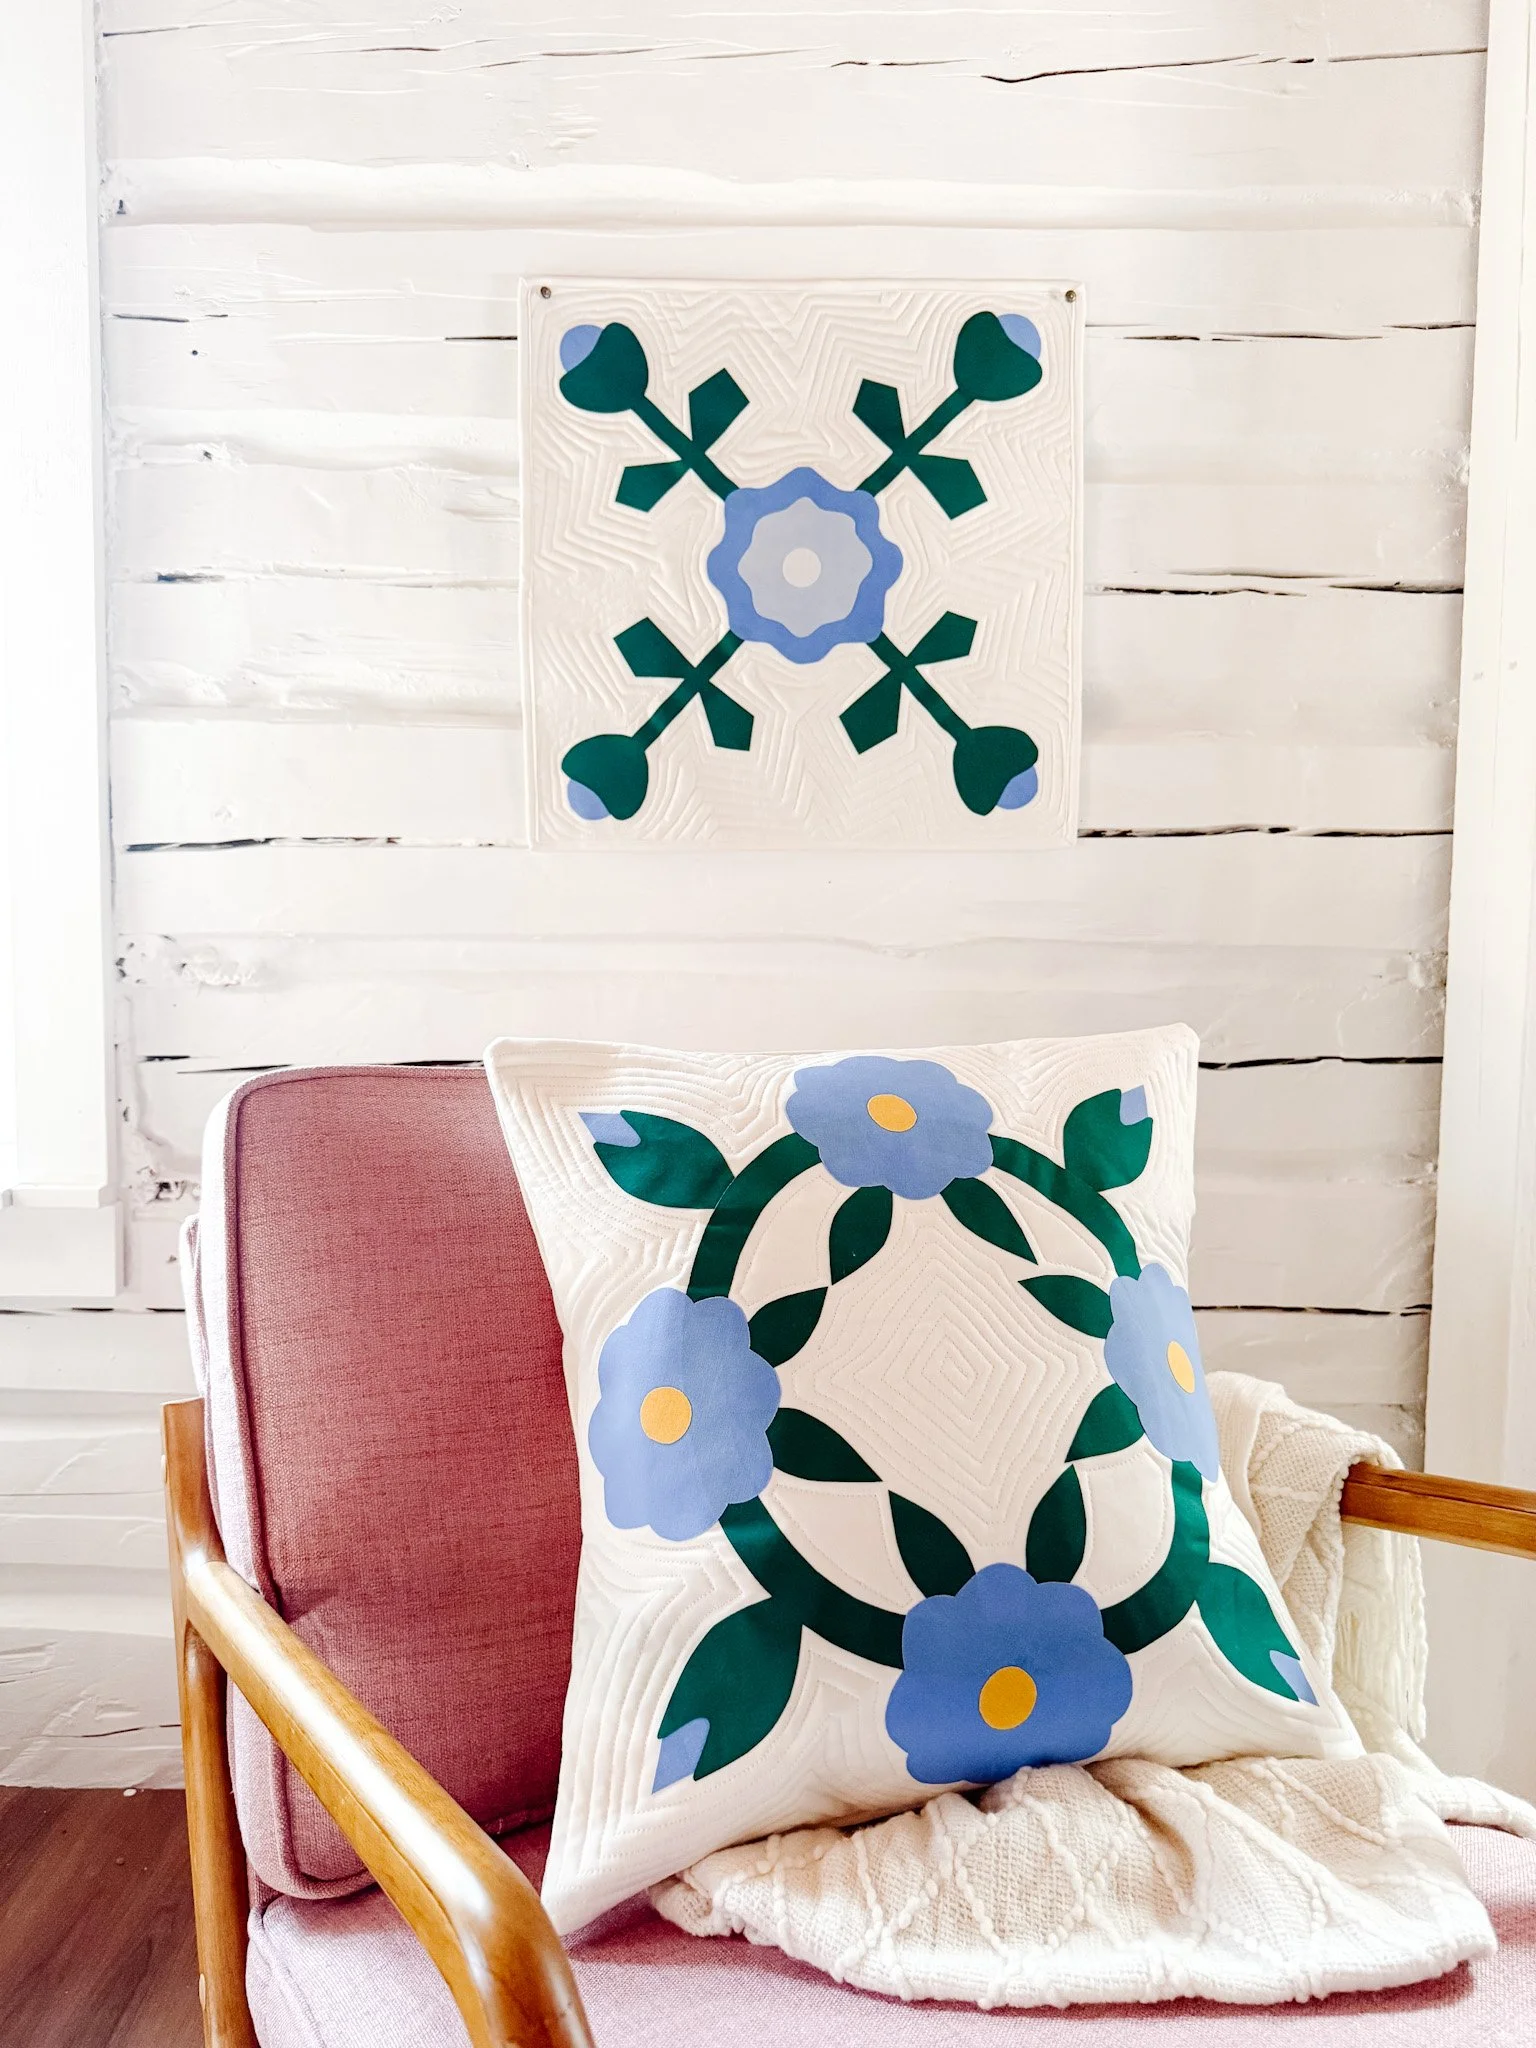
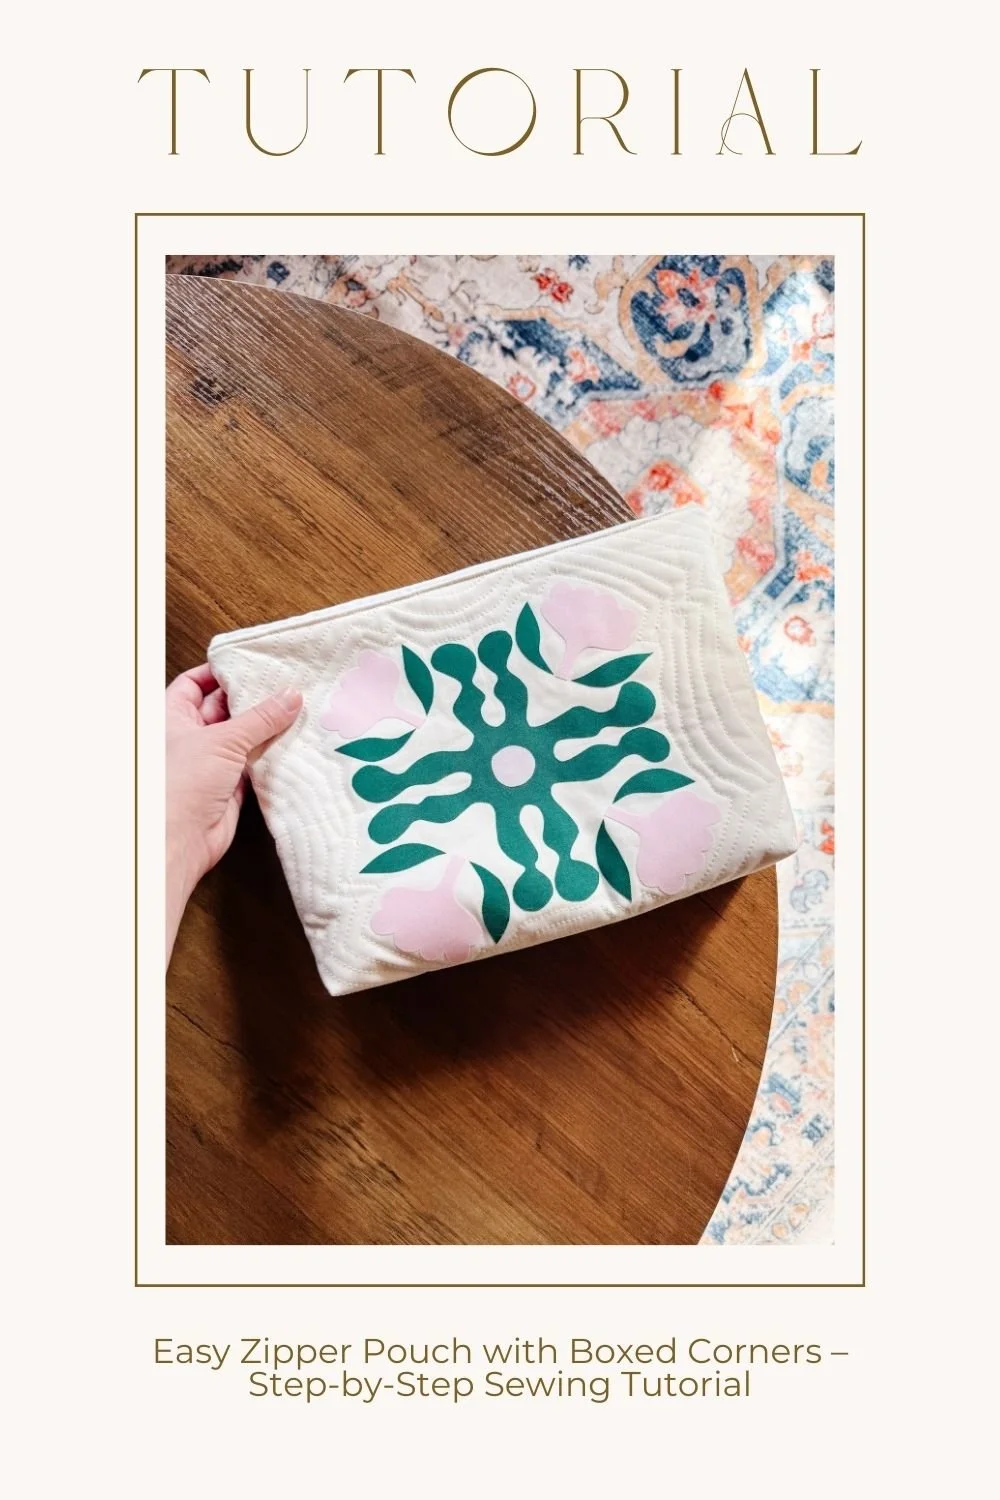
Quilting the tote panels
After the appliqué is finished, it’s time to quilt the exterior pieces. For this project, you only quilt the outer panels and batting. The lining does not get quilted.
Lay each exterior piece on batting that is slightly larger than the fabric. This extra batting matters because quilting can shrink the fabric a little. Once each panel is quilted, you can trim away the excess batting and square everything up.
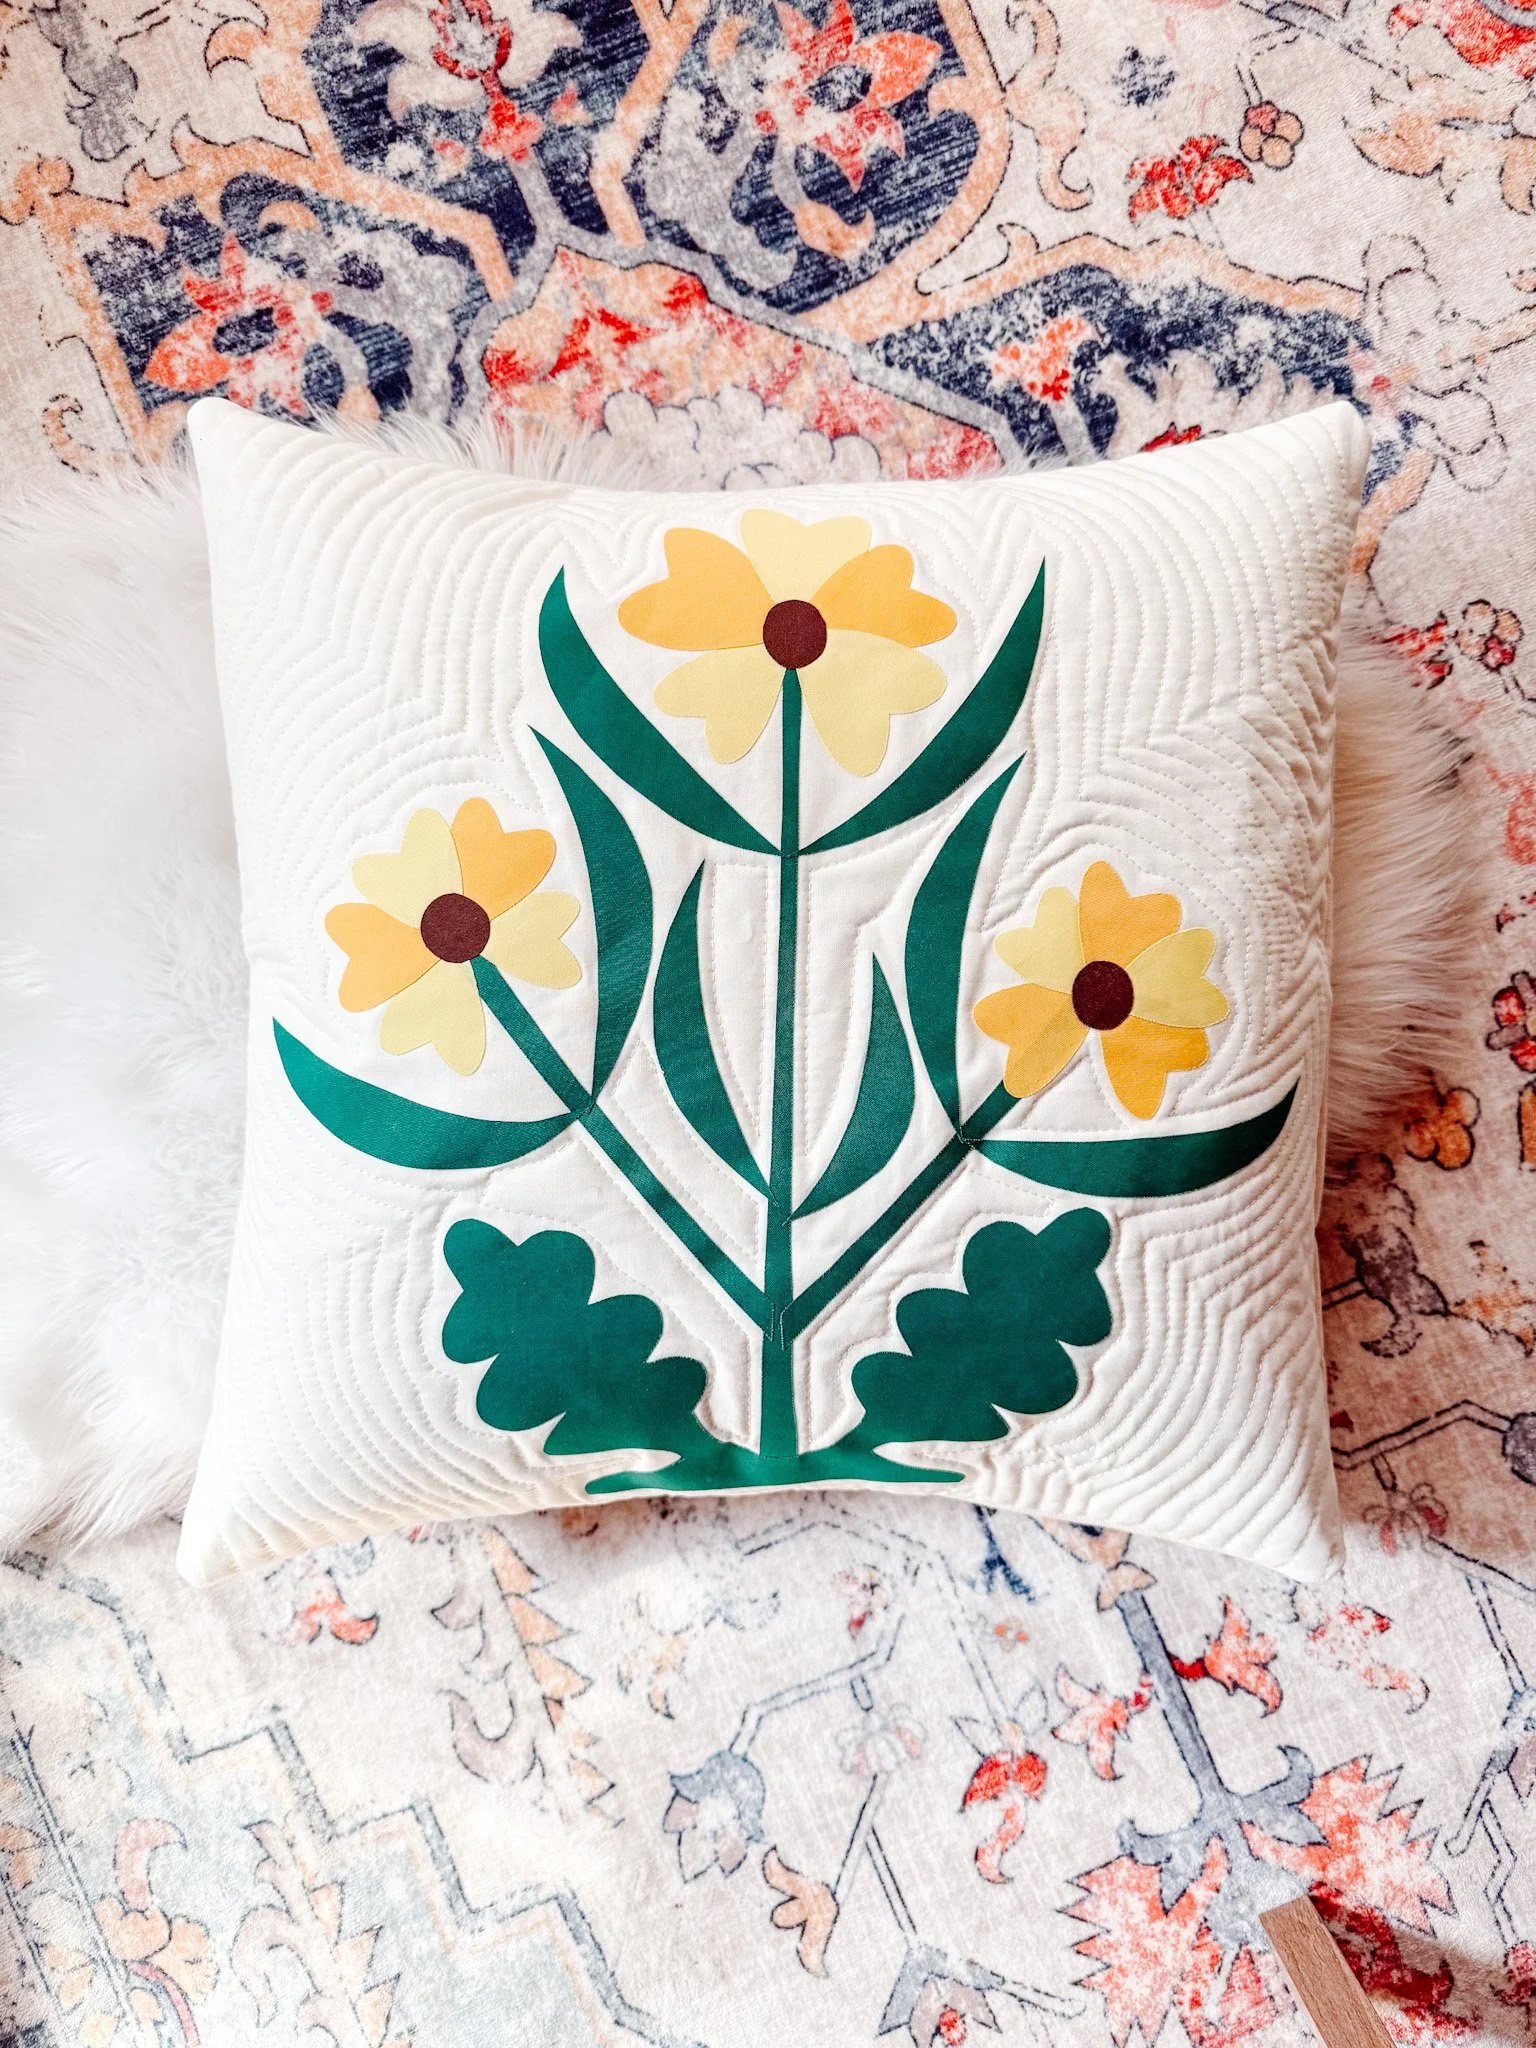
For quilting, you can keep it simple with straight-line quilting, or you can choose something more decorative like echo quilting or crosshatch. I kept this one simple and clean. If your motif has a lot going on, straight lines can be a really nice contrast.
Assembling the outer bag and lining
Once the exterior pieces are quilted and trimmed, you can start assembling the tote. The outer shell is made by sewing the bottom panel to the main body panels first, then adding the side panels. After that, you sew the side seams to form the boxy outer bag.
The lining is assembled the exact same way, just without the batting and quilting.
This is one of those projects where it really helps to press your seams as you go. A good press makes the whole bag easier to handle and helps everything line up more cleanly.
Making the straps
The straps for this tote are simple and sturdy. They’re made by folding the strip lengthwise, pressing, folding the raw edges into the center, and then folding again so all the raw edges are enclosed. After that, you topstitch along the length of the strap.
Once both straps are made, they are attached to the exterior bag before the final assembly. In this pattern, the strap ends are positioned 3 inches in from the side seams on each main panel.
Joining the bag together
To finish the tote, place the lining inside the outer bag with right sides facing, match the top raw edges, and sew around the top edge, leaving an opening so the bag can be turned right side out.
After turning, push out the corners, tuck the opening closed, and topstitch around the entire top edge. That final row of stitching really helps clean everything up and gives the bag a polished finish.
If you want a bit more structure, you can also topstitch along the side and bottom seams from the outside. It’s optional, but it does make a difference if you want the tote to hold that boxy shape a little more firmly. I provide more instruction inside the pattern and video tutorial.
A few helpful tips
Use a lint roller on your background fabric before fusing appliqué so you get a clean bond.
A washable glue stick is your best friend for both appliqué placement and basting small quilted pieces.
Keep your batting larger than your fabric until after quilting.
Press as you go, especially when assembling the shells and closing the turning gap.
Make sure your straps are tucked safely out of the way before topstitching the top edge.
Final thoughts
This floral boxy tote is such a satisfying make. It combines raw edge appliqué, simple quilting, and bag construction in a way that feels approachable but still gives you a really beautiful finished project. It’s practical, pretty, and a lovely way to show off your fabric and appliqué work.
Find the pattern here:
https://thelmaquilts.com/patterns/p/blue-tulips-quilted-applique-boxy-tote-pattern
And if you make one, I’d love to see it.
check out my fave quilting toolspin it for later

Minimalist knitwear designer.