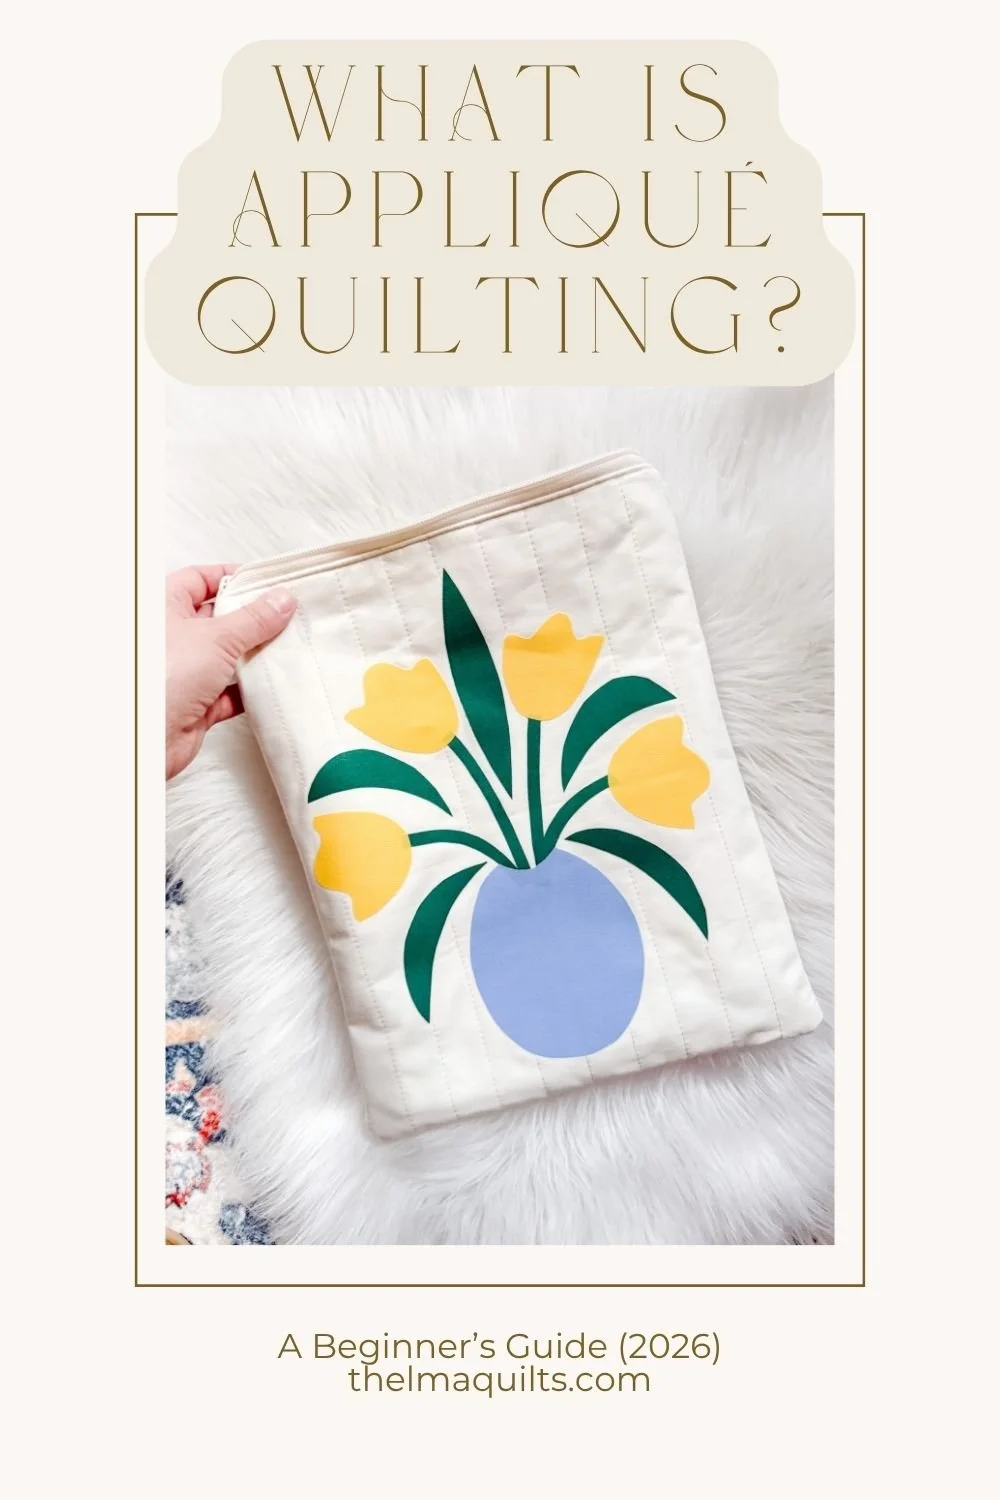
What Is Appliqué Quilting? A Beginner’s Guide (2026)
Learn what appliqué quilting is, the different types of appliqué, and why raw edge fusible appliqué is perfect for beginners. A complete beginner’s guide.
What if I told you quilting doesn’t have to mean cutting a hundred tiny pieces and sewing them together perfectly?
That’s where appliqué quilting comes in—and honestly, it’s one of the most freeing, creative ways to quilt. Instead of piecing, you’re layering shapes onto fabric to create designs… florals, lettering, scenes, anything you can imagine.
When I first started exploring appliqué, it completely changed how I approached quilting. It felt more like drawing with fabric than following strict rules—and that’s exactly why so many beginners fall in love with it.
In this blog post, I’ll walk you through what appliqué quilting is, the different types you’ll see, and why I personally teach raw edge fusible appliqué (especially if you’re just starting out).


What Is Appliqué Quilting?
Appliqué quilting is a technique where you layer fabric shapes onto a background fabric to create a design—then secure those shapes by stitching or fusing them in place.
Instead of piecing a quilt together block by block, you’re essentially building your design on top of the fabric. Think of it like working with fabric the way you would with paper cutouts… or even paint. You’re placing, adjusting, stepping back, and letting the design come together in a much more visual, intuitive way.
That’s one of the biggest differences between appliqué and traditional patchwork quilting.
With patchwork, everything is structured. You’re cutting precise pieces, sewing them together in a specific order, and your final design is determined before you even start stitching. It’s beautiful—but it can feel a little rigid, especially when you’re new.
Appliqué is different.You’re not locked into a grid. You’re not matching seams at every intersection. You get to move things around. You get to play. You can make a leaf a little bigger, shift a flower slightly to the left, add something extra at the last minute. It gives you space to breathe while you’re making—and that’s something I really love.
At its core, appliqué works by layering shapes onto a base fabric. These shapes can be anything—flowers, stems, letters, abstract forms—and they’re arranged into a design before being secured. Depending on the method, you might stitch around the edges, fuse them in place, or do a bit of both.
And once you understand that simple concept, it opens up so many possibilities.
You can use appliqué quilting to make full quilts, but also smaller, everyday pieces that are actually really satisfying to finish—pillow covers, tote bags, zipper pouches, wall hangings. Things you can use, gift, and enjoy right away.
That’s part of the magic of it.
It’s not just about making a quilt to fold at the end of a bed (though that’s lovely too). It’s about creating pieces that live with you—on your couch, over your shoulder, hanging in your home.
And because appliqué is so design-driven, it naturally leans into creativity. You’re not just following a pattern—you’re building something. Interpreting it. Making it your own.
It’s slower in the best way. More thoughtful. More expressive.
And honestly… a really beautiful place to begin.
Types of Appliqué Quilting
If you’re new to appliqué, this is usually the part where things start to feel a little… confusing. There are a few different ways to do it, and everyone seems to have their preferred method.
So let me walk you through them in a simple, real-life way—no overwhelm, no pressure to do it “perfectly.”
Because the truth is… there’s no one right way. Just the way that works best for you.
Needle-Turn Appliqué (the traditional method)
This is the old-school, heirloom way of doing appliqué.
Each fabric shape is turned under by hand—tiny seam allowance tucked in as you go—and then stitched down with nearly invisible hand stitches. It’s slow, quiet, and honestly… kind of meditative.
It’s also the method you’ll often see in antique quilts.
Pros:
Beautiful, clean finish with no raw edges
Very durable over time
Deeply traditional and heirloom-quality
Cons:
Takes time (and patience… a lot of it)
Requires hand sewing skills
Can feel intimidating for beginners
This one is lovely—but it’s not where I usually suggest starting.
Machine Appliqué
Machine appliqué is exactly what it sounds like—you’re stitching your shapes down using a sewing machine instead of by hand.
There are a few ways to do this (zigzag stitch, satin stitch, blanket stitch, straight stitch), and it gives you a lot more speed compared to hand sewing.
Pros:
Faster than hand appliqué
Strong, secure stitching
Lots of stitch options for different looks
Cons:
Can feel tricky at first (especially around curves)
Stitching is visible, which not everyone loves
Takes a bit of practice to get smooth, even edges
This is a great middle ground if you want durability and efficiency.
Raw Edge Appliqué
This is where things start to feel a little more relaxed.
With raw edge appliqué, you place your shapes onto your background and stitch them down without turning the edges under. The edges stay “raw,” and over time they can soften just a little, giving that cozy, lived-in look.
This is the style I lean into a lot.
Pros:
Much easier and faster than turned-edge methods
More forgiving (no perfect edge-turning required)
Adds texture and softness to your finished piece
Cons:
Edges may fray slightly over time (which I personally love)
Not as “polished” looking as needle-turn
If you like things a little imperfect, a little human… this one feels really good.
Fusible Appliqué
Fusible appliqué uses an adhesive (like Heat n Bond) to attach your shapes to the background before stitching—or sometimes instead of stitching.
You trace your shapes, fuse them to fabric, cut them out, and then press them into place. It gives you control and stability right from the start.
This is the foundation of what I teach.
Pros:
Very beginner-friendly
Holds everything in place while you work (no shifting!)
Faster and less fiddly than other methods
Makes placement so much easier
Cons:
Requires an extra material (fusible web)
Can feel a bit stiff depending on what you use
Some adhesives are permanent, so placement matters
When you combine this with raw edge appliqué, it becomes one of the easiest, most approachable ways to get started.
So… Which One Should You Choose?
If you’re brand new, here’s my honest advice:
Start simple. Start easy. Start in a way that makes you want to keep going.
If you love slow stitching and tradition → needle-turn might be your thing
If you want efficiency and structure → machine appliqué works well
If you want something relaxed and forgiving → raw edge is beautiful
If you want the easiest entry point → fusible appliqué is where I’d guide you
That’s exactly why I teach raw edge fusible appliqué.
It removes so many of the barriers that stop people from starting. No turning edges. No slipping pieces. No overthinking every step.
Just you, your fabric, and the quiet joy of building something one shape at a time.
And truly… that’s the part that matters most 🤍
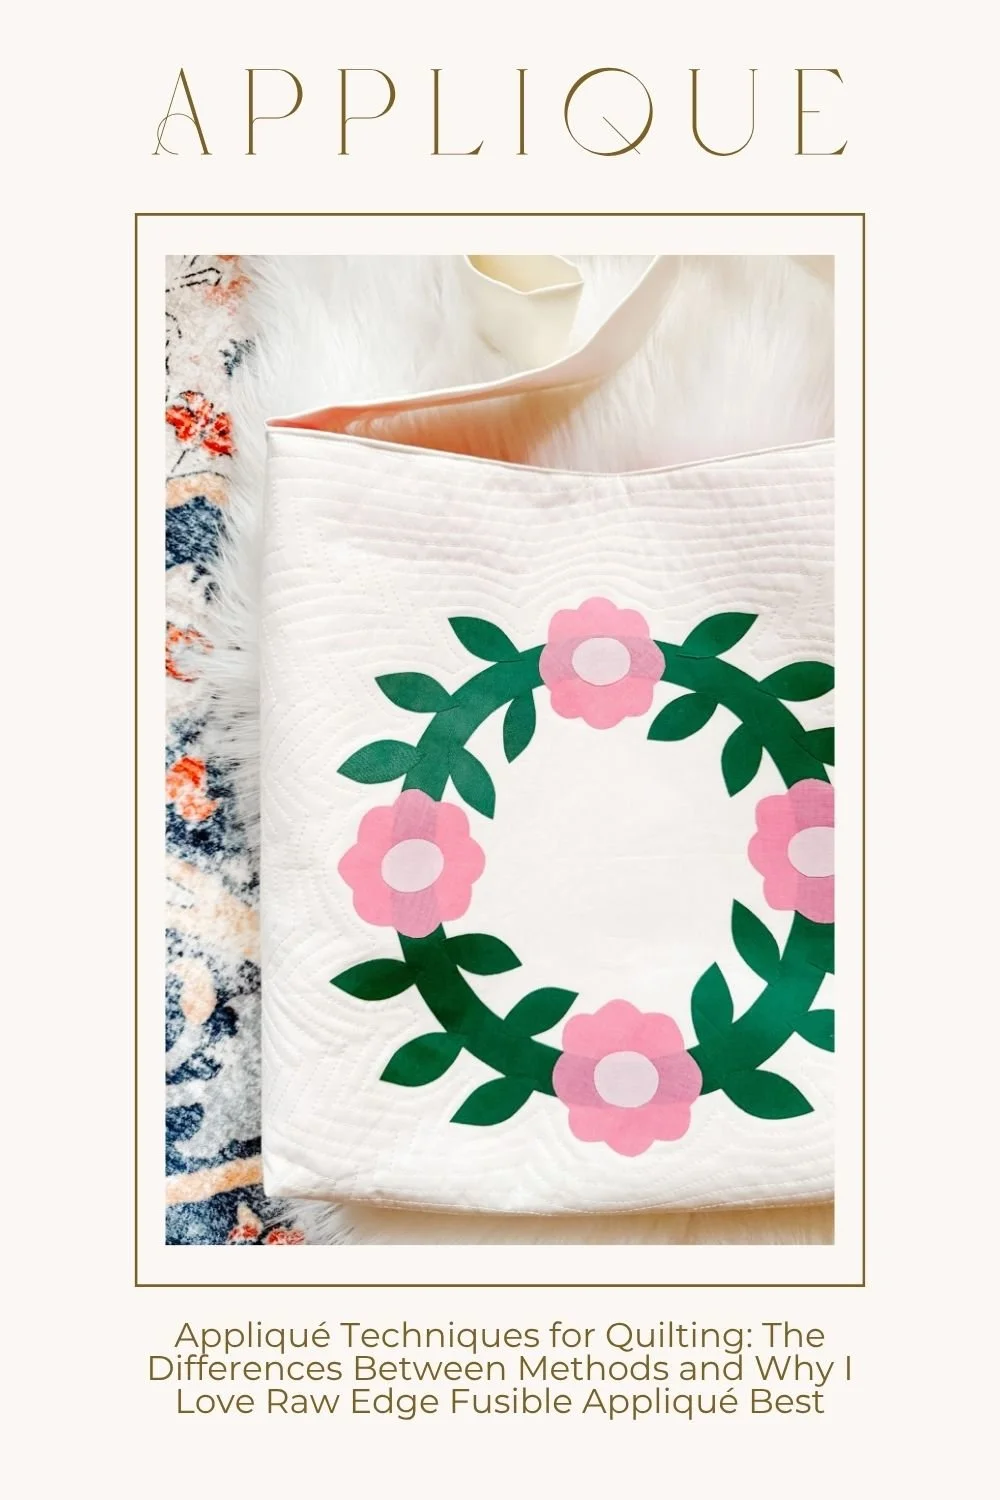
What Is Raw Edge Fusible Appliqué?
Raw edge fusible appliqué is, quite simply, one of the easiest and most freeing ways to work with fabric.
Instead of turning under seam allowances or stitching tiny pieces together, you’re layering fabric shapes right on top of a background and securing them with a fusible web (basically a heat-activated adhesive). The edges of your shapes are left “raw” — not folded under — which gives the design a soft, slightly textured, handmade look.
It feels less like precise piecing… and more like building something slowly, intuitively, with your hands.
And honestly? That’s why I love it so much.
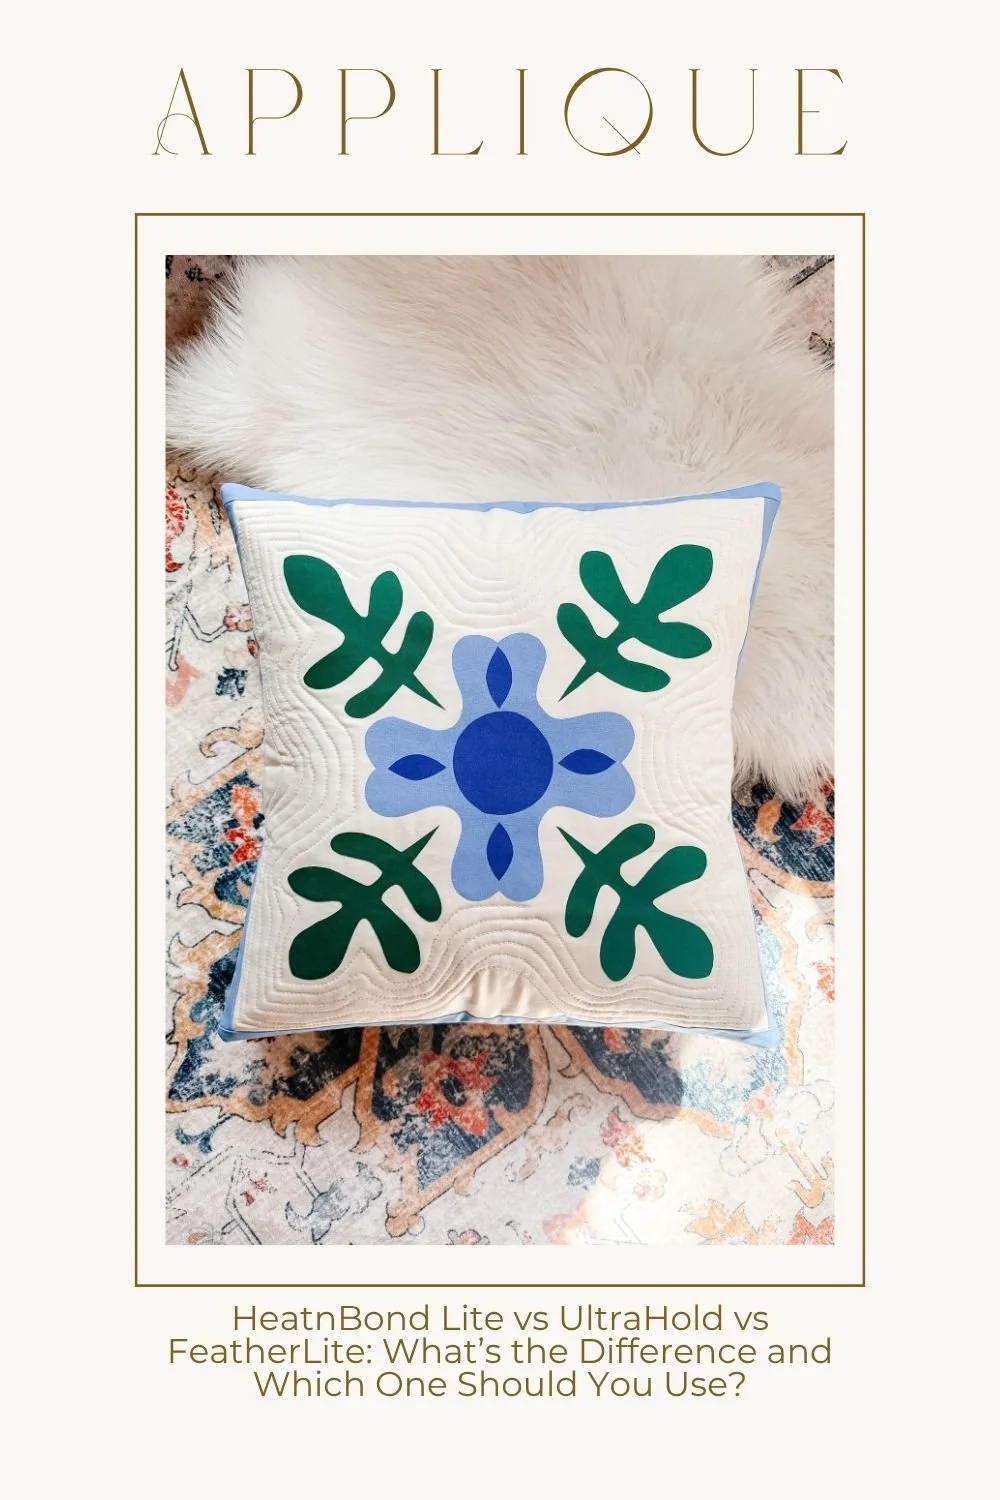
How fusible web works (Heat n Bond Lite vs Ultra Hold)
Fusible web is what makes this whole method possible. It’s a thin adhesive sheet that bonds fabric together when heat is applied with an iron.
I tend to reach for two types:
Heat n Bond Lite
This is the one I use most often. It holds your shapes in place, but still lets you stitch around the edges afterward. It’s flexible, soft, and perfect if you want that stitched, finished look.
Heat n Bond Ultra Hold
This one is stronger. Once it’s fused, your pieces are really locked in. I like using this for smaller or more detailed shapes, or when I don’t plan to stitch the edges (like some wall hangings or quicker projects).
Both have their place—it just depends on how you want your finished piece to feel.
The basic process
This is where things start to feel really fun.
Trace your template
You’ll trace your shapes onto the paper side of the fusible web (and yes—mirror them!).
Fuse to fabric
Press the fusible web onto the wrong side of your fabric using an iron. No sliding—just press and lift.
Cut your shapes
Once it’s fused, you cut out your shapes cleanly and accurately.
Arrange your design
This is my favorite part. You get to play. Move pieces around, layer them, step back, adjust—it’s very forgiving.
Press and secure
When you’re happy with the layout, press everything into place. The heat activates the adhesive and bonds the pieces to your background fabric.
From there, you can stitch around the edges if you’d like—or leave them as-is, depending on the look you’re going for.
Why the edges are left raw (and why that’s okay)
This is usually the moment people pause.
“But won’t it fray?”
Yes… a little. And that’s part of the charm.
Raw edges soften over time. They give your piece texture and movement. They make it feel lived-in, not stiff or overly perfect.
And if you use fusible web properly (especially something like Heat n Bond), those edges stay stable. They’re not going anywhere.
You can always stitch around them if you want extra security—but you don’t have to.
There’s a freedom in that.
The look and finish
Raw edge fusible appliqué has a very distinct feel.
It’s soft, slightly dimensional, and a little bit imperfect in the best way. The shapes sit gently on top of the fabric instead of being tucked in, which lets the design stand out more.
This is what makes it so perfect for bold florals, simple silhouettes, and pieces that feel both vintage and modern at the same time.
It’s not fussy. It’s not rigid.
It’s just… honest, beautiful work.
And once you try it, you’ll see exactly what I mean 🤍
Why I Teach Raw Edge Fusible Appliqué
If I could gently guide every beginner toward one technique to start with, it would be this one—raw edge fusible appliqué.
Not because it’s the only way… but because it’s the way that helps people actually begin.
There’s something about traditional appliqué that can feel a little intimidating at first. Turning tiny edges, hand stitching perfectly, worrying about precision before you’ve even had a chance to enjoy the process. It can stop people before they even start.
Raw edge fusible appliqué softens all of that.
There’s no turning edges.
No delicate hand sewing required (unless you want to).
No pressure to make everything perfect.
You trace your shapes, fuse them down, arrange your design… and just like that, you’re already creating something beautiful.
And that’s where the magic happens.
Because when something feels approachable, you’re more likely to keep going. You finish your first project faster. You see results sooner. And that little spark of “I made this”? It builds confidence in a way that no amount of planning ever could.
It’s also incredibly forgiving. If a shape isn’t perfectly cut, it still works. If your stitching isn’t flawless, it still looks lovely. In fact, those little imperfections are part of what make appliqué feel so alive and personal.
And creatively? It opens everything up.
You’re not locked into rigid piecing or strict layouts. You can play with scale. You can make oversized blooms, soft curves, bold shapes that feel more like drawing than sewing. It gives you room to explore—to follow your eye instead of just the instructions.
That’s a big part of why my designs lean into florals. Raw edge appliqué lets those shapes breathe. It keeps them soft, a little organic, a little imperfect—in the best way.
It also fits so naturally into everyday projects.
The kind of things you actually use and live with.
Tote bags you carry out the door.
Pillow covers that soften a room.
Wall hangings that hold a little story.
Quilts that become part of your home.
It’s not just about making something pretty—it’s about making something you’ll reach for.
More than anything though, this method helps quiet the overthinking.
You don’t need to have it all figured out.
You don’t need to be “advanced.”
You don’t need perfect fabric or perfect skills.
You just need to start.
And that’s really what I care about most—helping you get to that first stitch, that first finished piece, that moment where you realize…
you can do this. 💛

Tools and Materials You’ll Need
Before we start cutting into anything, let’s gather a few simple tools. Nothing fancy here—just the kind of things that make the process feel smooth, calm, and actually enjoyable.
You don’t need a fully stocked sewing room to begin. Truly. This is one of the reasons I love teaching appliqué… it meets you where you are.
Here’s what I recommend:
Fabric (quilting cotton recommended)
I always reach for quilting cotton. It’s stable, easy to work with, and presses beautifully—which matters more than you might think. You can absolutely experiment later, but if you’re just starting, this will make your life a lot easier.
Background fabric (often neutral like cream or eggshell- quilting cotton recommended)
This is your canvas. I tend to gravitate toward soft neutrals—creams, eggshells, gentle whites—because they let the appliqué shapes really shine. It gives that quiet, heirloom feel while still feeling fresh.
Fusible web (Heat n Bond Lite or Ultra Hold)
This is the magic. Fusible web is what allows you to “glue” your shapes in place before stitching (or sometimes instead of stitching).
I usually recommend:
Lite if you plan to sew around your shapes
Ultra Hold if you want a no-sew option or a quicker finish
It takes away so much of the frustration and lets you focus on the fun part—building your design.
Scissors or rotary cutter
Use whatever feels most natural in your hands. I personally love a good pair of sharp scissors for appliqué shapes—it gives you more control around curves and petals.
Iron (press, don’t slide)
Your iron is doing a lot of the work here. The biggest tip? Press… don’t slide, never slide.
Sliding can shift your pieces and distort your shapes, and we don’t want that. A gentle press-and-lift is all you need.
Sewing machine (optional but recommended)
You can stop at fusing if you’d like, especially with Ultra Hold. But adding stitching around your shapes gives a bit of extra security and texture. A simple straight stitch is more than enough.
Thread (50 wt cotton for subtle stitching)
If you want your stitching to blend in, 50 wt cotton thread is a beautiful choice. It’s soft, subtle, and lets the fabric do the talking. I personally reach for a 40 wt most of the time just because my sewing machine seems to enjoy it more.
Marking tools (for placement guides)
This is one of those small things that makes a big difference. A few light guide lines—center lines, borders—help everything stay balanced as you build your design. It keeps things from drifting without overcomplicating the process.
That’s it. Nothing overwhelming. Nothing you need to overthink.
Just a few simple tools… and a quiet moment to start creating something beautiful 🤍
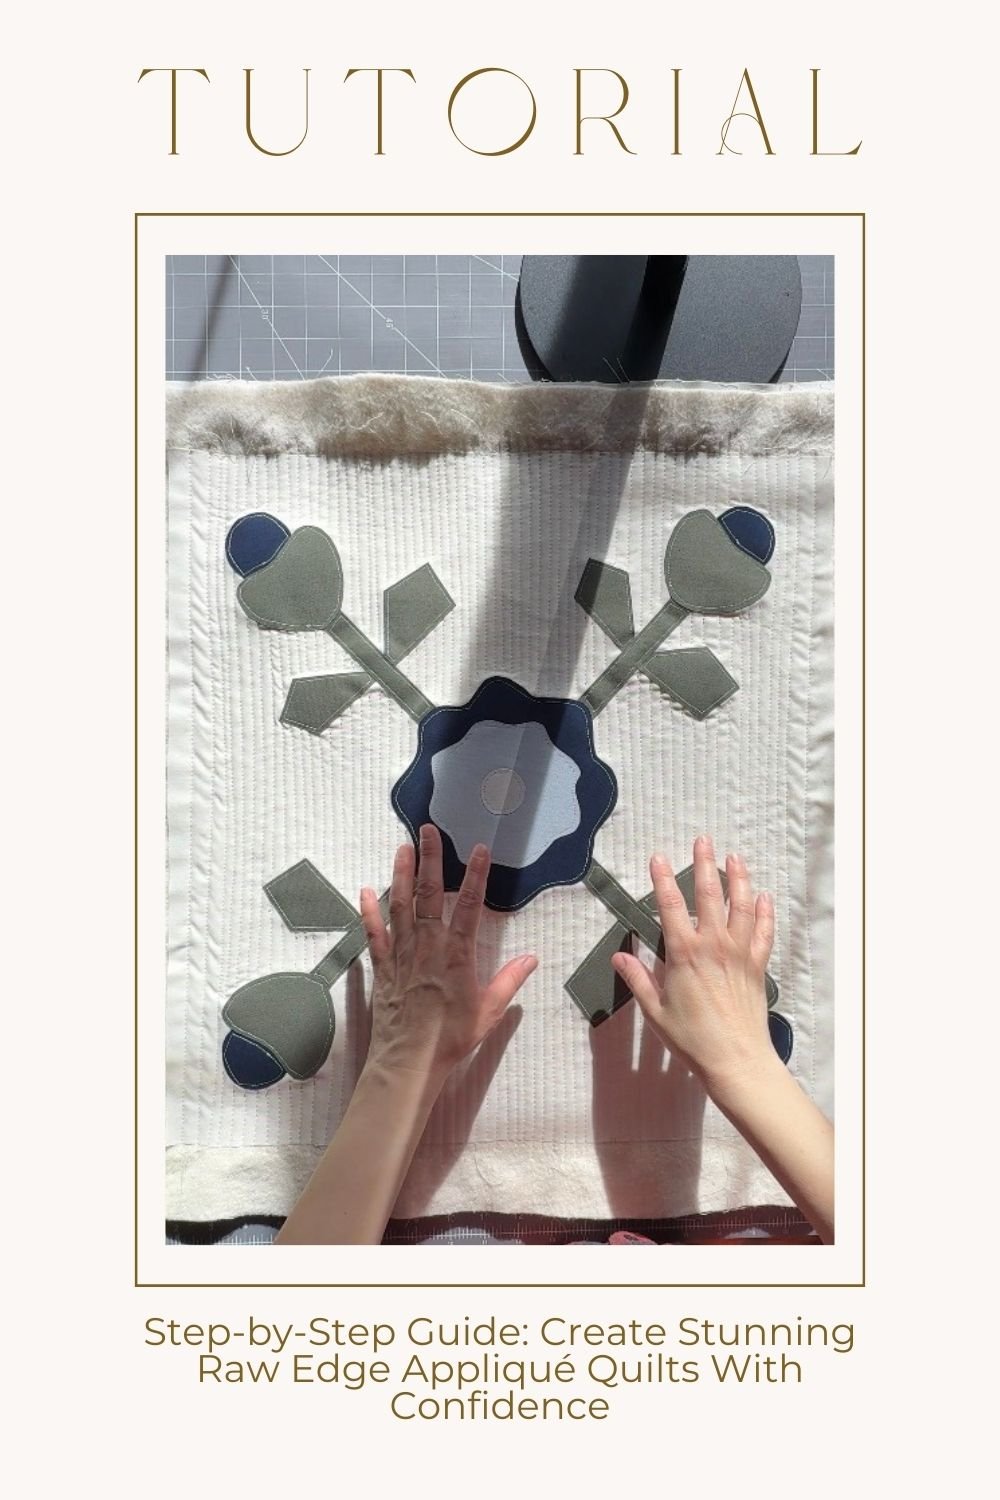
How to Start Your First Appliqué Project
Starting your first appliqué project can feel a little intimidating at first—but I promise, it’s much simpler than it looks. And honestly? This is where the magic starts to happen.
If I could sit beside you at your kitchen table while you make your first one, here’s exactly what I’d gently guide you through…
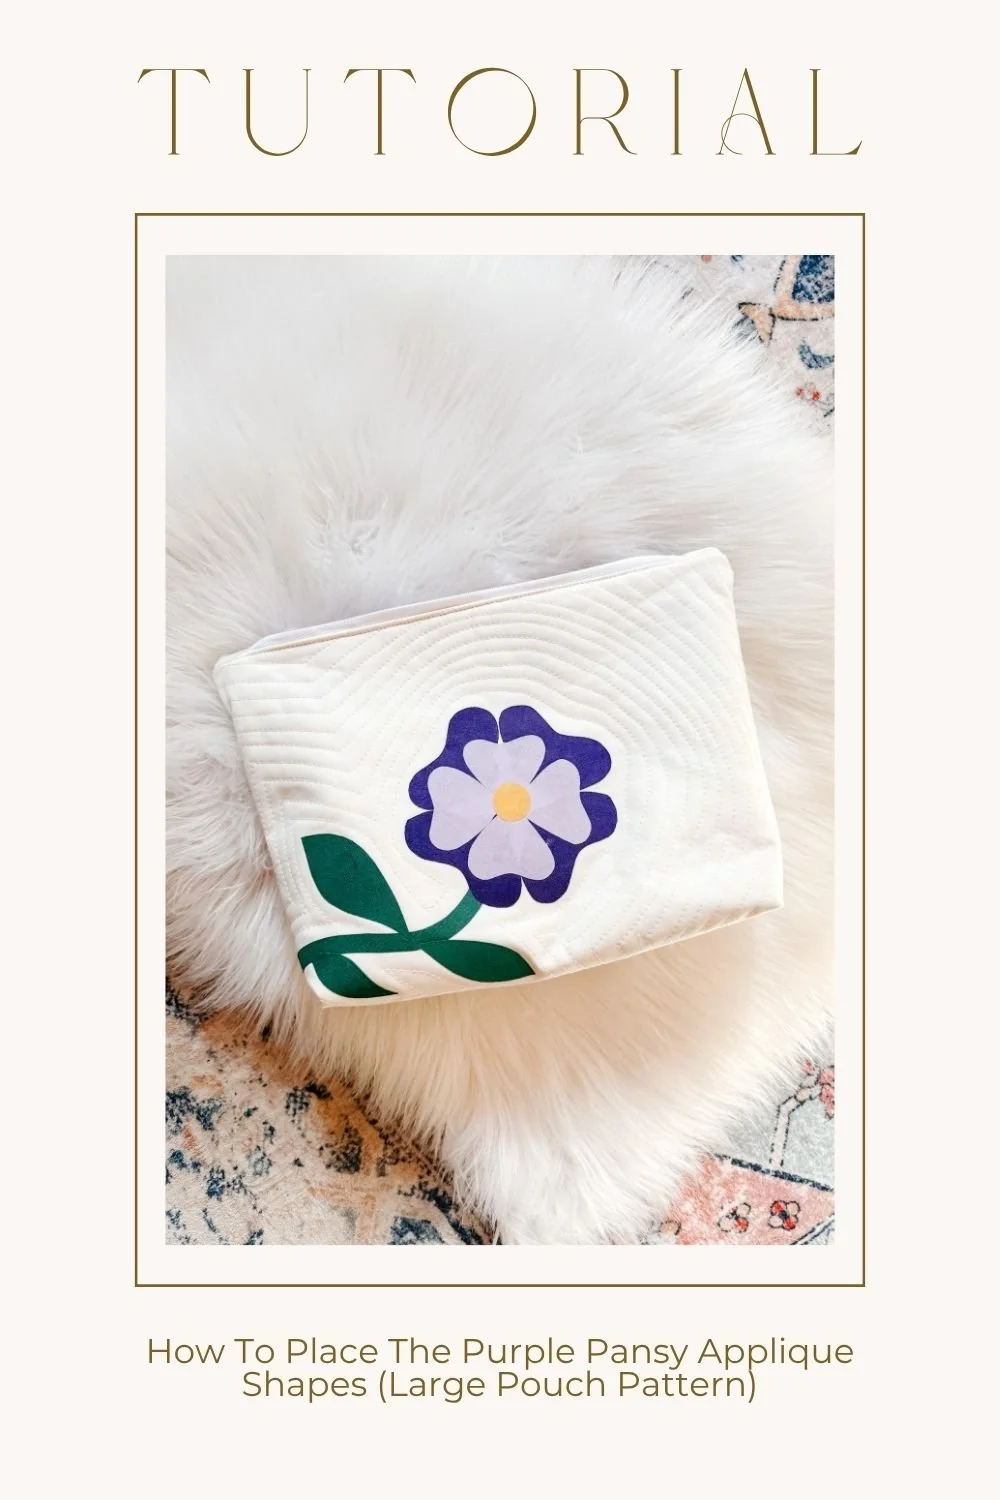
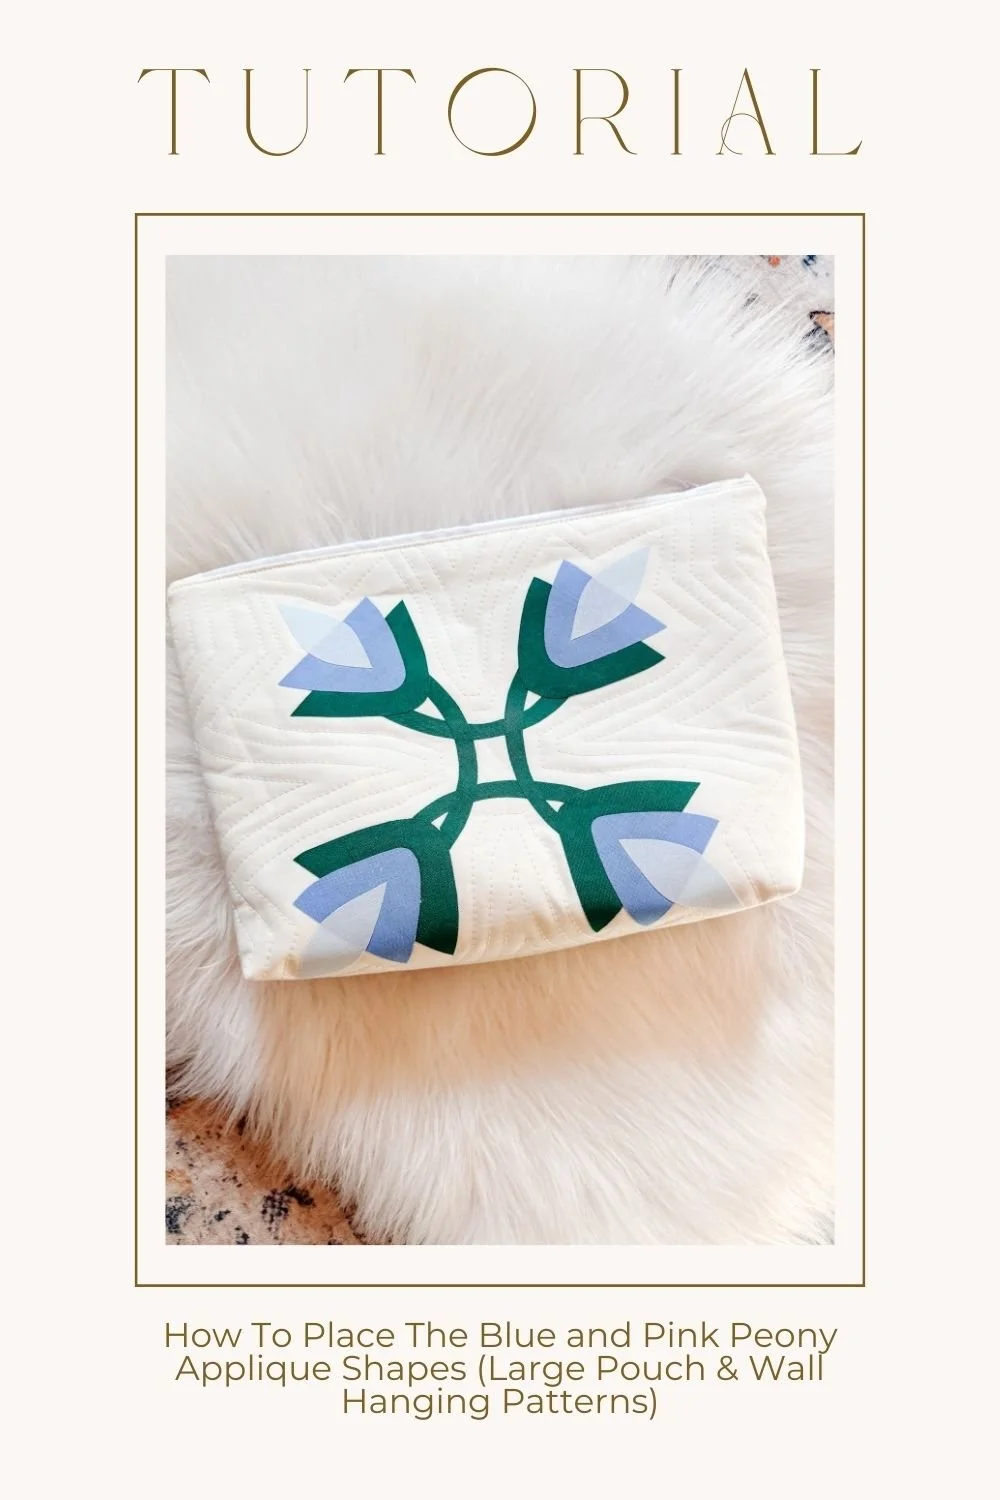
Start with a beginner-friendly pattern. I love this one- https://thelmaquilts.com/patterns/p/bachelor-button-applique-wall-hanging-quilt-pattern. Something that’s been designed to walk you through the process step by step. You don’t need anything complicated here—you just need something that helps you build confidence and lets you enjoy the process.
Keep your shapes simple. Think flowers, leaves, soft curves… nothing too tiny or intricate. Appliqué isn’t about perfection—it’s about layering and letting the shapes come together naturally.
Before you cut anything, take a moment to prep your templates properly. If you’re using fusible (which I always recommend for beginners), make sure your shapes are mirrored. It’s one of those small steps that saves a lot of frustration later on.
When it comes time to lay out your design, give yourself a few gentle guides. I like to fold my background fabric in half both ways to find the center, and sometimes I’ll lightly mark border edges too. It doesn’t have to be exact—just enough to help everything feel balanced as you build.
Then, begin right in the center of your design and work your way outward. Place your main shapes first, then slowly add in the smaller pieces around them. This helps everything feel grounded and keeps your layout from drifting off to one side.
When you’re pressing your pieces down, go slowly. Press, lift, move… press again. No rushing, no sliding the iron around. This is one of those quiet parts of the process where things really come together.
And when it comes to stitching—this part is completely up to you. You can leave the edges raw for a soft, relaxed look, or stitch them down with a simple straight stitch or zigzag if you’d like a bit more definition and durability.
There’s no one “right” way here. Just your way.
Let it feel a little imperfect. Let it feel a little experimental. That’s part of the charm—and part of what makes appliqué so special.
You’re not just making something… you’re learning a new rhythm. And once it clicks, it really clicks. 🧵✨
Watch this tutorial here 👇Common Beginner Mistakes to Avoid
Let me gently save you a little frustration here… because every single one of these? I’ve done them. Probably more than once 😅
If you’re just getting started with appliqué, these are the small things that can make a big difference in how your project turns out—and how much you actually enjoy the process.
Not mirroring templates before fusing
This one sneaks up on people. When you’re using fusible web, your shapes need to be traced in reverse (mirror image)… otherwise everything ends up flipped when you press it onto your fabric. Letters will be backwards, stems will lean the wrong way—it’s a whole thing. Always double check before you fuse. It takes two seconds and saves a lot of heartbreak. But if you forget to mirror your templates, watch this video. I forgot to mirror with this project which means I had to work backwards. You can watch and see how it comes together here.
Sliding the iron instead of pressing
I know it’s tempting to move your iron around like you’re ironing a shirt—but resist the urge. Sliding the iron can shift your pieces out of place (especially those tiny petals and leaves). Instead, press straight down, hold for a few seconds, then lift. Press, lift, move. It keeps everything exactly where you want it.
Setting your iron too hot (this one trips people up a lot)
If your iron is cranked to the highest setting, you’re going to run into problems—especially with getting a clean, proper fuse.
What you actually want is a medium-high heat (wool setting). On most irons, that’s around a 5 on the dial. This gives you enough heat to activate the fusible without scorching or shifting anything.
Now, when it comes to pressing, this is where the two Heat n Bond options differ a bit:
Heat n Bond Lite: press firmly for about 8 seconds to fuse your traced templates to the fabric
Heat n Bond Ultra Hold: only needs 2–3 seconds (it bonds much faster)
Once your shapes are cut out and placed on your background, both types follow the same rule:
Final press: hold for about 8 seconds to fully fuse everything in place
And one more thing—remember to press, don’t slide. Think of it like placing the iron down, holding, then lifting. That little shift makes all the difference.
Skipping placement guidelines
It might feel like an extra step… but it’s the step that makes everything look intentional and balanced. Mark your center lines. Lightly map out your layout. Even just a simple crosshair can help you place your design so it doesn’t drift off to one side. Think of it as your quiet little guide in the background.
Overcomplicating the design
This is a big one. You don’t need 27 petals and five layers to make something beautiful. In fact, simpler designs often look more modern and more striking. Start with bold, clean shapes. Let them breathe. You’ll be surprised how much more confident you feel when you’re not juggling a million tiny pieces.
Choosing the wrong fusible type
Not all fusible is created equal. If you’re planning to stitch your appliqué, go with something like Heat n Bond Lite—it keeps things soft and easy to sew through. If you’re not stitching (like for some wall hangings), Ultra Hold can work well. Using the wrong one can make your fabric stiff or tricky to work with, so it’s worth choosing intentionally.
Not testing on scrap fabric first
I know… you just want to jump in. But a quick test on scrap fabric can tell you everything—how your fusible behaves, how your fabric reacts, what your stitching looks like. It’s a tiny step that builds a lot of confidence before you commit to your actual project.
Expecting perfection instead of progress
This one matters the most. Your first piece isn’t supposed to be perfect. Or your second. Or honestly… even your tenth sometimes. Appliqué is meant to feel a little organic, a little handmade. That softness? That’s part of the charm.
You’re not here to make something flawless—you’re here to make something yours.
And that shift? It changes everything 🤍
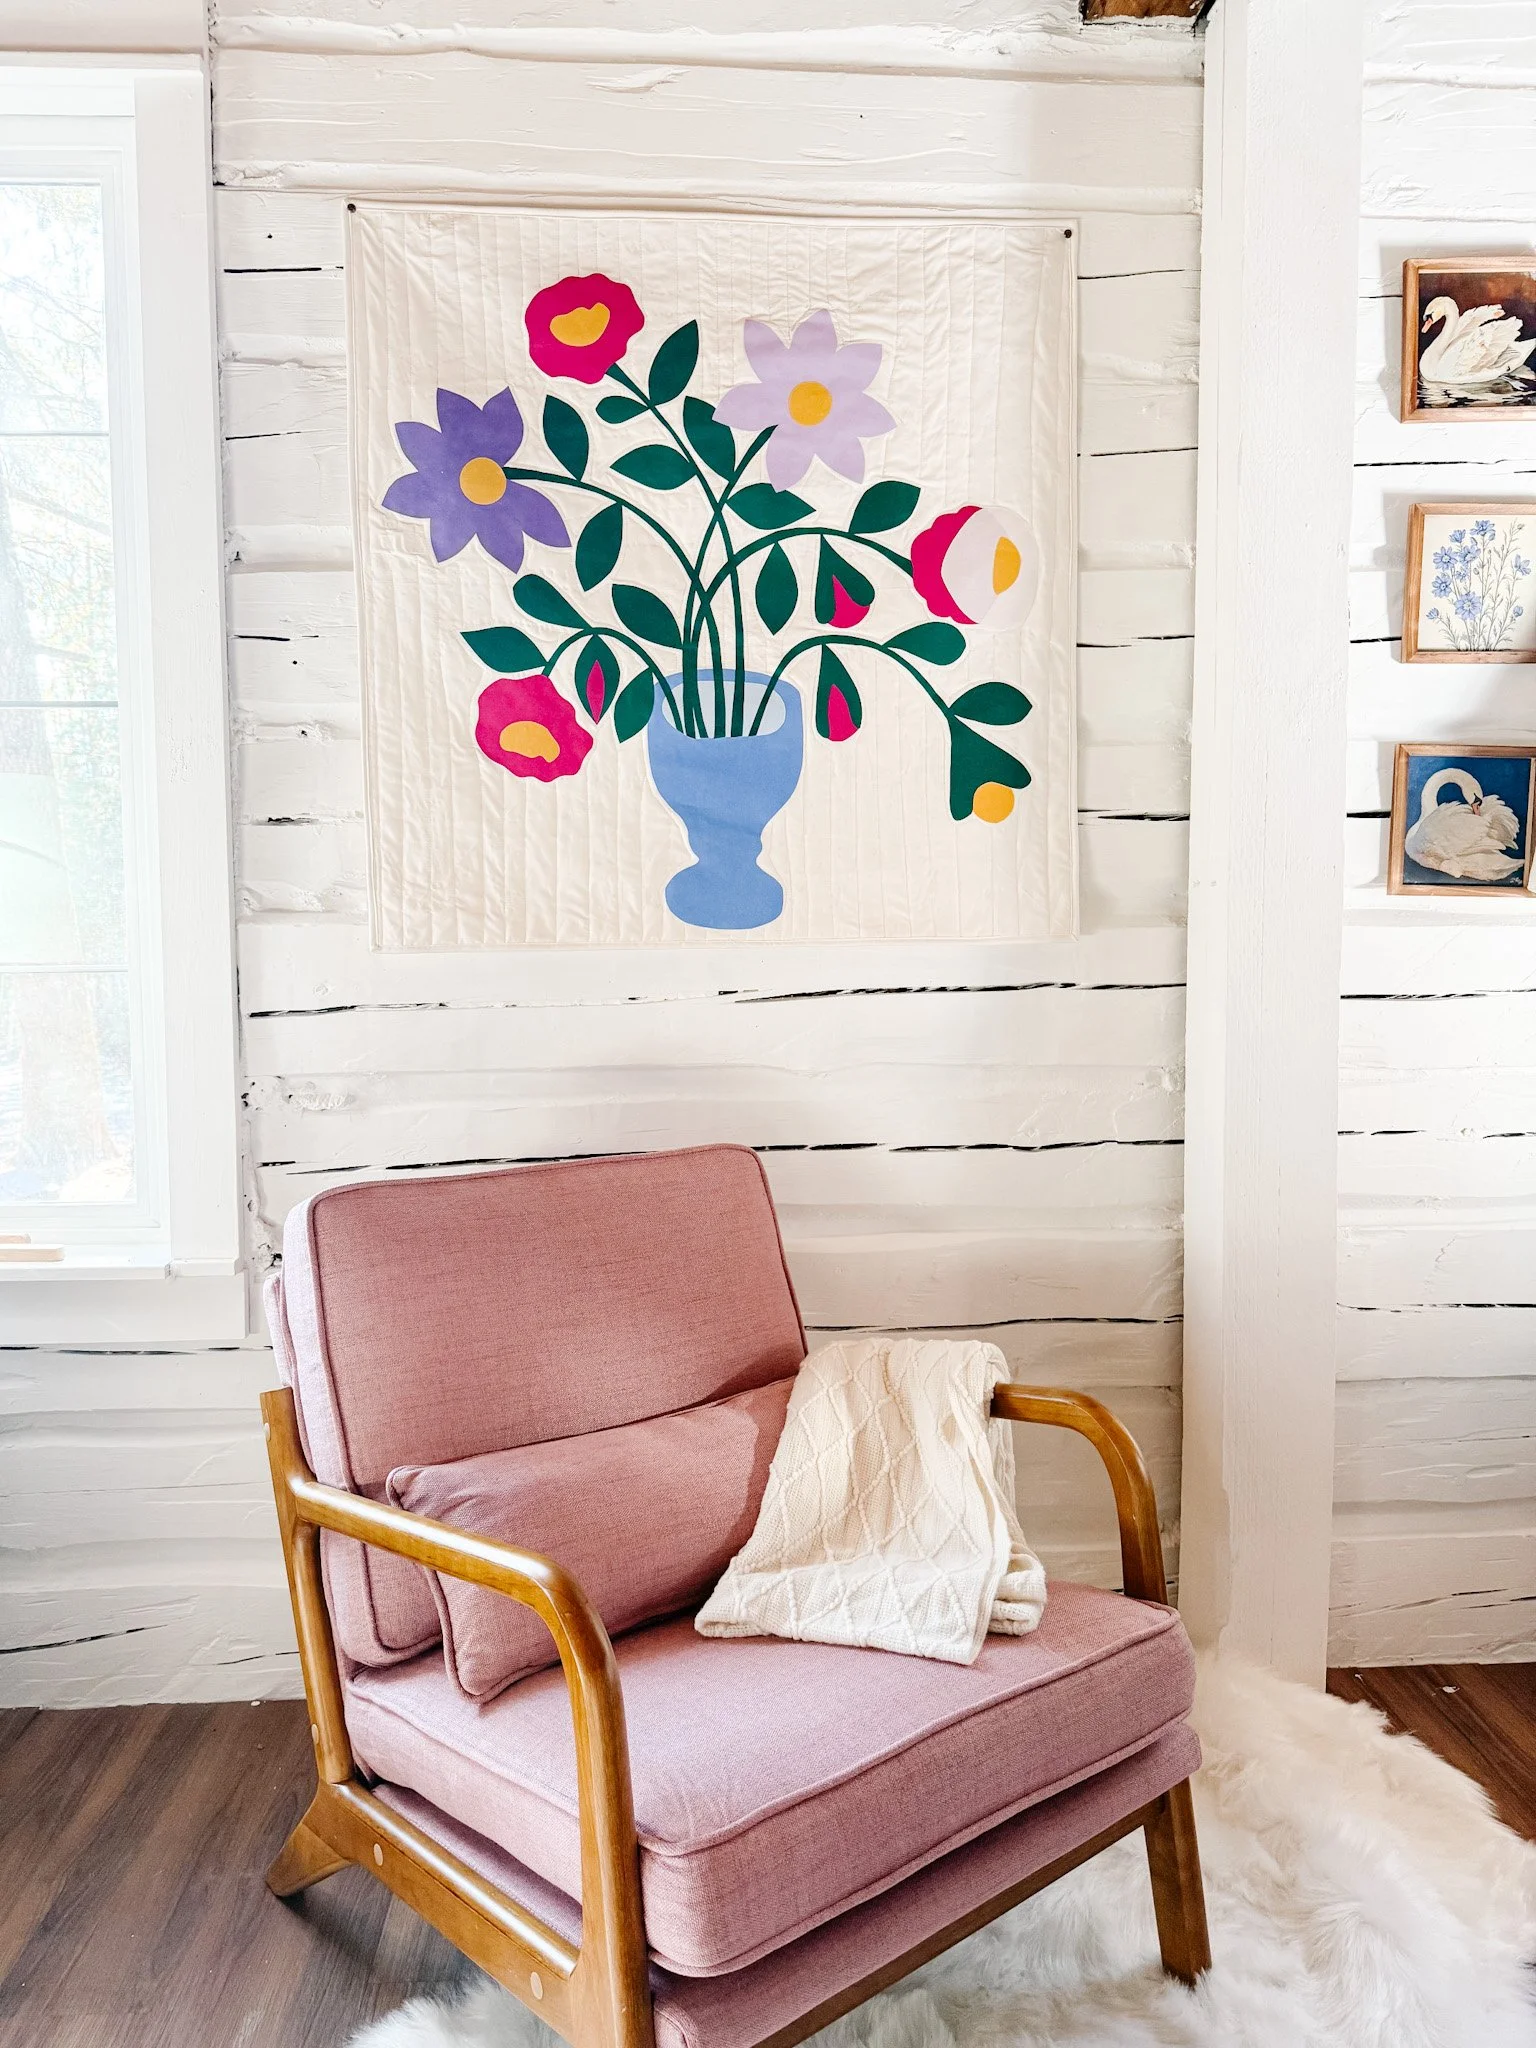
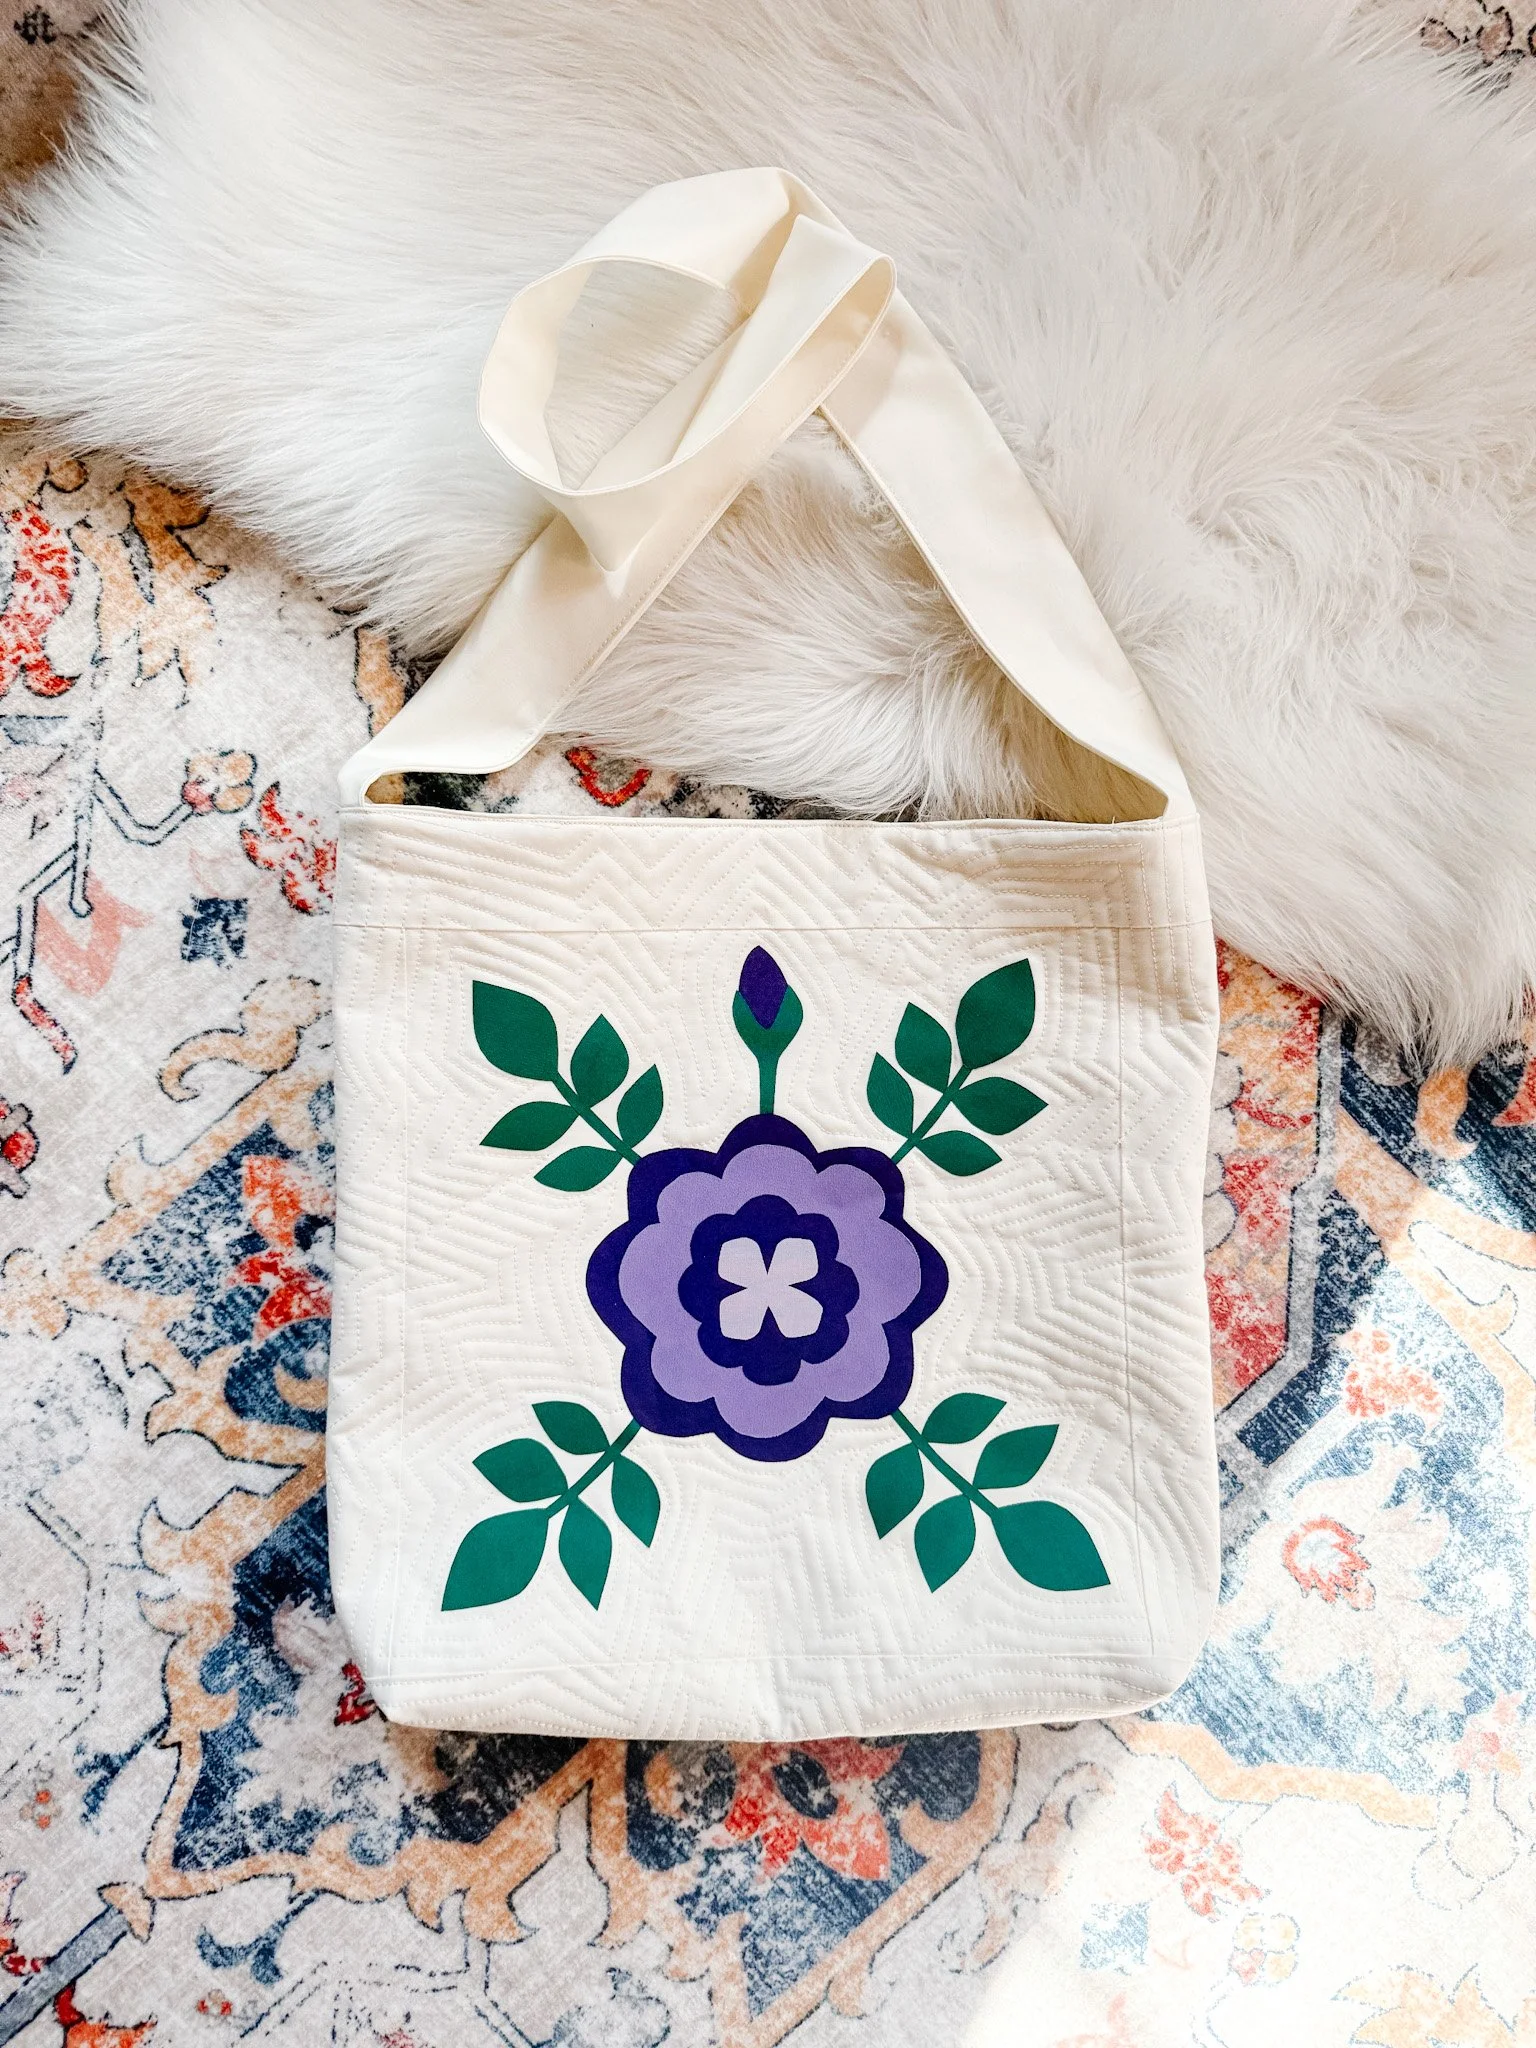
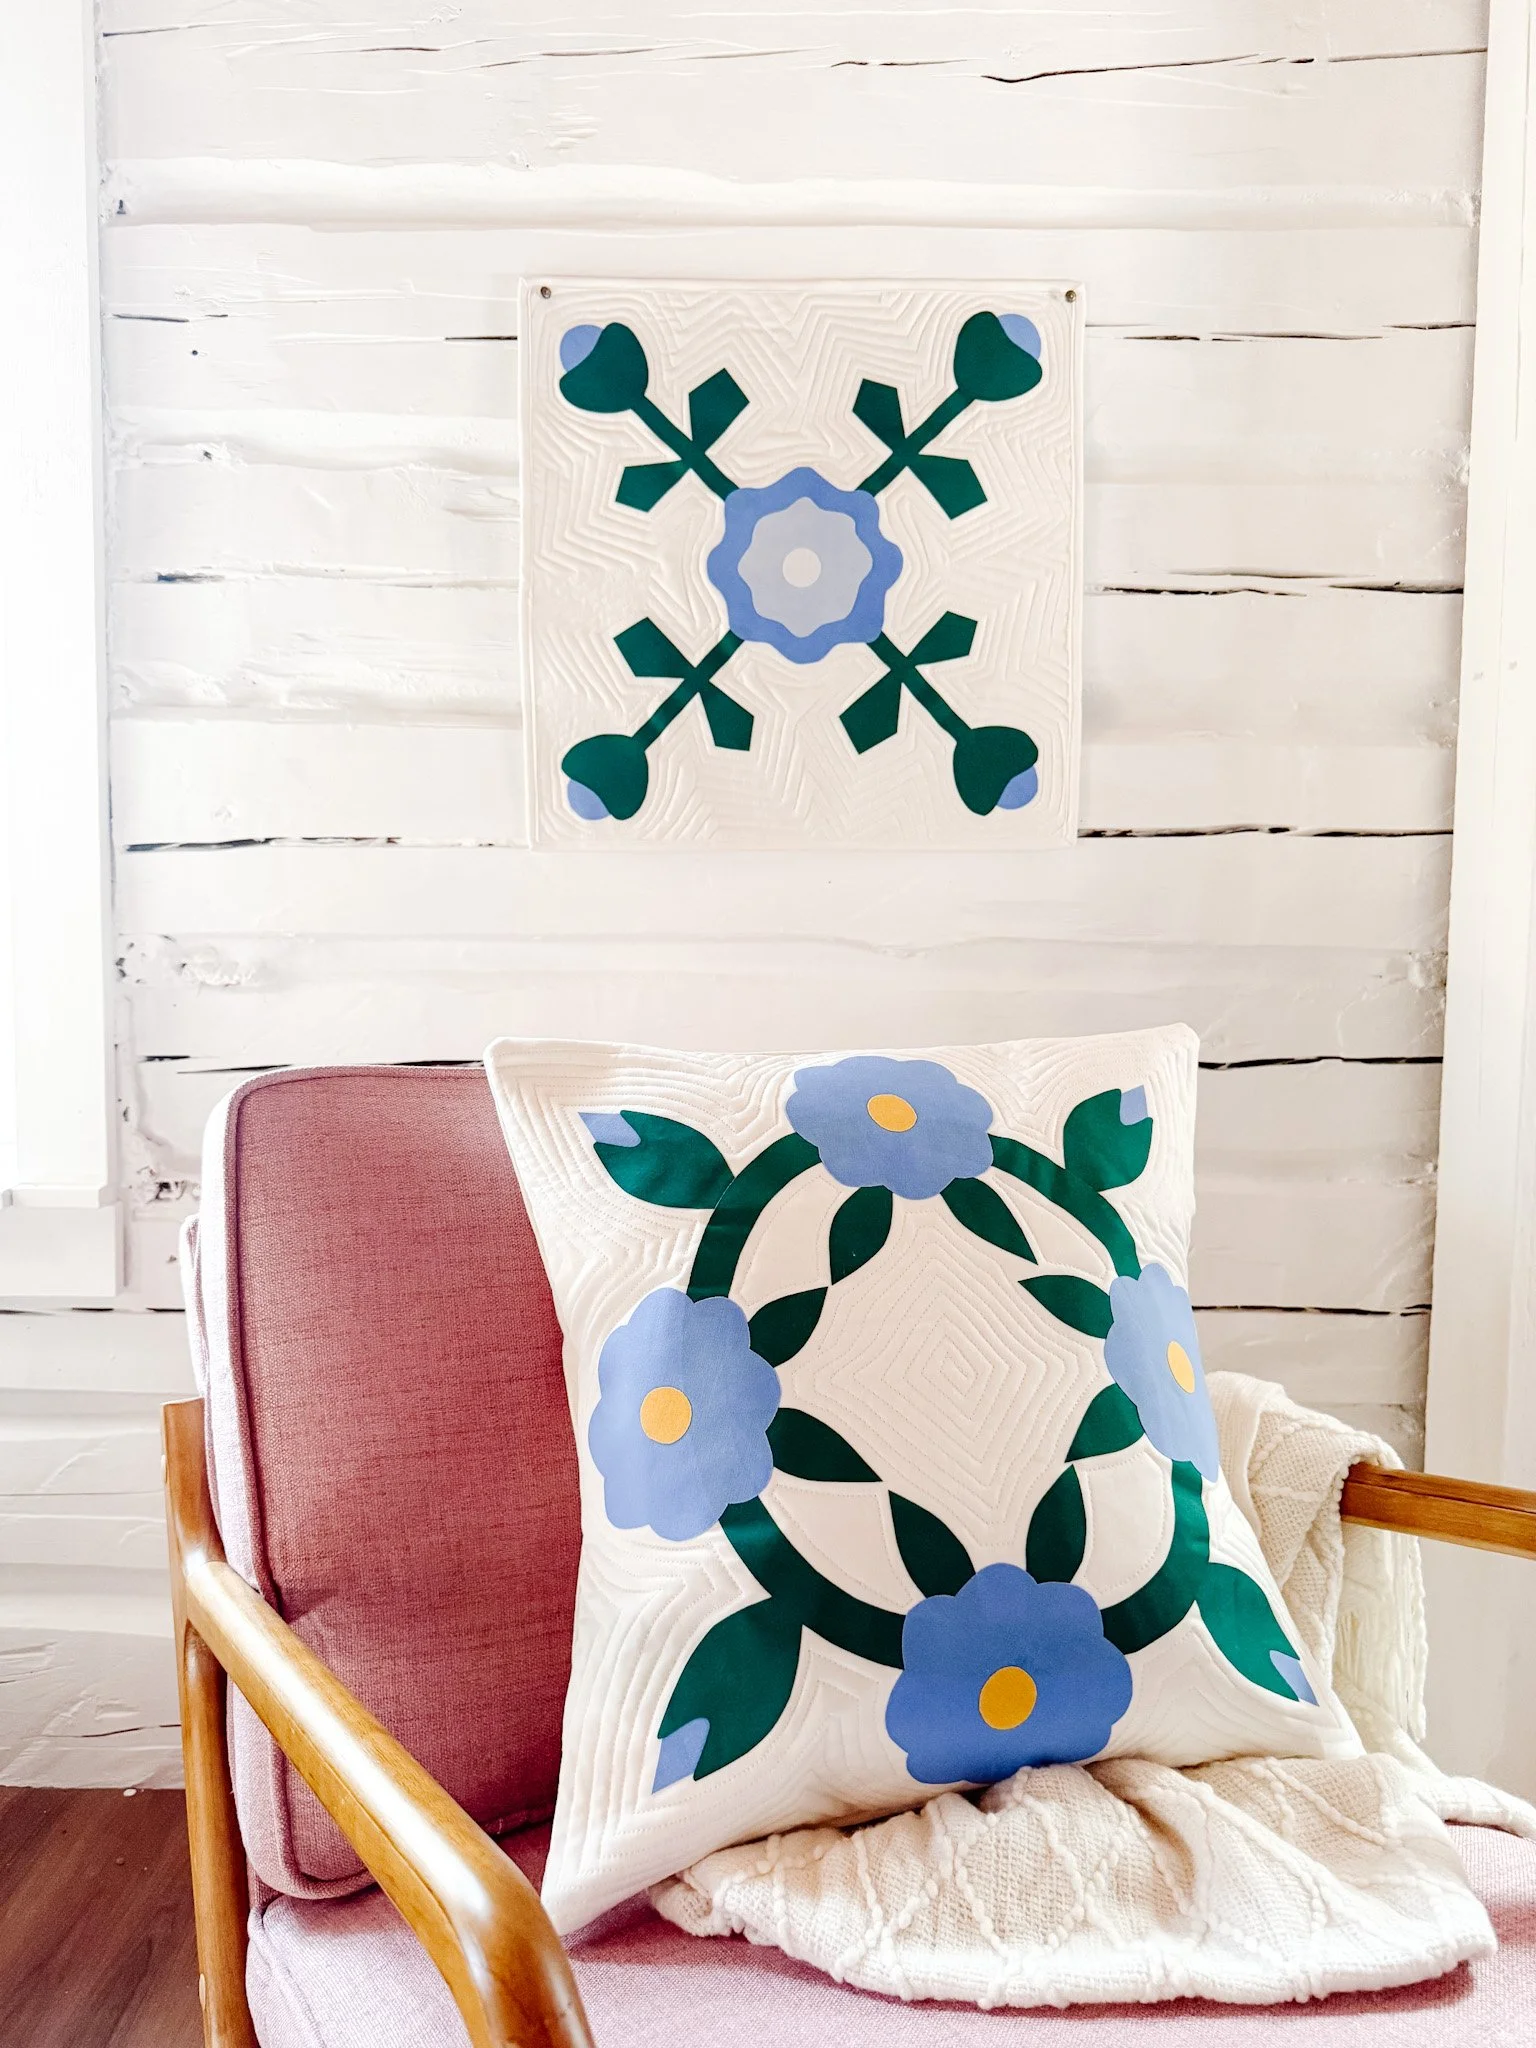
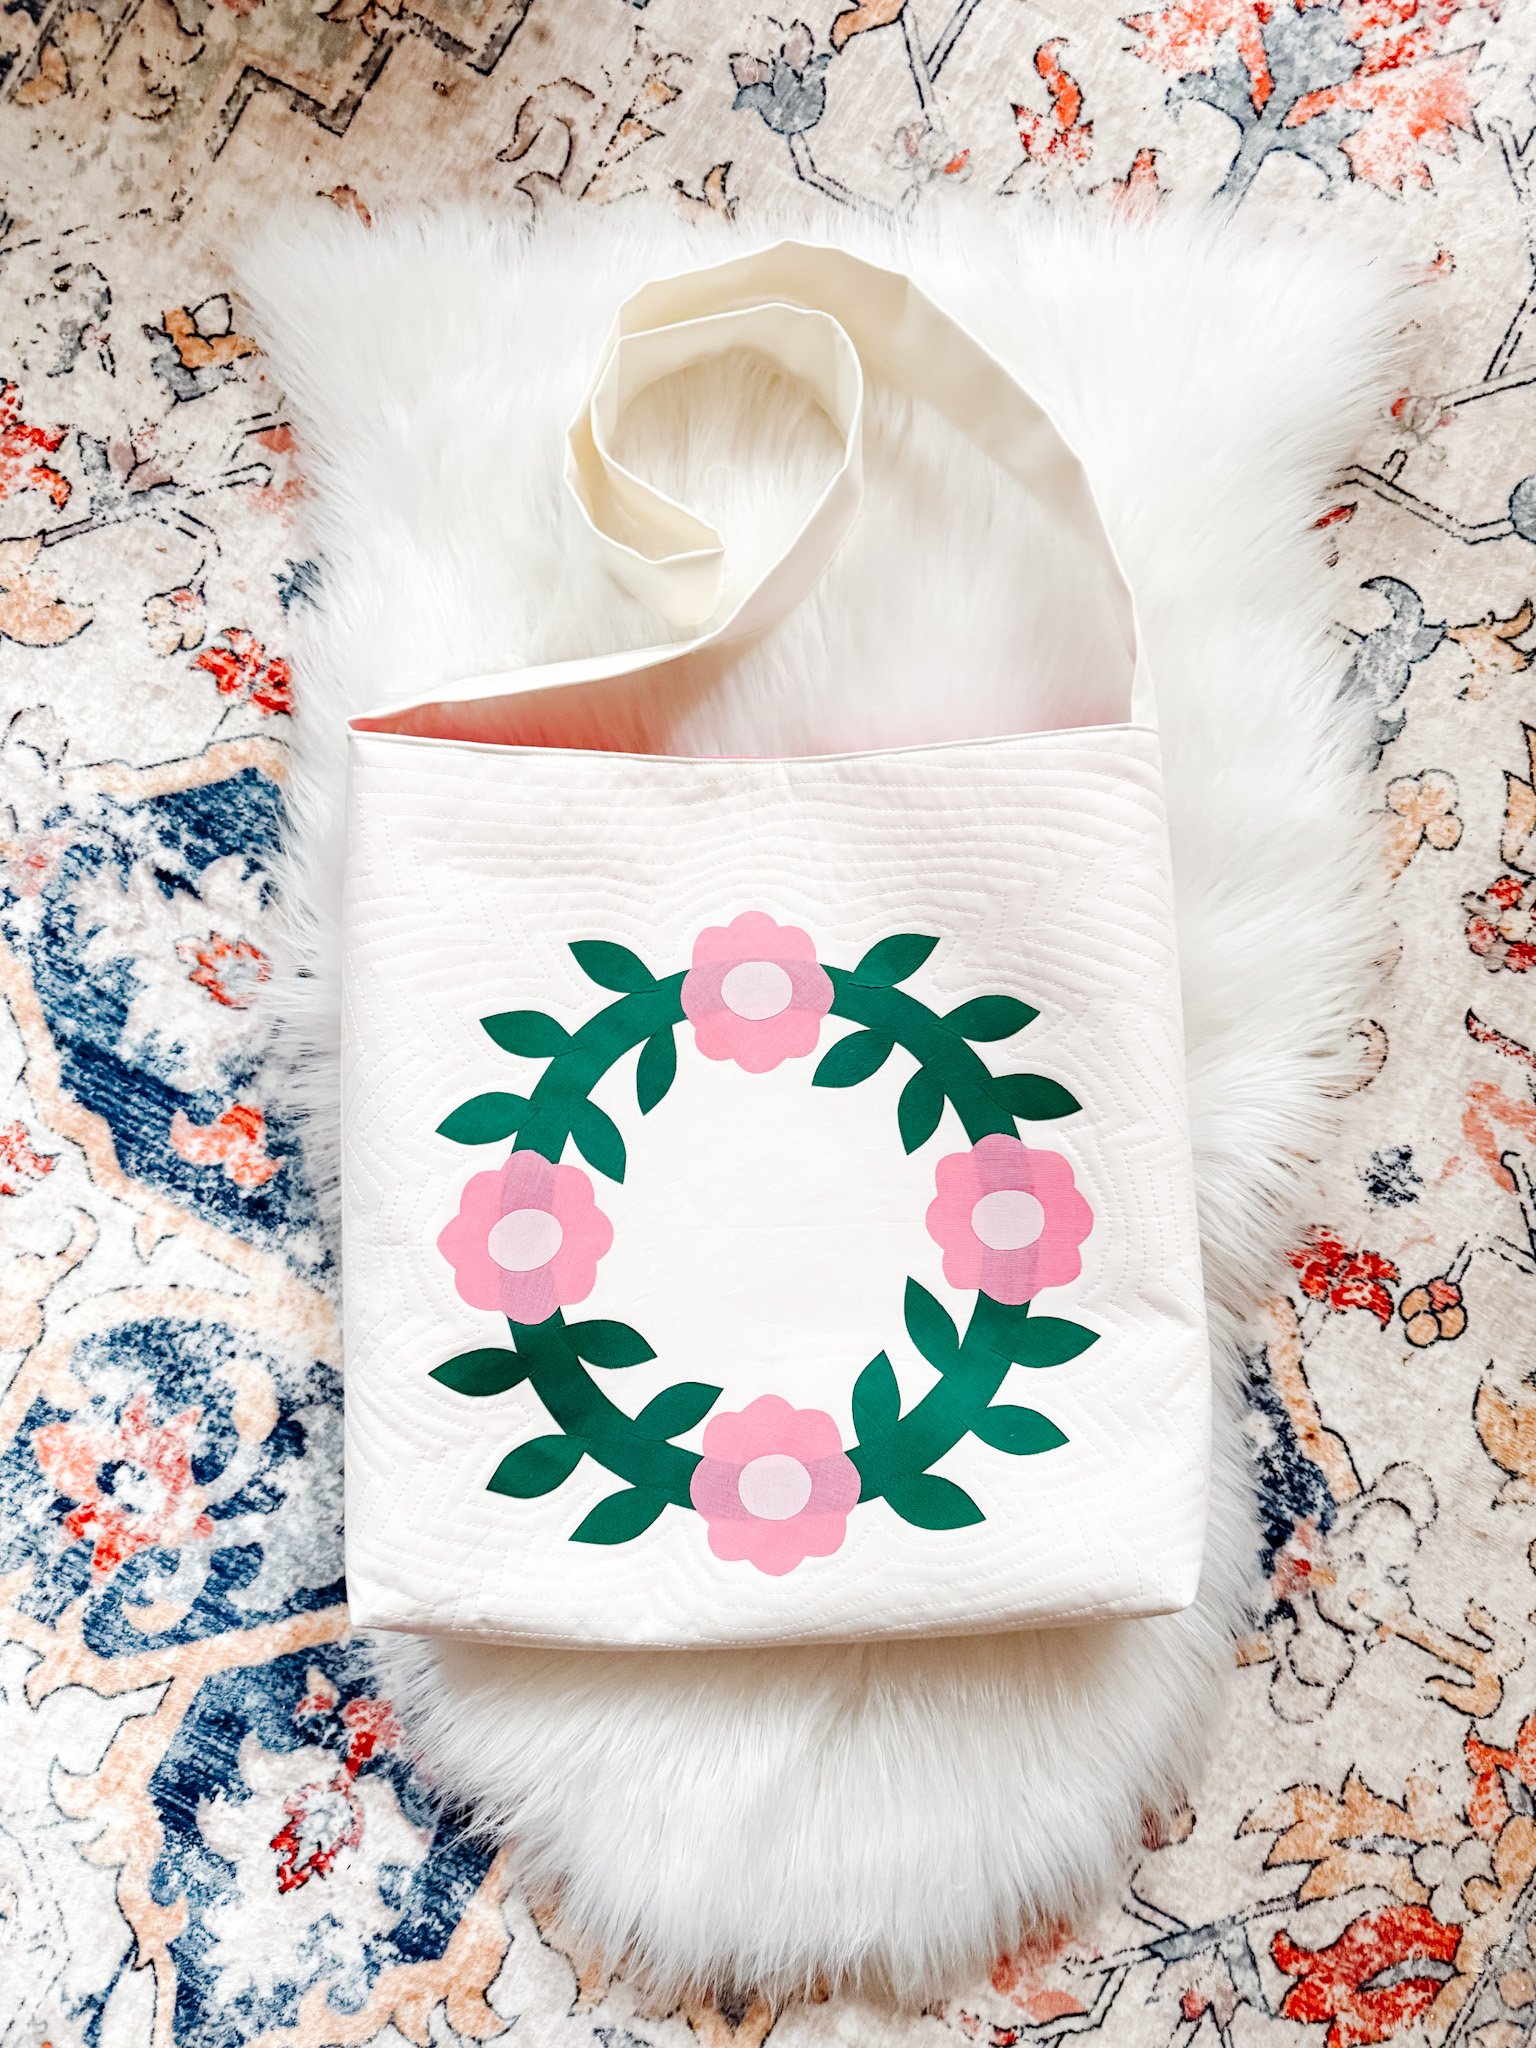
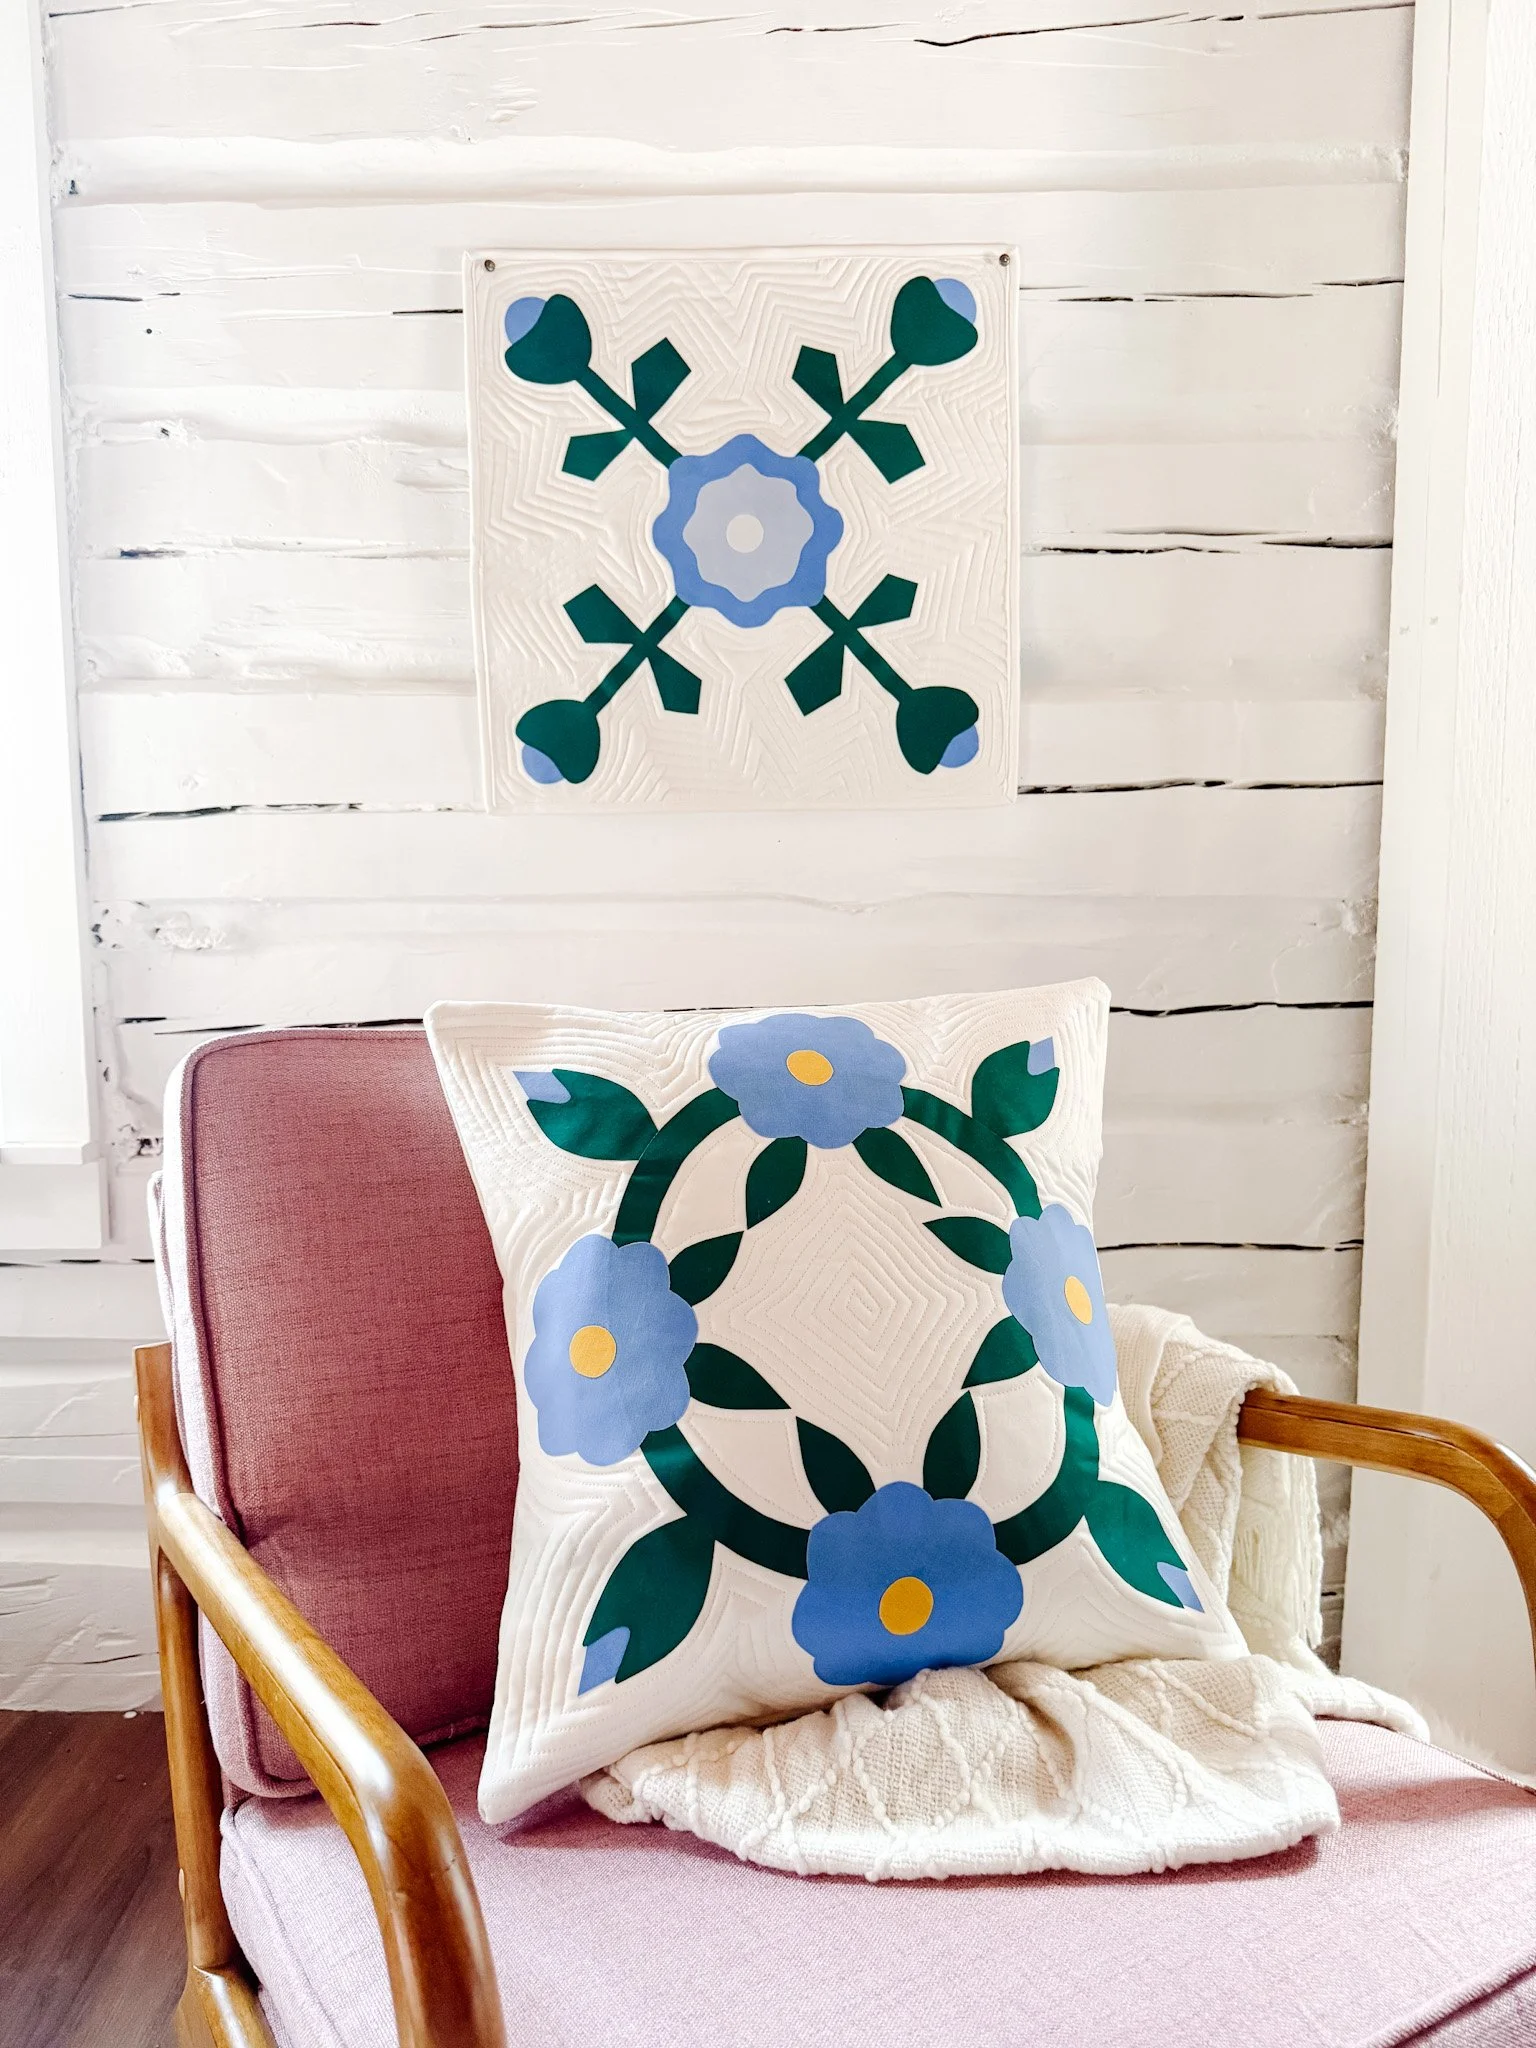
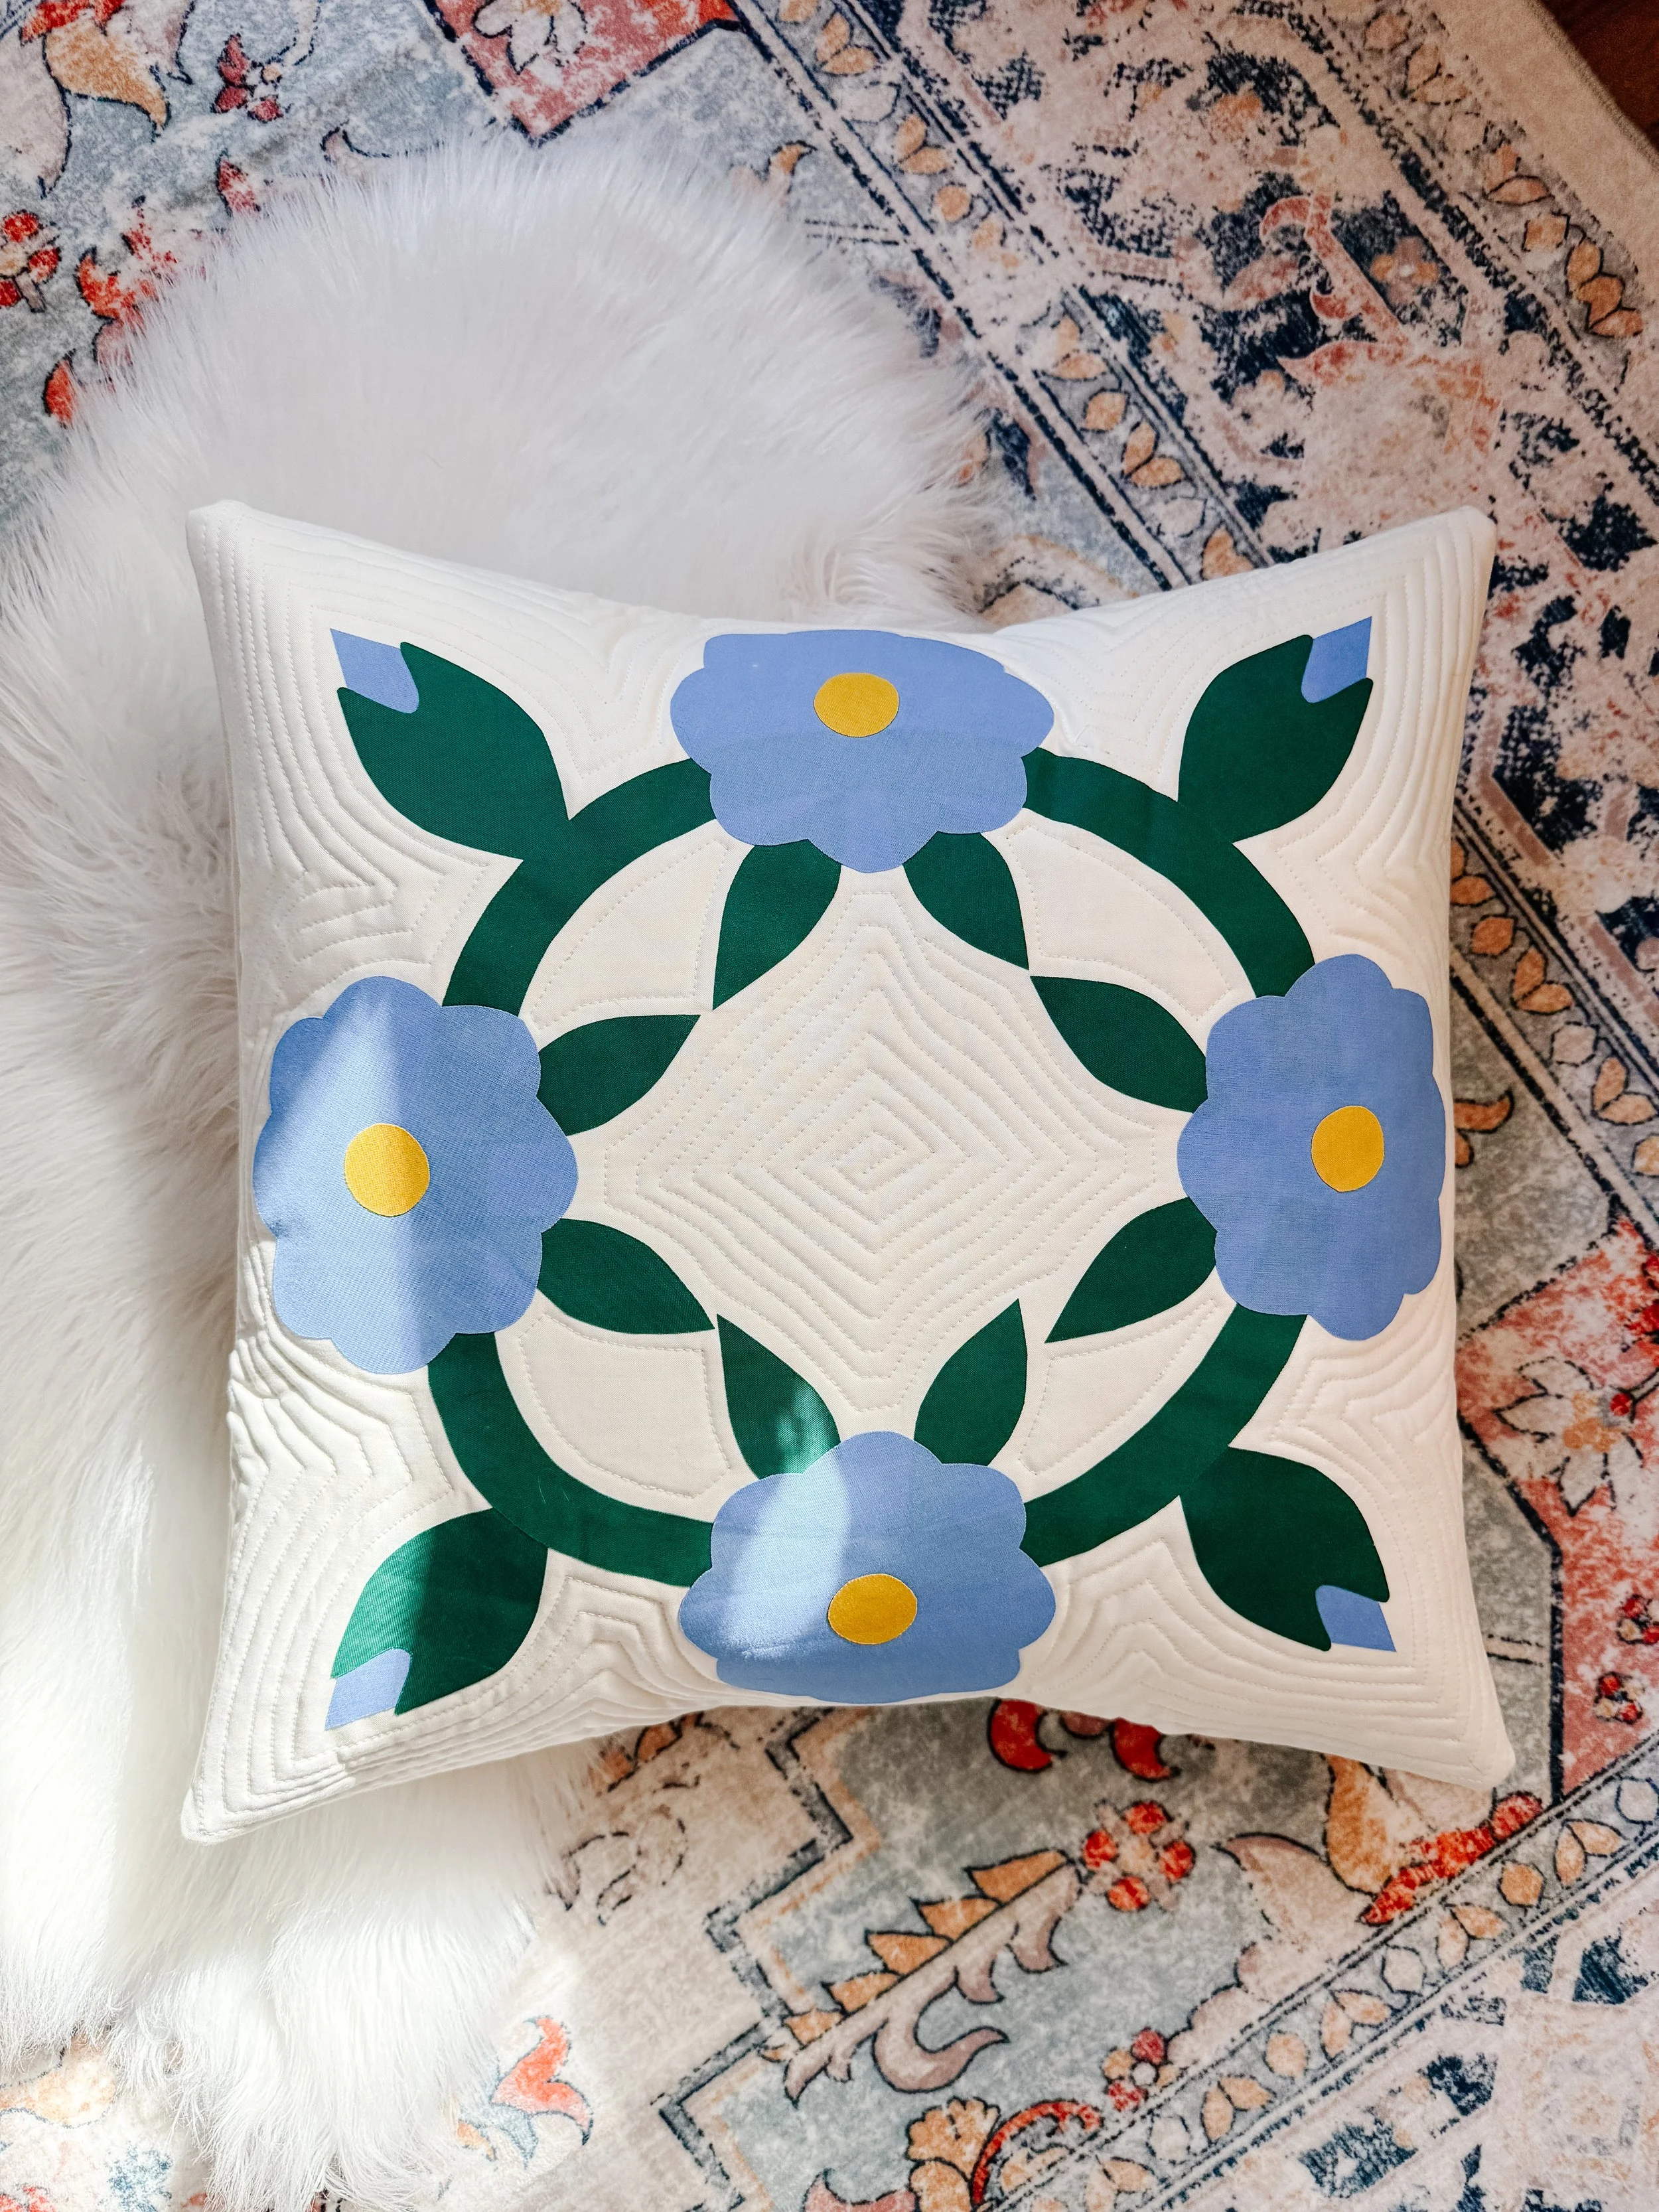
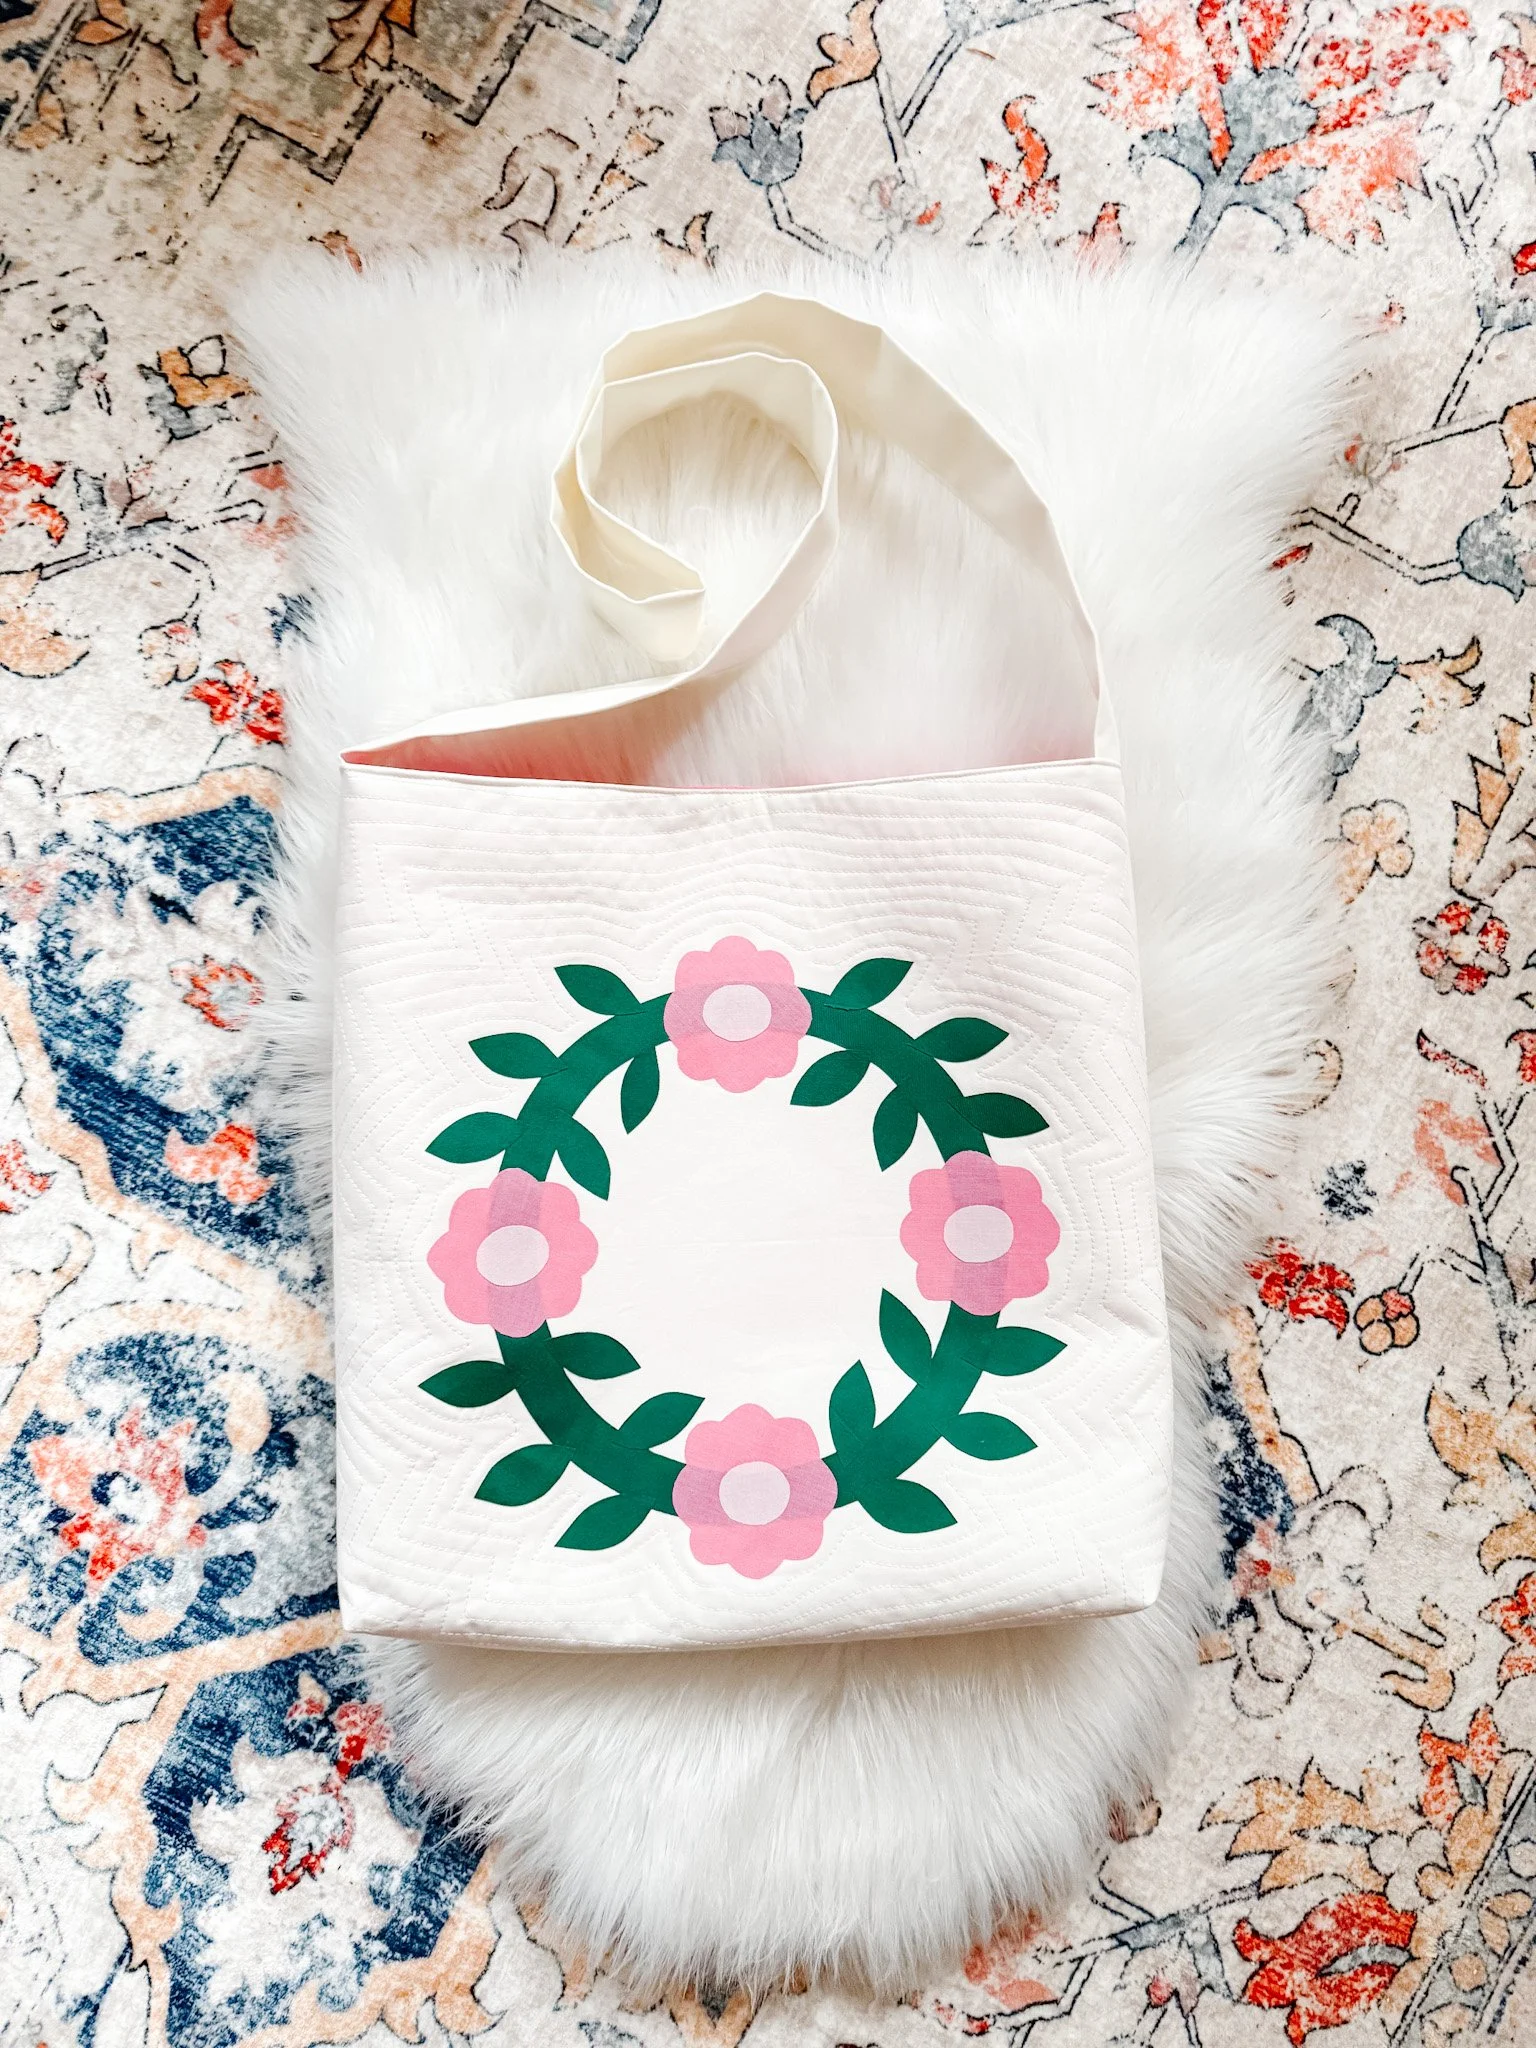
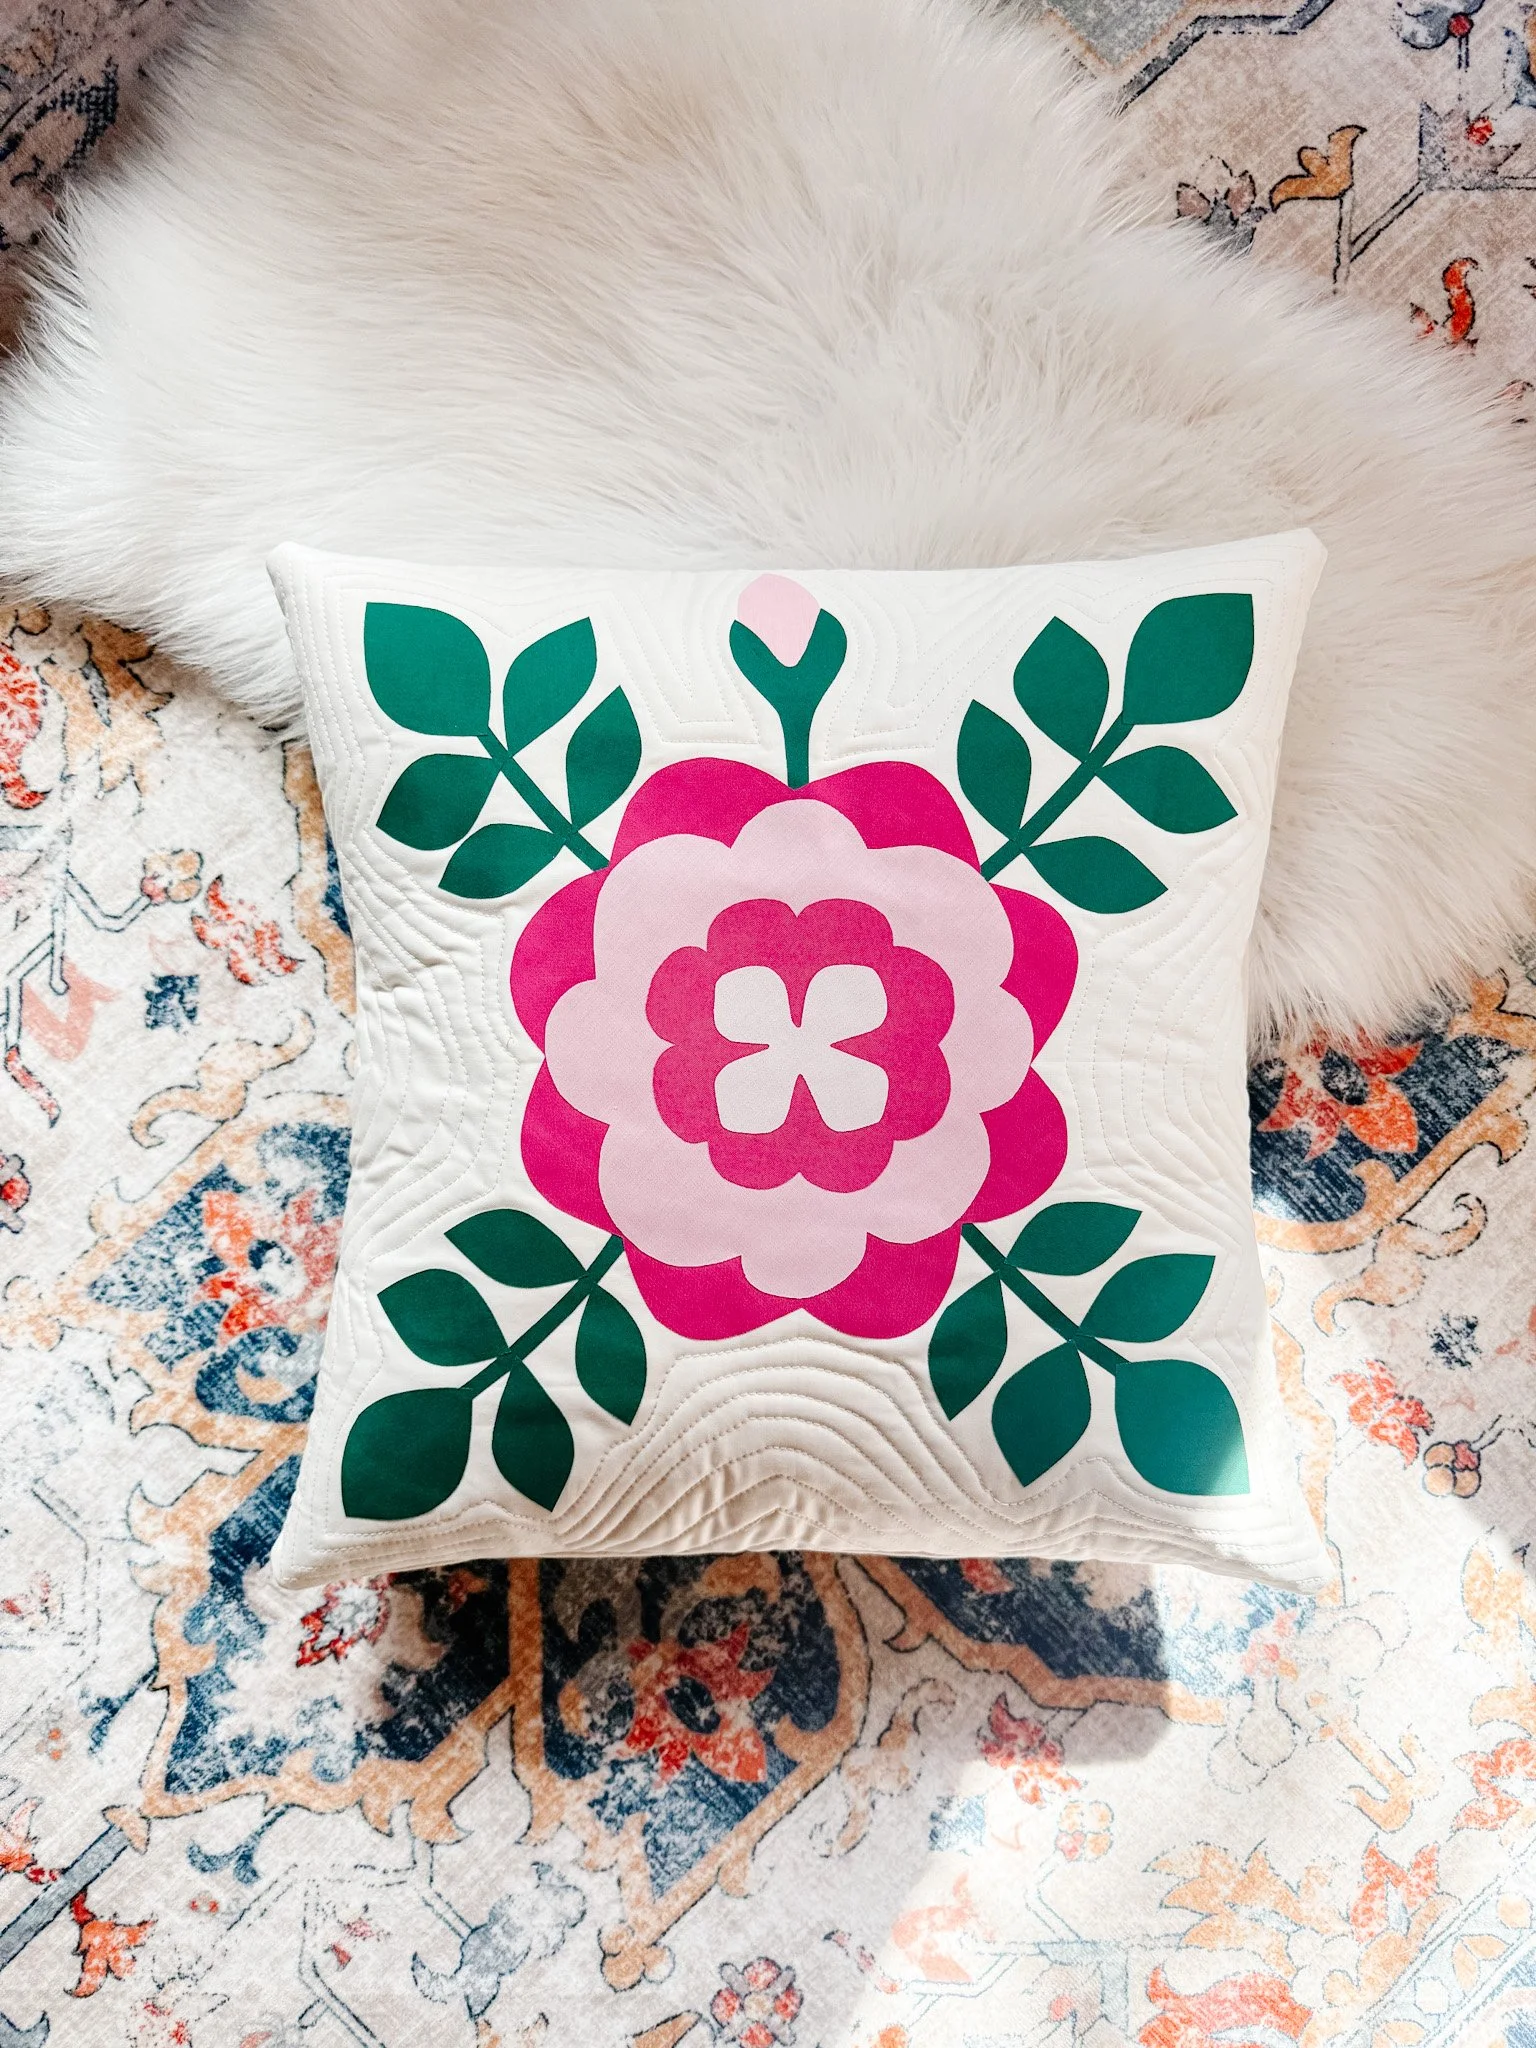
What Can You Make with Appliqué Quilting?
This is the part I love most… because once you understand appliqué, it really does open up everything.
You’re not boxed into blocks or grids or perfect seams. You’re working with shapes, with placement, with feeling. And that means you can take the same simple technique and turn it into something completely different every time.
Here are some of my favourite ways to use appliqué quilting:
Quilts (statement pieces, floral layouts)
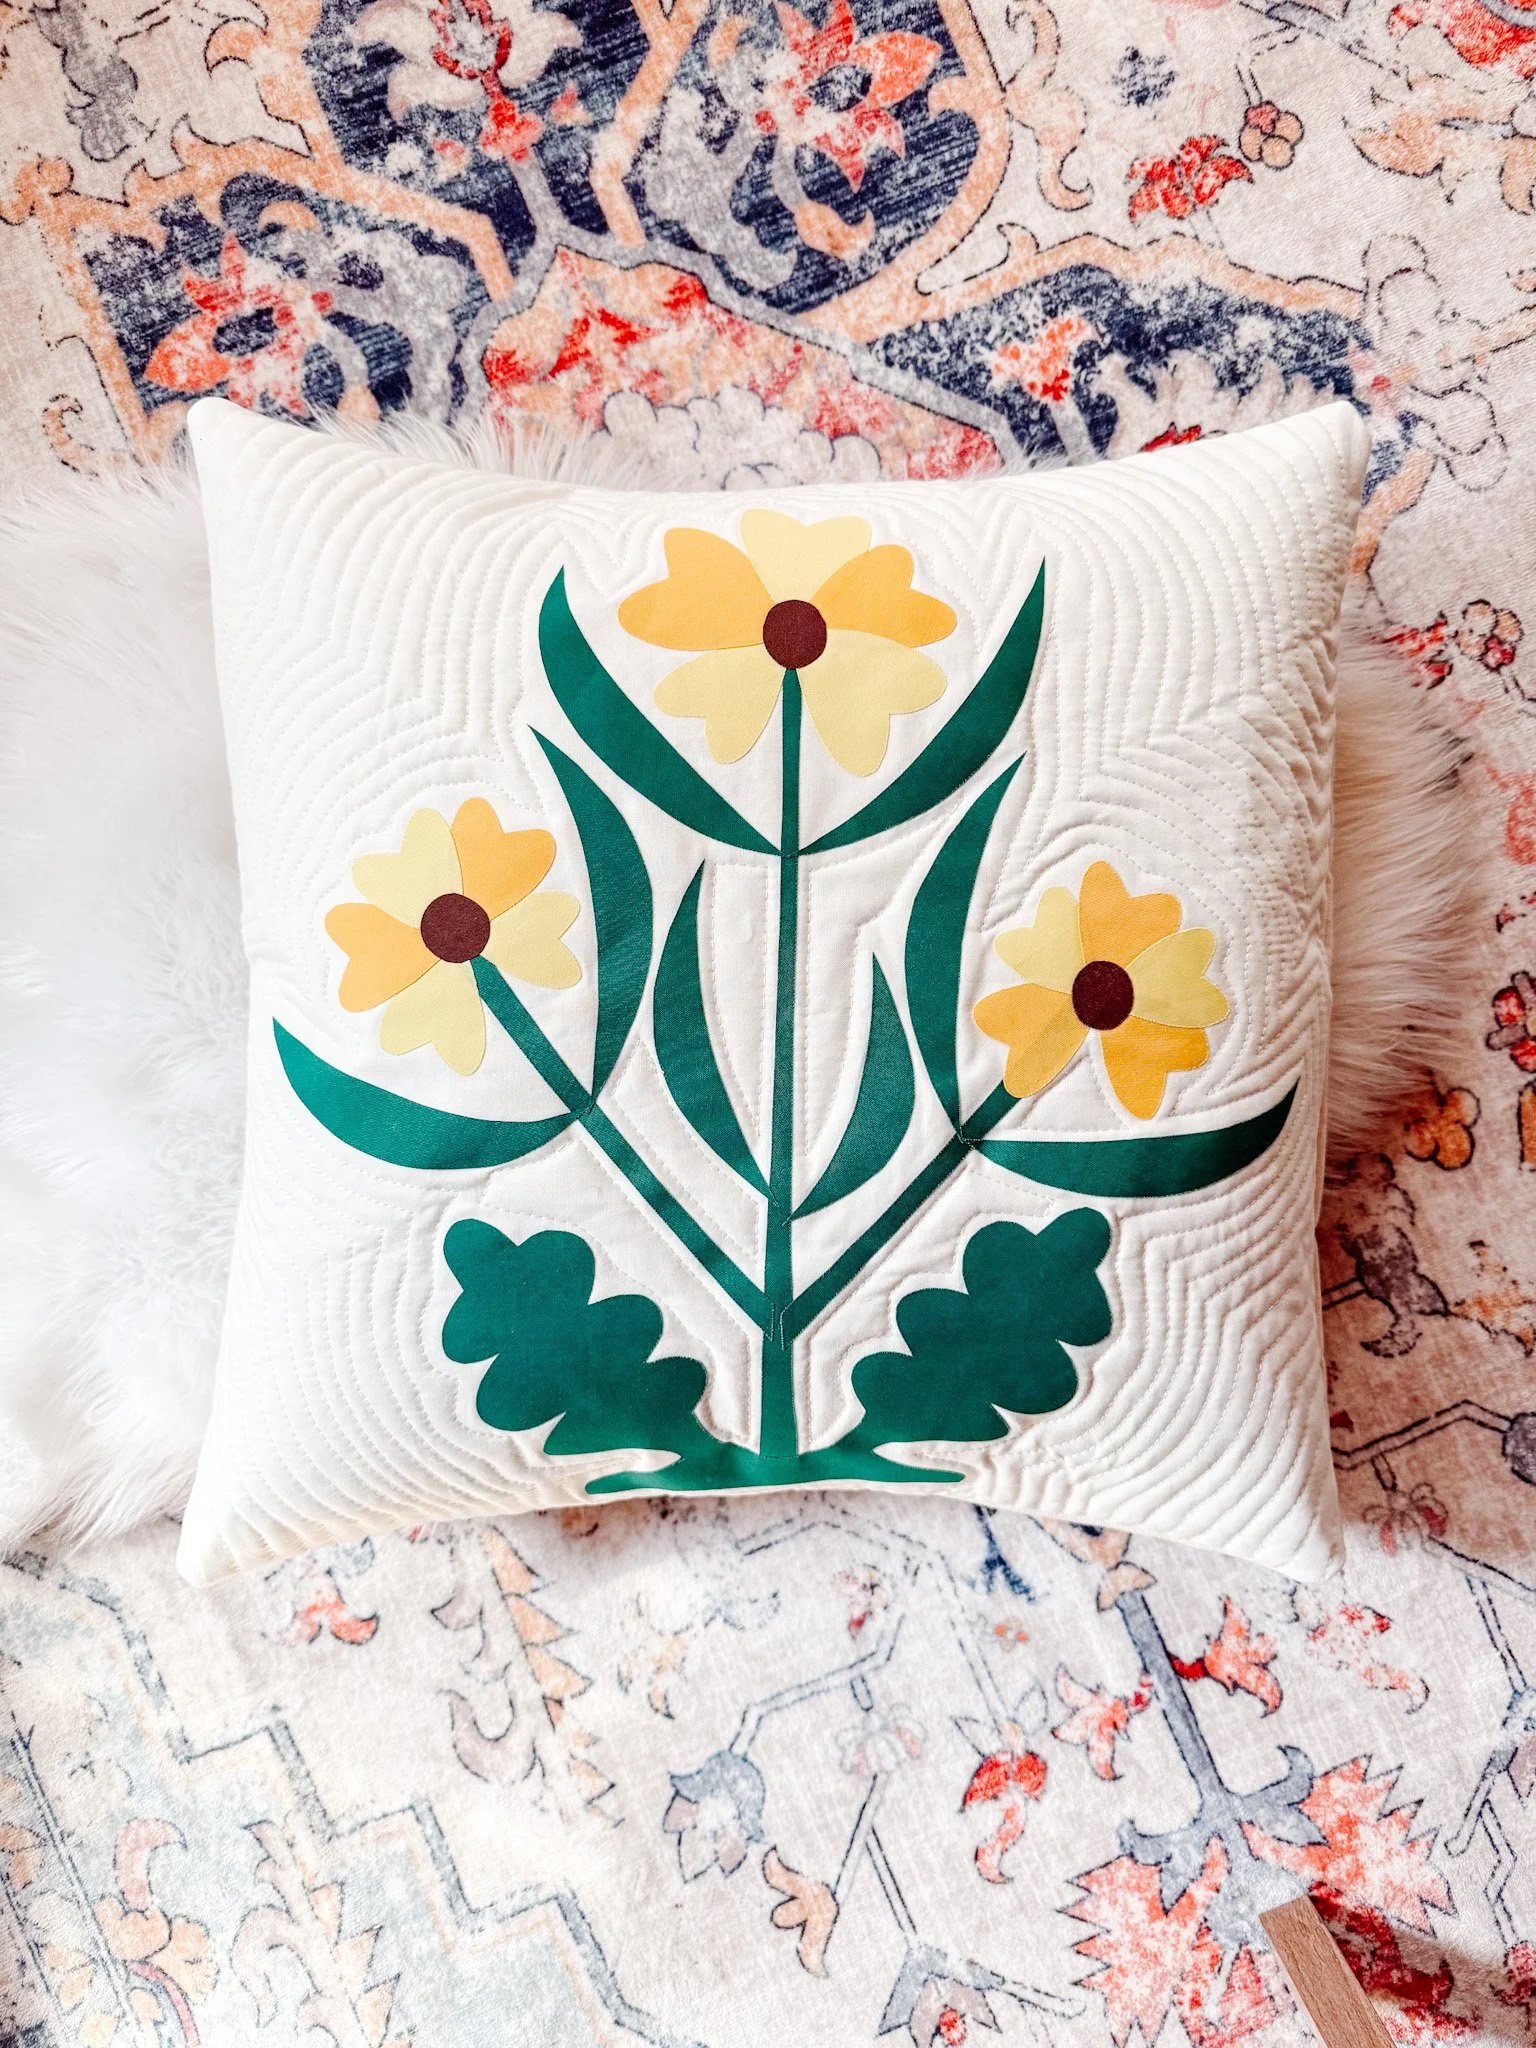
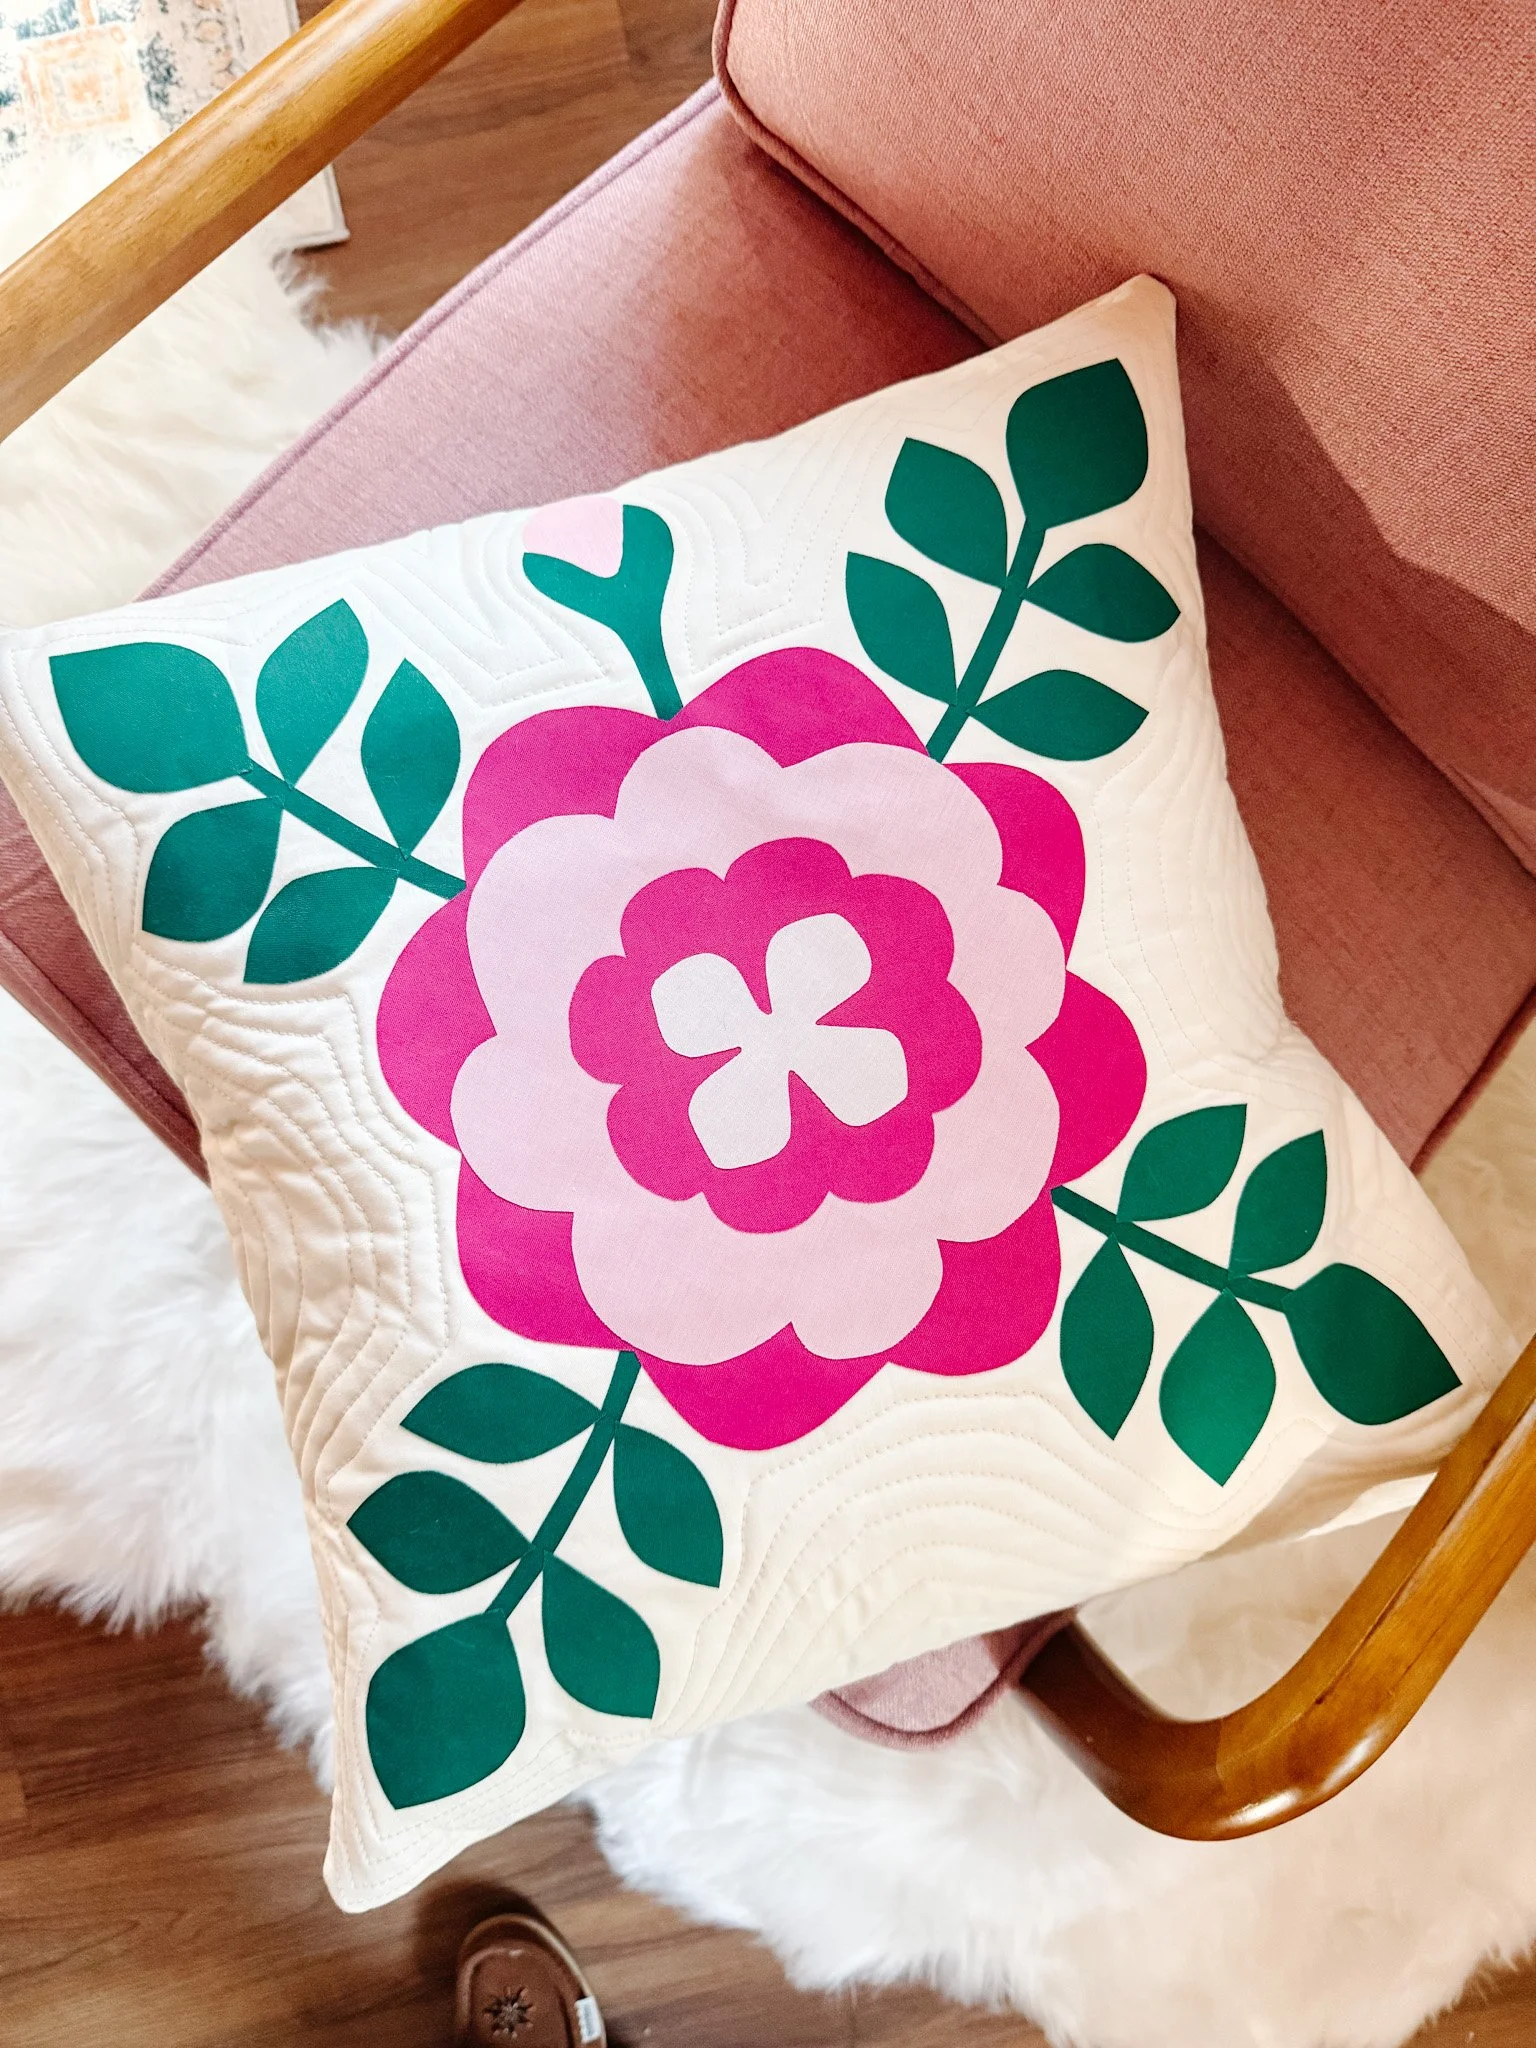
This is where appliqué really gets to shine. Big, bold florals… soft, spaced-out designs… pieces that feel more like artwork than anything else. These are the quilts that people stop and look at. The ones that feel a little bit like they belong at the end of a bed in an old cottage—but still feel fresh and modern.
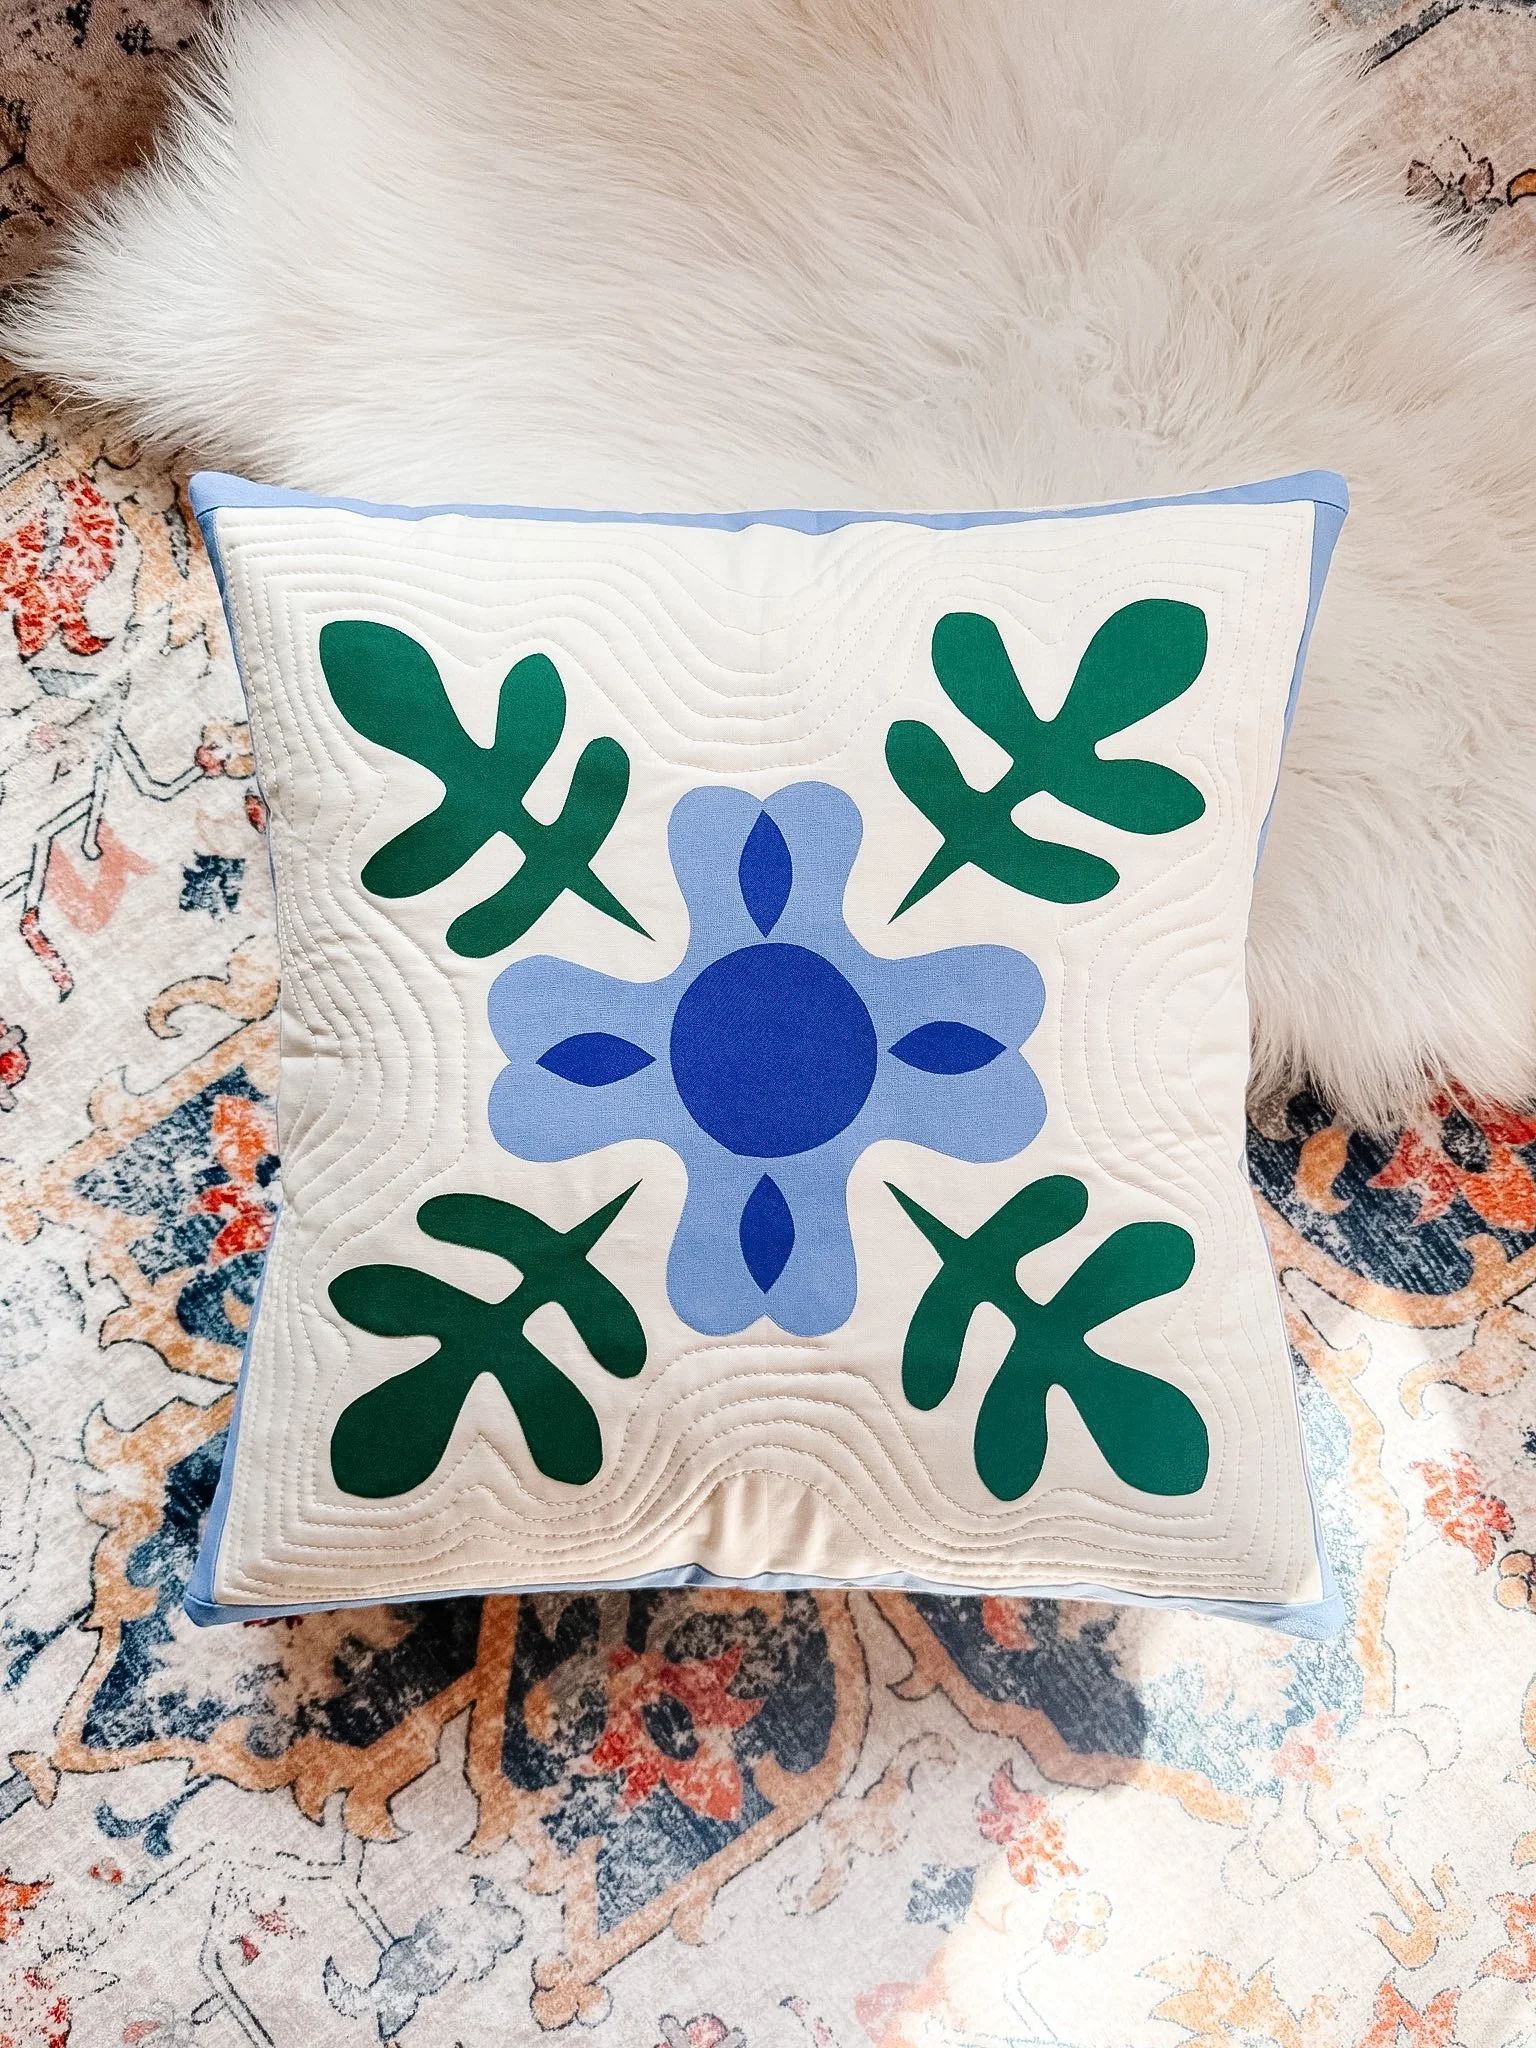
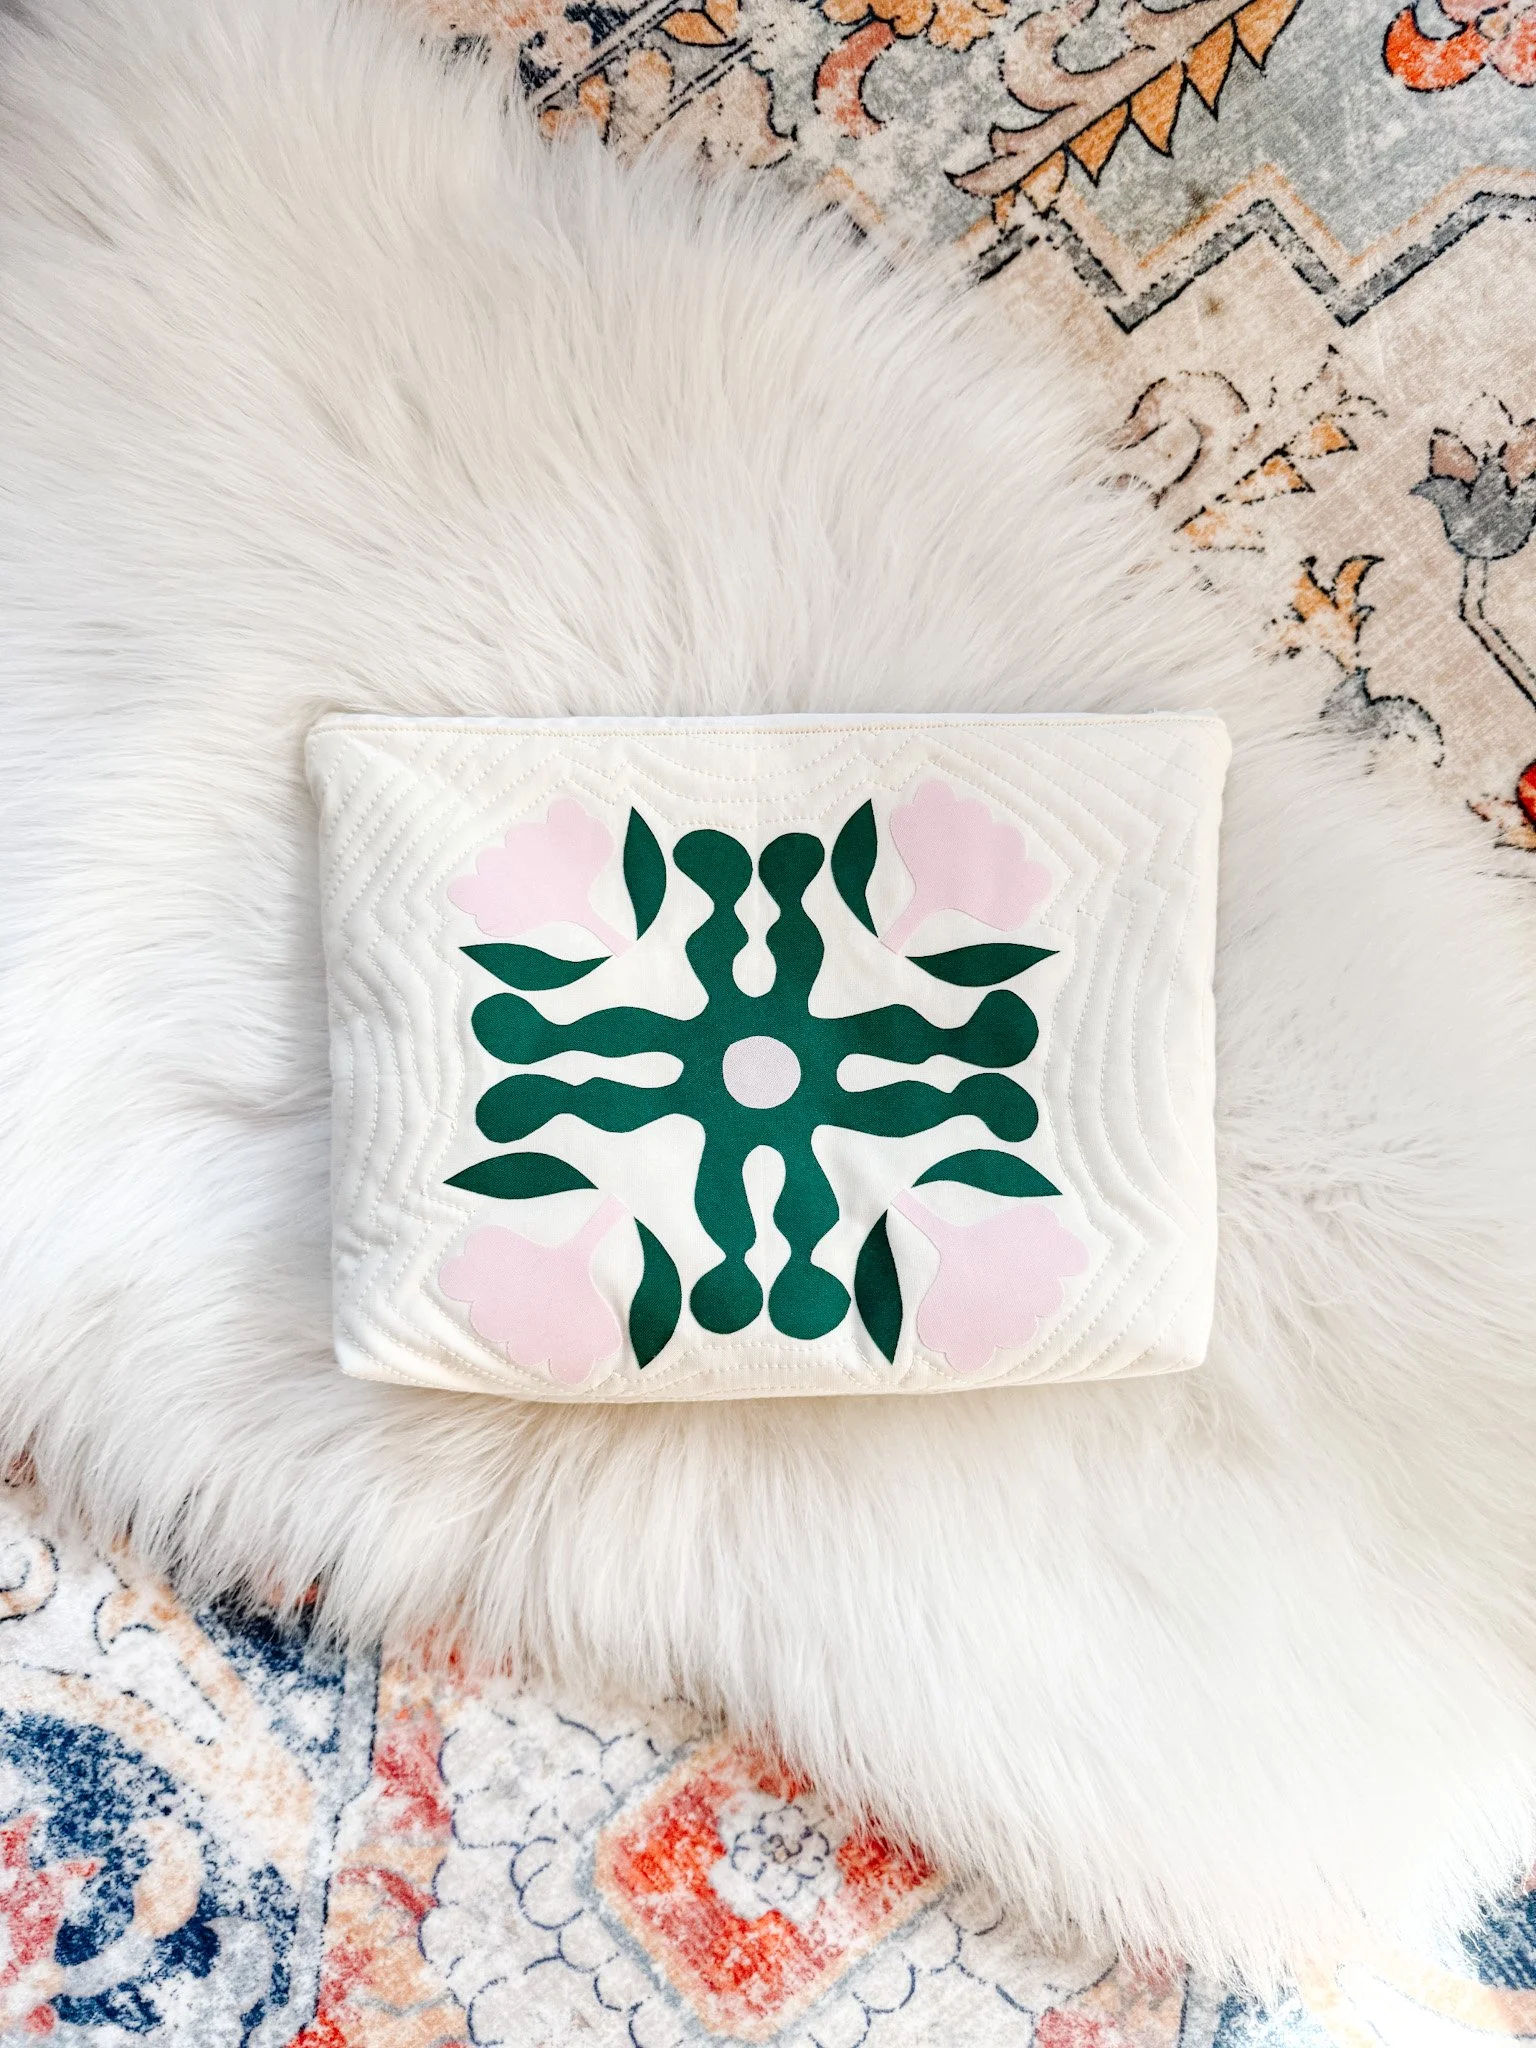
Pillow covers
If you’re just starting out, this is such a good place to begin. Small, manageable, and honestly… so satisfying to finish. You can test out colour palettes, play with placement, and see your design come to life without committing to a full quilt.
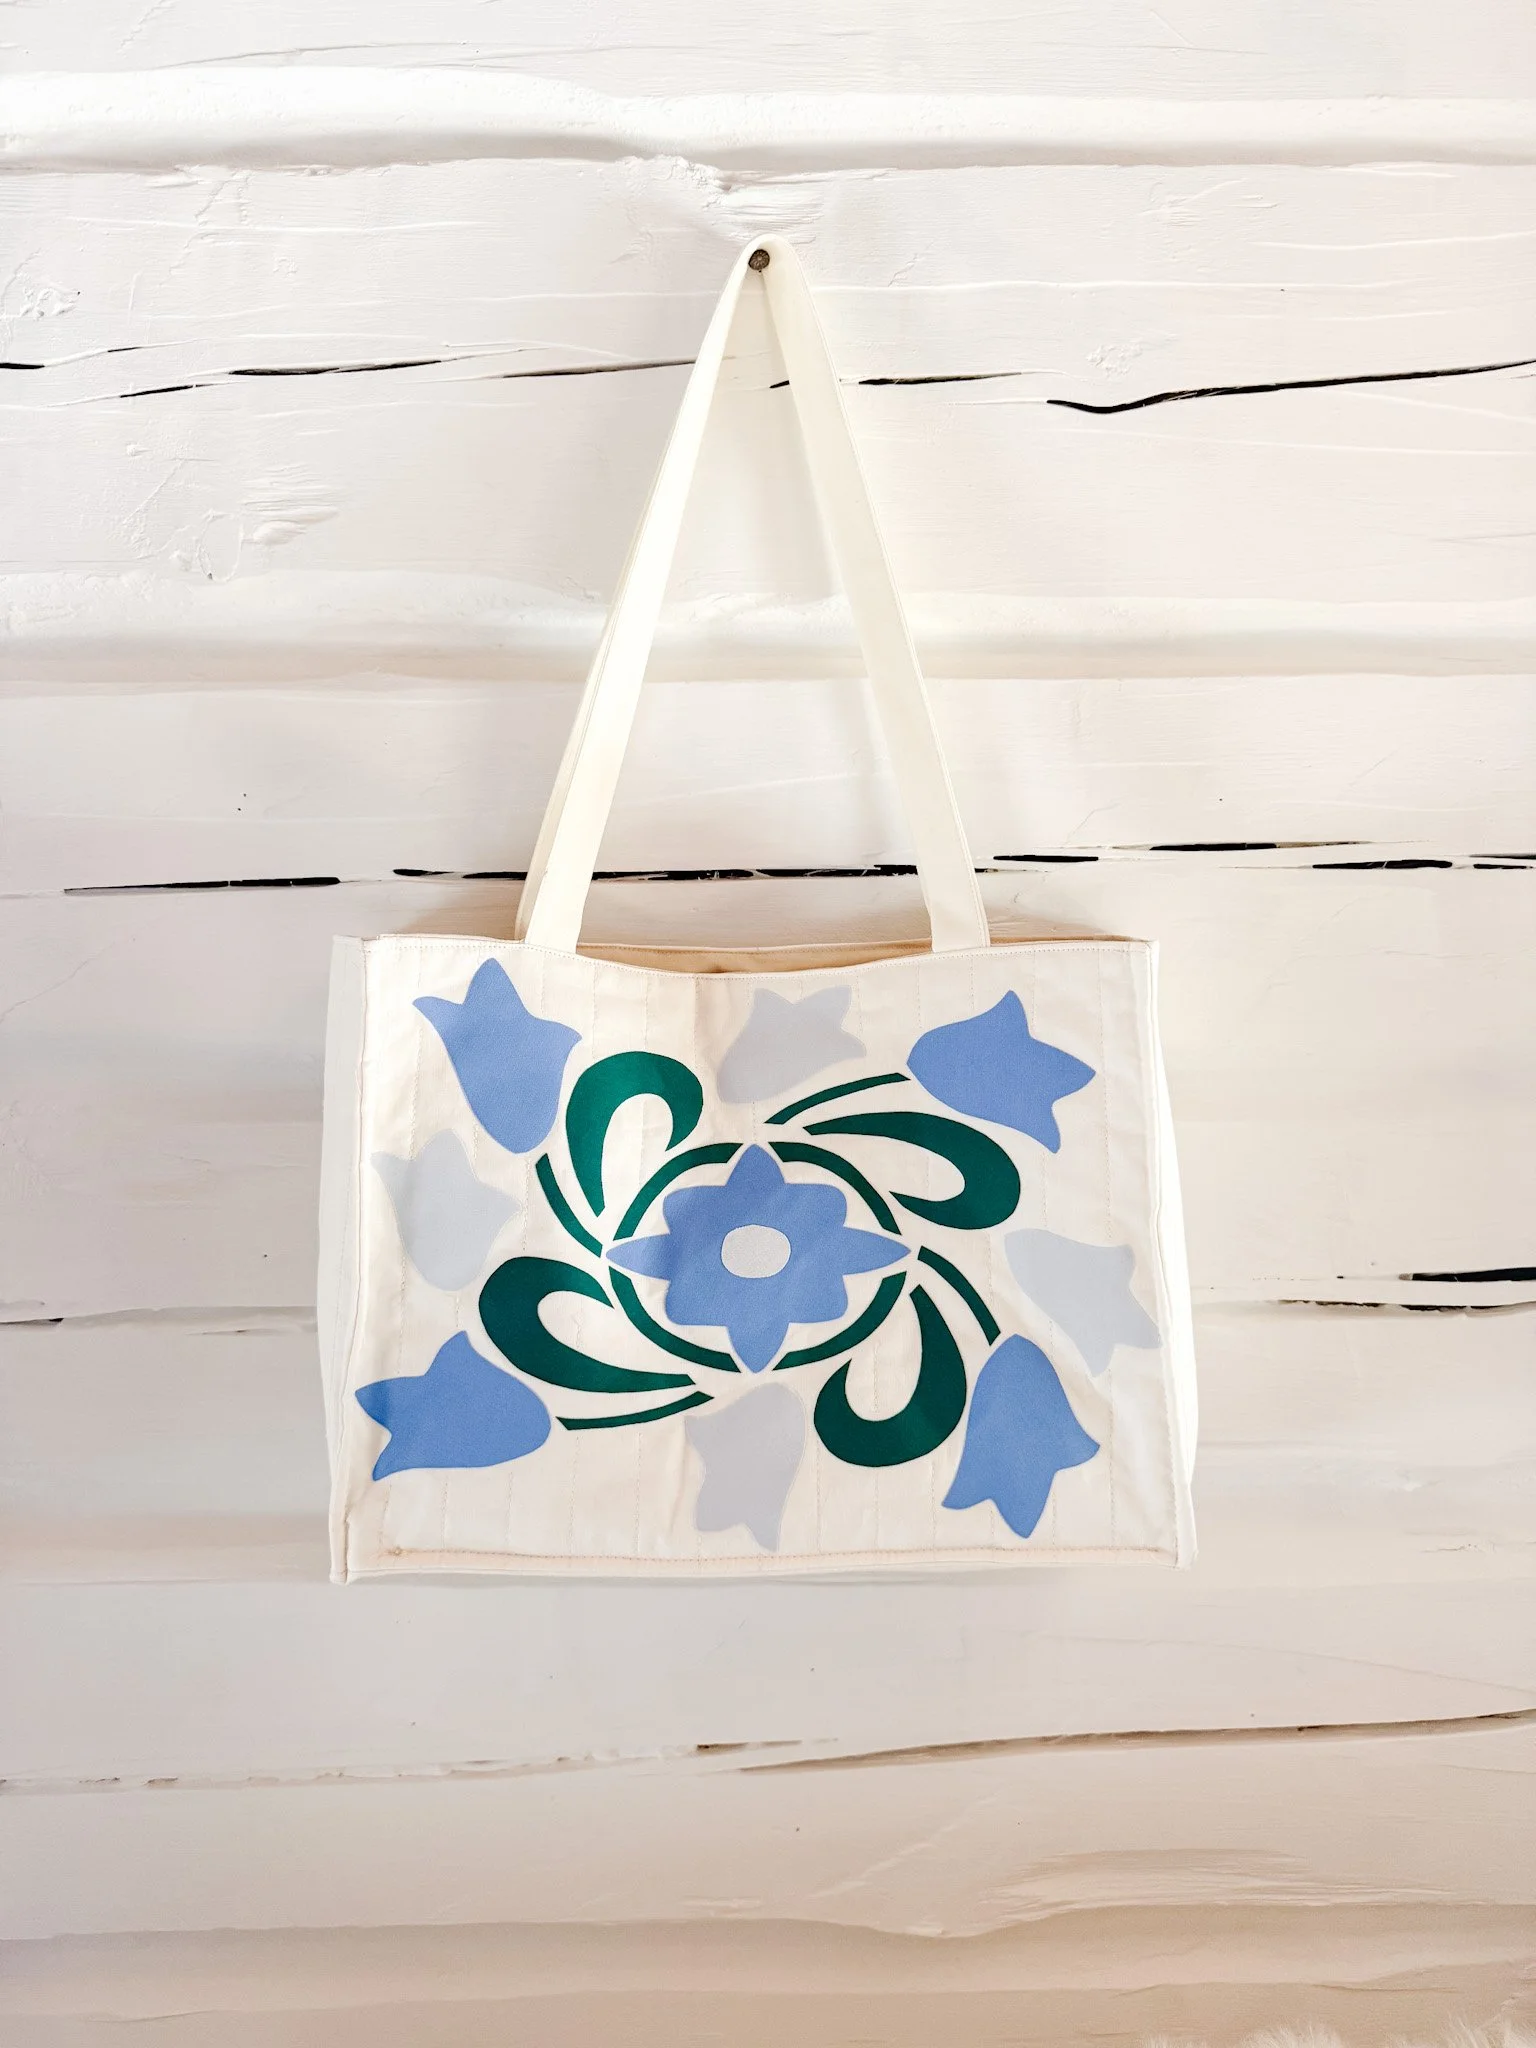
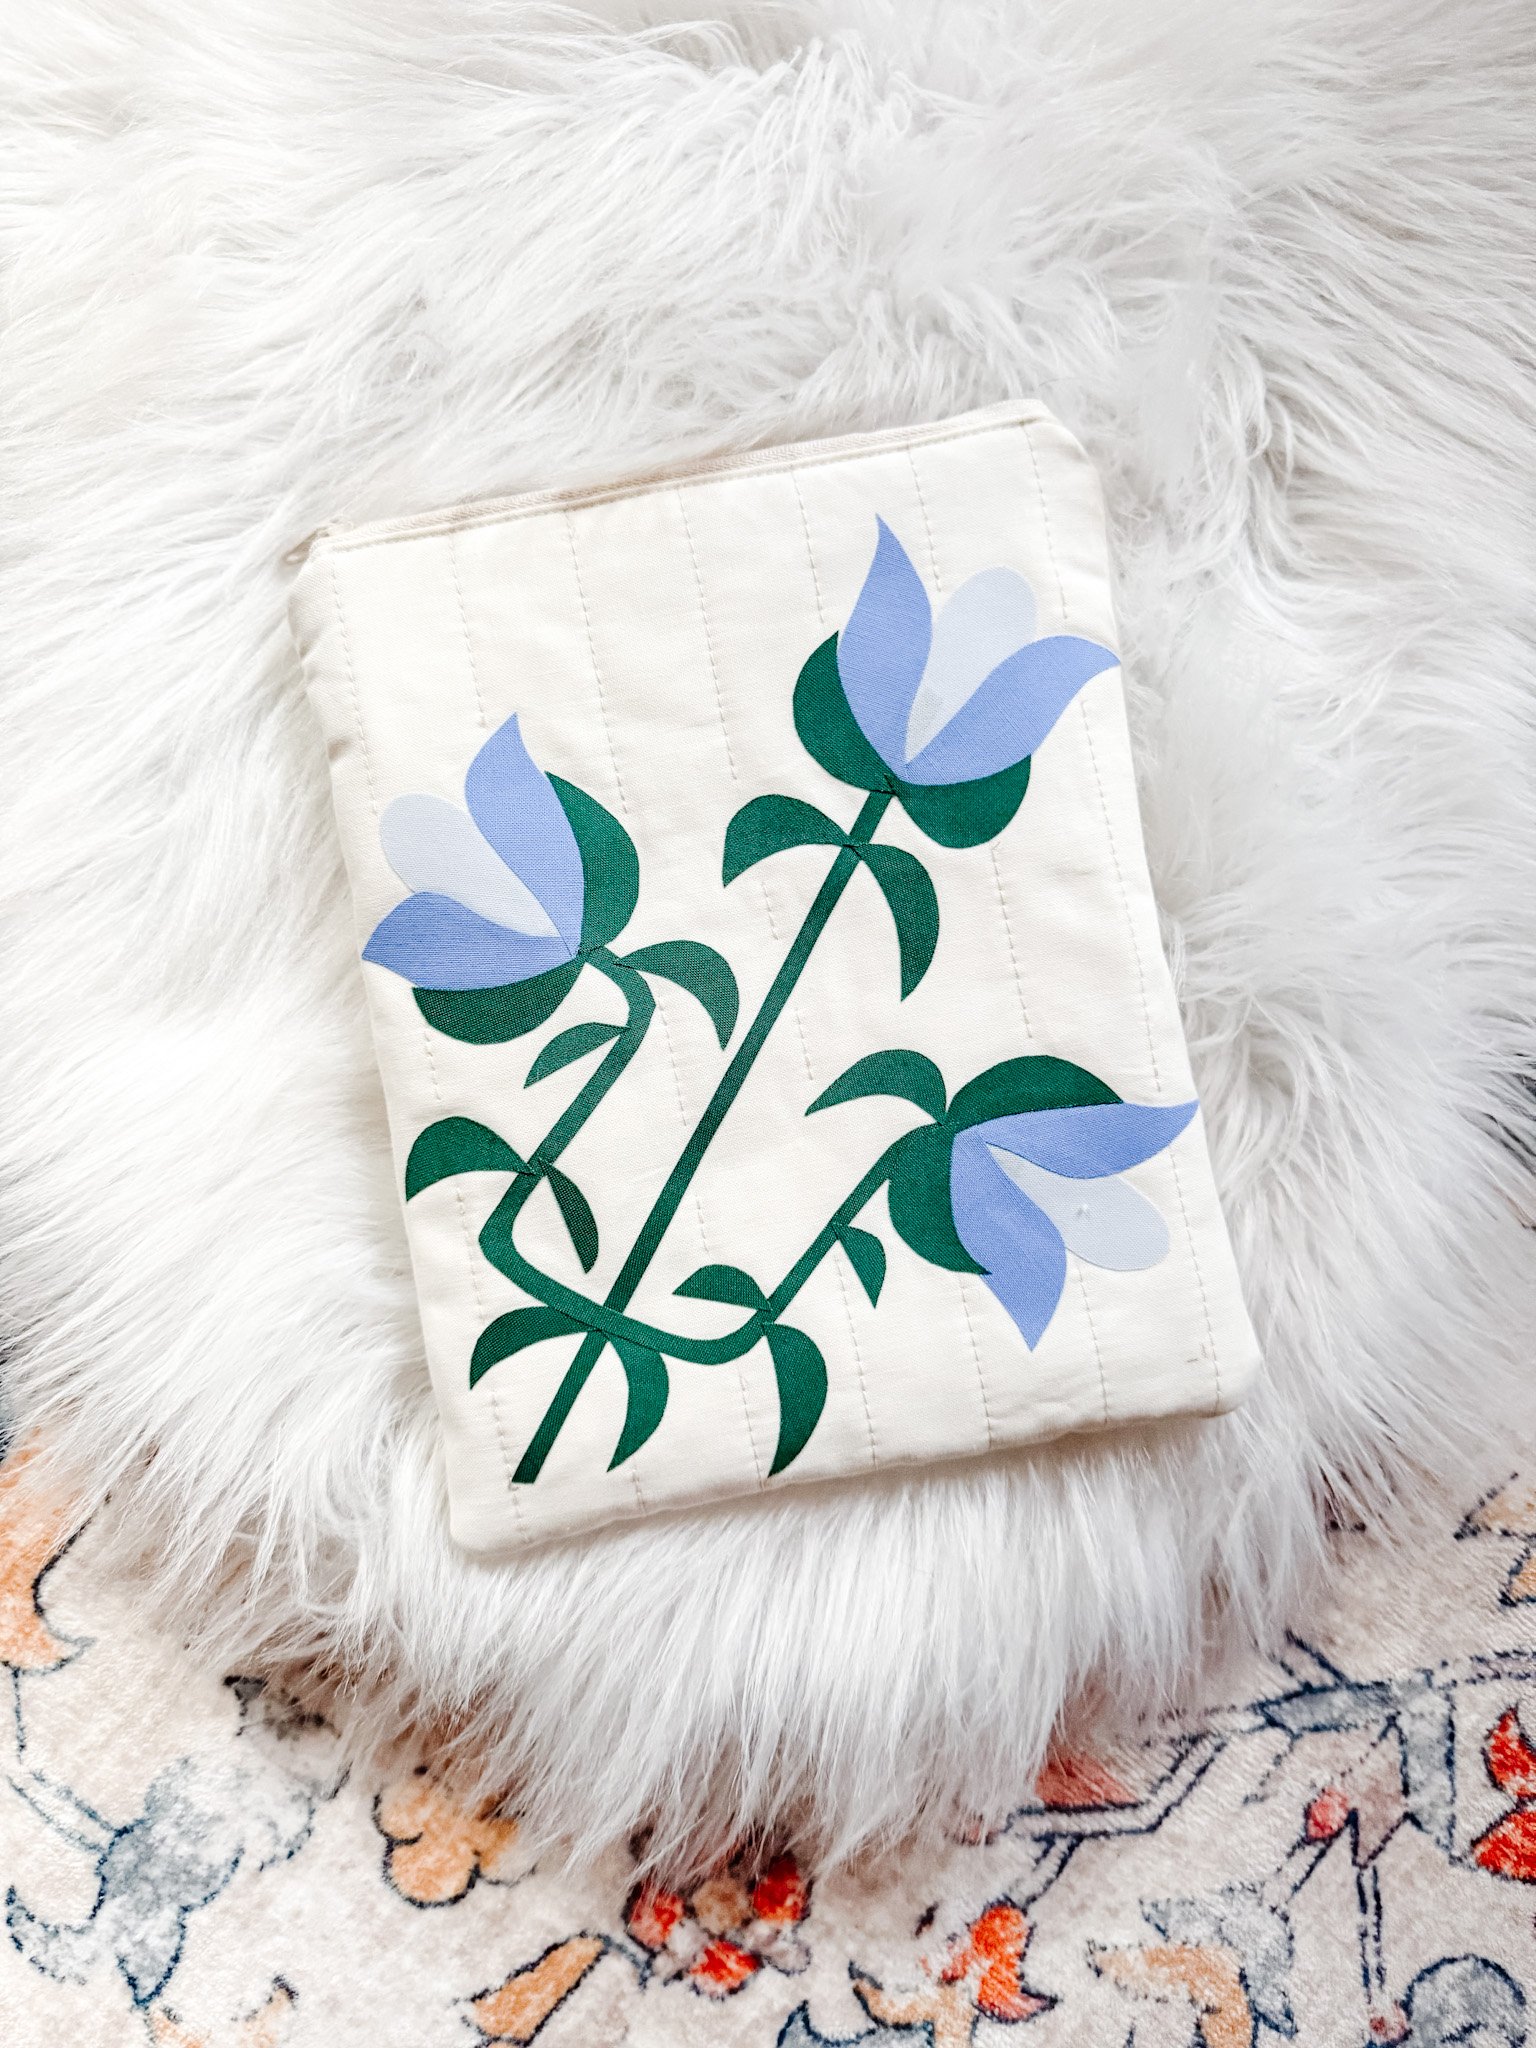
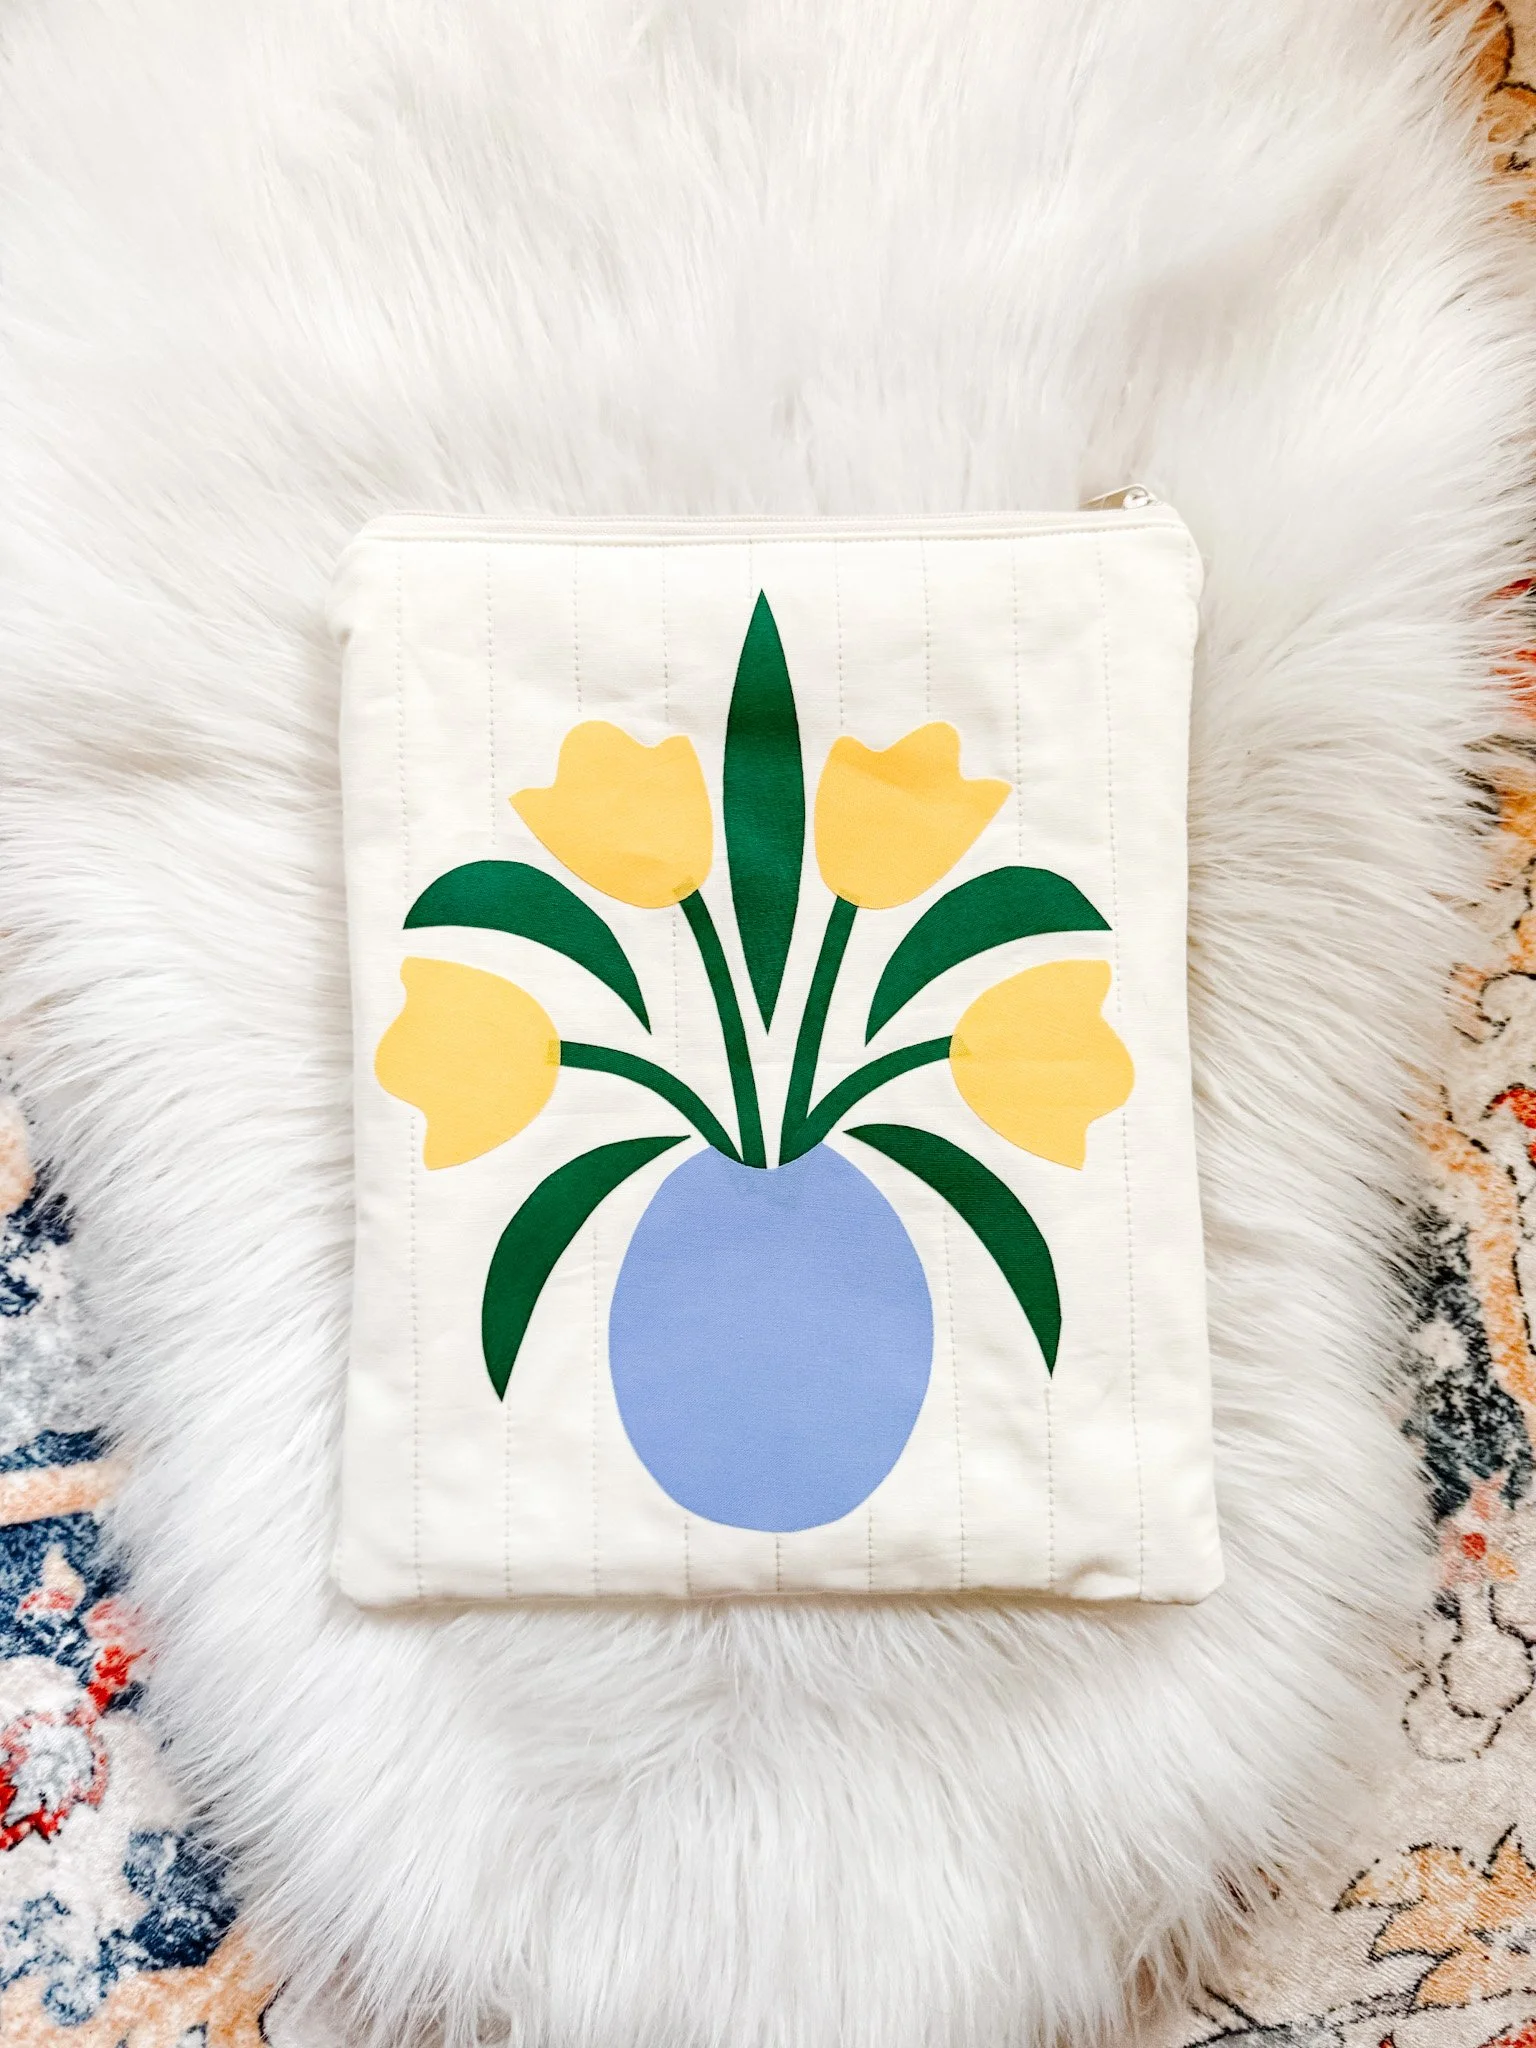
Tote bags and pouches
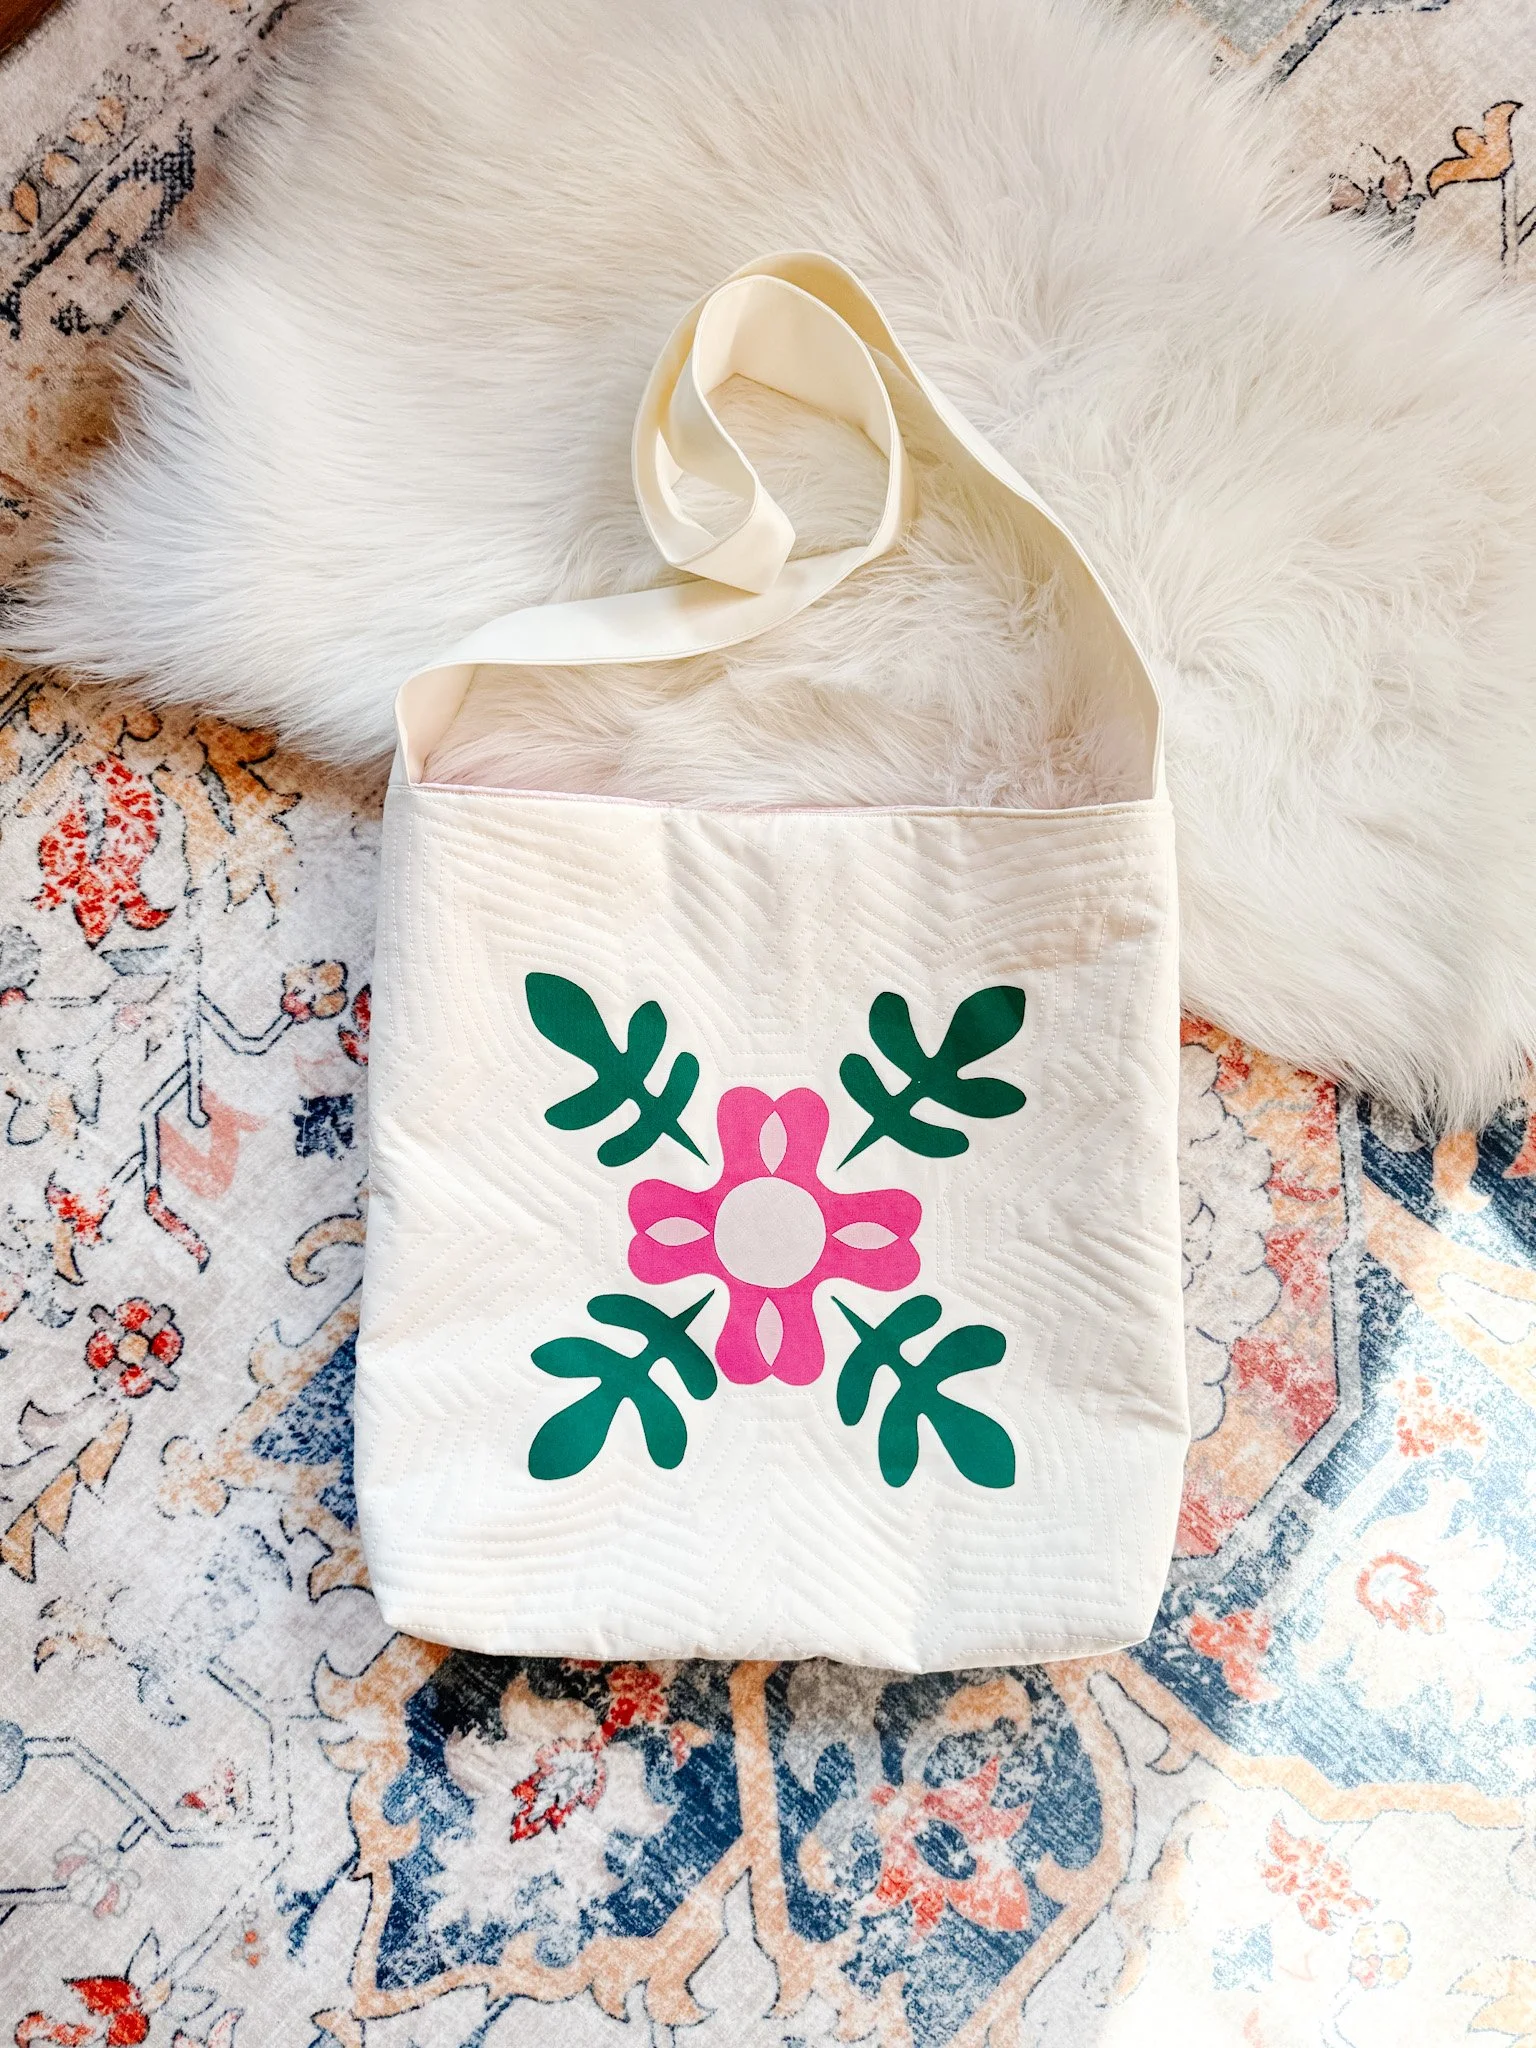
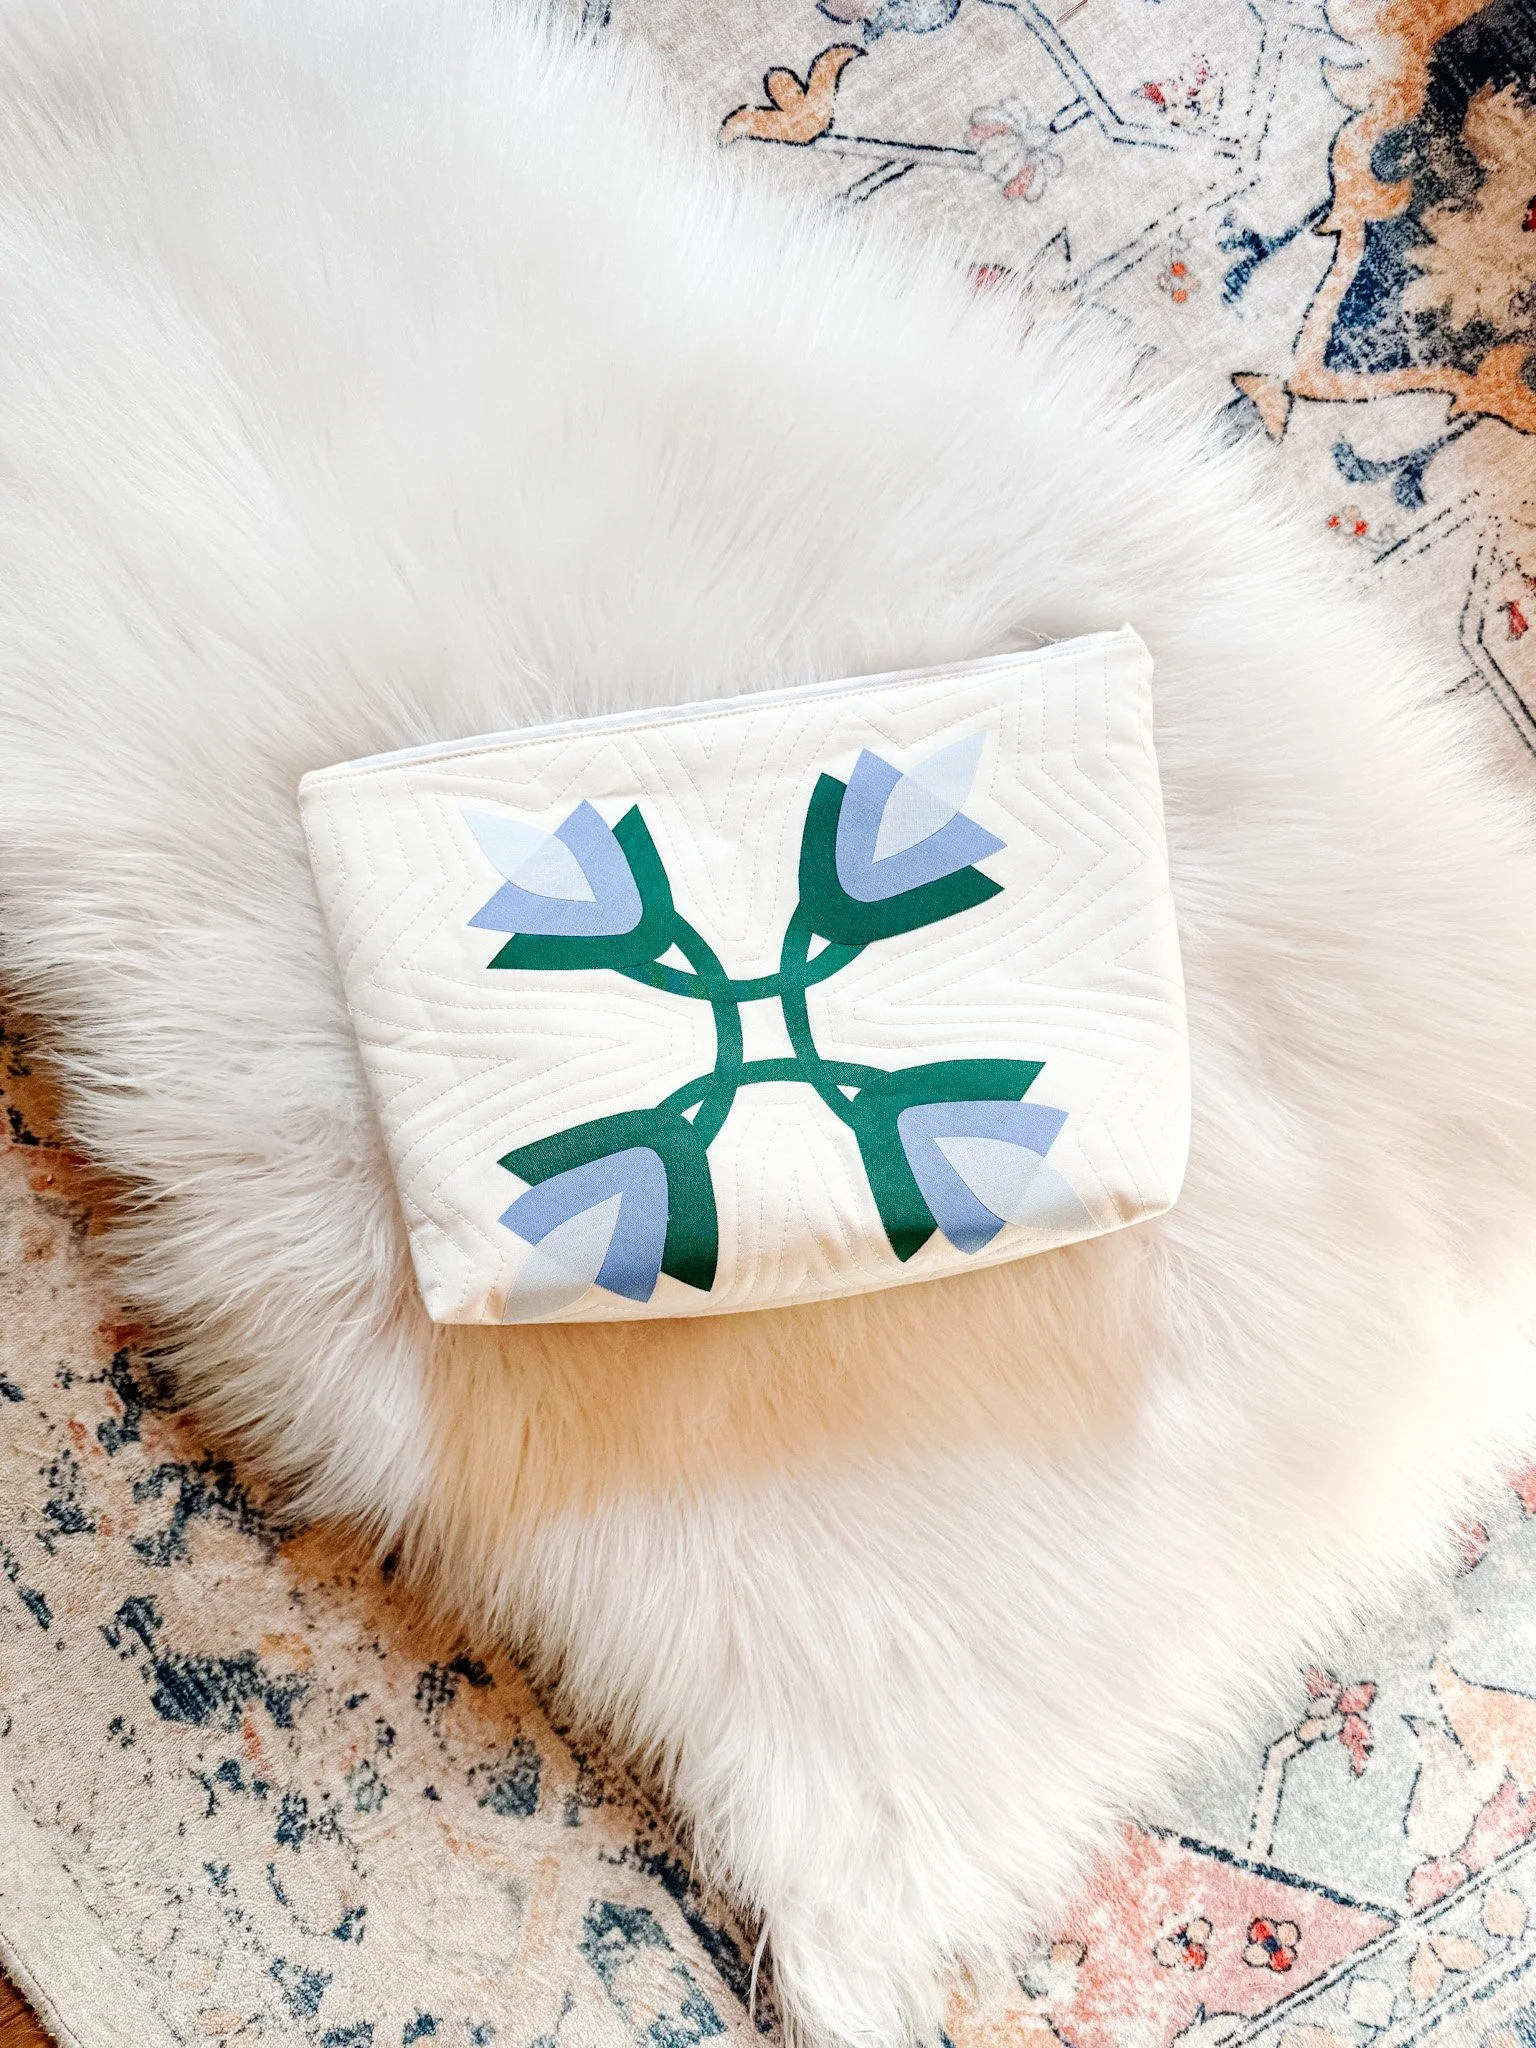
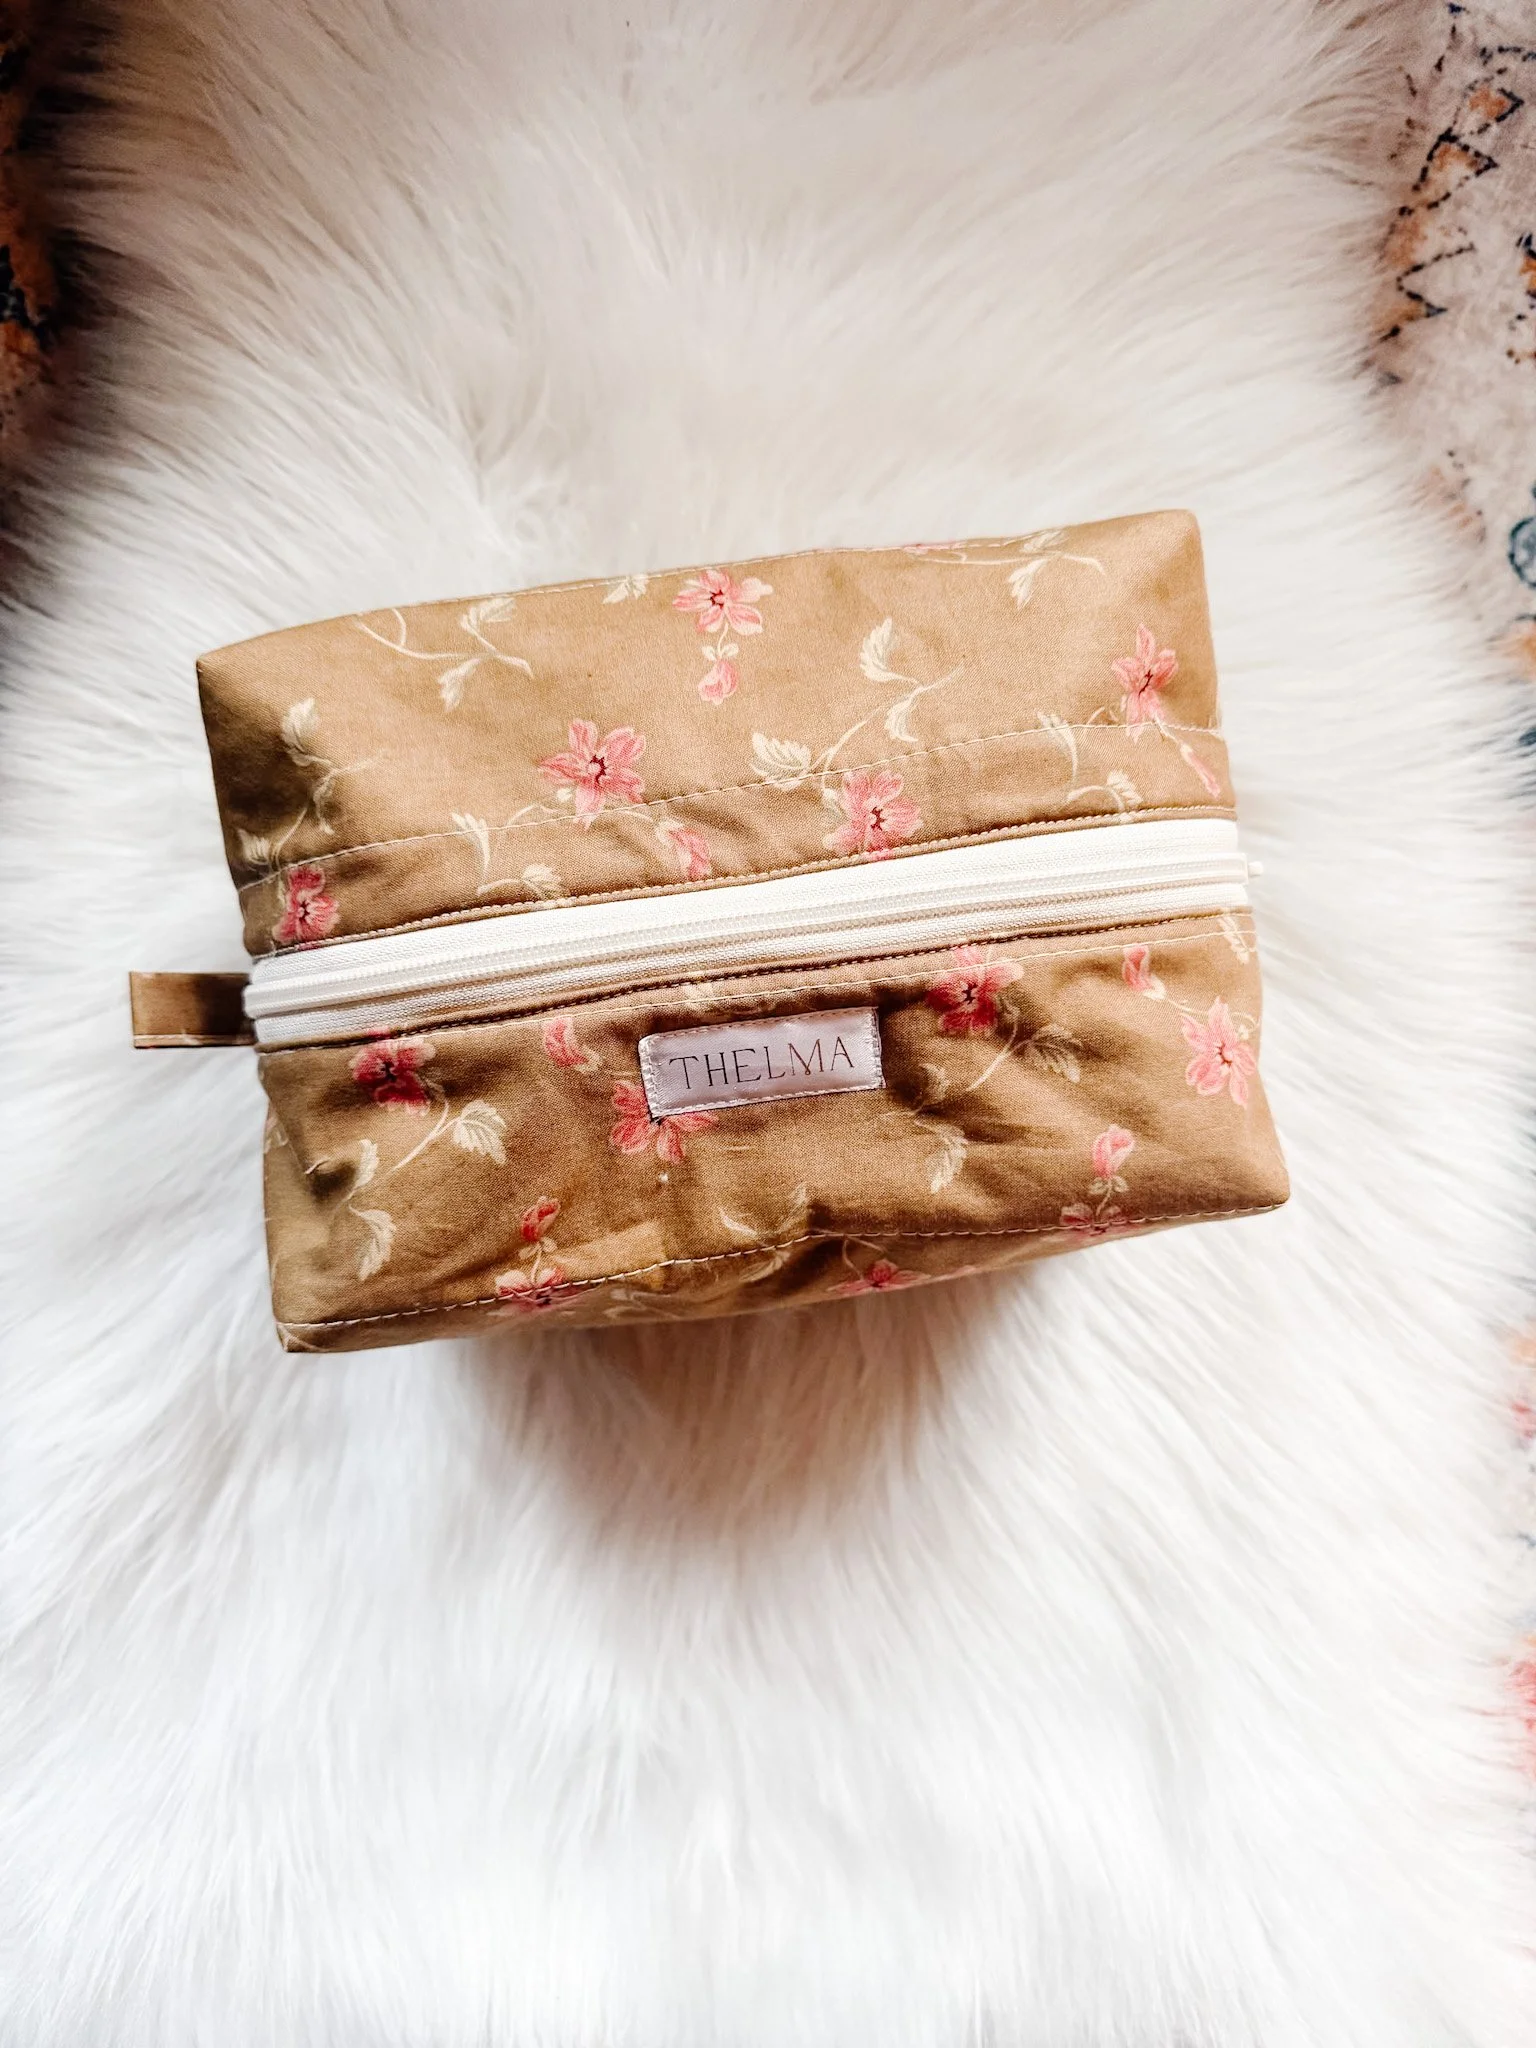
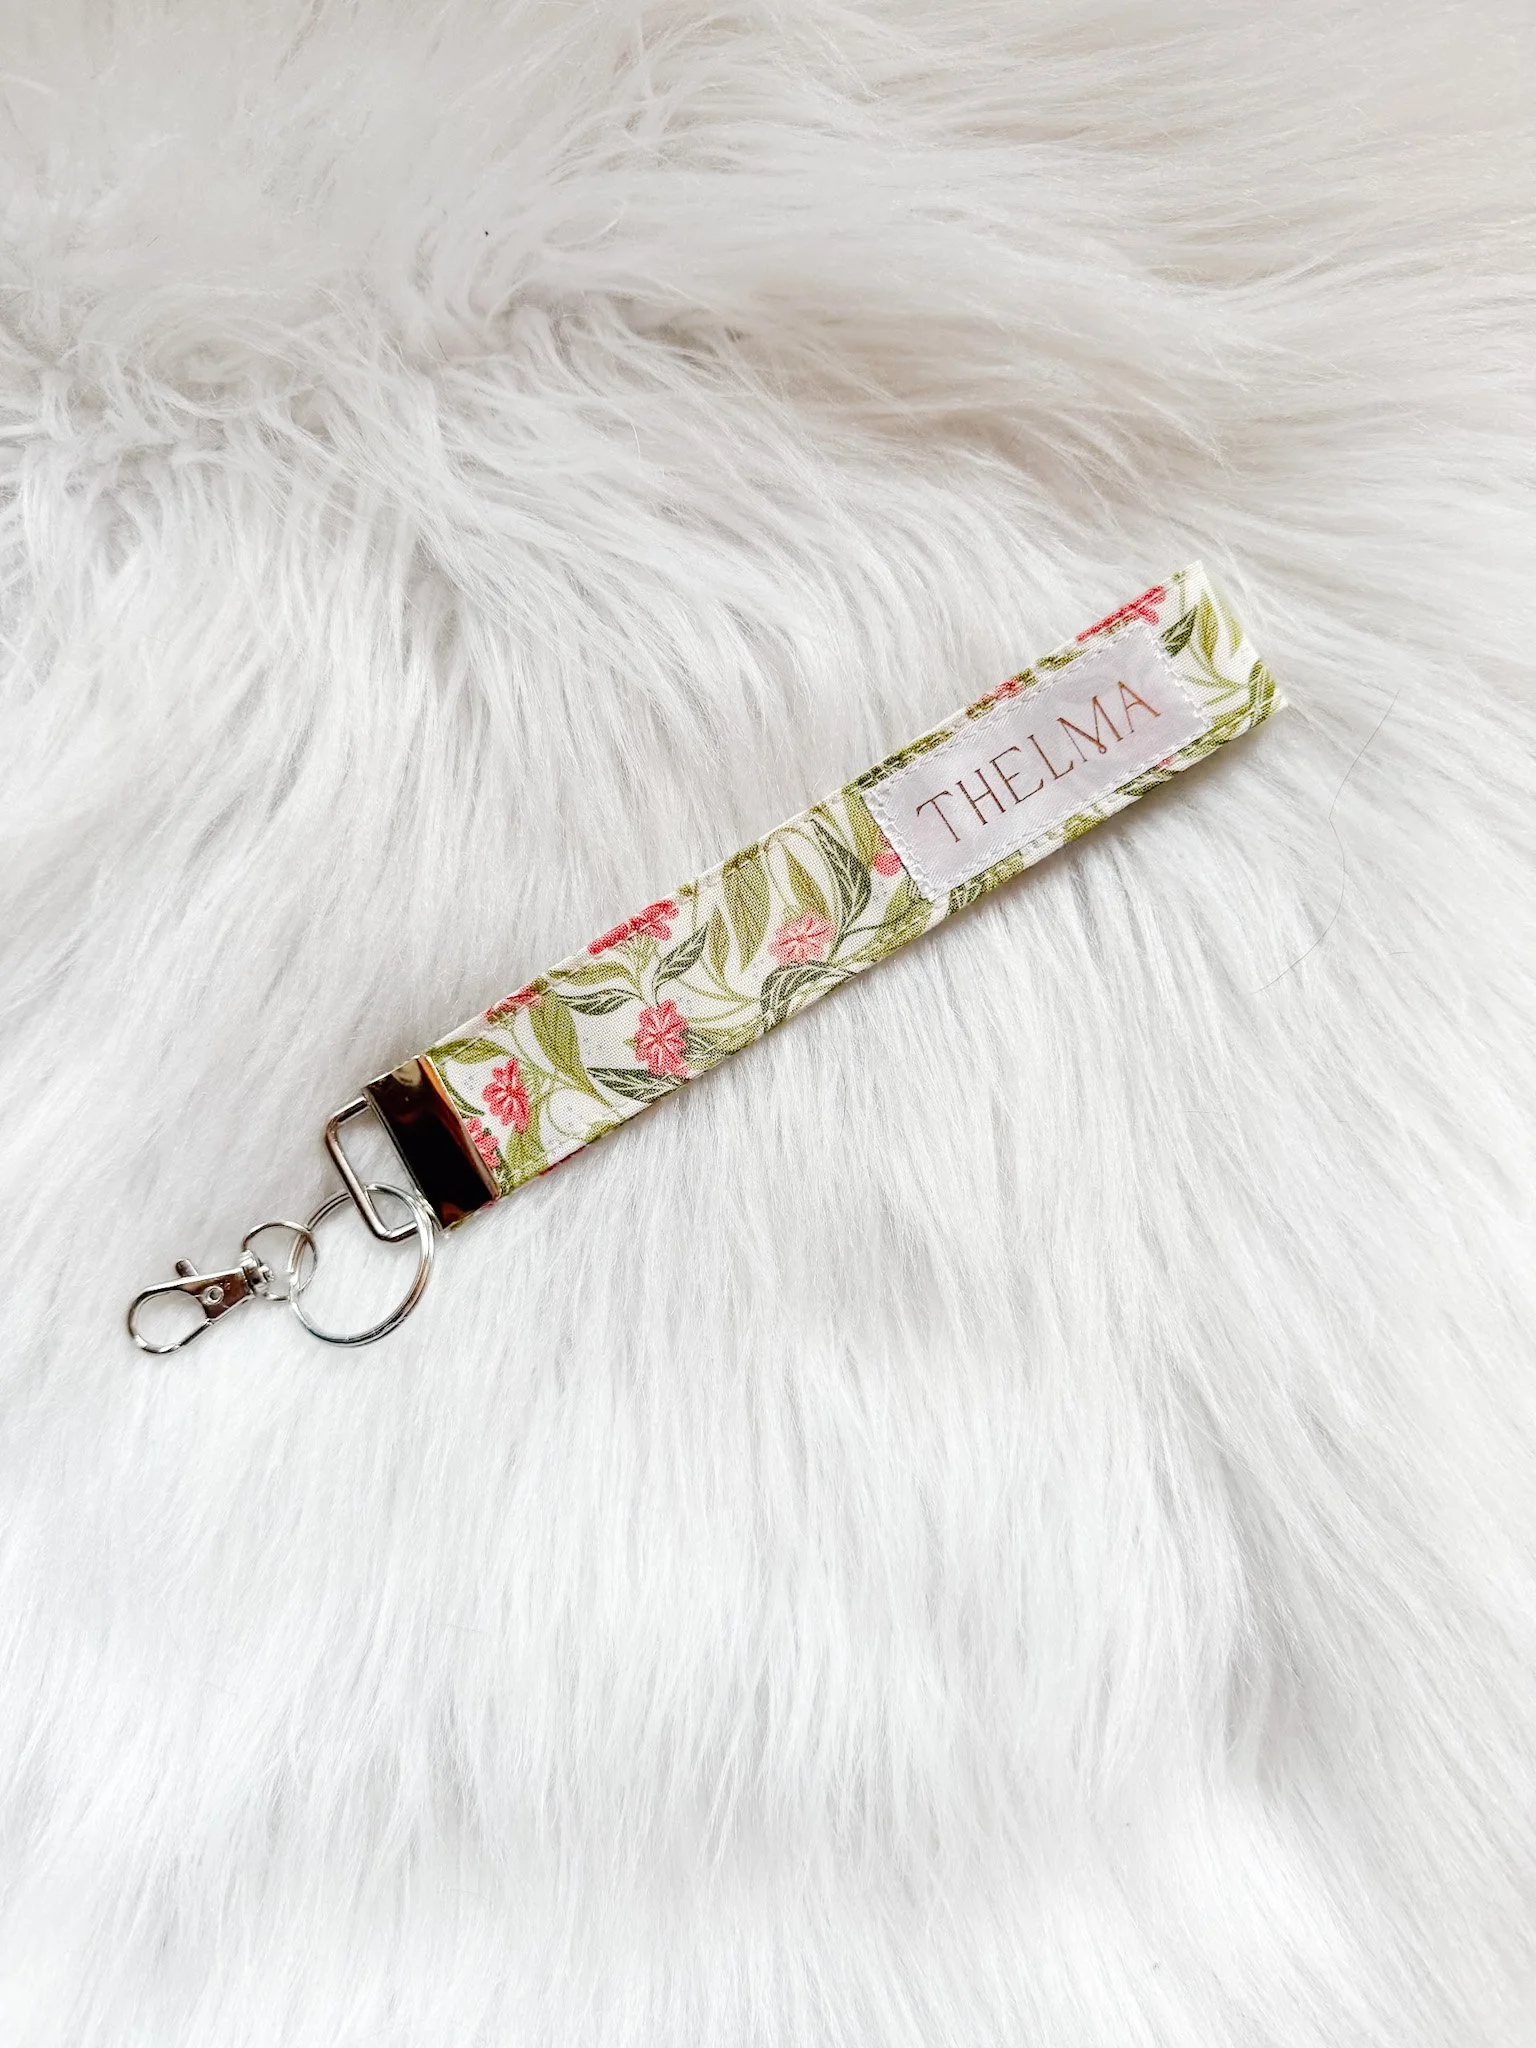
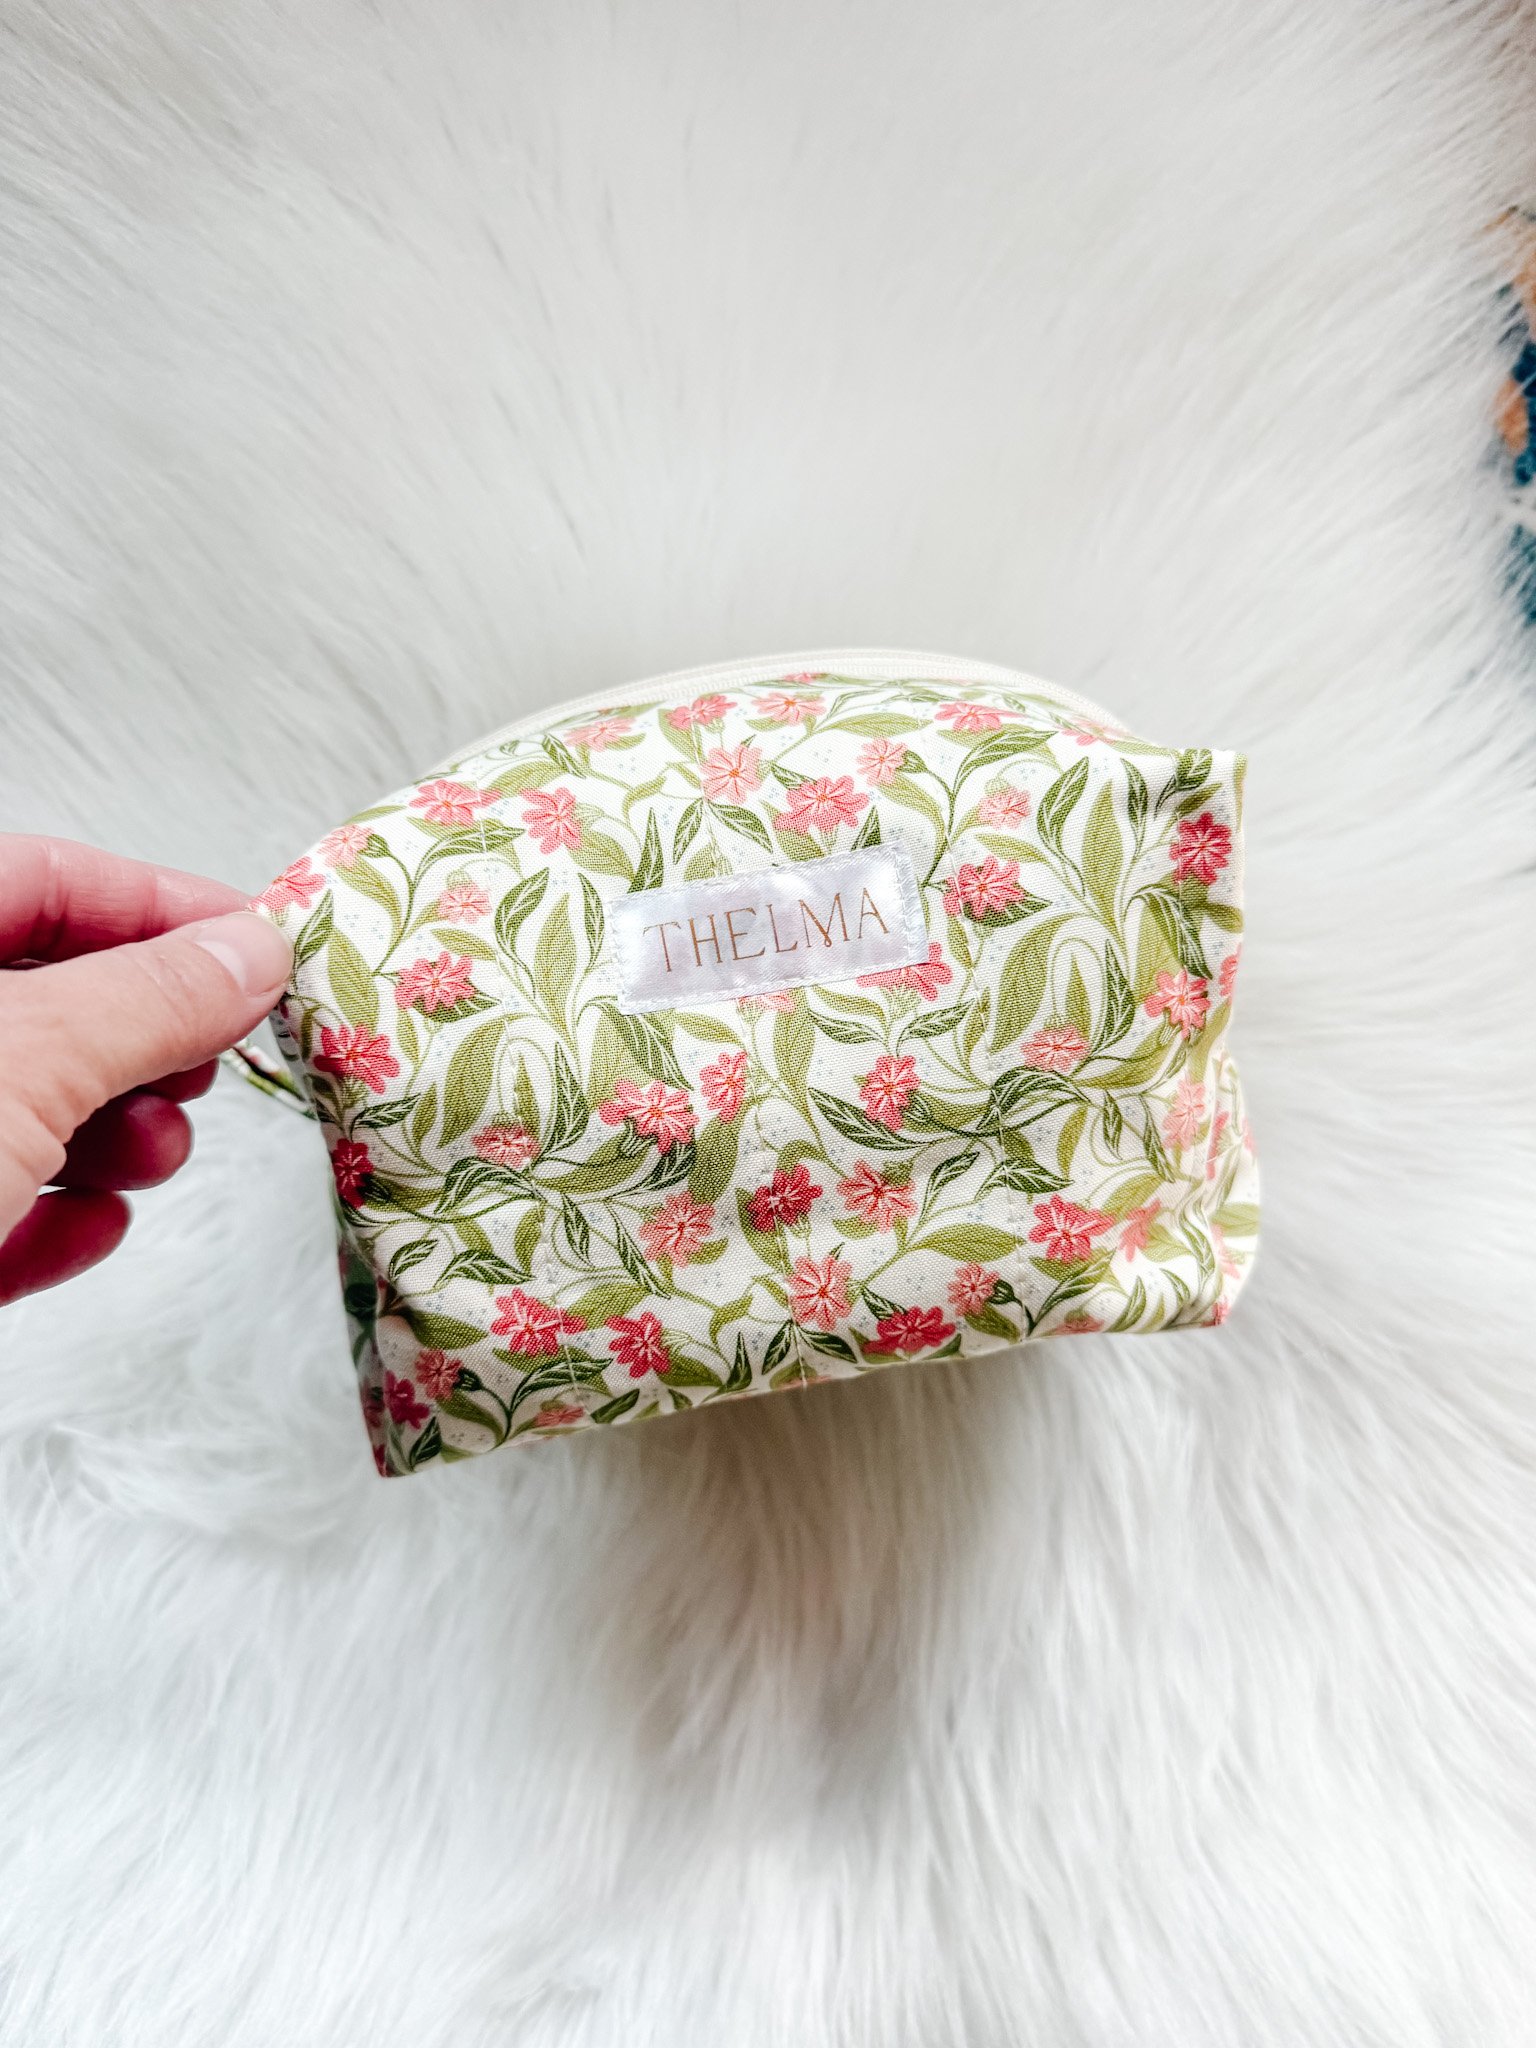
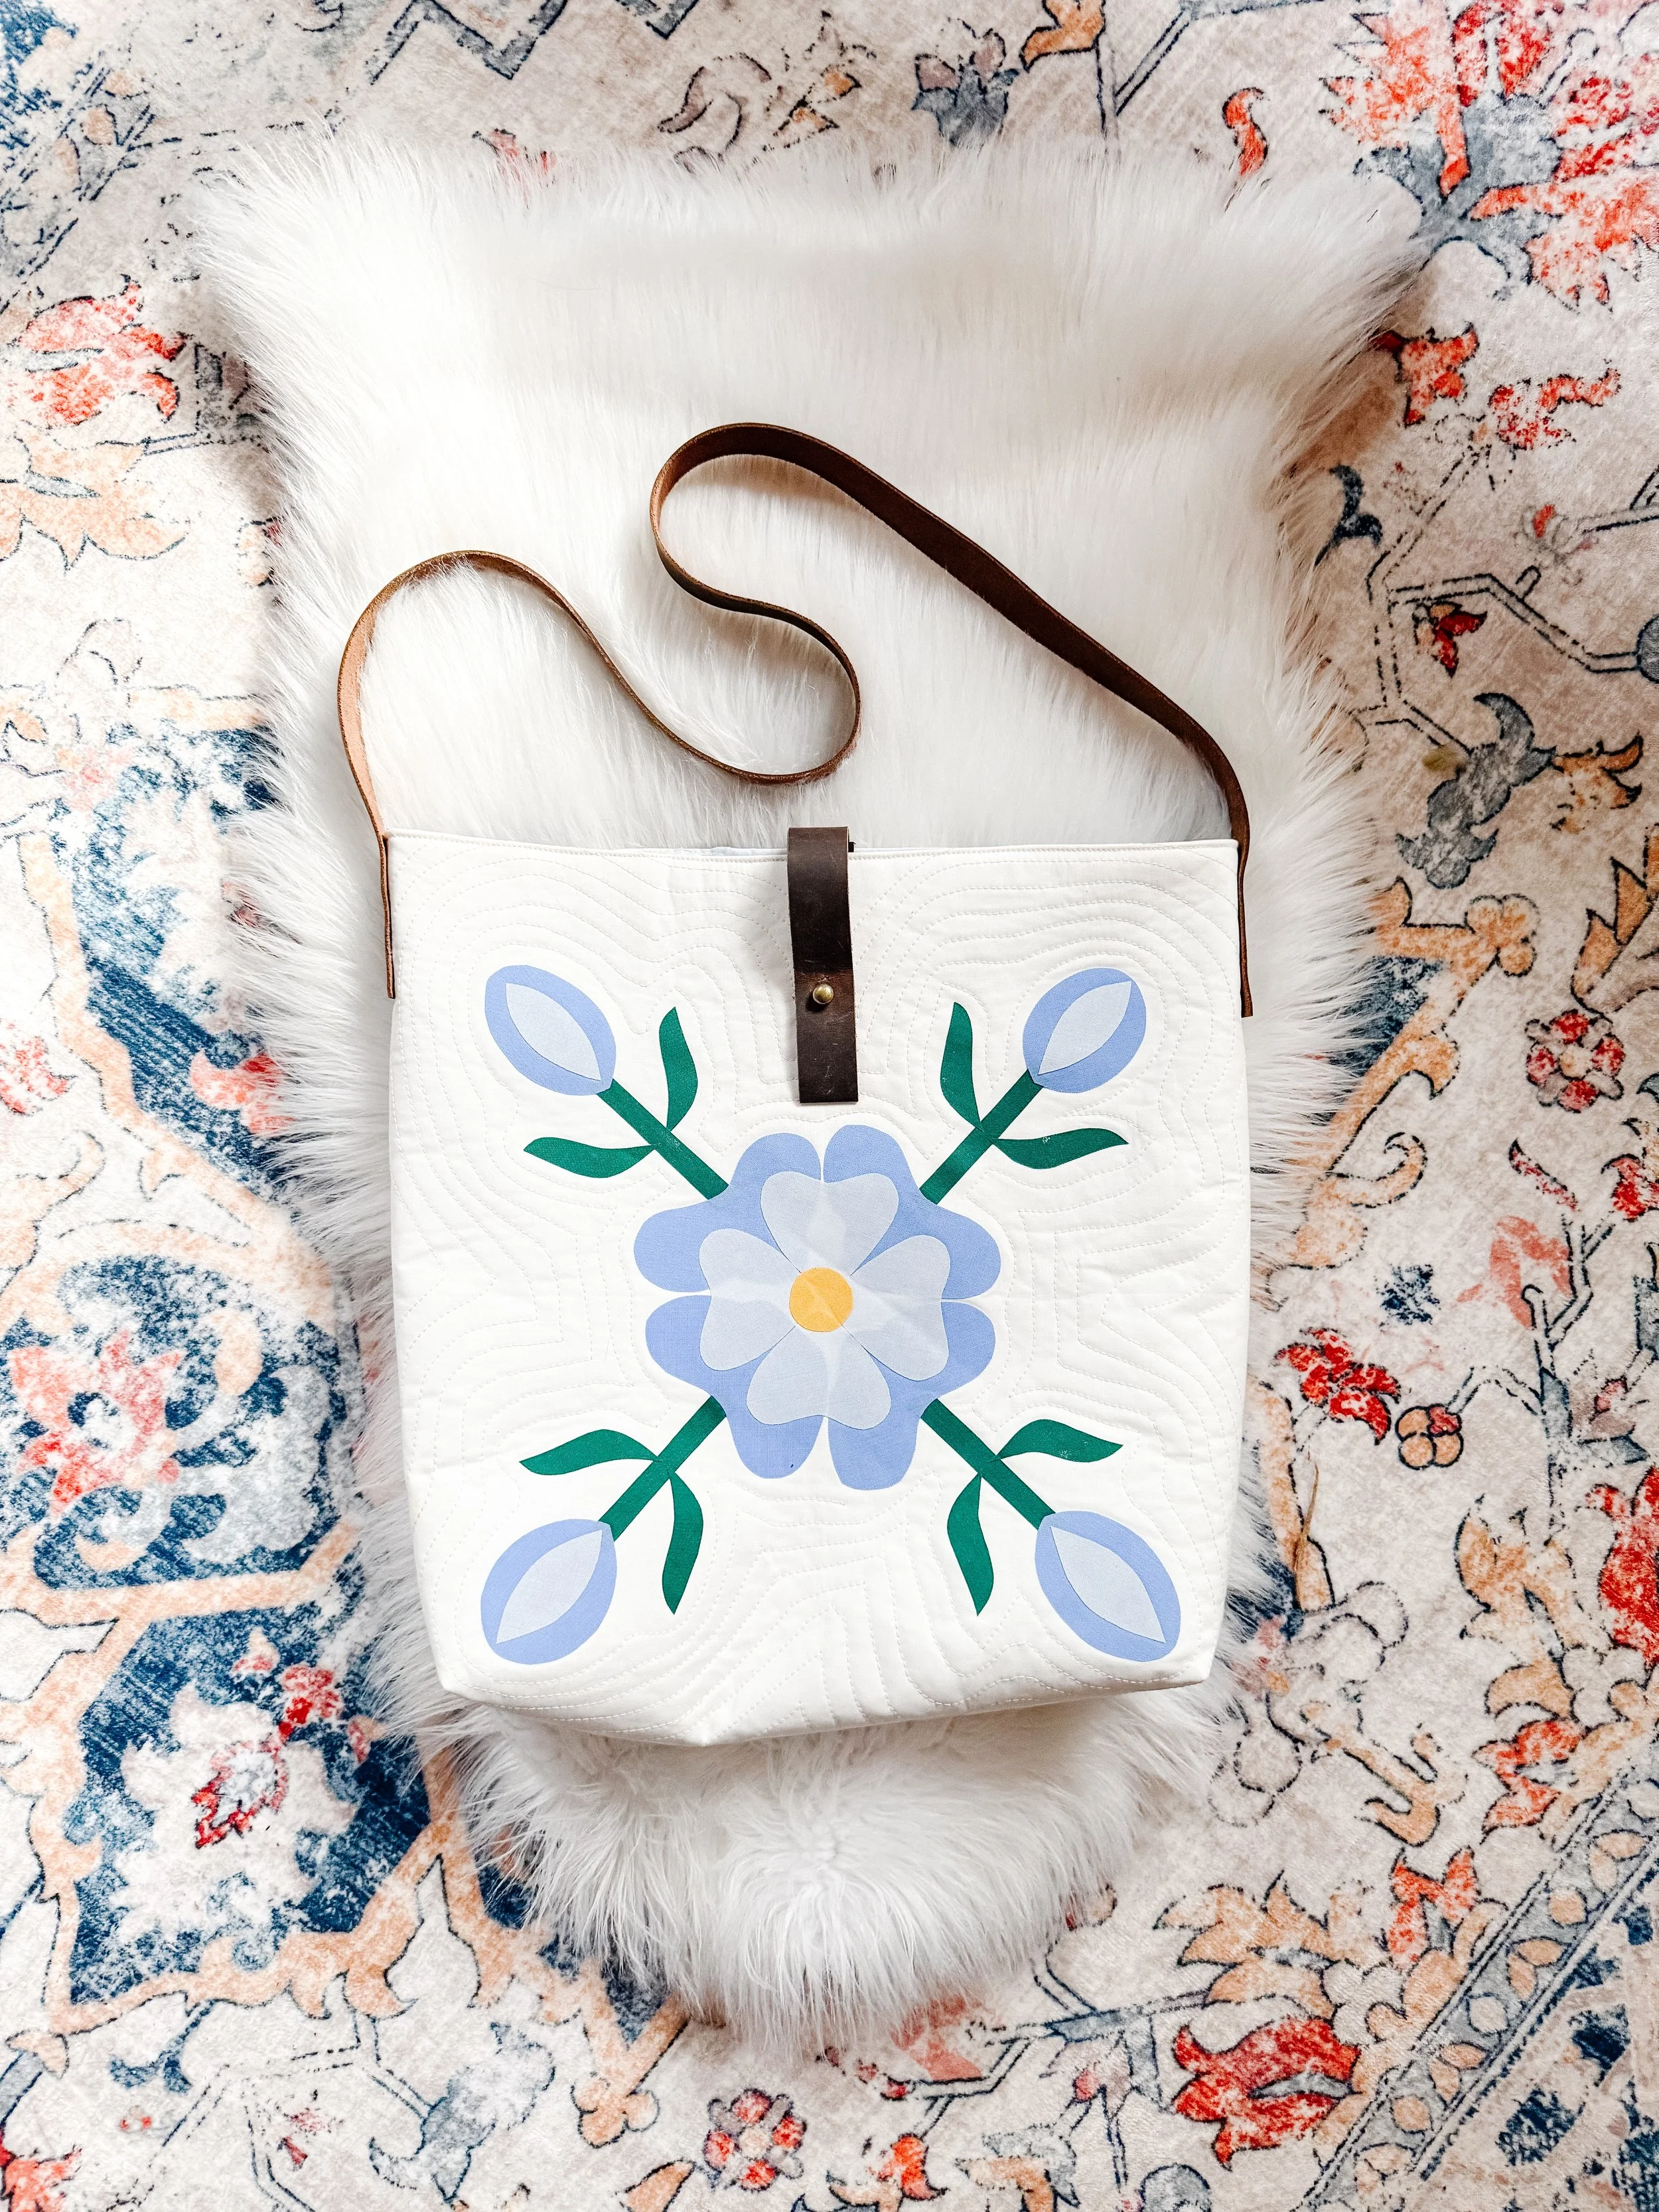
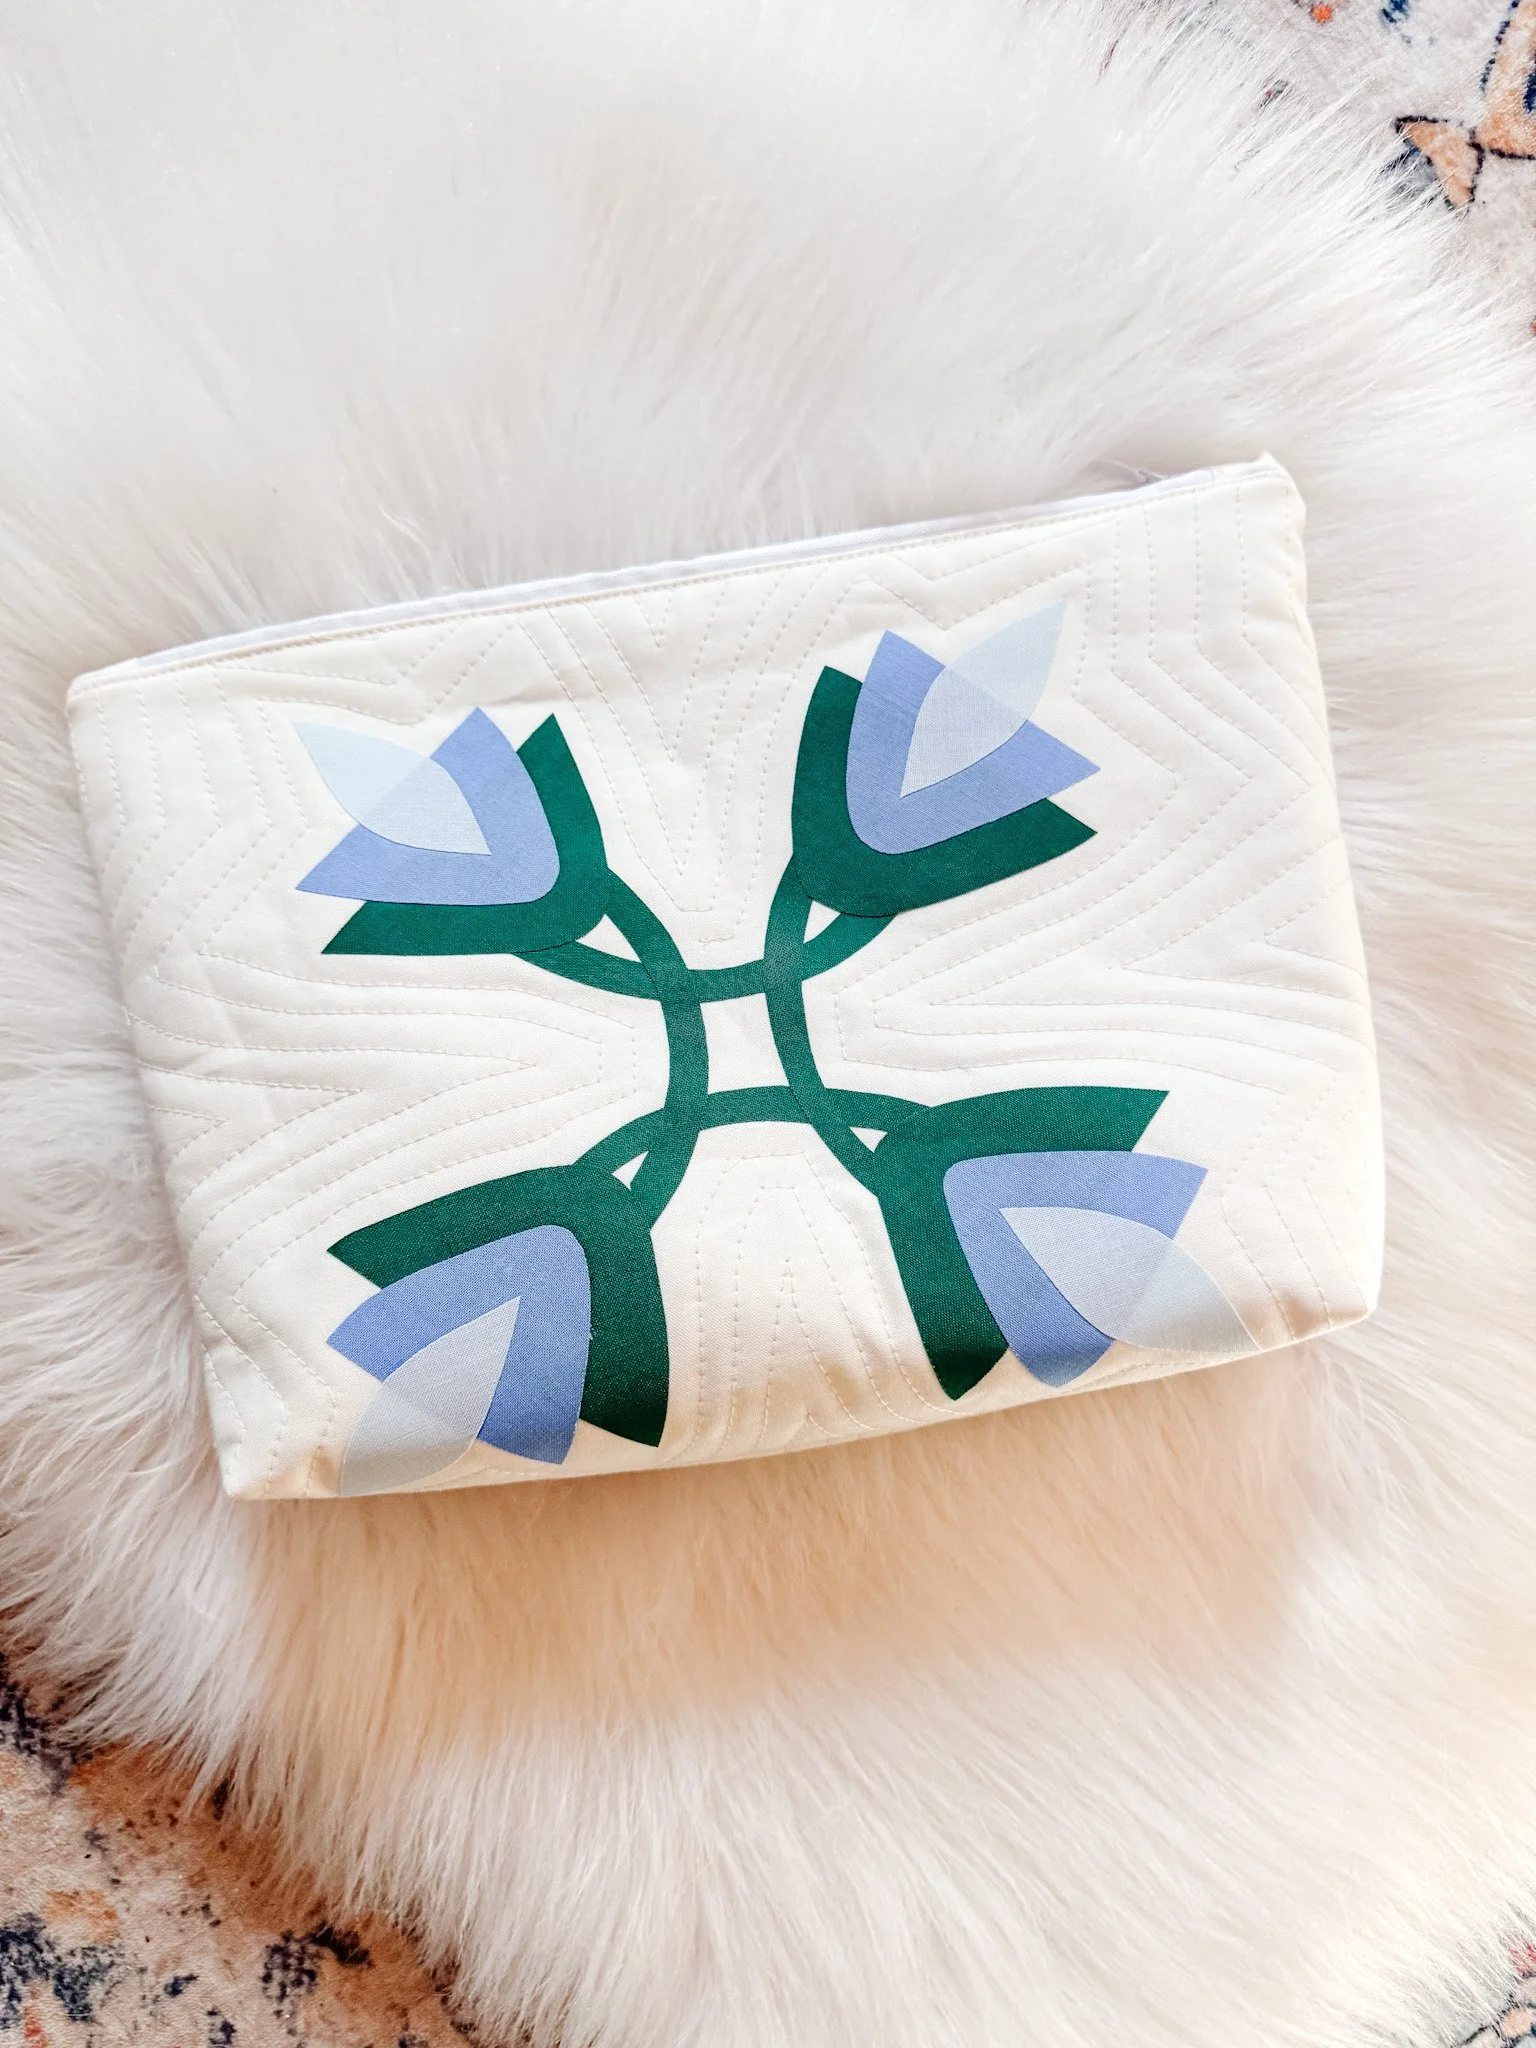
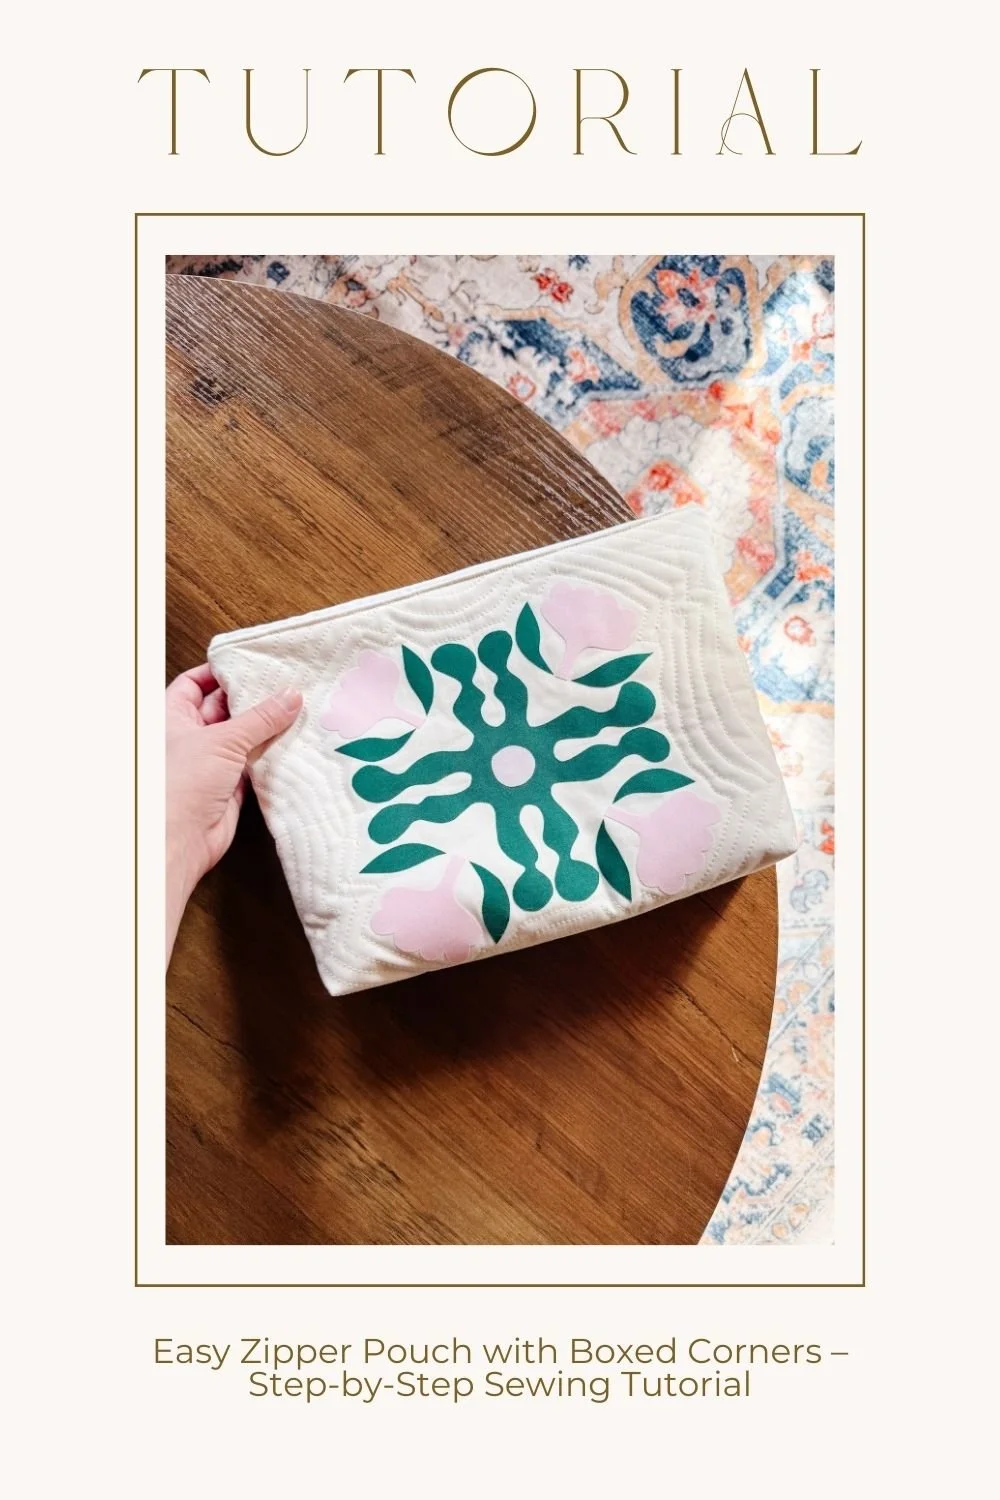
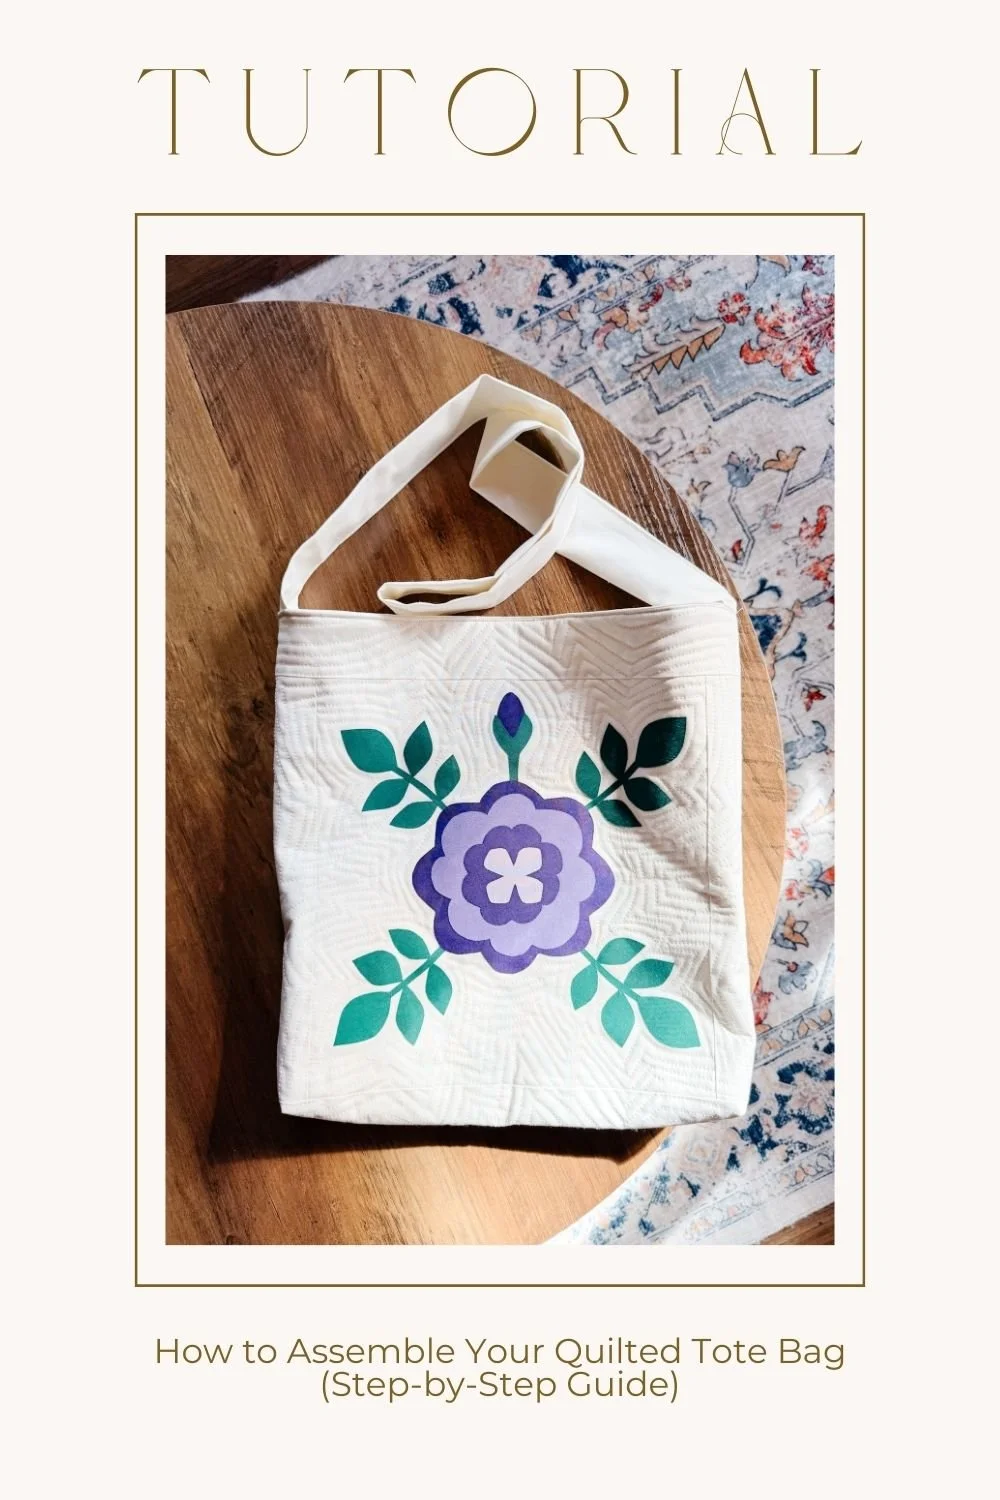
This is where things get really fun. Appliqué on something you actually use every day? It hits different. A floral tote, a little zipper pouch, something handmade that feels personal and a bit special every time you reach for it.
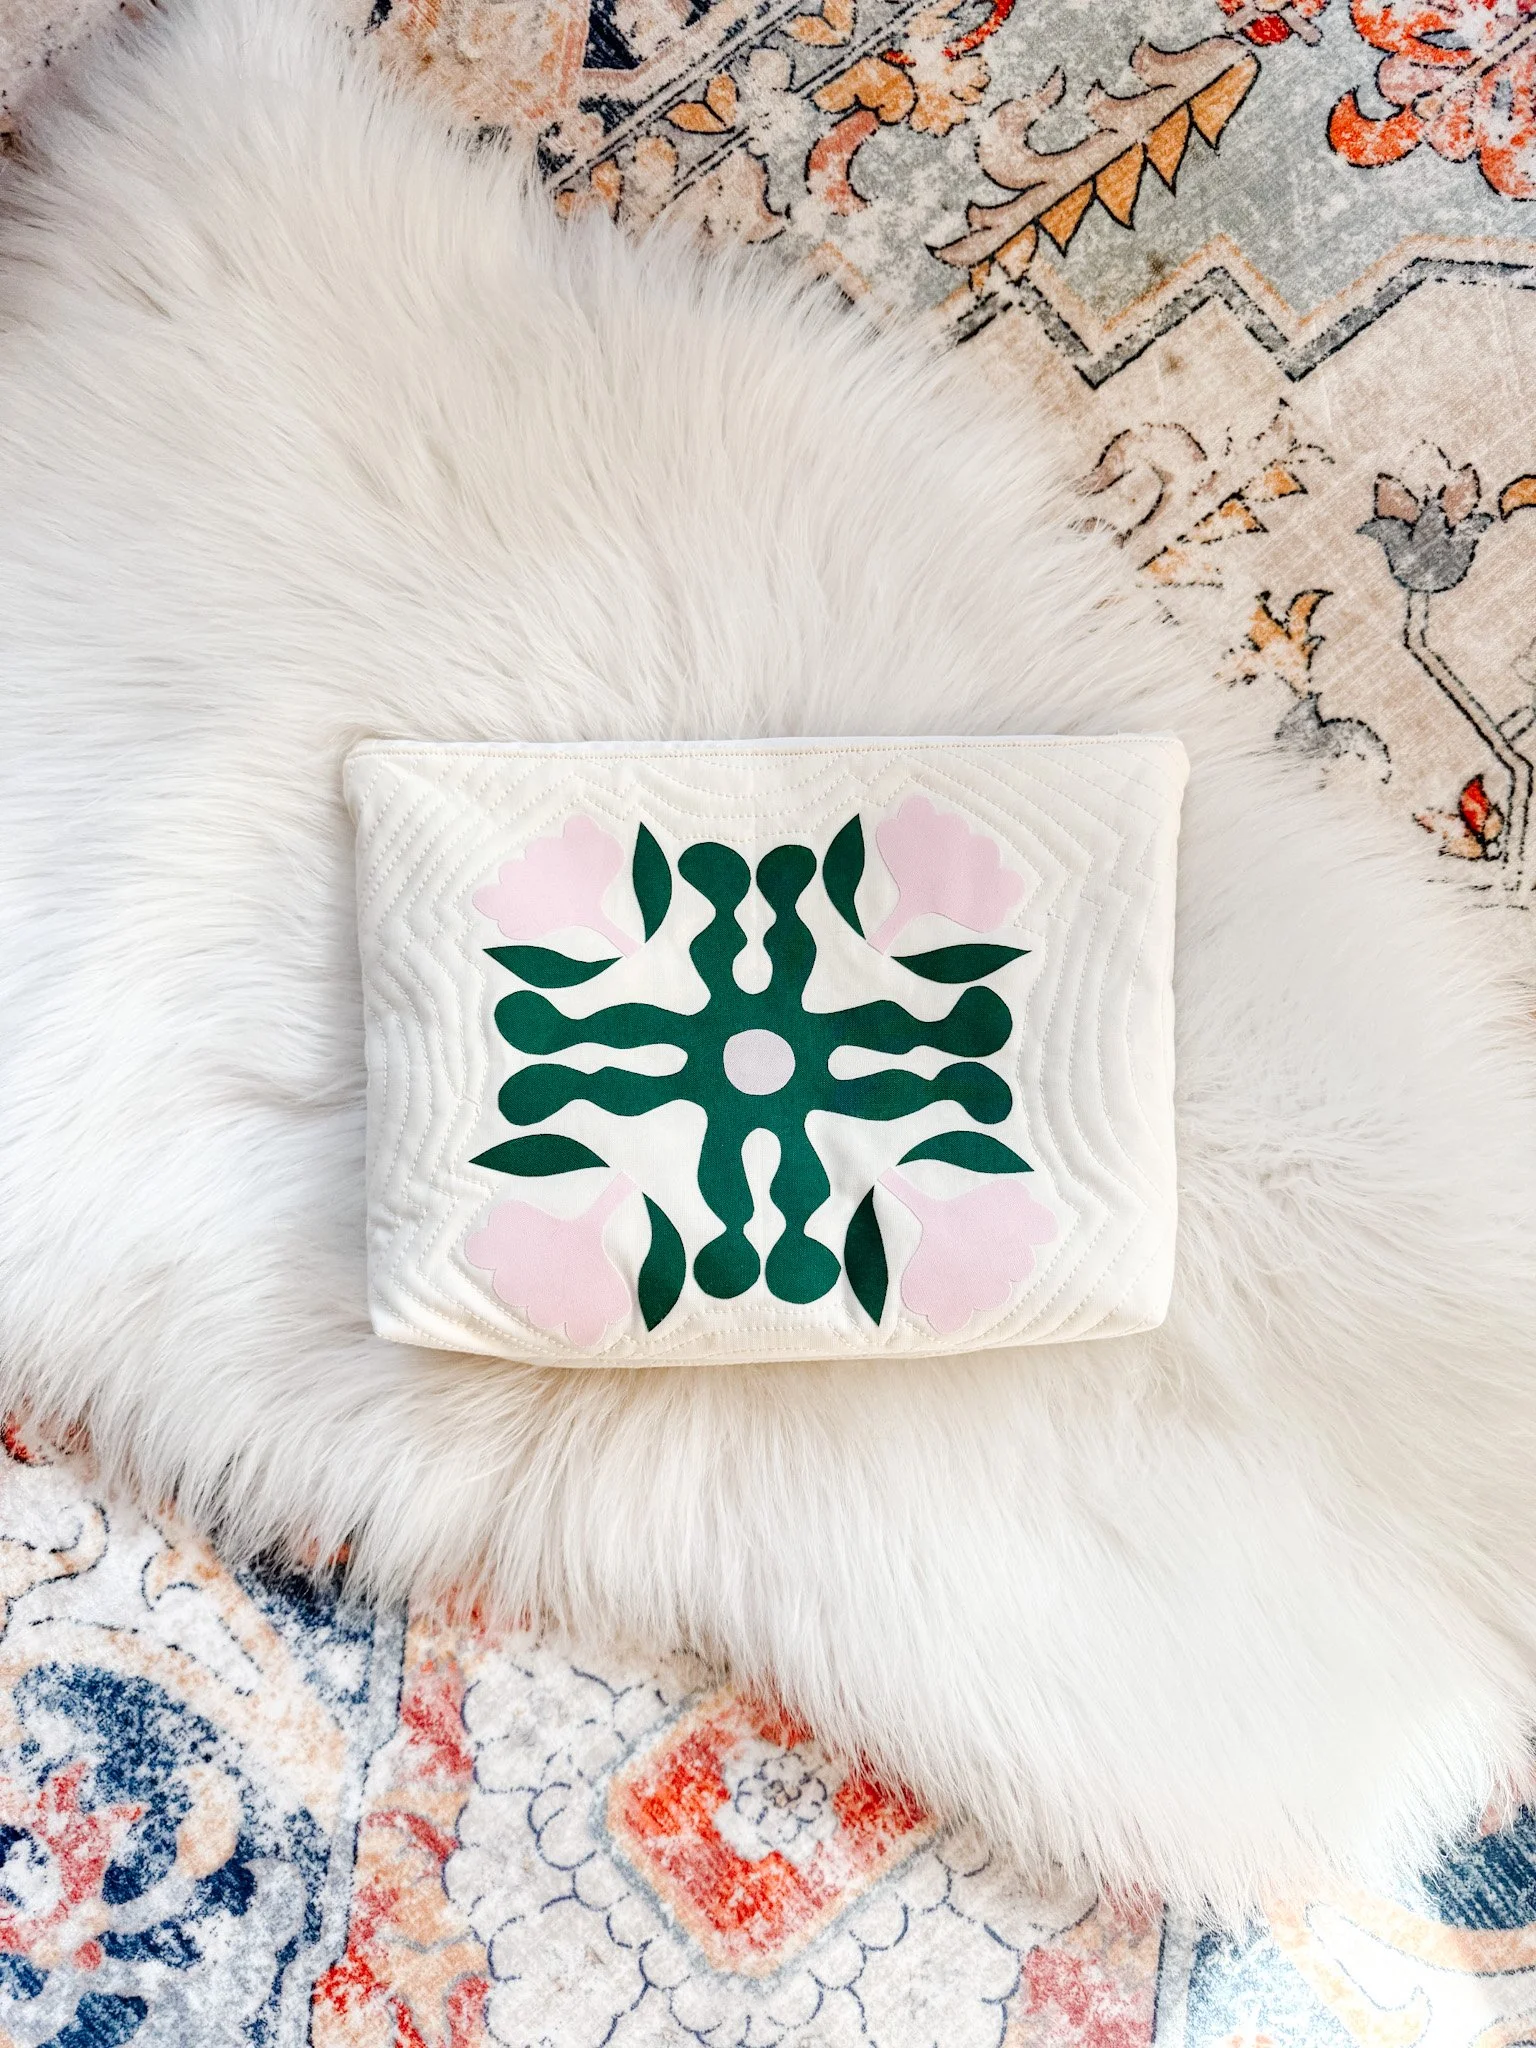
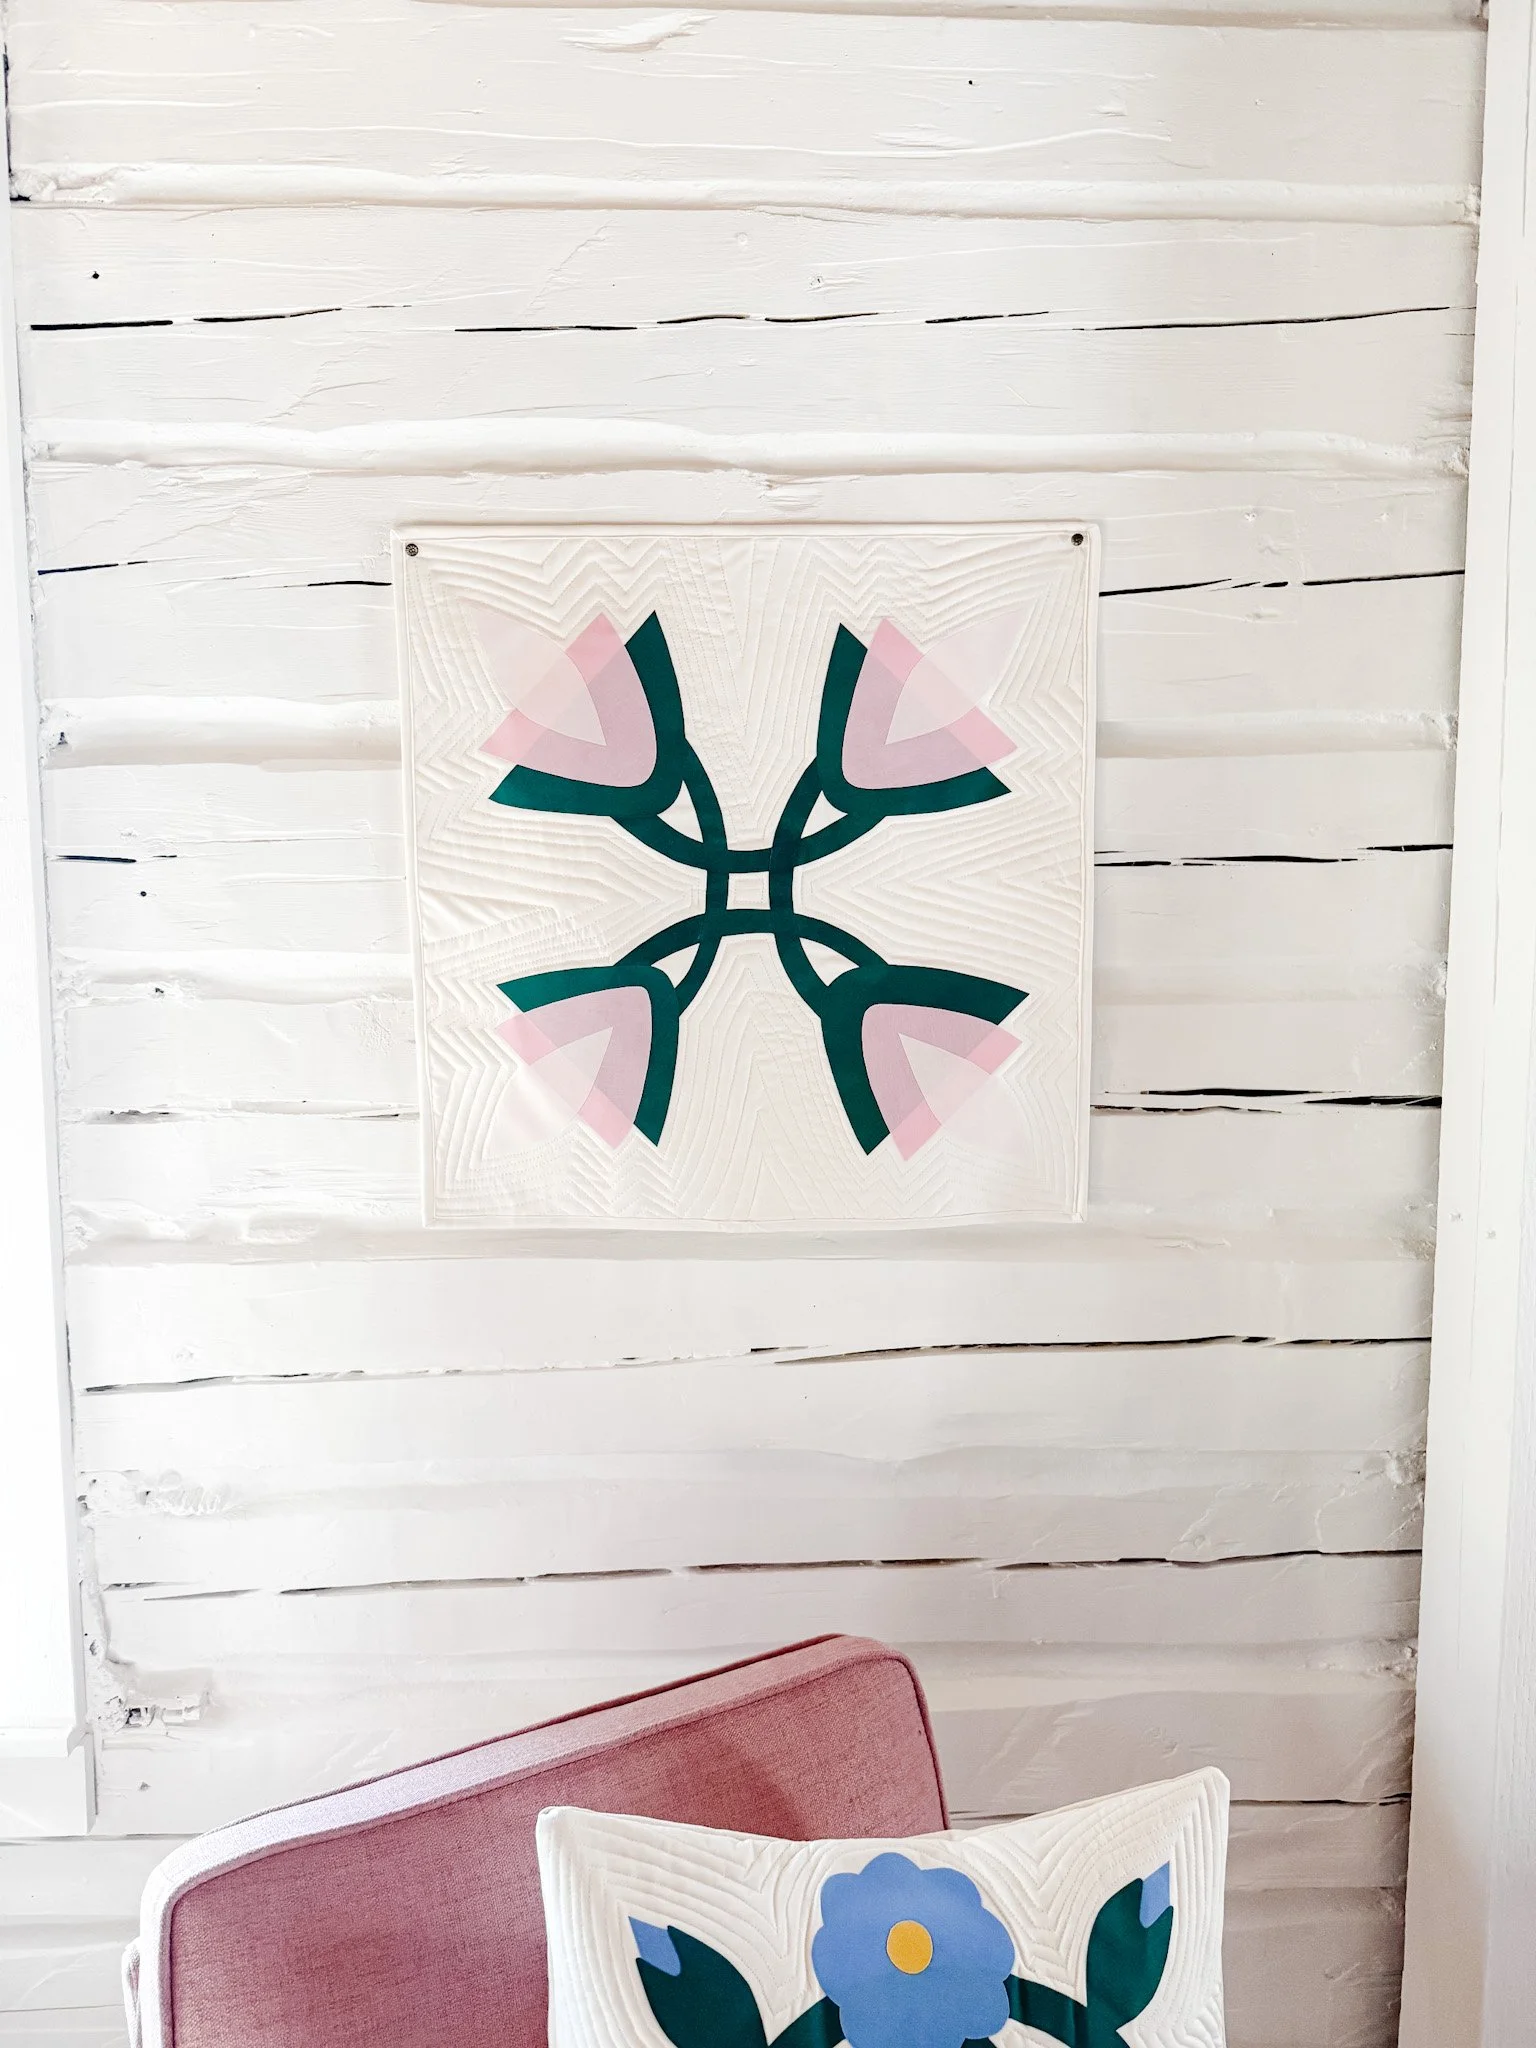
Wall hangings
These feel like little quiet pieces of art. Simple backgrounds, intentional shapes, nothing overworked. Just enough to bring warmth into a space. I love these for trying new designs or seasonal ideas without overcomplicating things.
Seasonal décor (bunnies, florals, holiday pieces)
This is where you can really lean into the playful side of appliqué. Soft spring florals, little bunnies, cozy holiday pieces… things you can bring out year after year. They don’t have to be perfect—they just have to feel like you.
Gifts (highly personal and handmade)
There’s something about giving an appliqué piece that feels different. You chose the fabrics. You placed every shape. You made something from nothing. Whether it’s a pillow, a bag, or a small wall hanging… it carries that story with it.
And that’s really what appliqué is about for me.
Not just what you make—but how it feels while you’re making it.
Conclusion
Appliqué quilting opens up a completely different side of quilting—one that’s creative, expressive, and honestly… a lot more approachable than people expect.
If you’ve ever felt intimidated by traditional piecing, this might be the path that actually gets you started. And that’s exactly why I teach raw edge fusible appliqué—it removes the overwhelm and lets you focus on the part that really matters: creating something beautiful with your hands.
Start simple. Let it be imperfect. And just see where it takes you.
If you’re ready to try it, I have beginner-friendly appliqué patterns and step-by-step tutorials waiting for you 💙
check out my fave quilting toolspin it for later