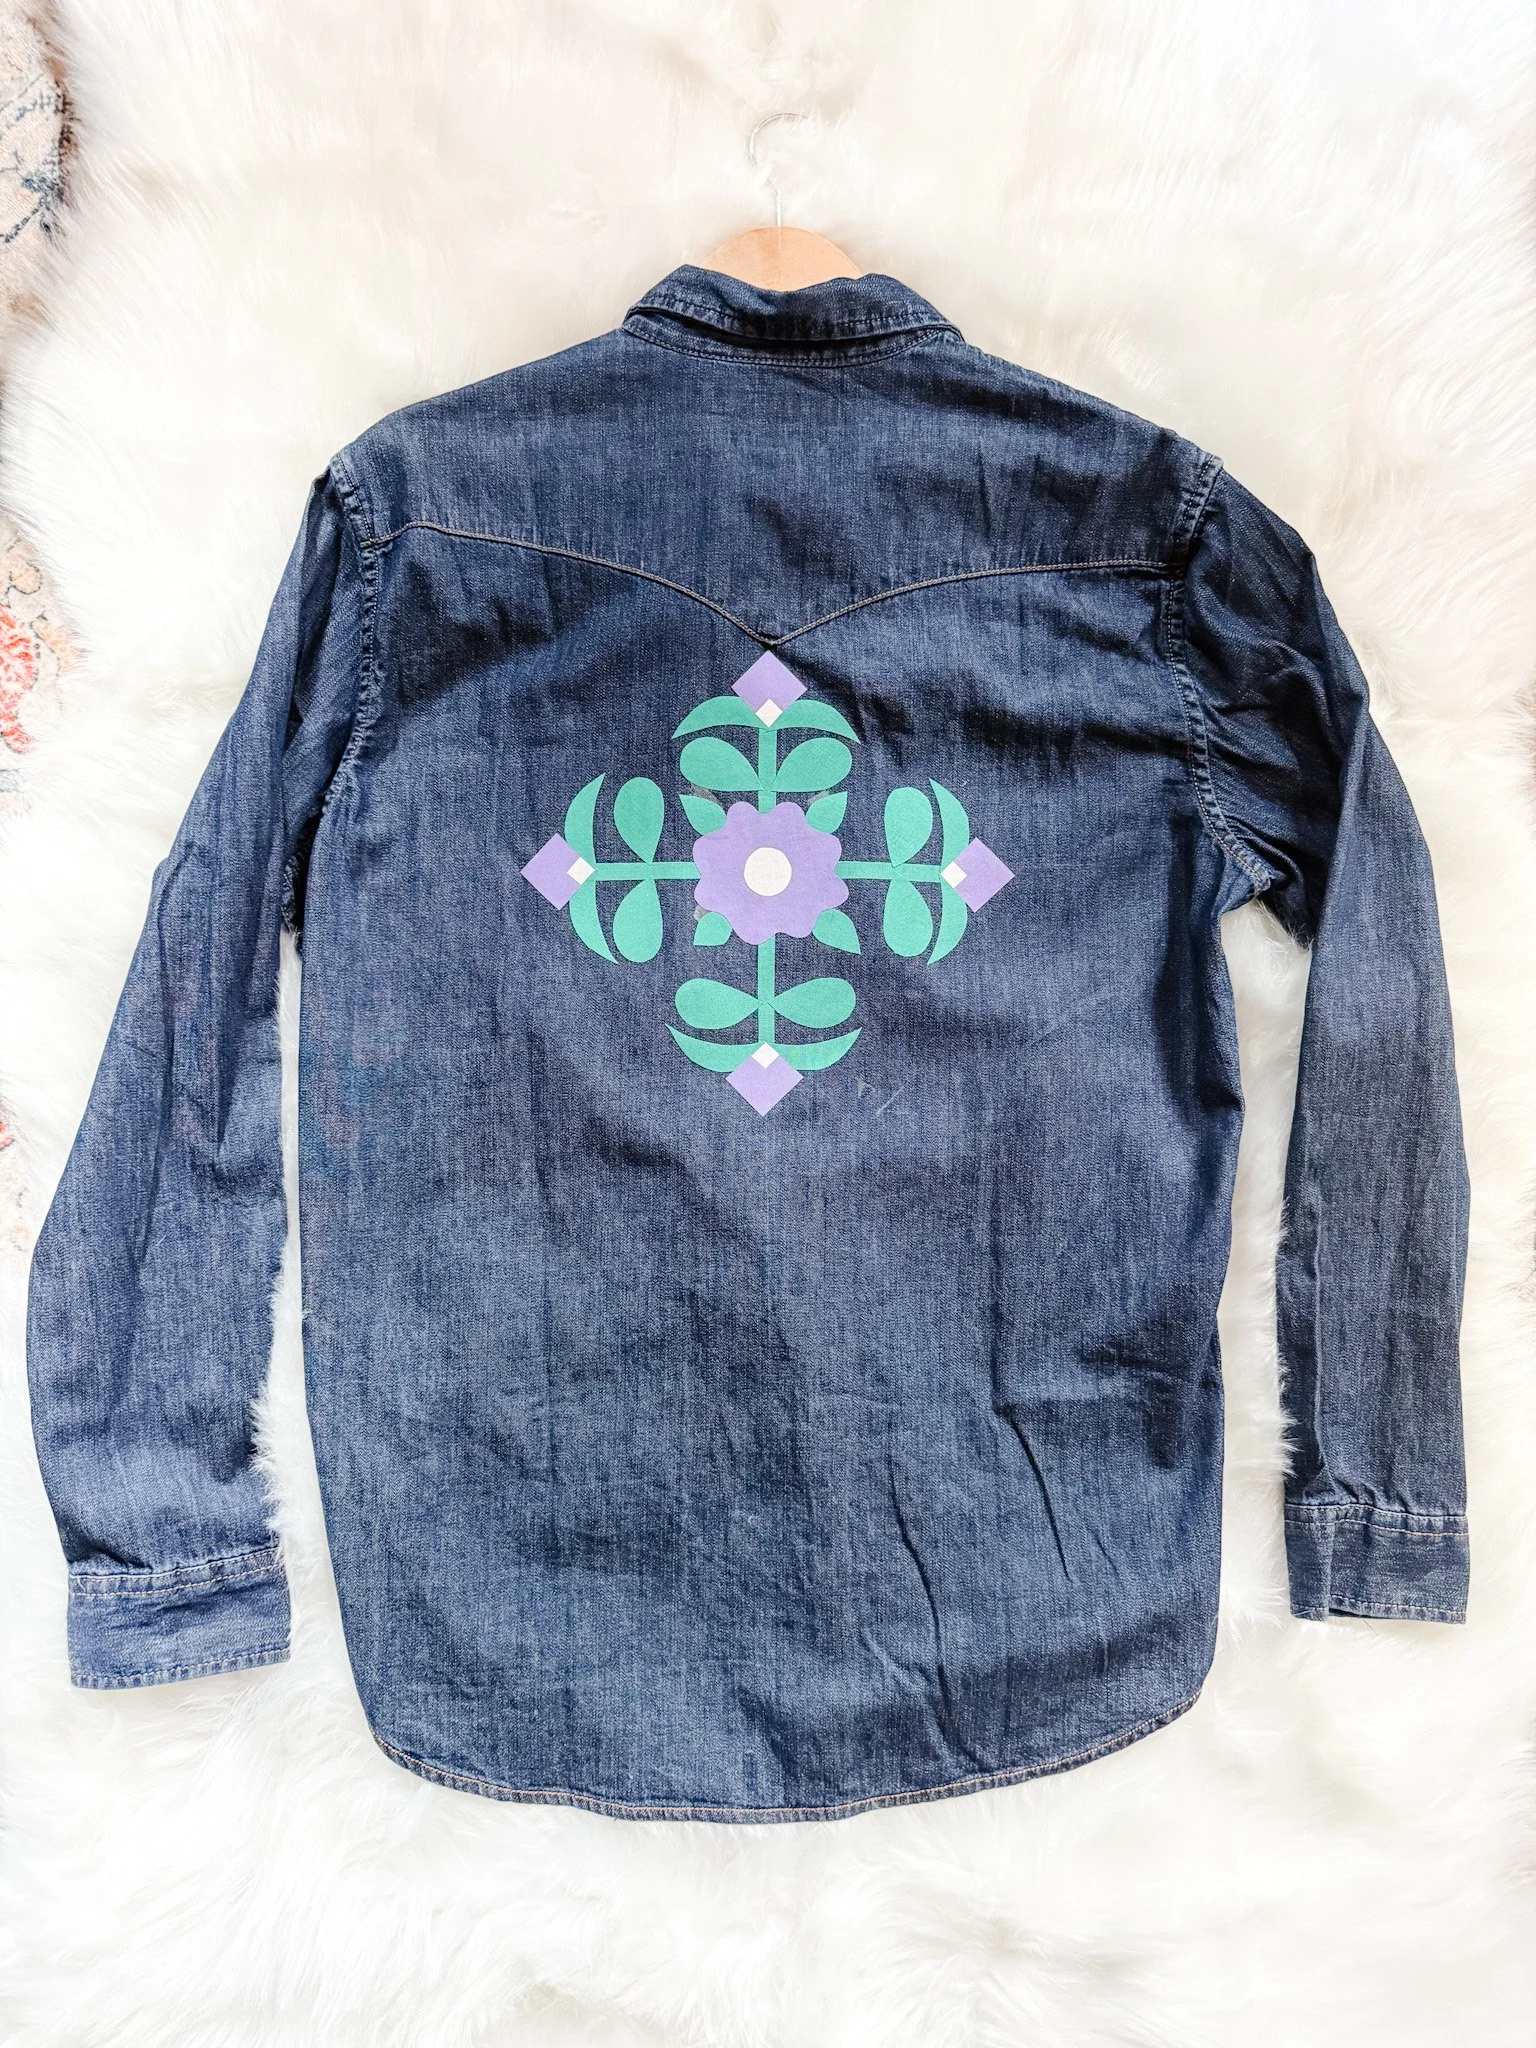
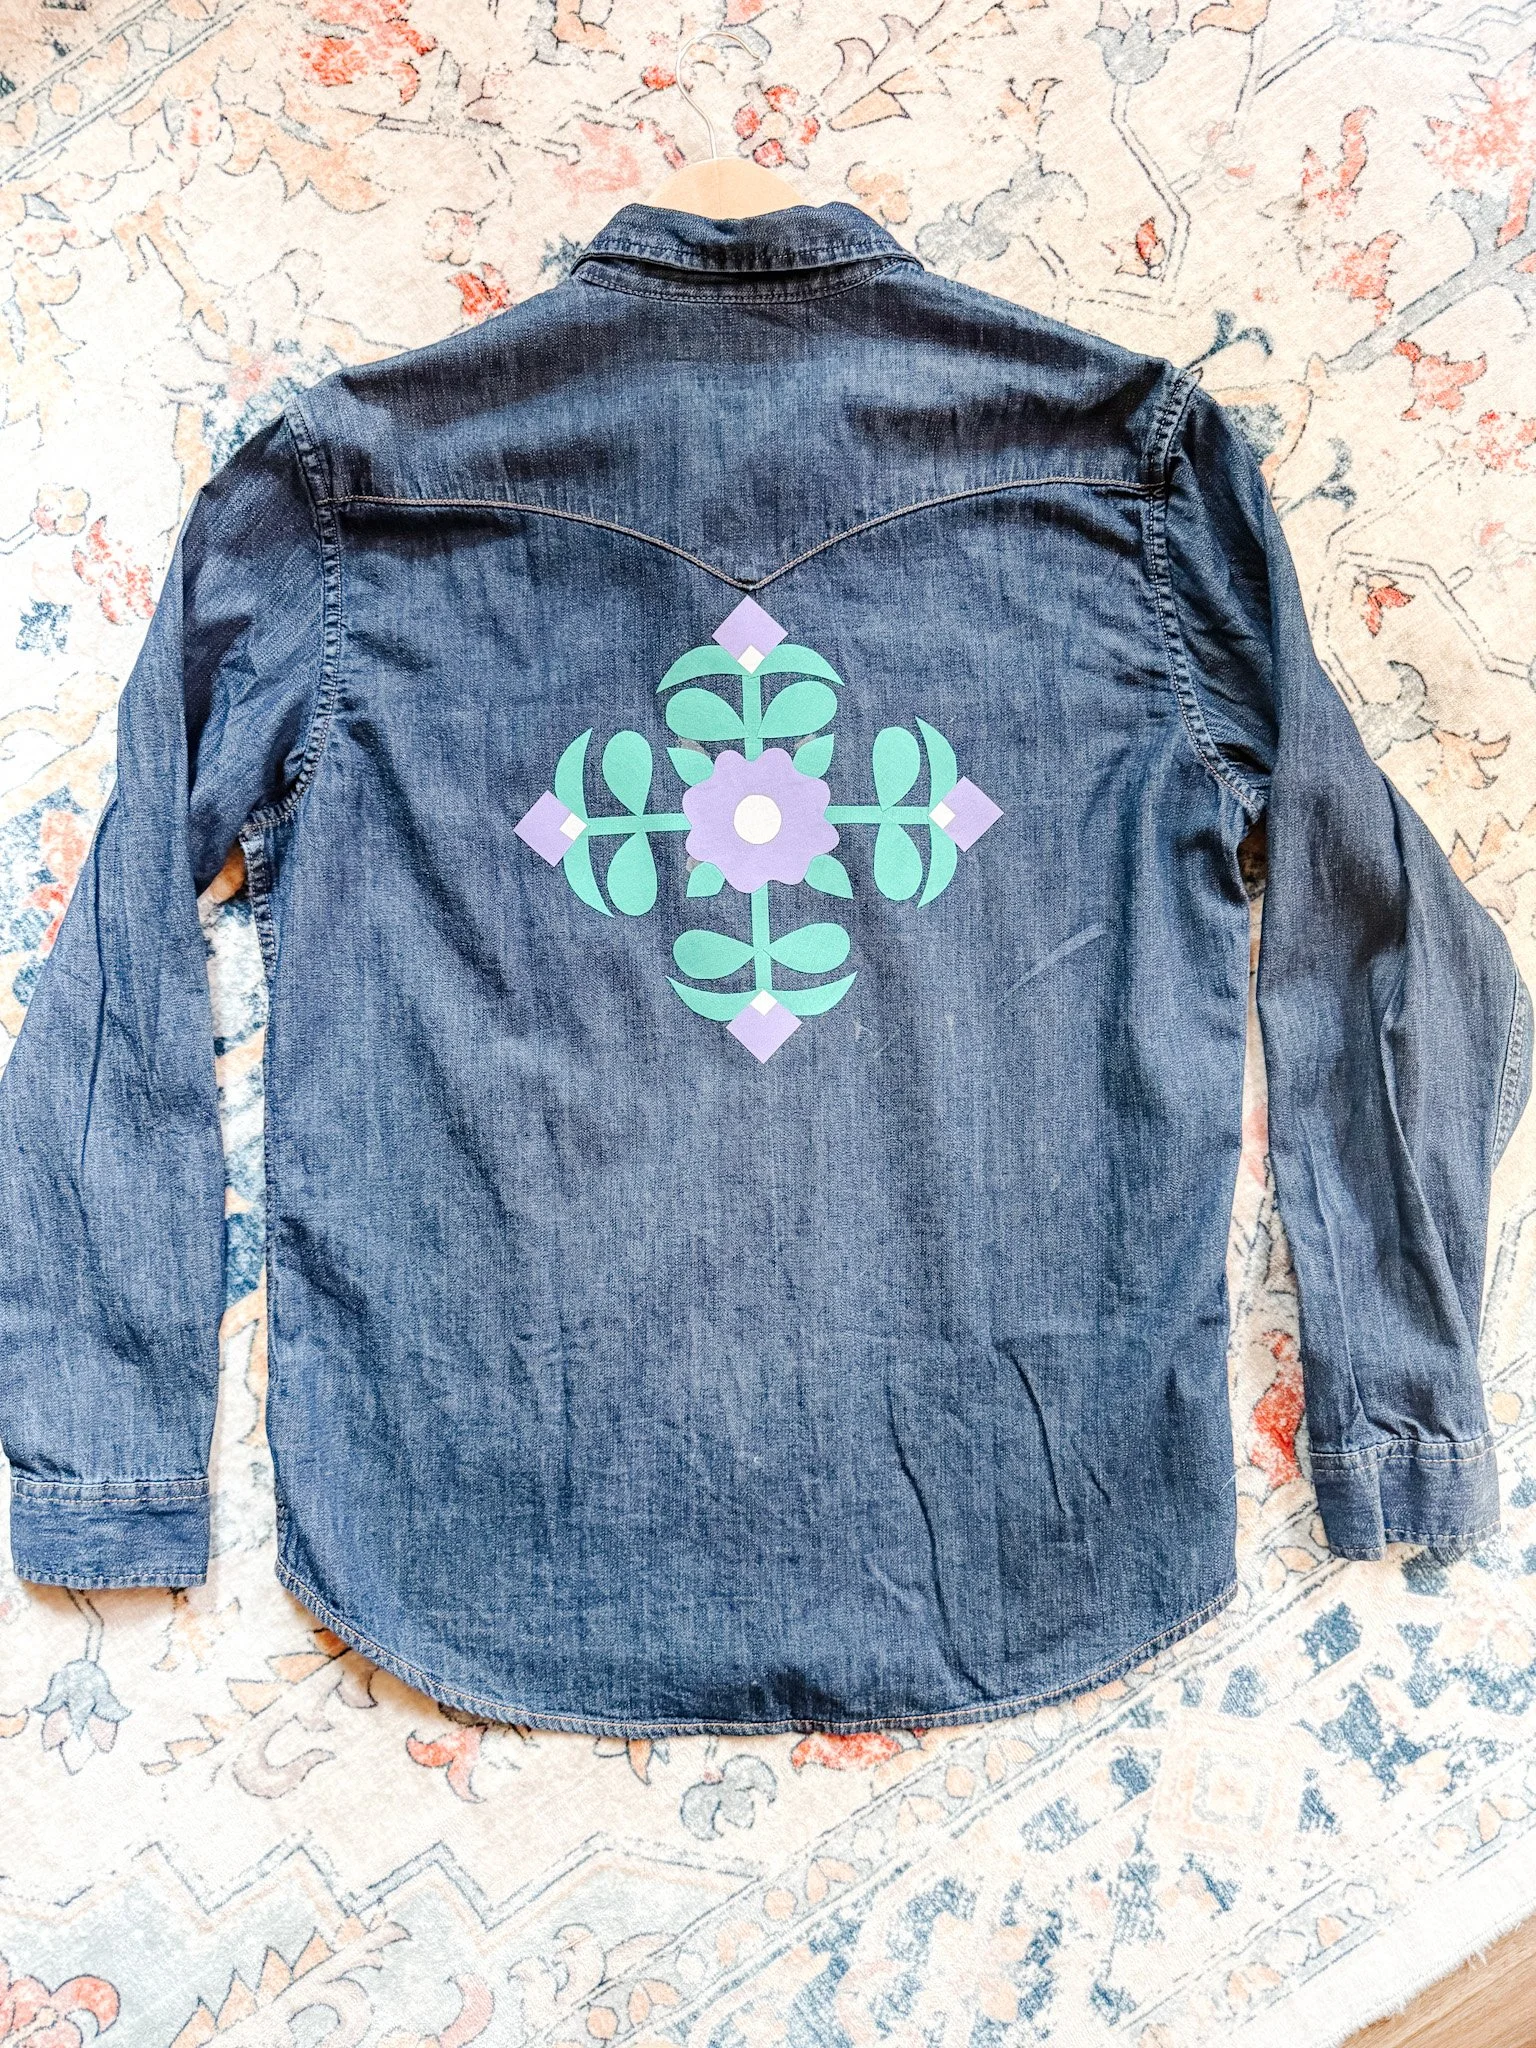
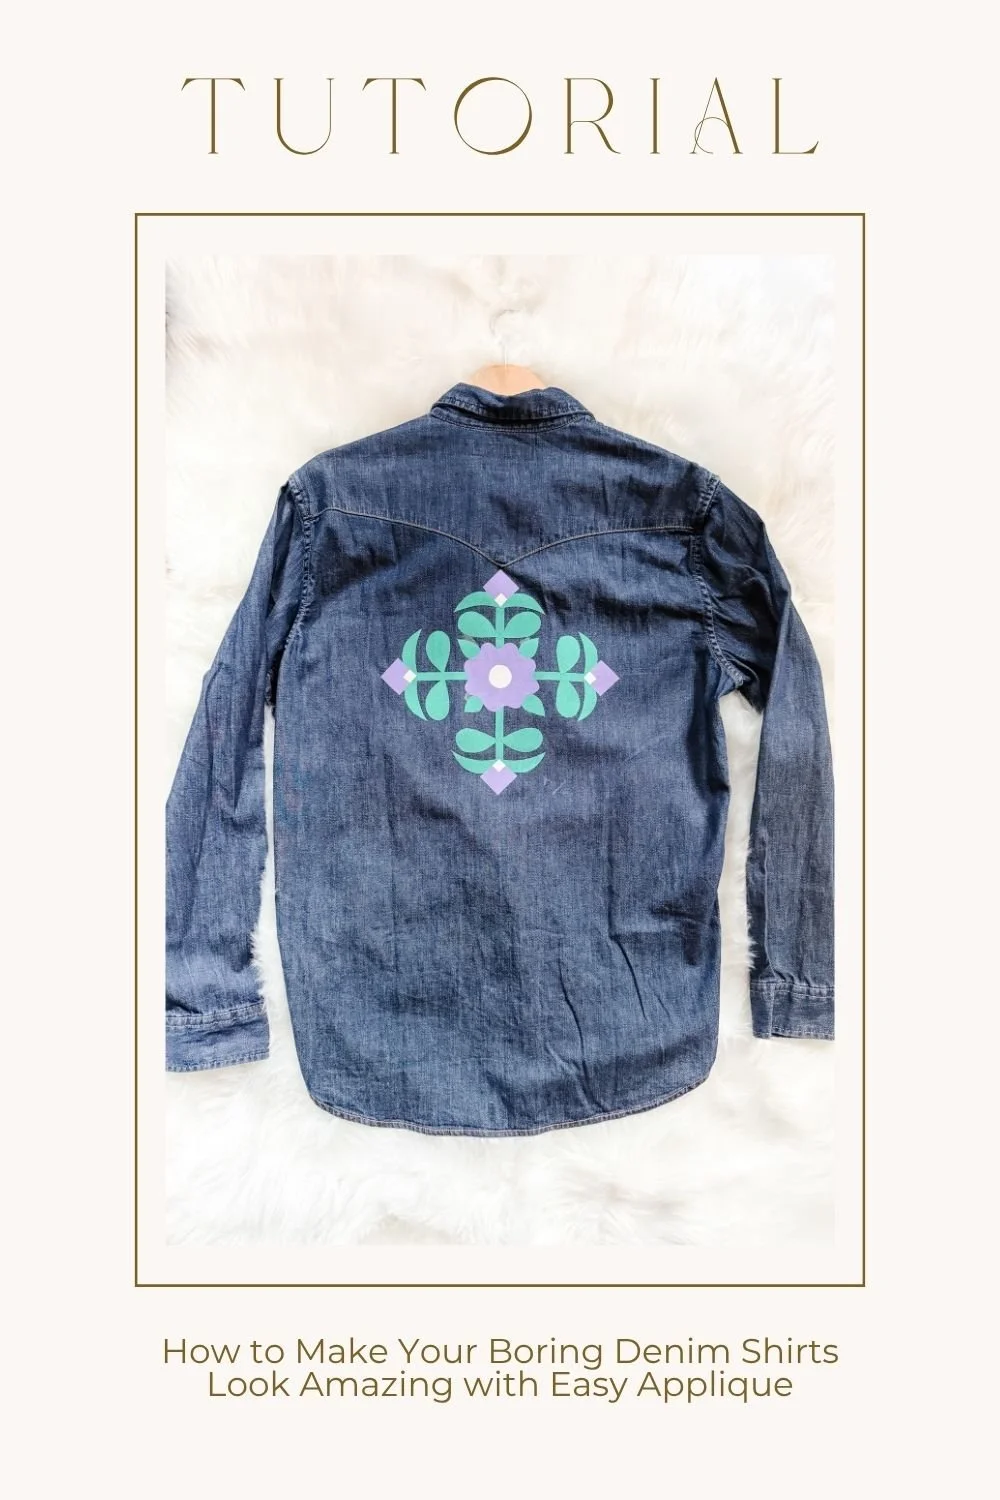
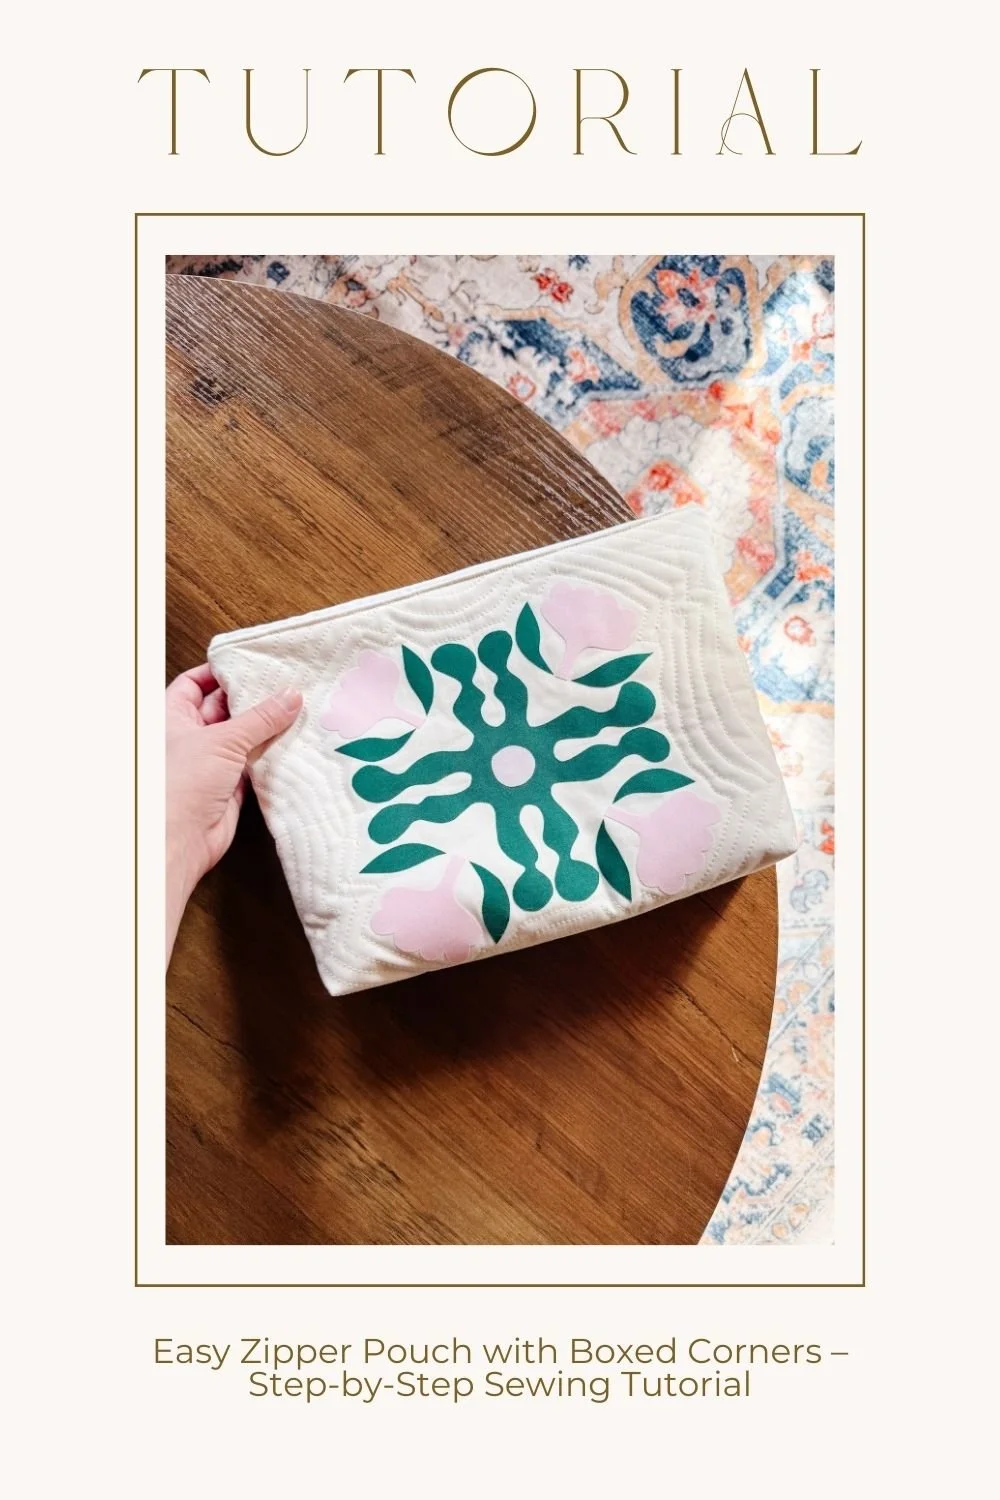
How to Make Your Boring Denim Shirts Look Amazing with Easy Applique
Learn how to transform a plain denim shirt with easy appliqué. Step-by-step tutorial using fusible web, simple placement, and beginner-friendly techniques.
I am so excited about this project because it’s one of those simple ideas that completely changes how something looks.
You know those denim shirts you have sitting around… the ones that feel a little plain, a little forgotten?
This is how you bring them back to life.
In this tutorial, I’m going to walk you through exactly how I take a basic denim shirt and turn it into something really special using appliqué — no complicated techniques, no overwhelm. Just a beautiful, step-by-step process that feels creative and fun from start to finish.
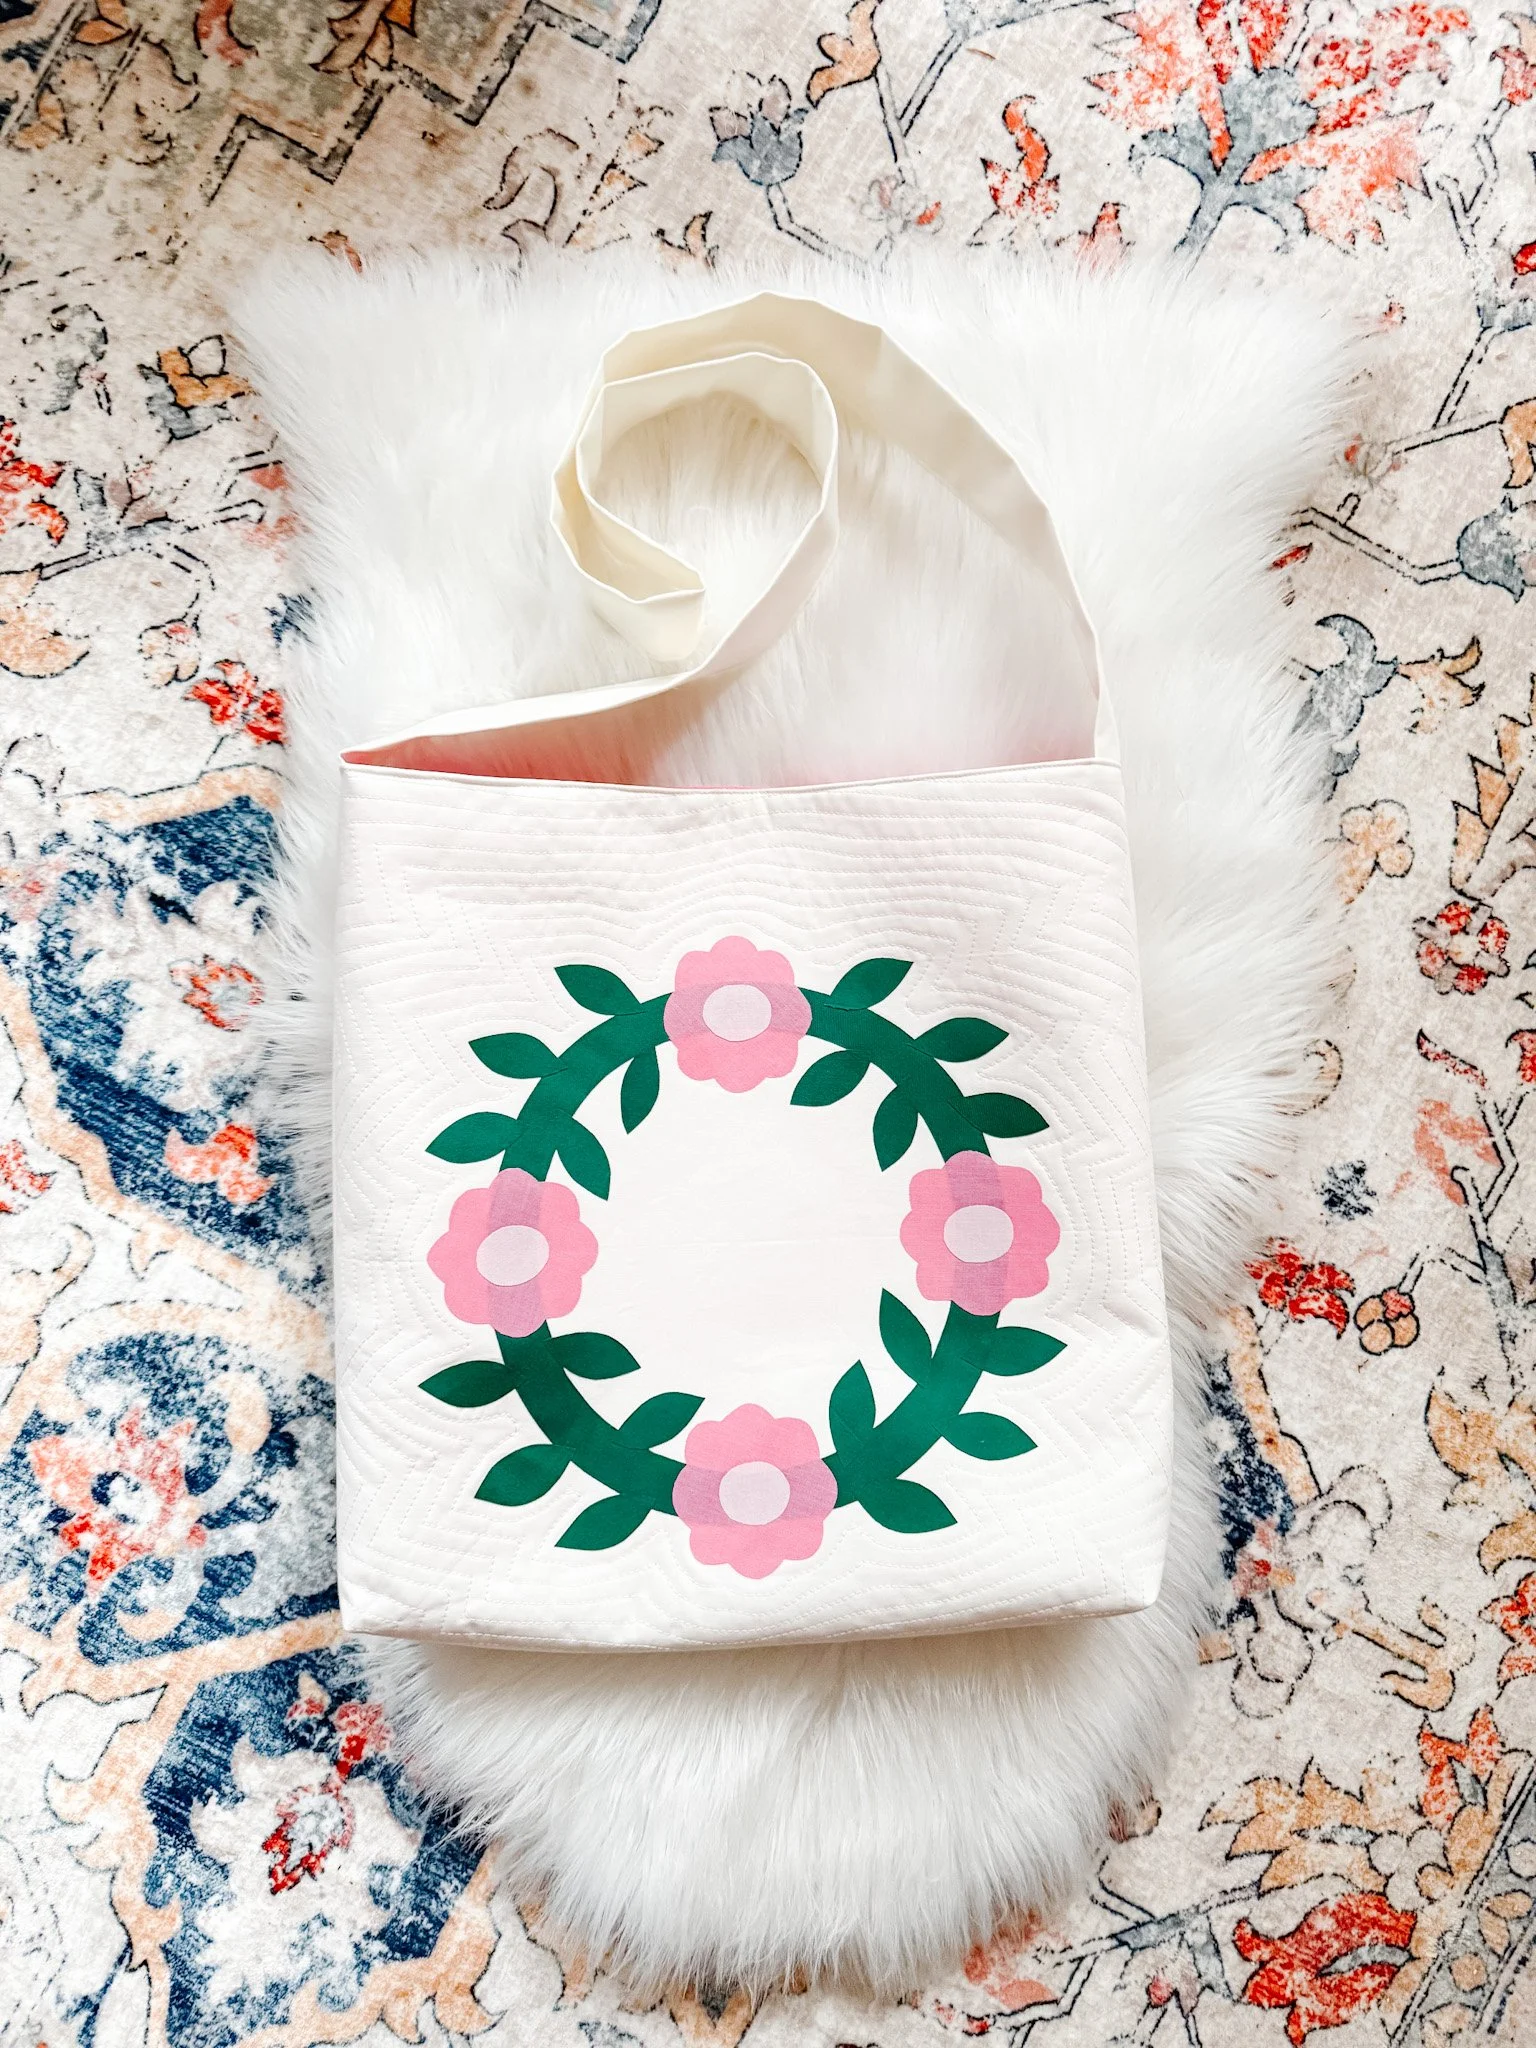
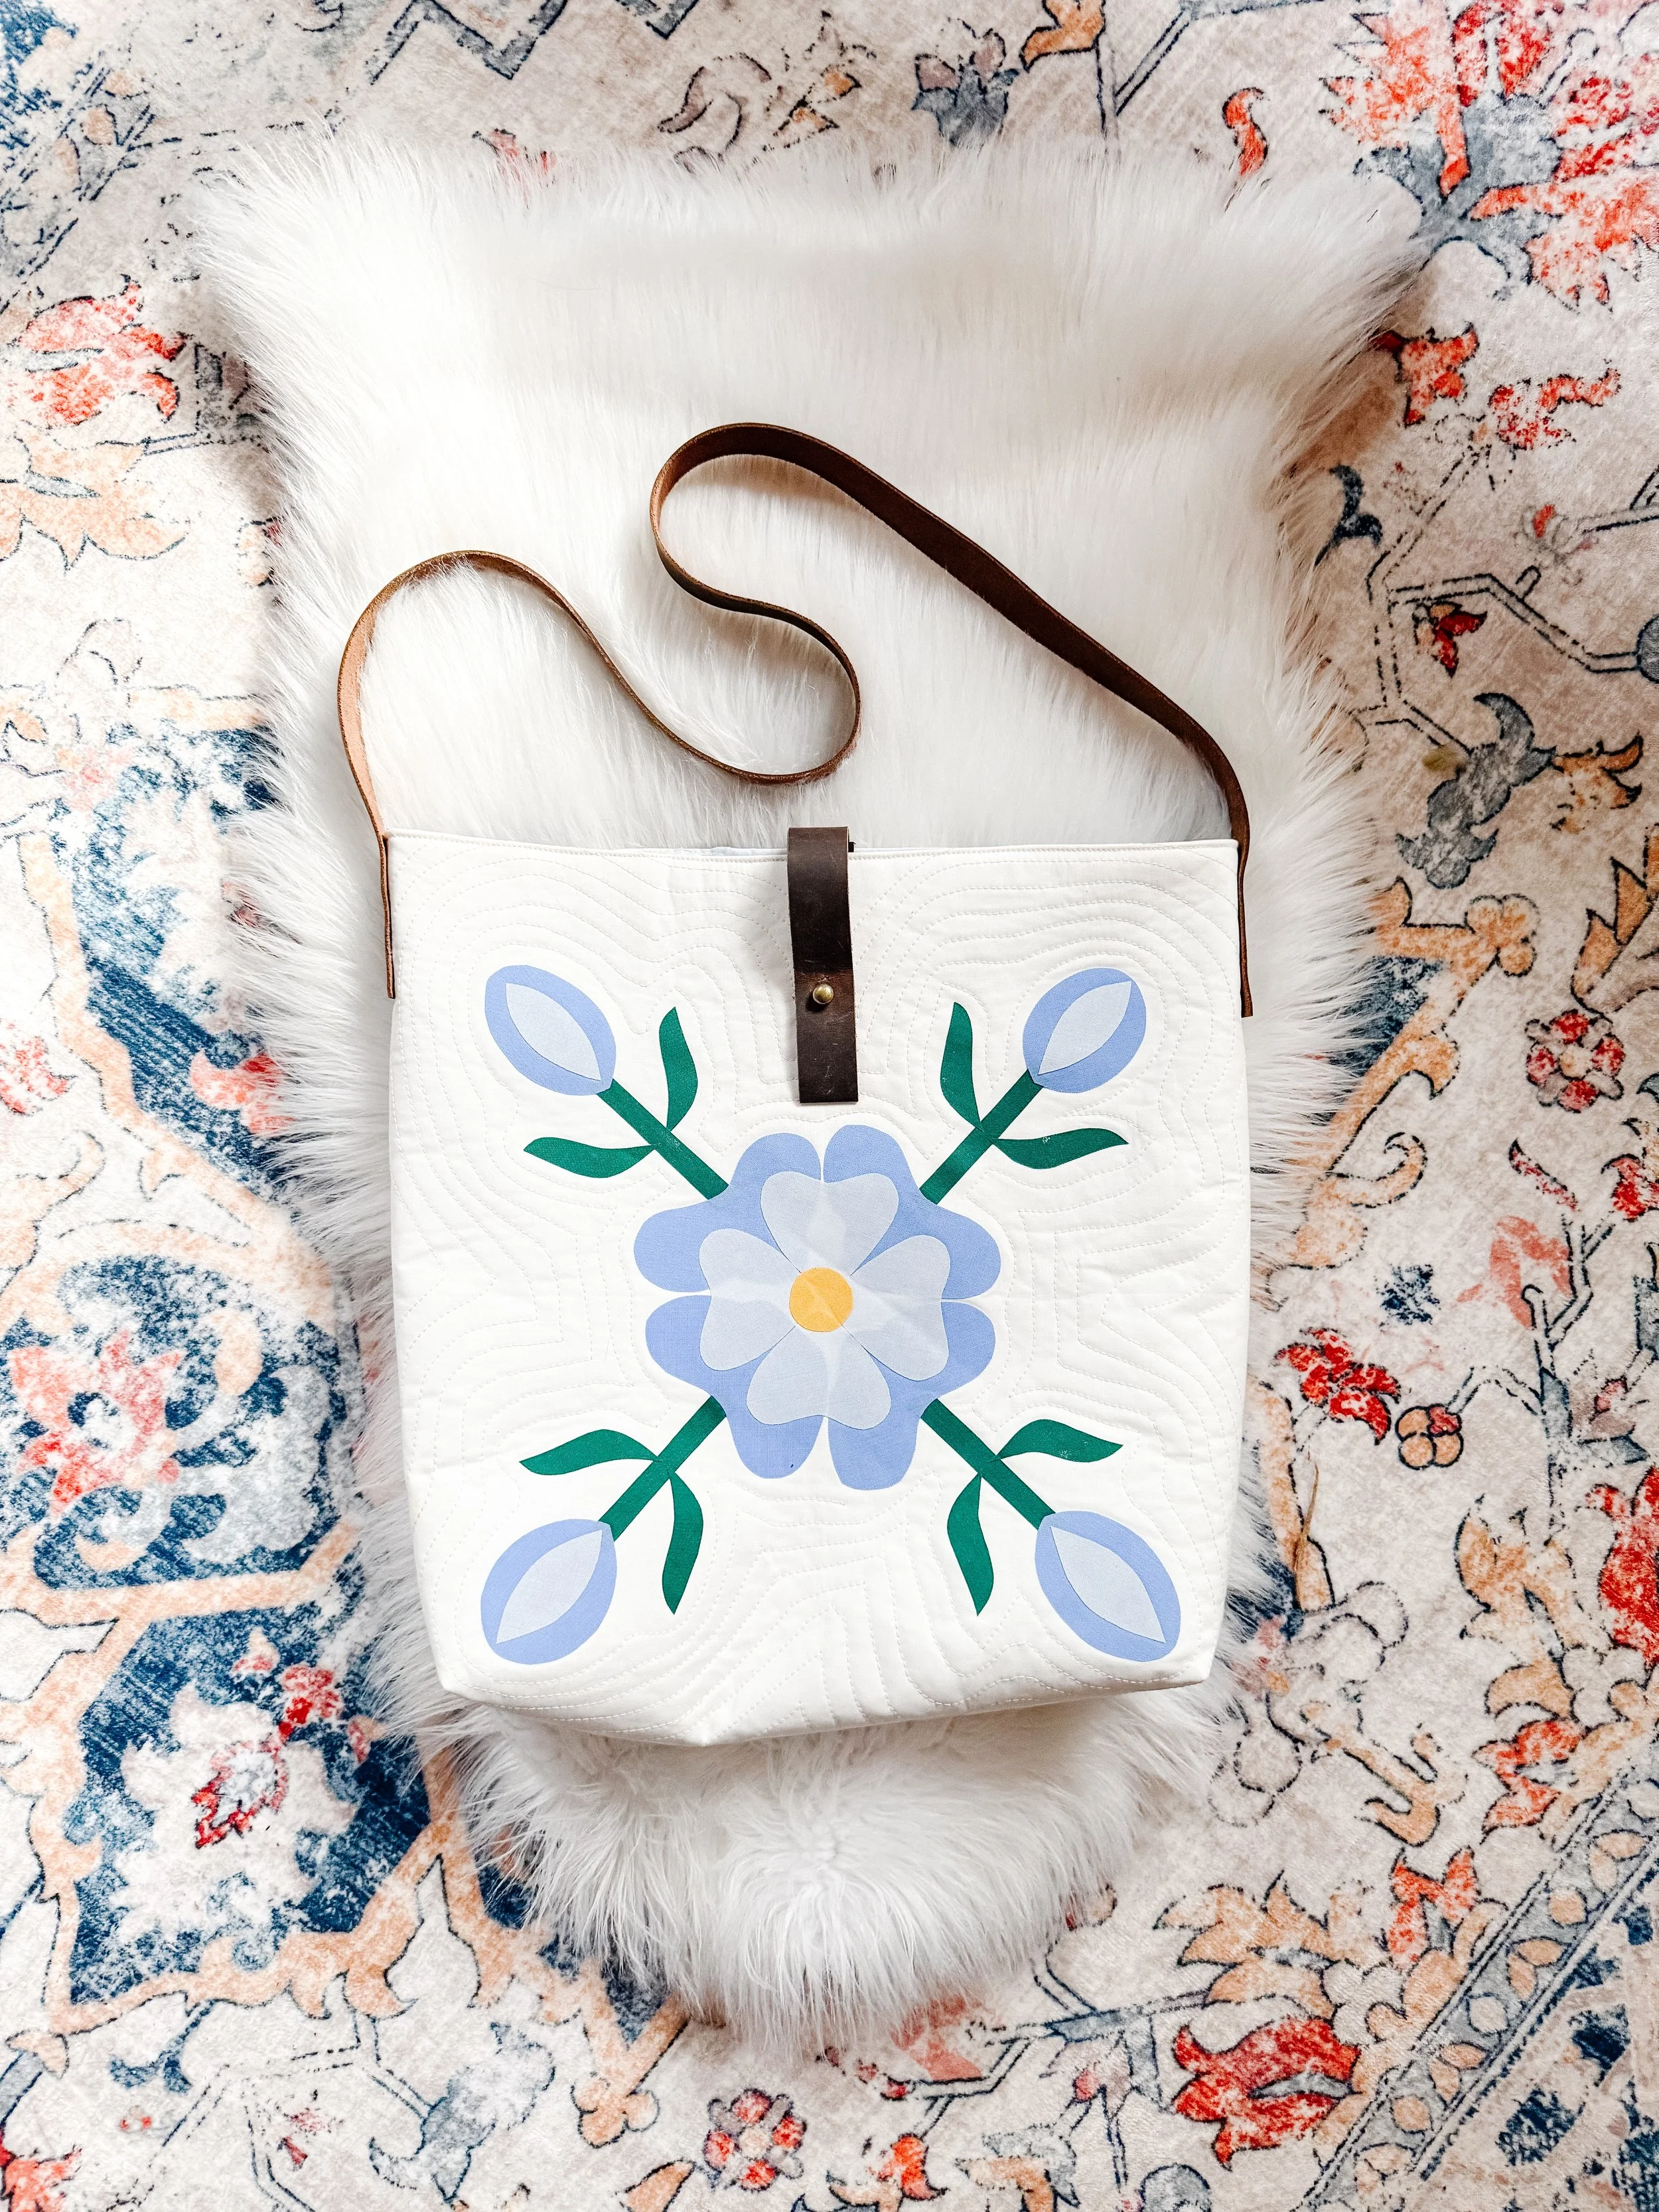
Downloadable PDF pattern to create a floral appliqué design for a shirt back (12" x 12" motif).
Includes step-by-step instructions, diagrams, templates, and layout guidance.
QUICK DETAILS
Format: Digital PDF download (no physical item shipped)
Skill level: Confident Beginner
Finished size: 12" x 12" appliqué motif
Techniques: Raw edge fusible appliqué, garment placement, stitching
Includes: Instructions, diagrams, templates, layout, finishing steps
Assumptions: ¼″ seam allowance, 42″ usable WOF
ABOUT THE PATTERN
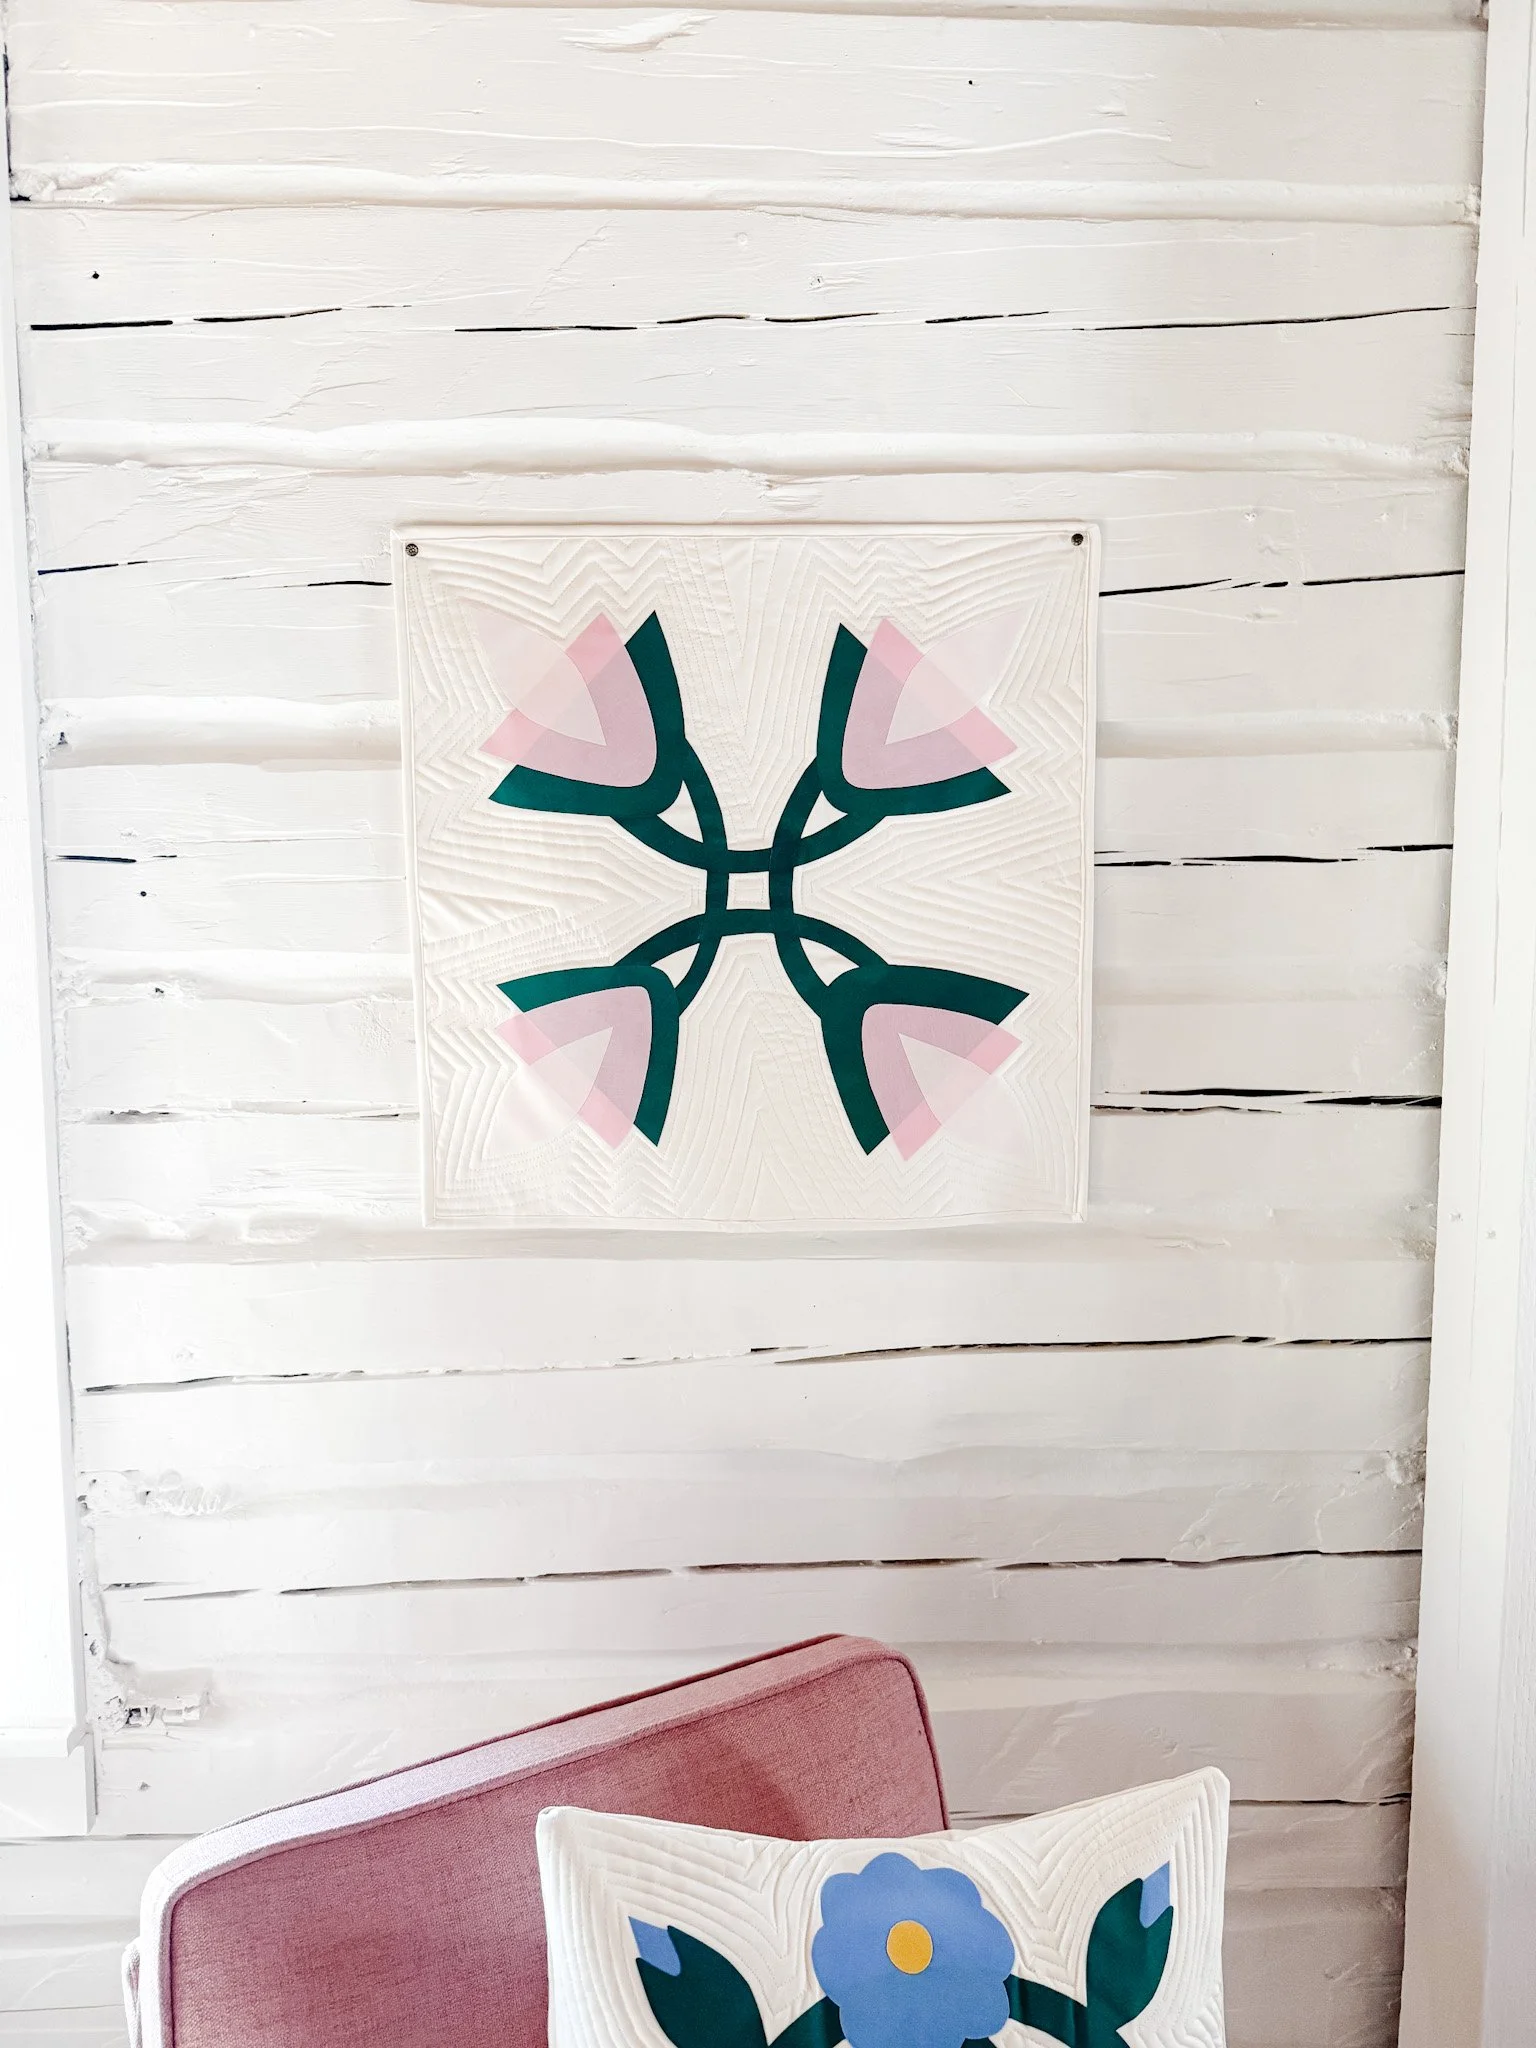
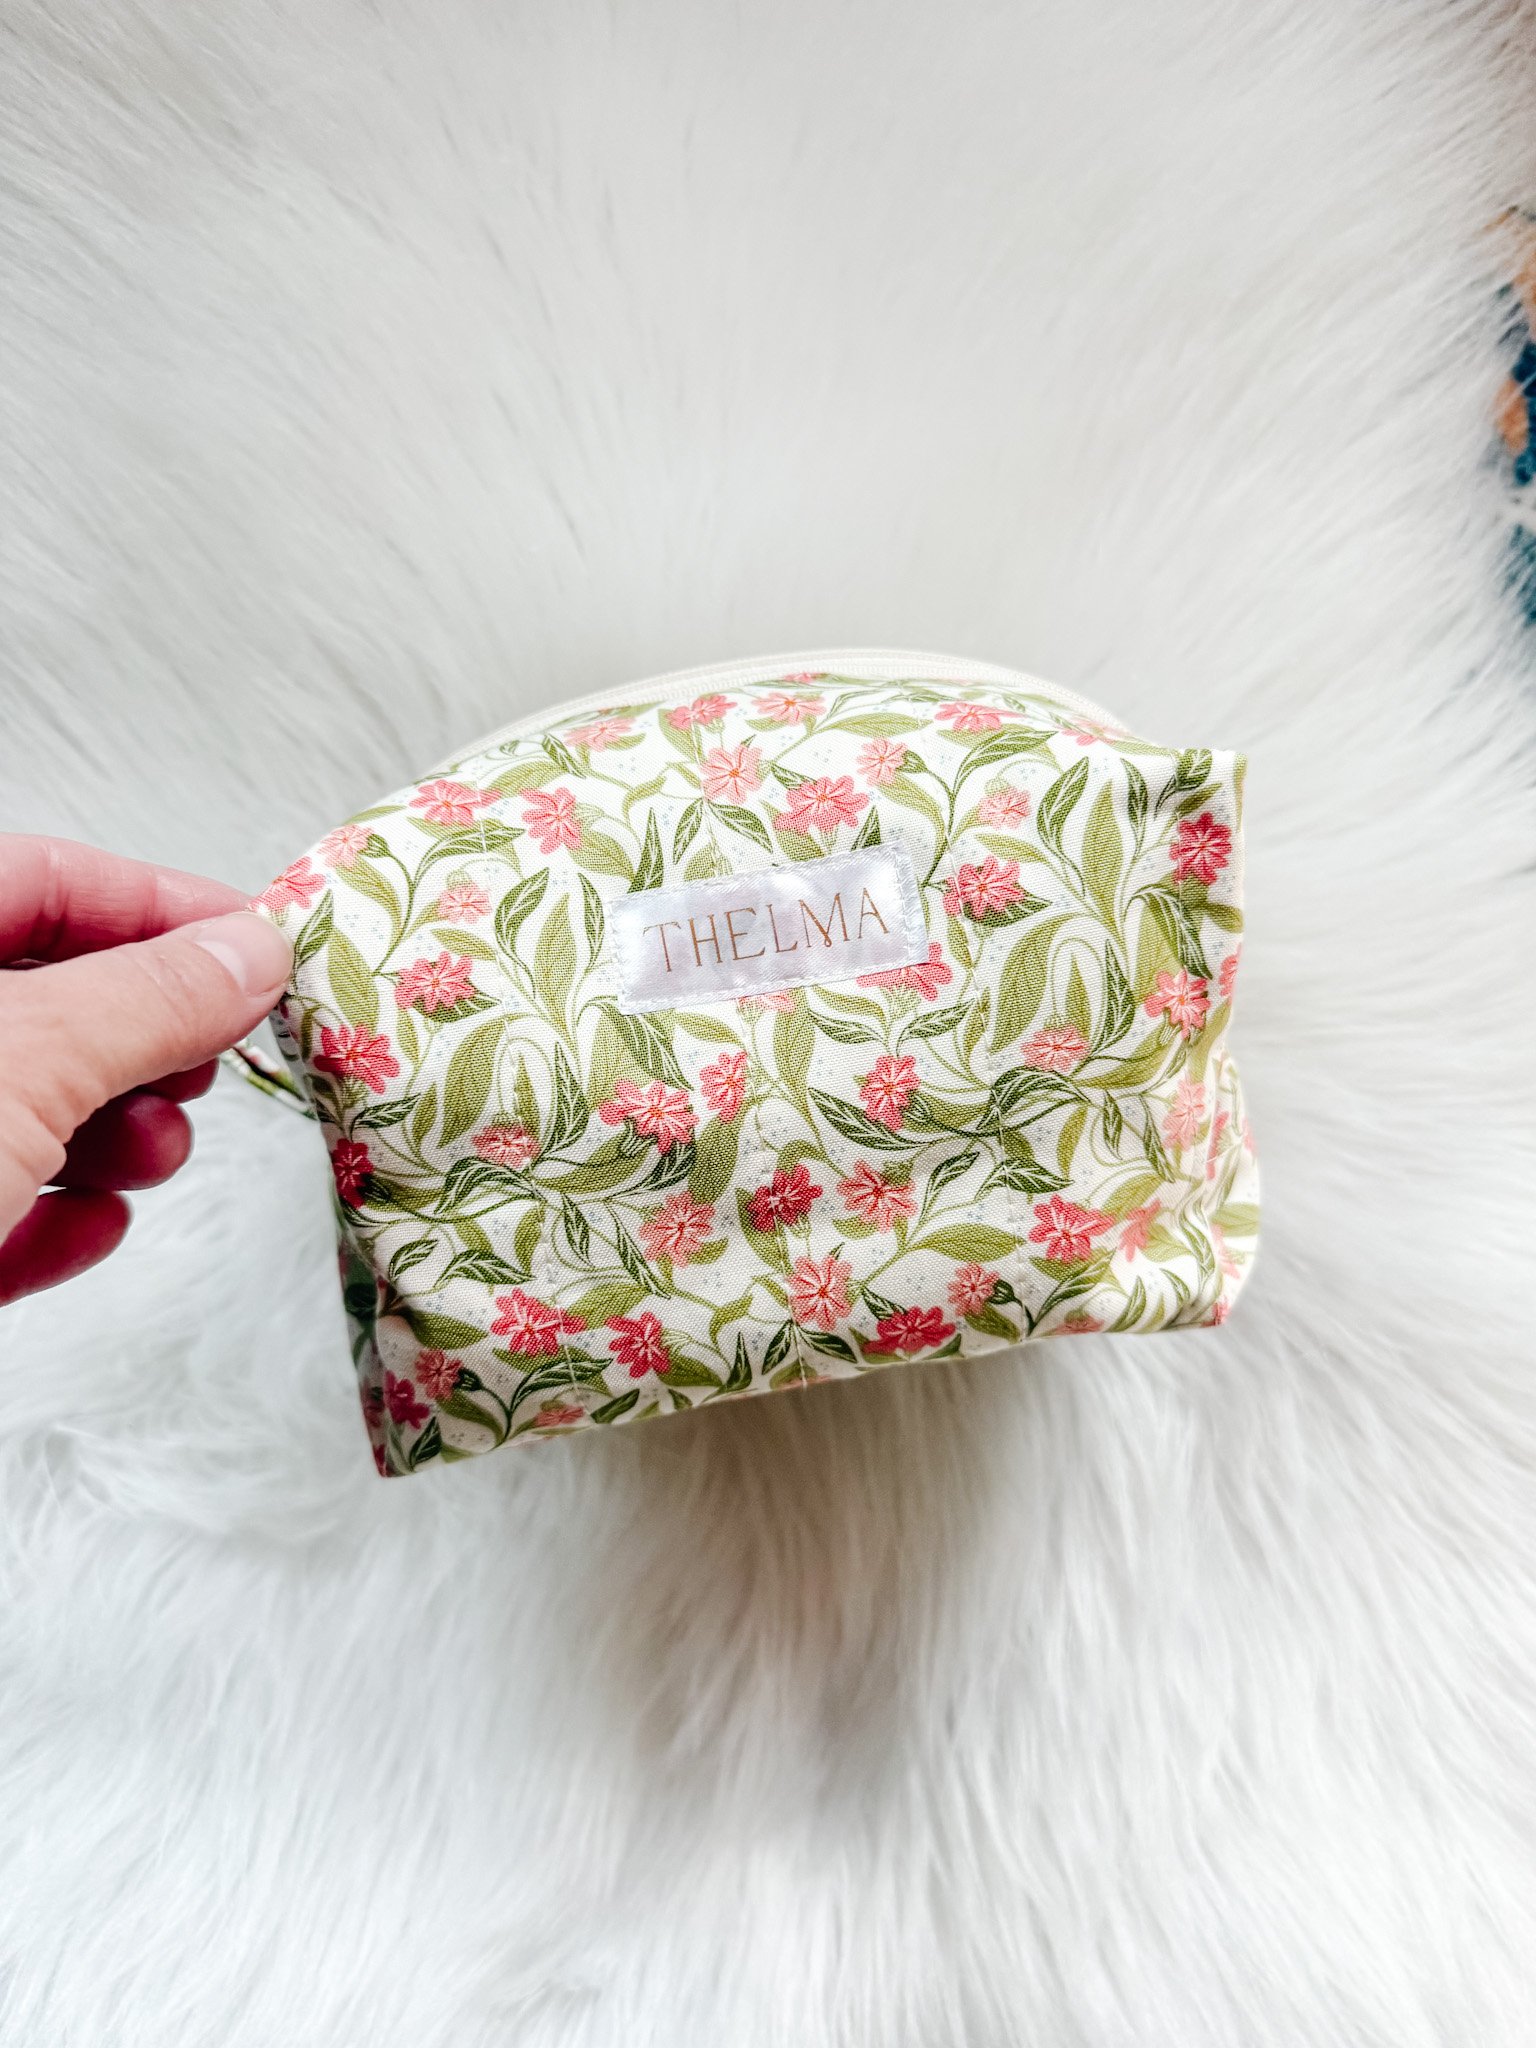
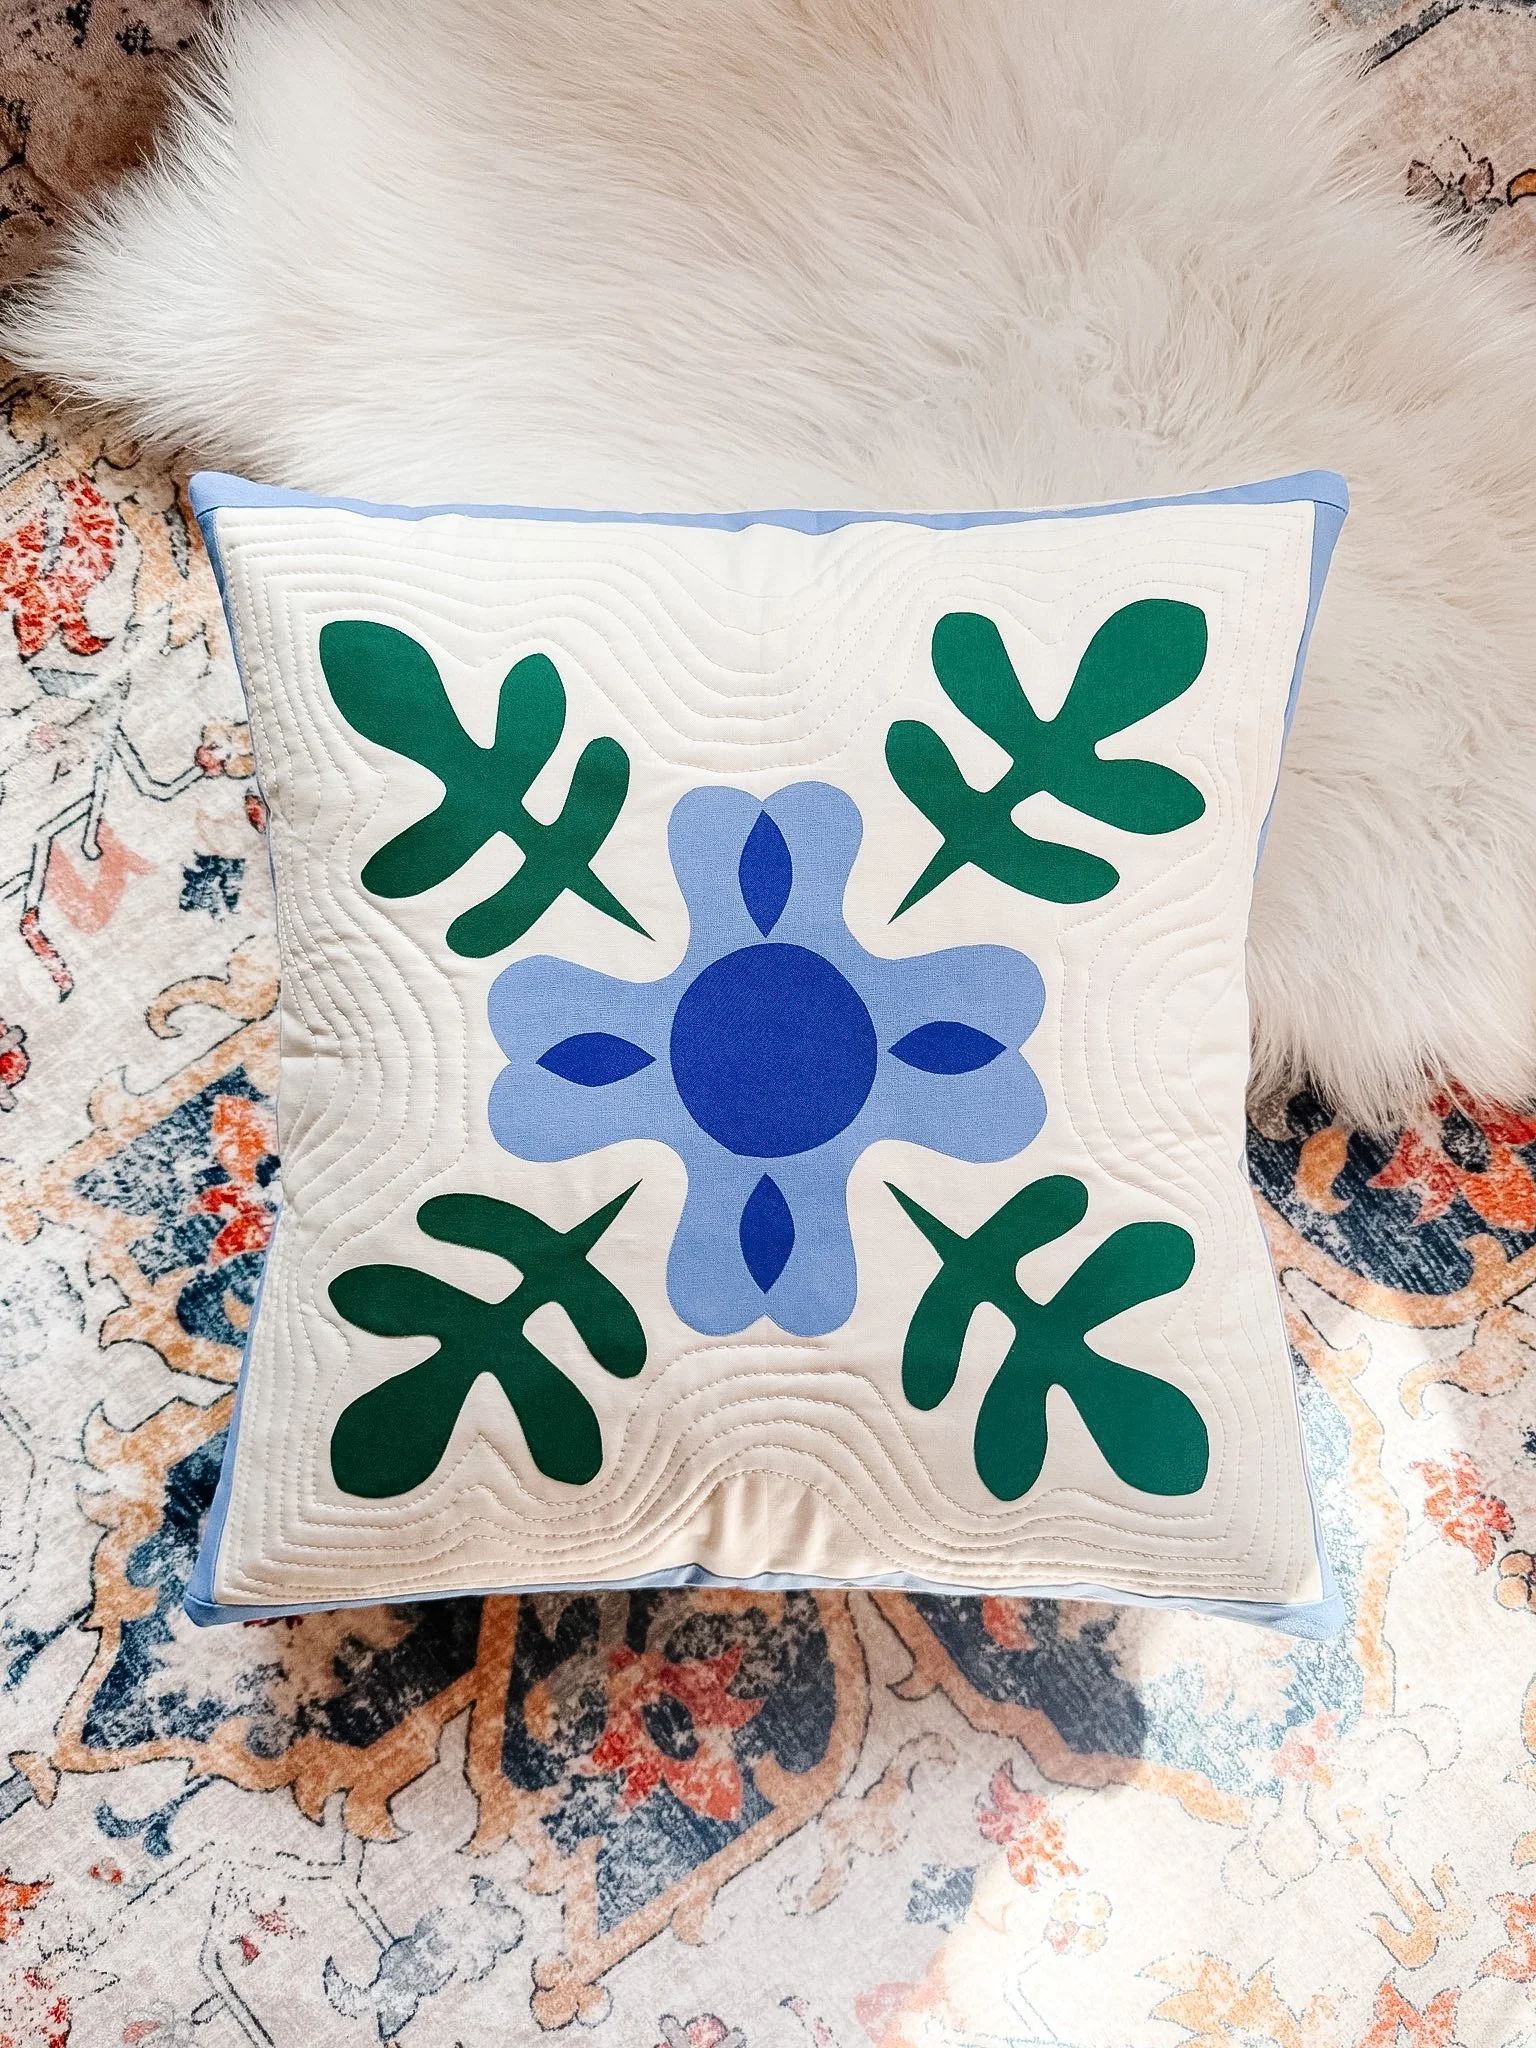
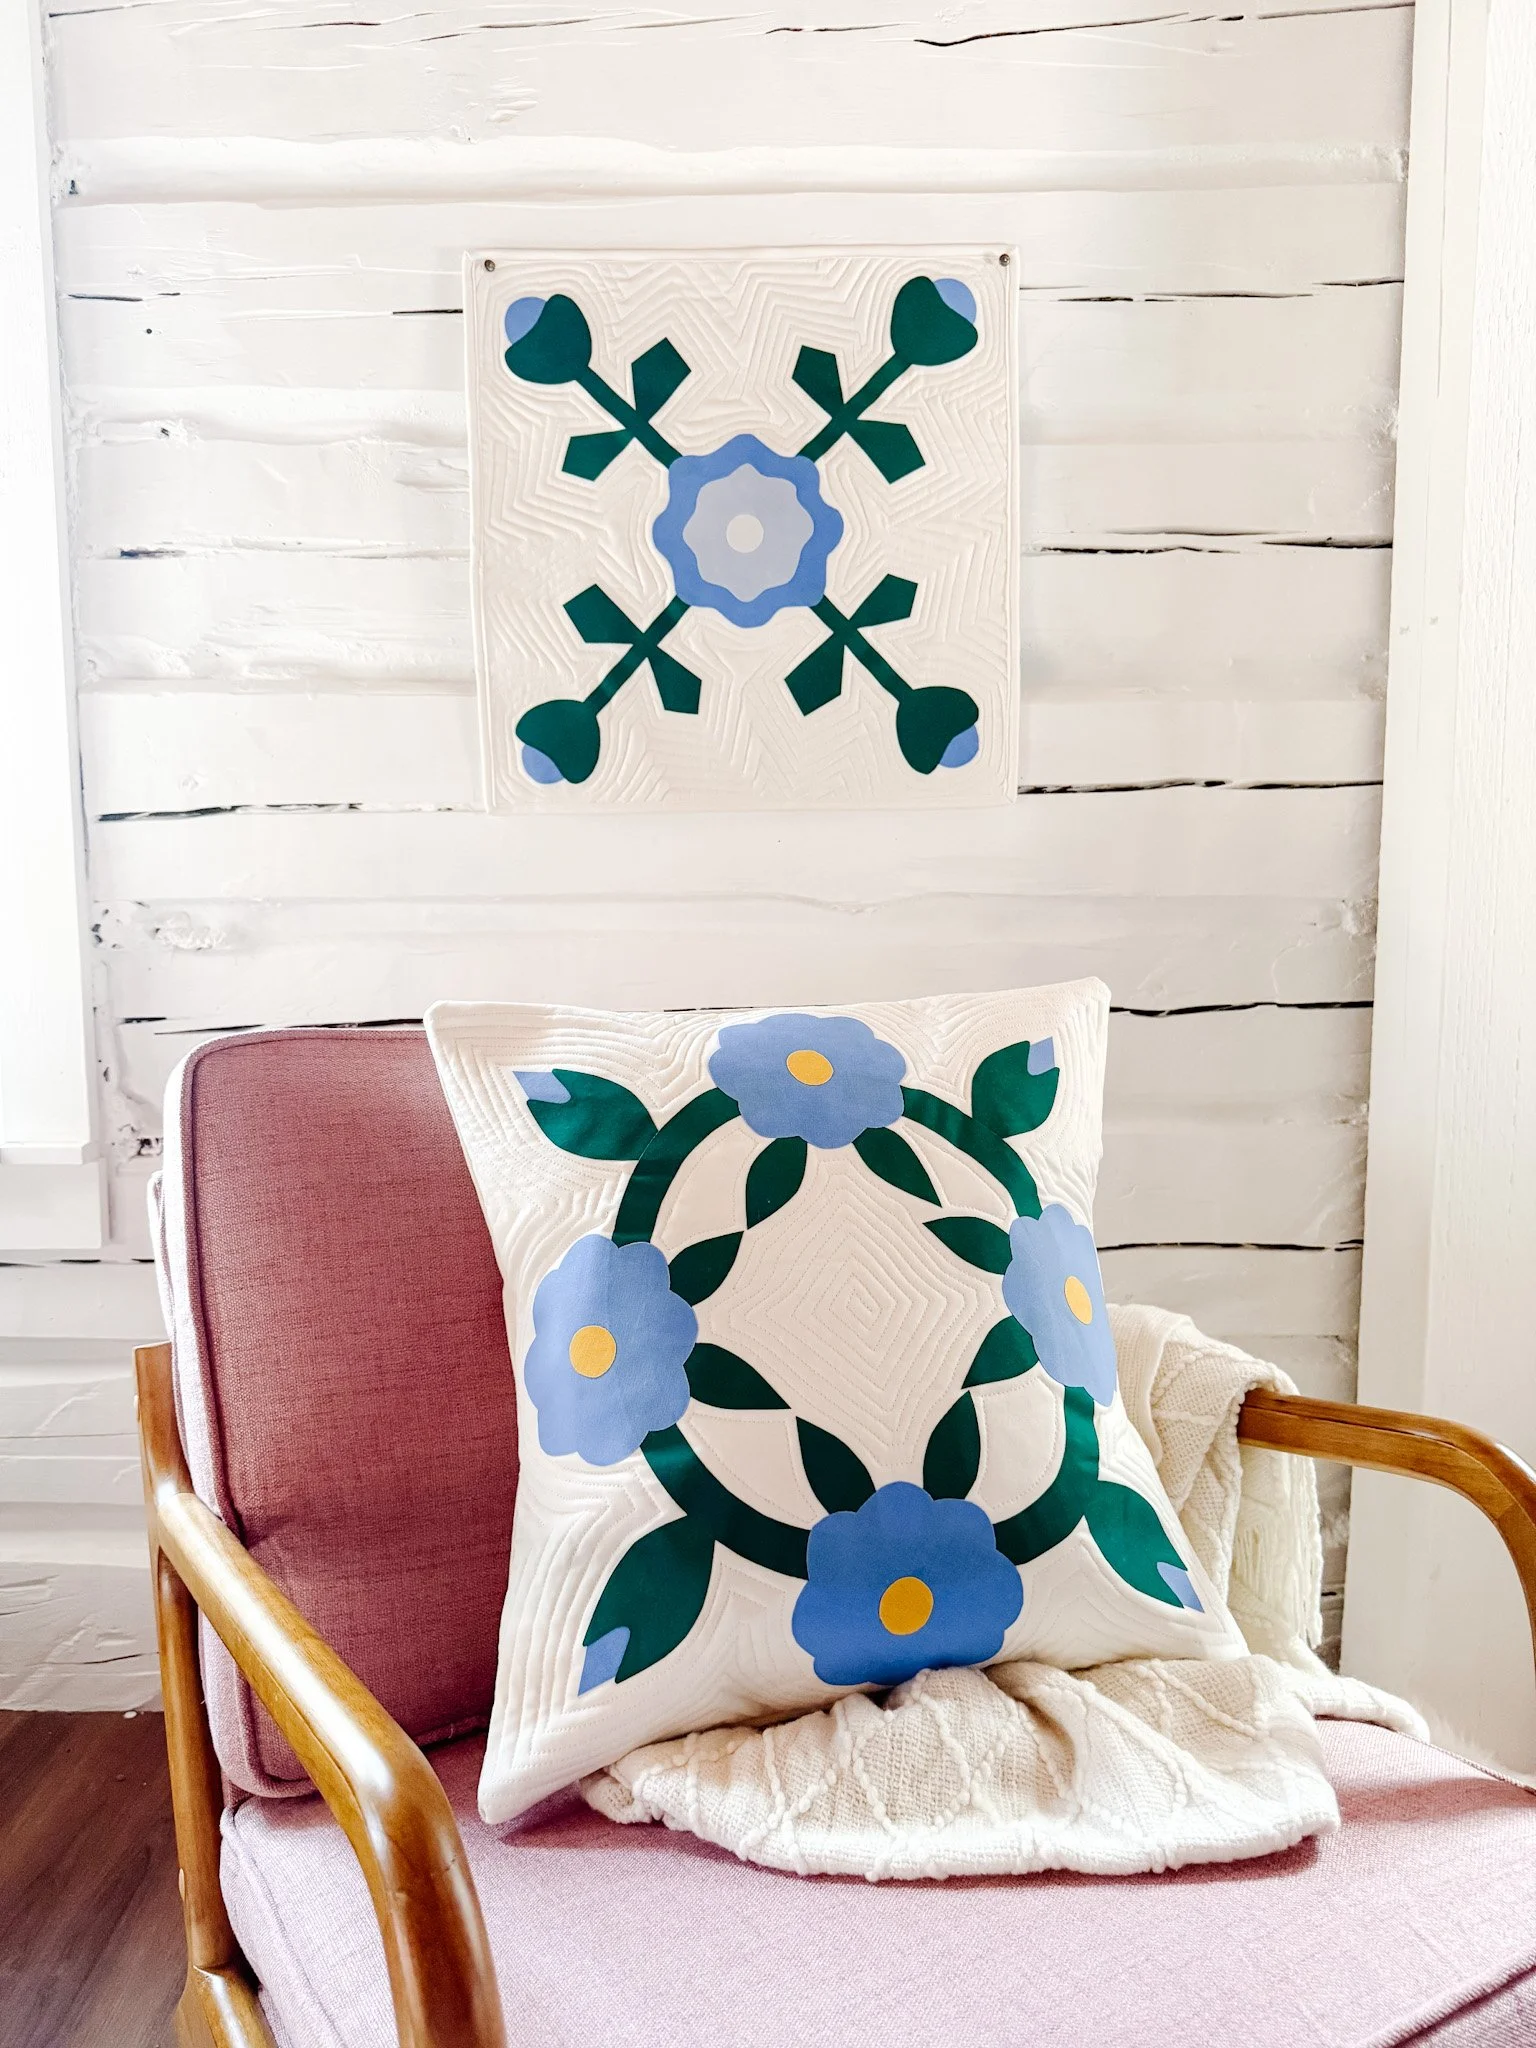
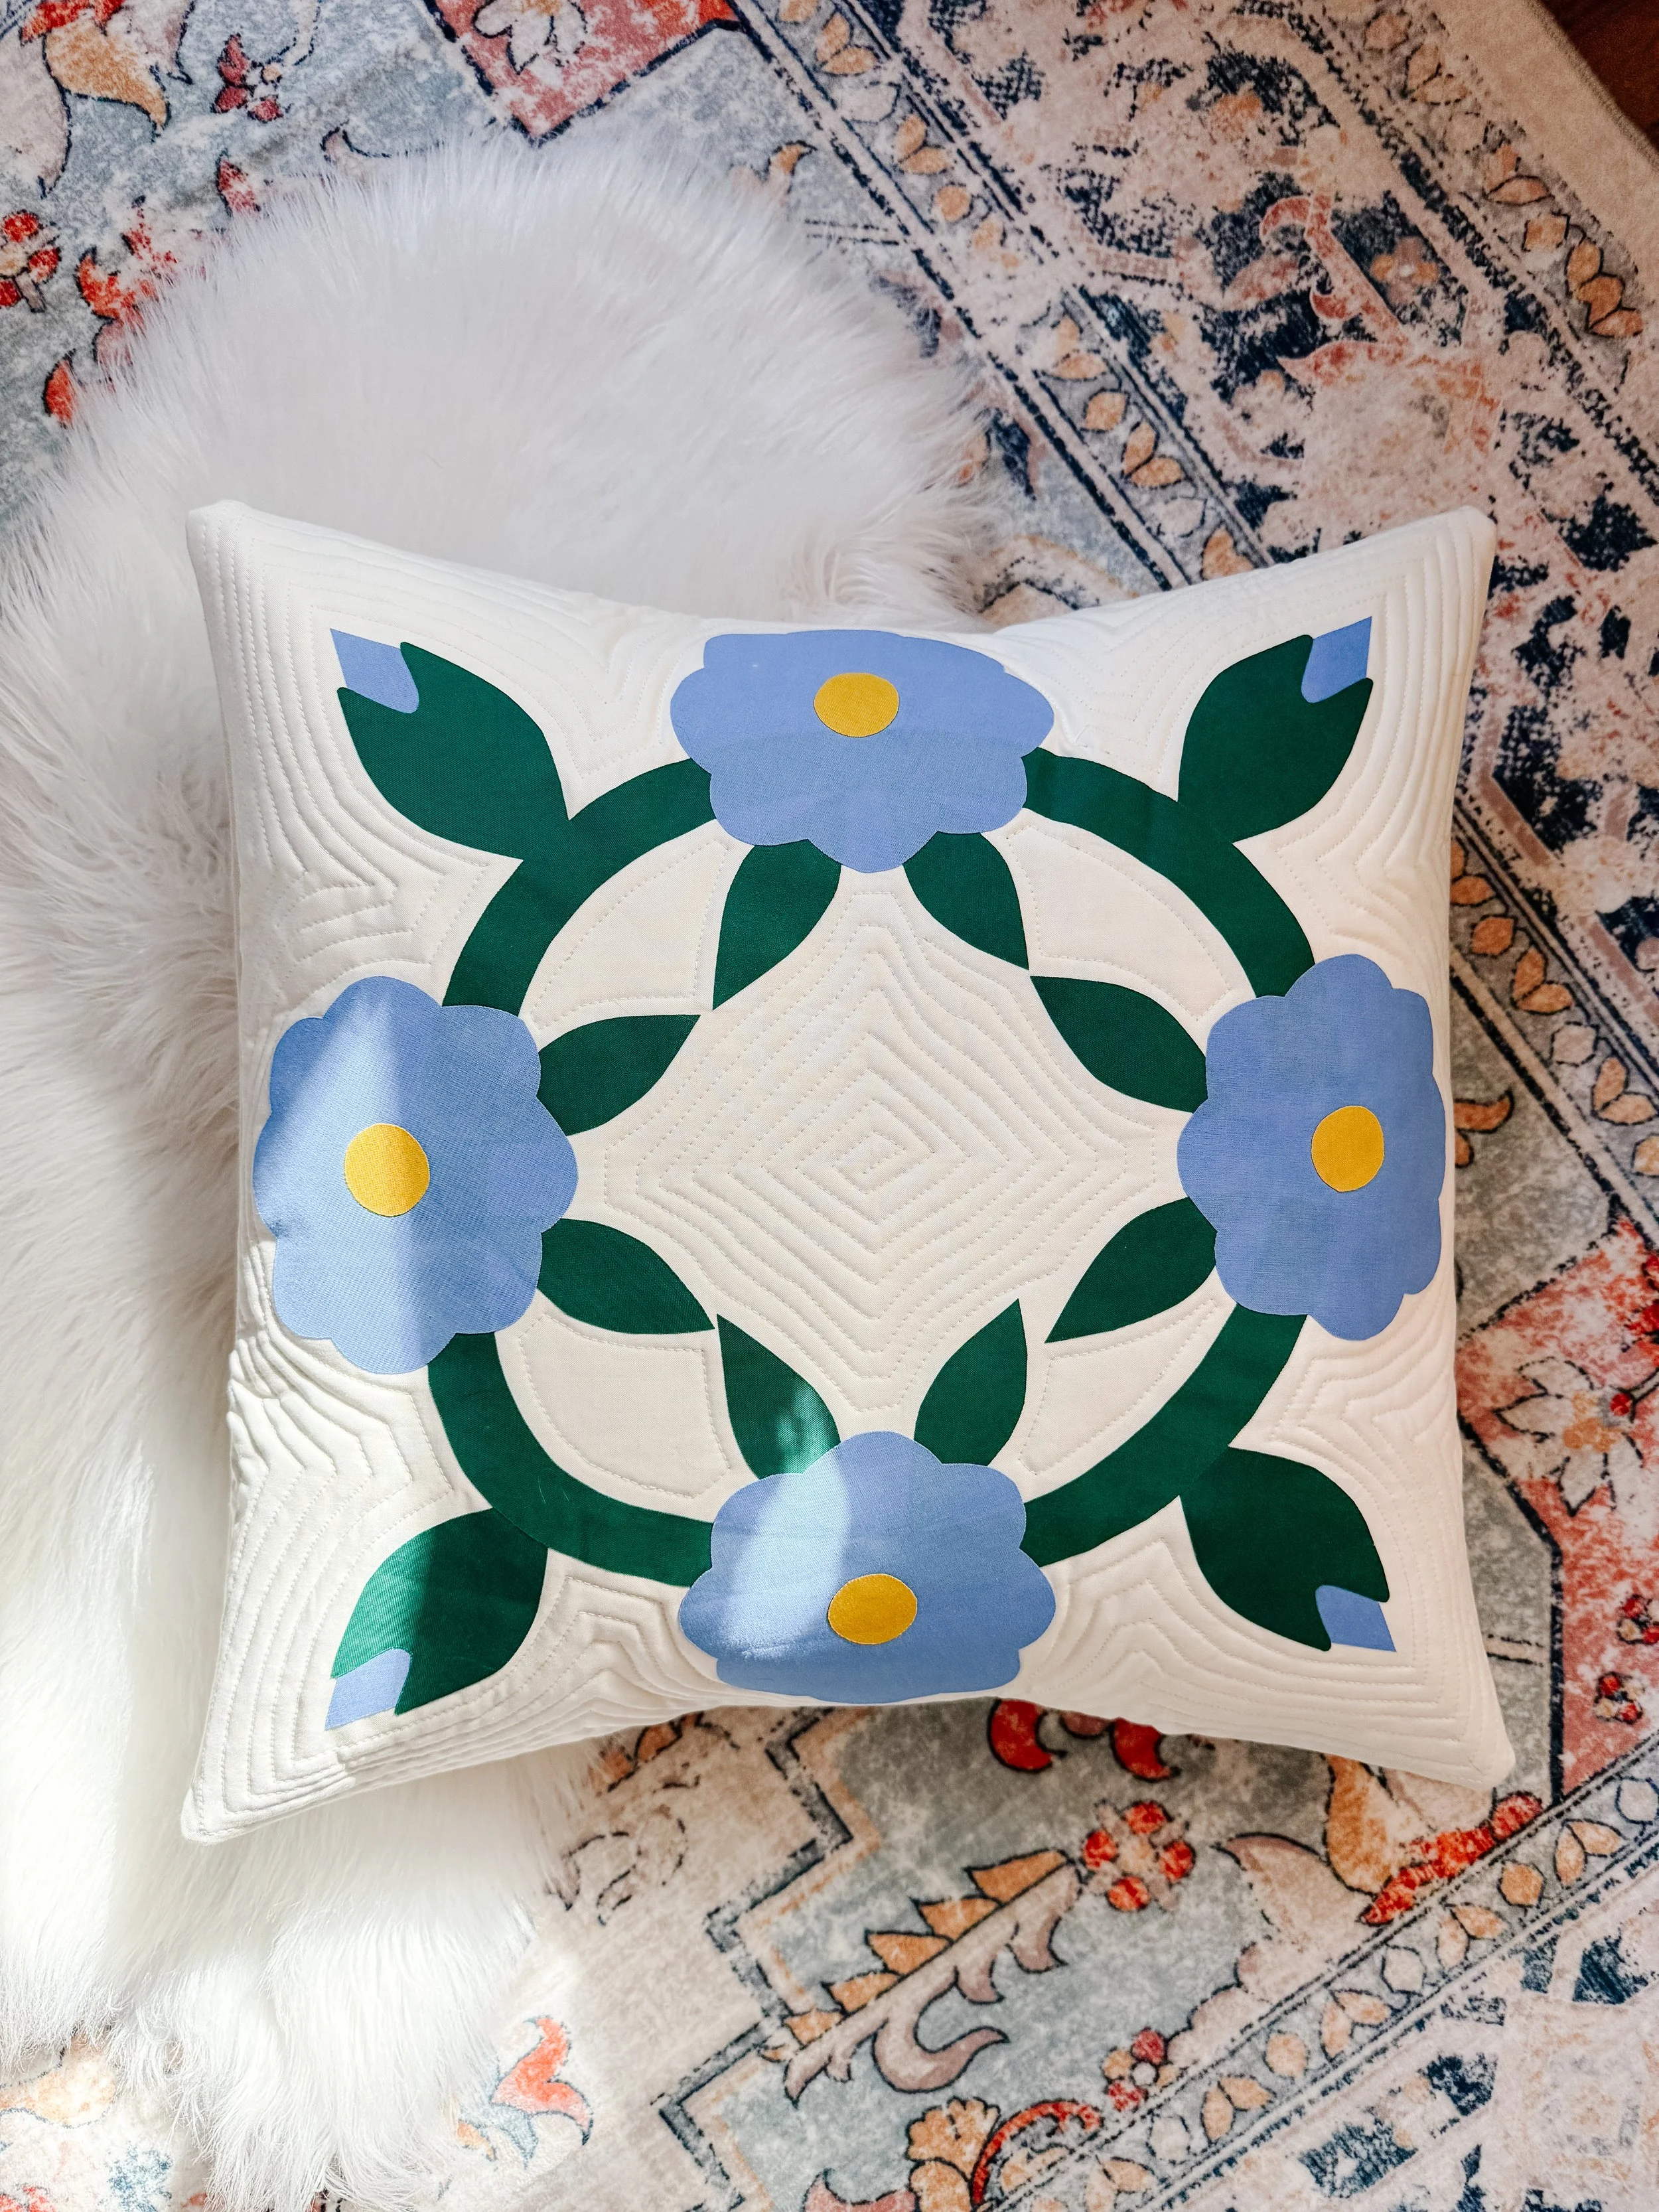
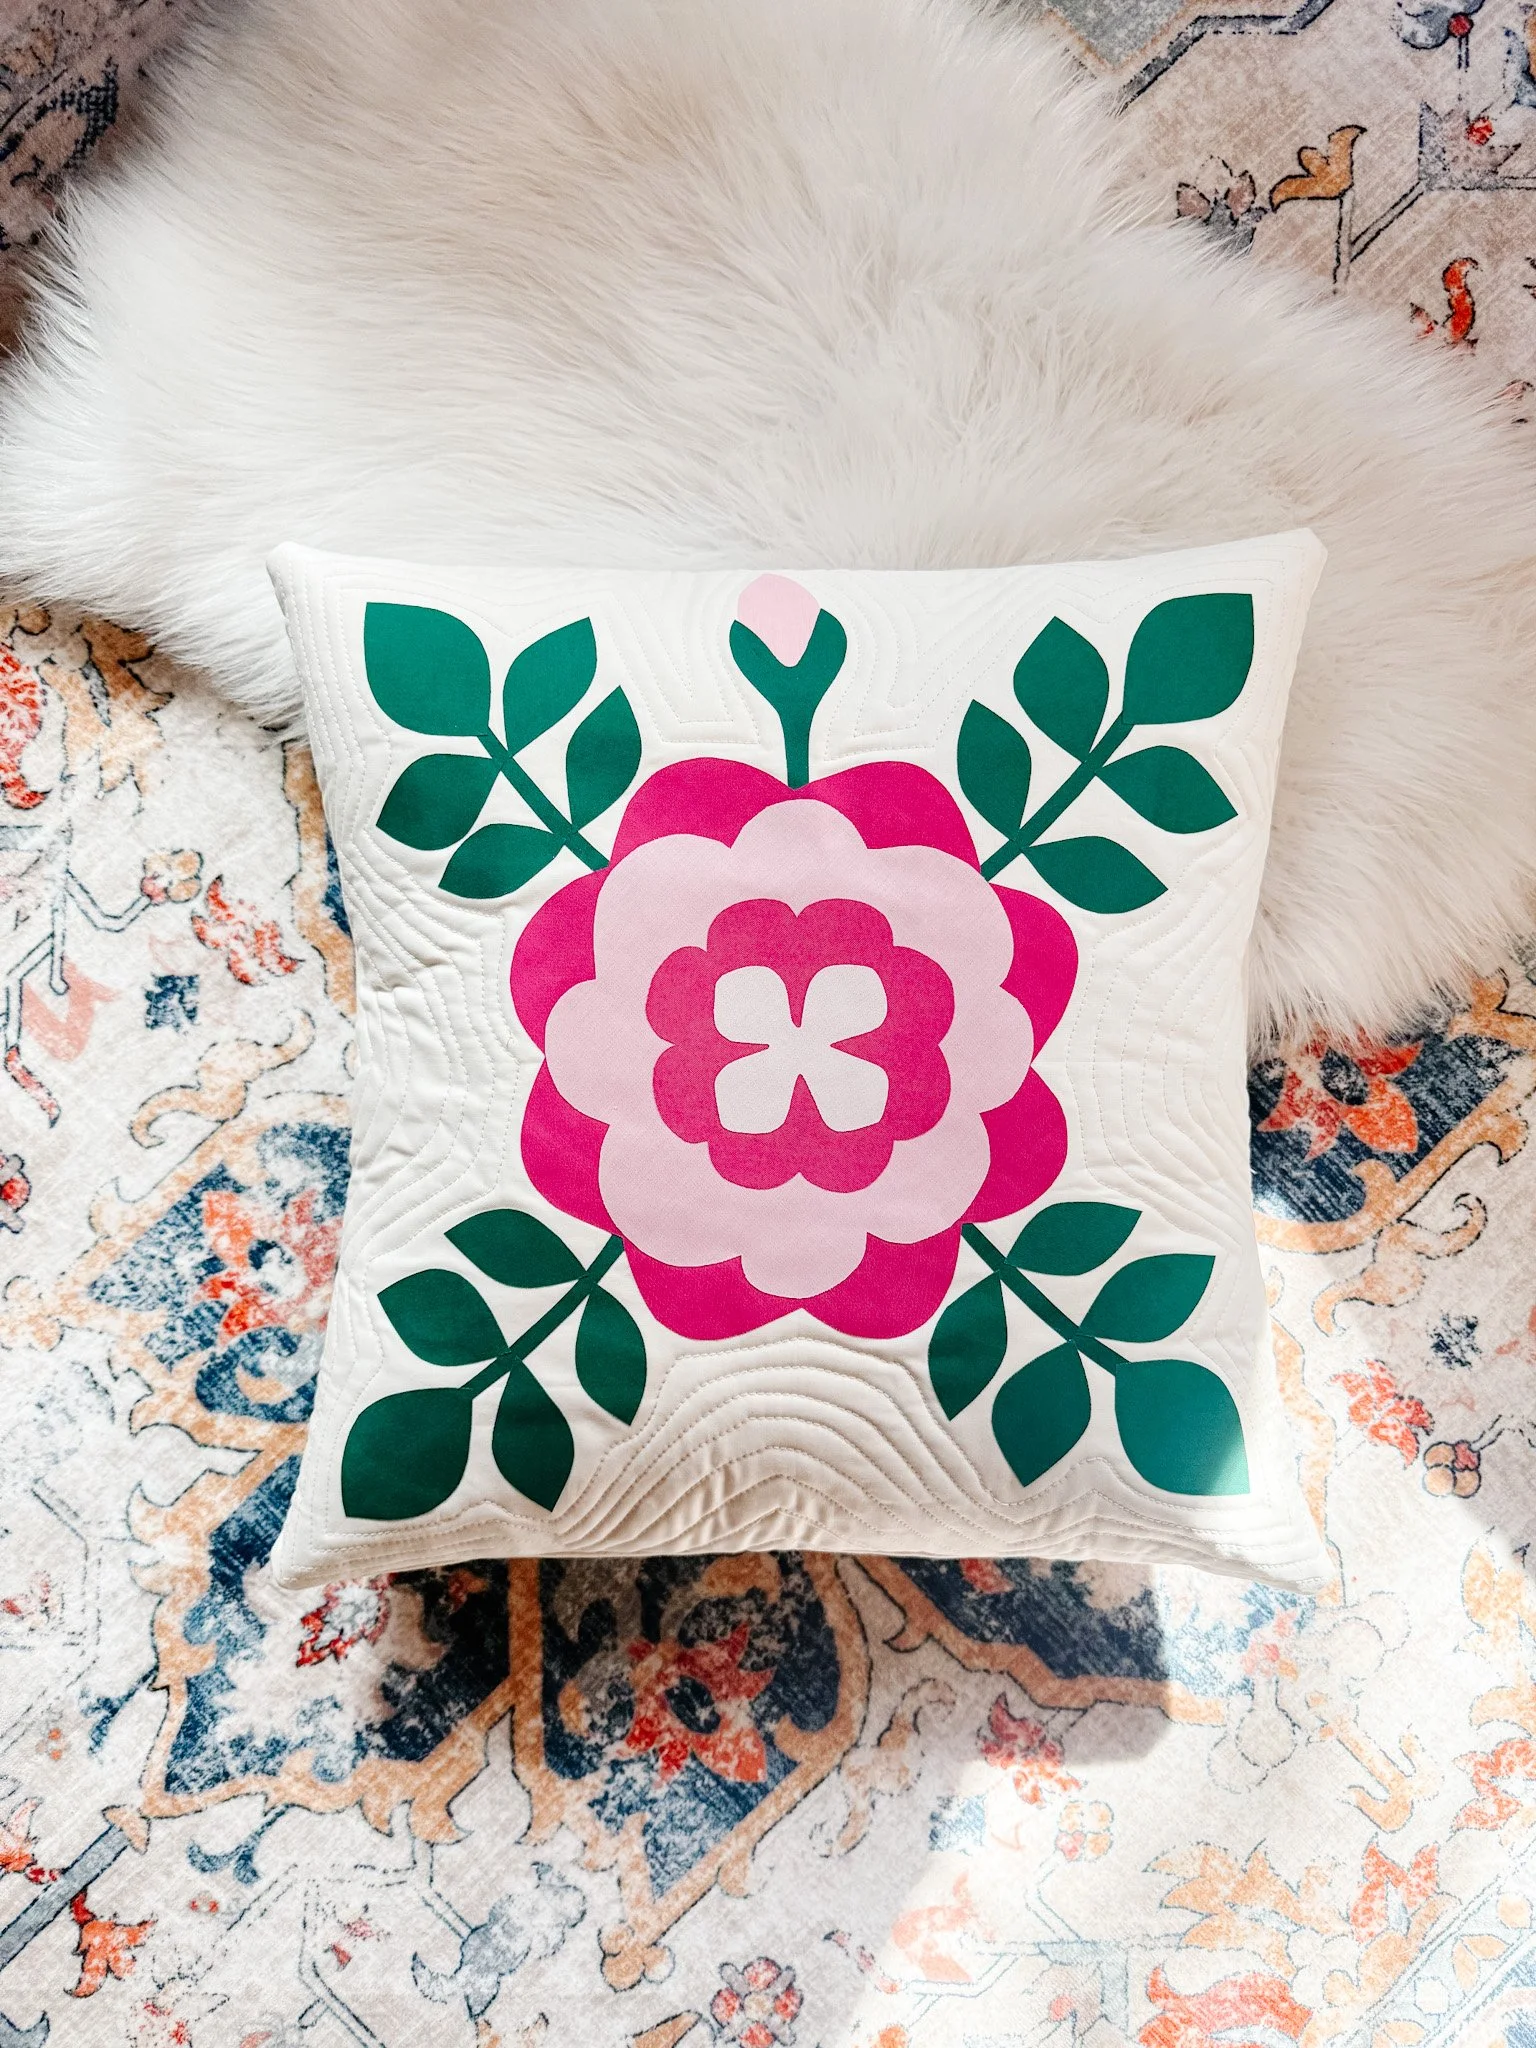
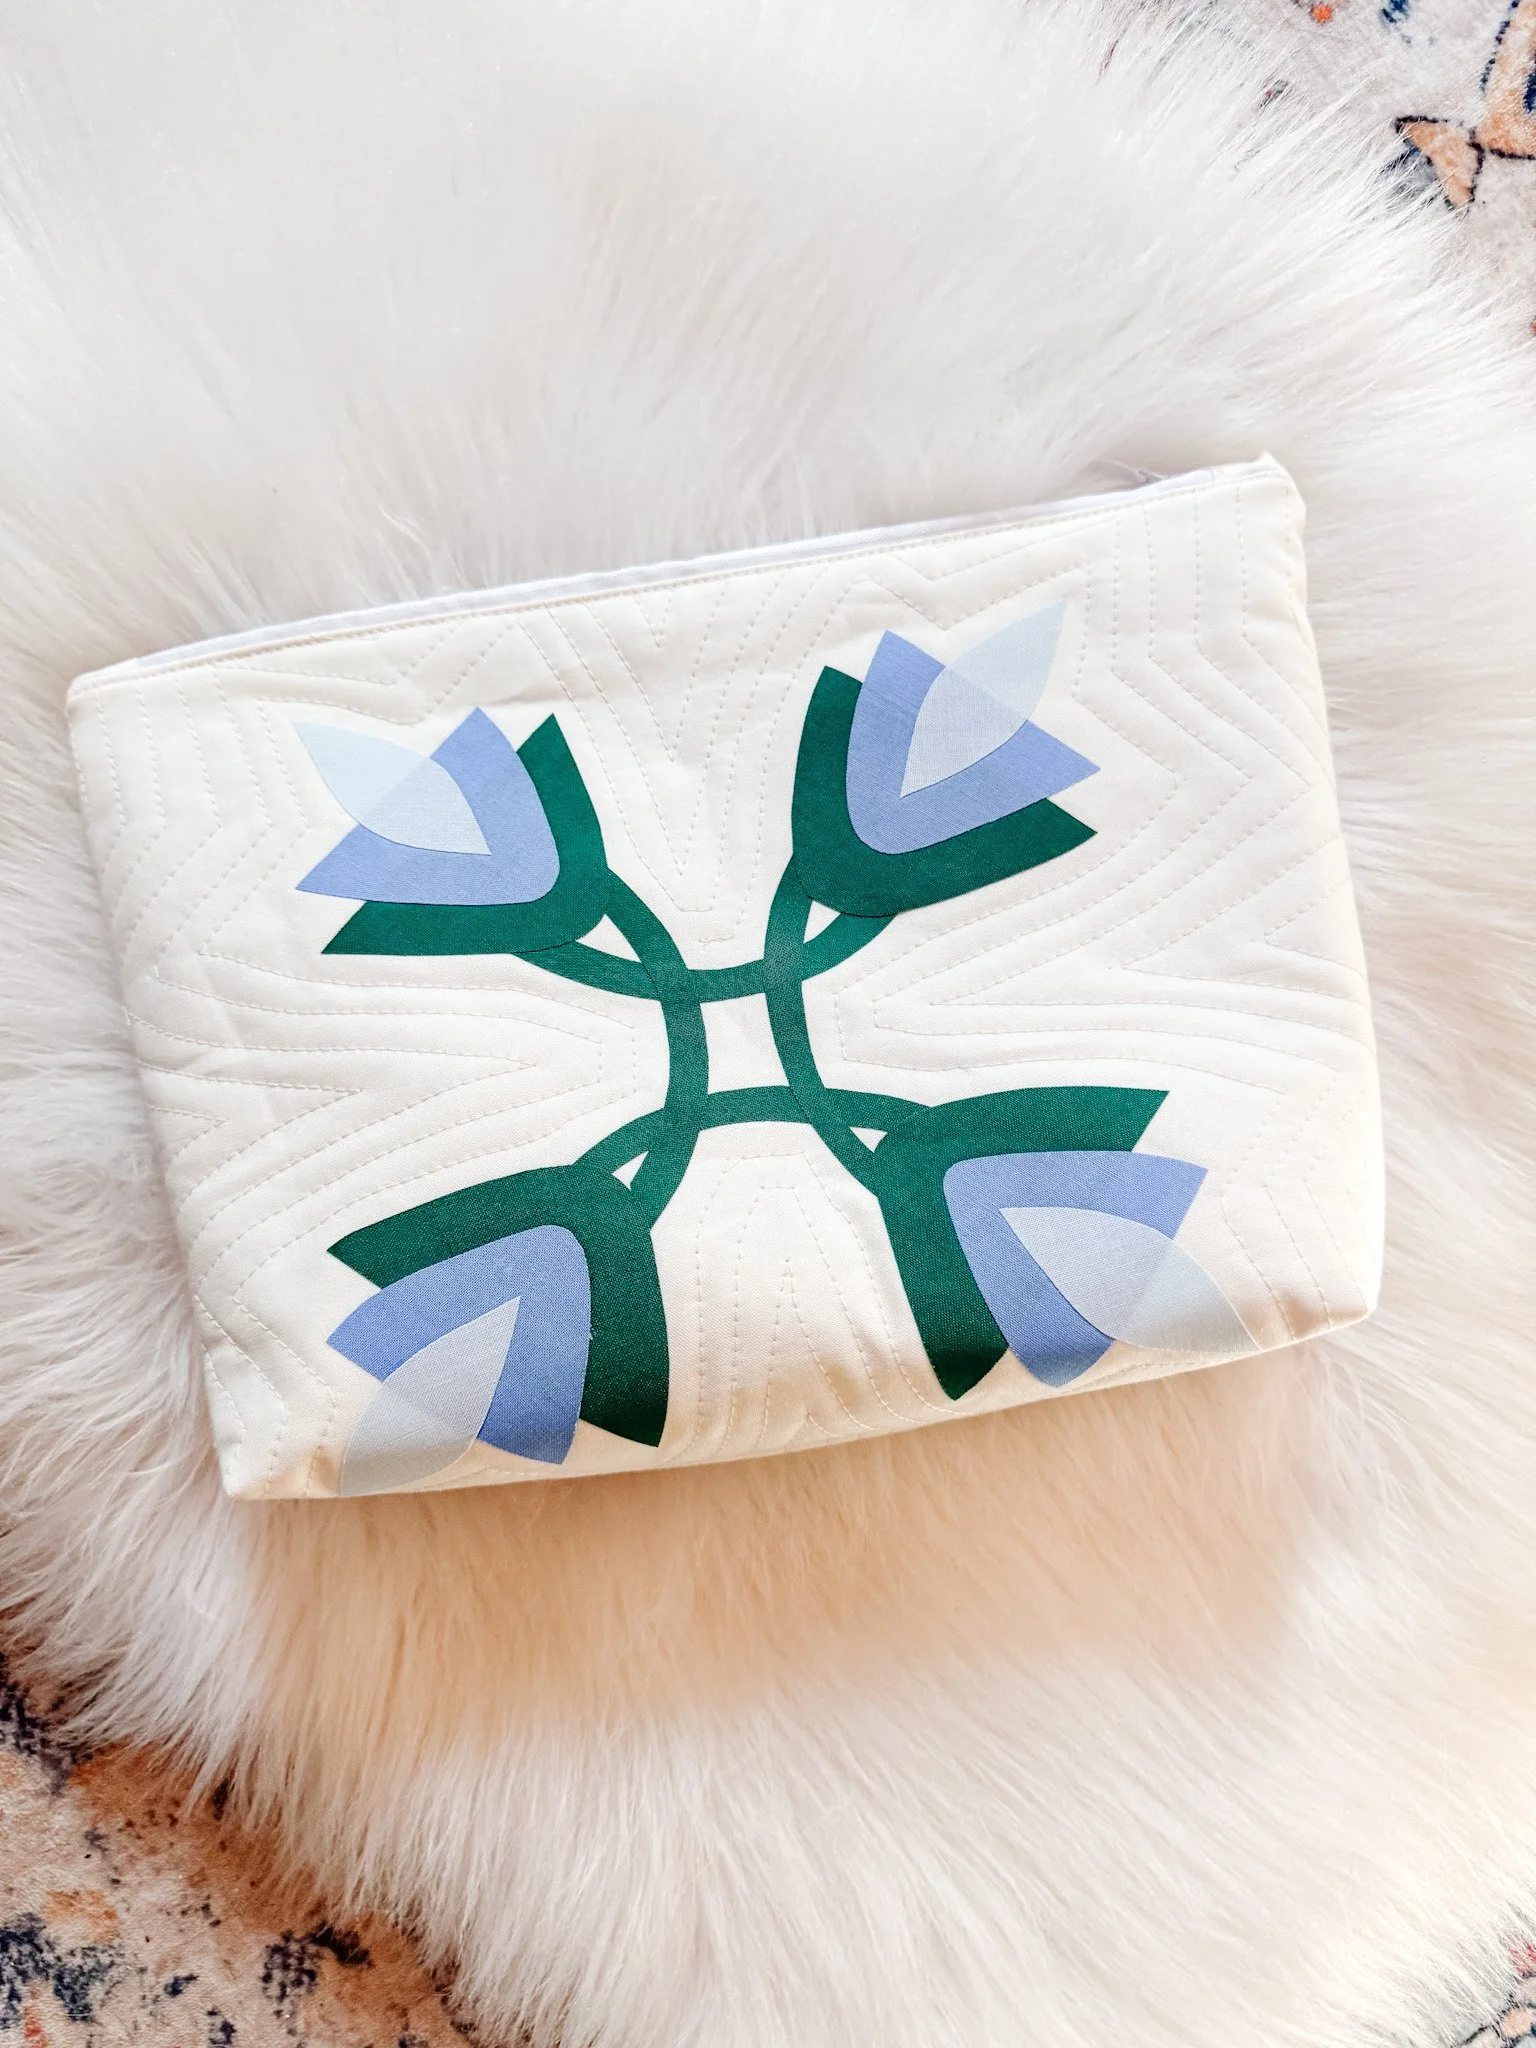
Royal Purple Tulip is a floral appliqué shirt pattern designed to guide you through creating a clean, balanced design on the back of a button-up shirt.
This pattern walks you step-by-step through appliqué placement, layering, and stitching, with a focus on clear instruction and a polished final result.
The finished piece is designed to elevate everyday clothing with a bold, modern heirloom feel—perfect for personal wear or thoughtful gifting.
SKILL LEVEL
Confident Beginner
→ Straightforward appliqué process with guided placement
→ Clear step-by-step instructions and diagrams
→ Includes tutorial support for fusible appliqué and stitching
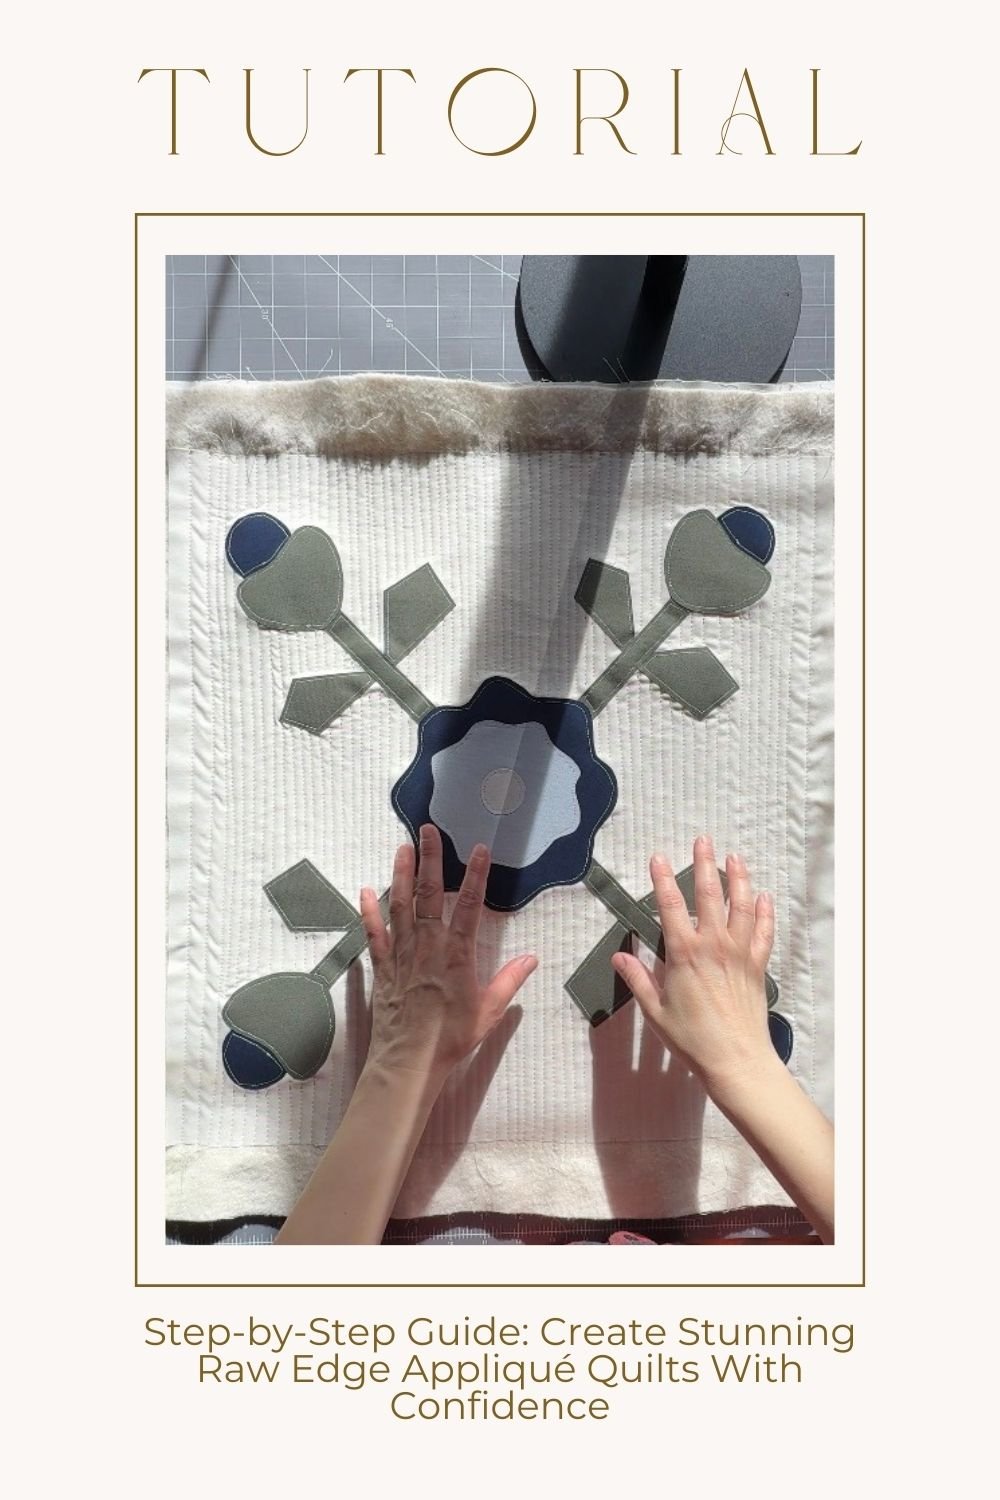
Watch this tutorial on the appliqué process:
https://thelmaquilts.com/blog/step-by-step-raw-edge-applique-quilts
Watch this tutorial on how to applique denim shirts: https://thelmaquilts.com/blog/how-to-make-your-boring-denim-shirts-look-amazing-with-easy-applique
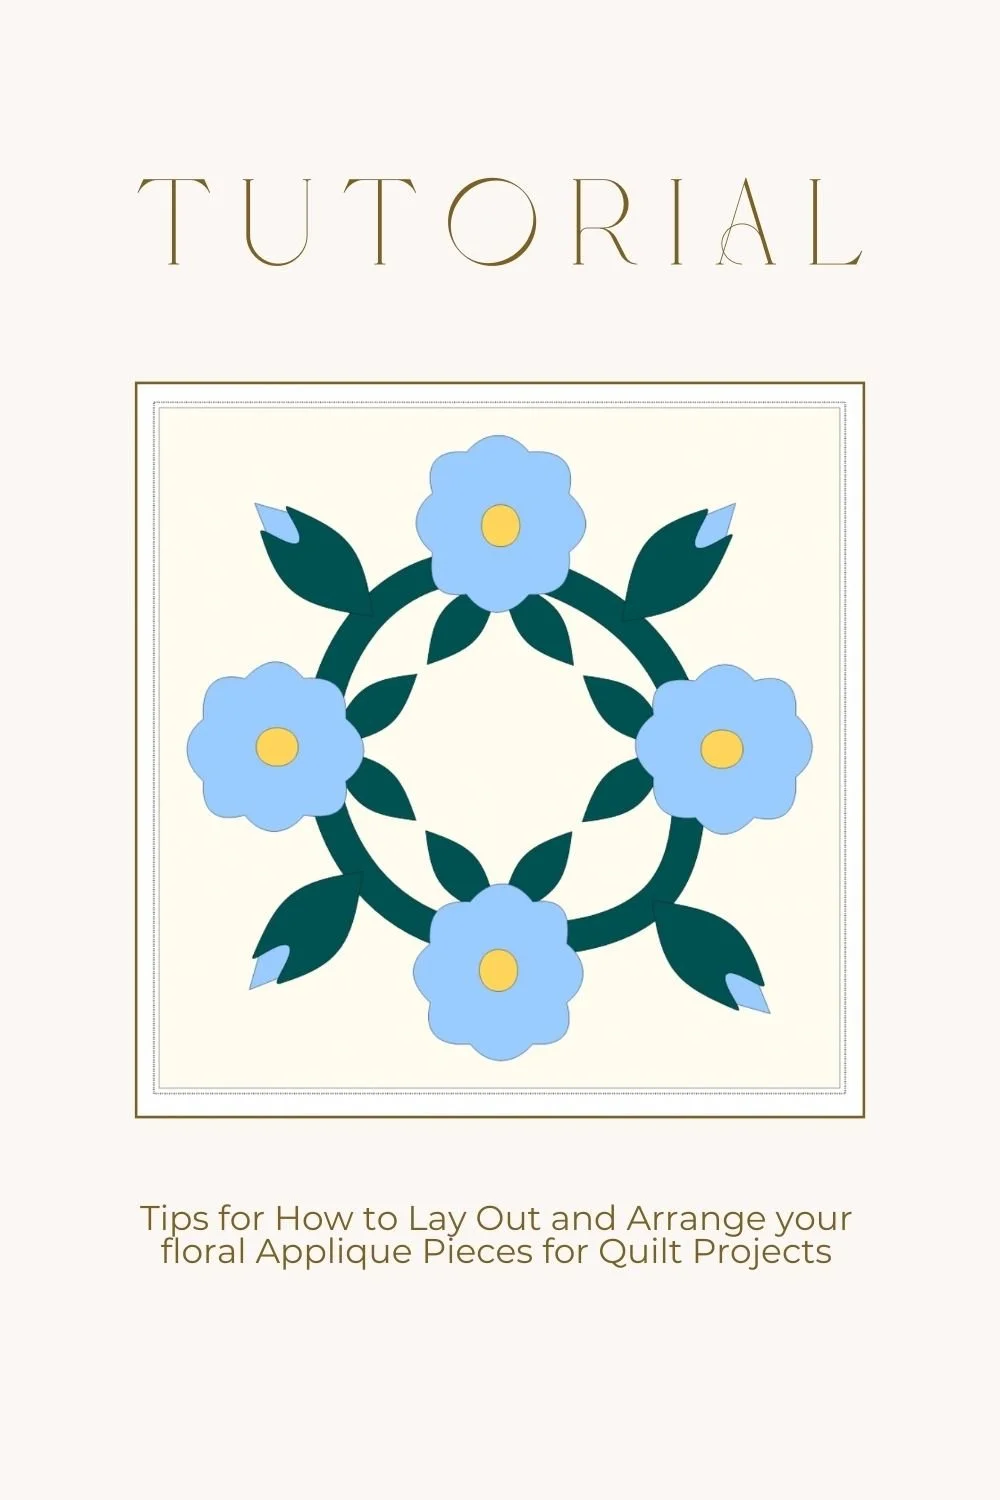
For additional support on appliqué placement and layout:
https://thelmaquilts.com/blog/tips-for-how-to-lay-out-and-arrange-your-floral-applique-pieces-for-quilt-projects
FINISHED SIZE
→ 12" x 12" appliqué motif (designed for shirt backs 14" x 14" or larger)
WHAT YOU’LL RECEIVE
→ Step-by-step written instructions
→ Cutting charts
→ Full-size printable templates
→ Layout diagrams
→ Construction and finishing steps
→ Printer-friendly PDF
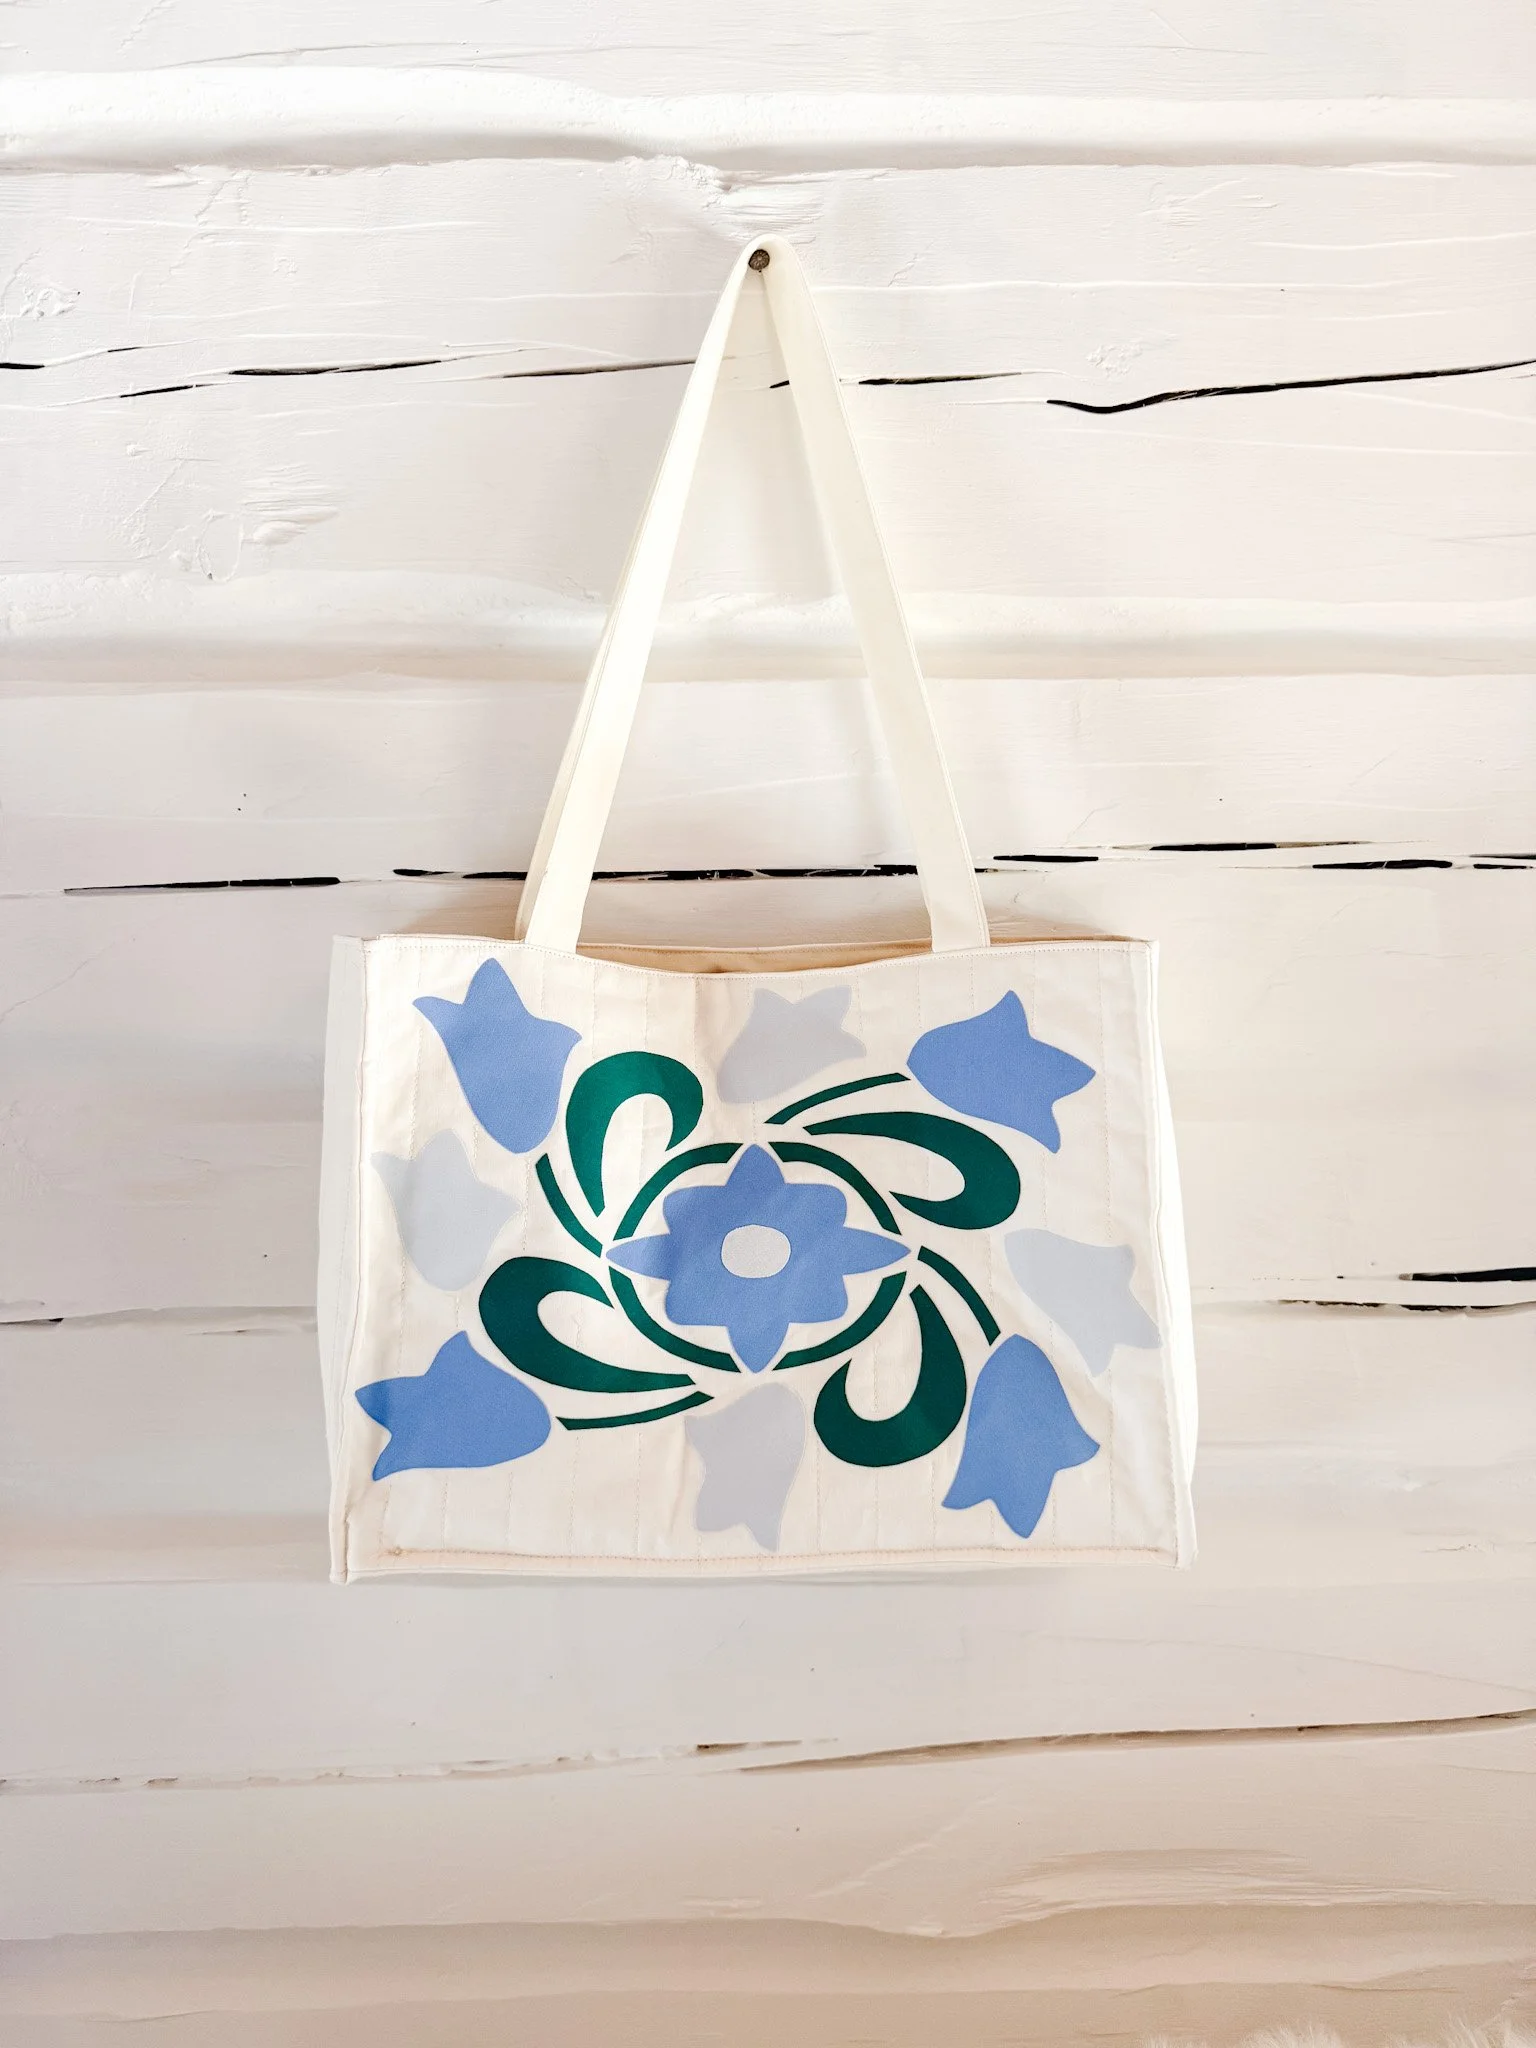
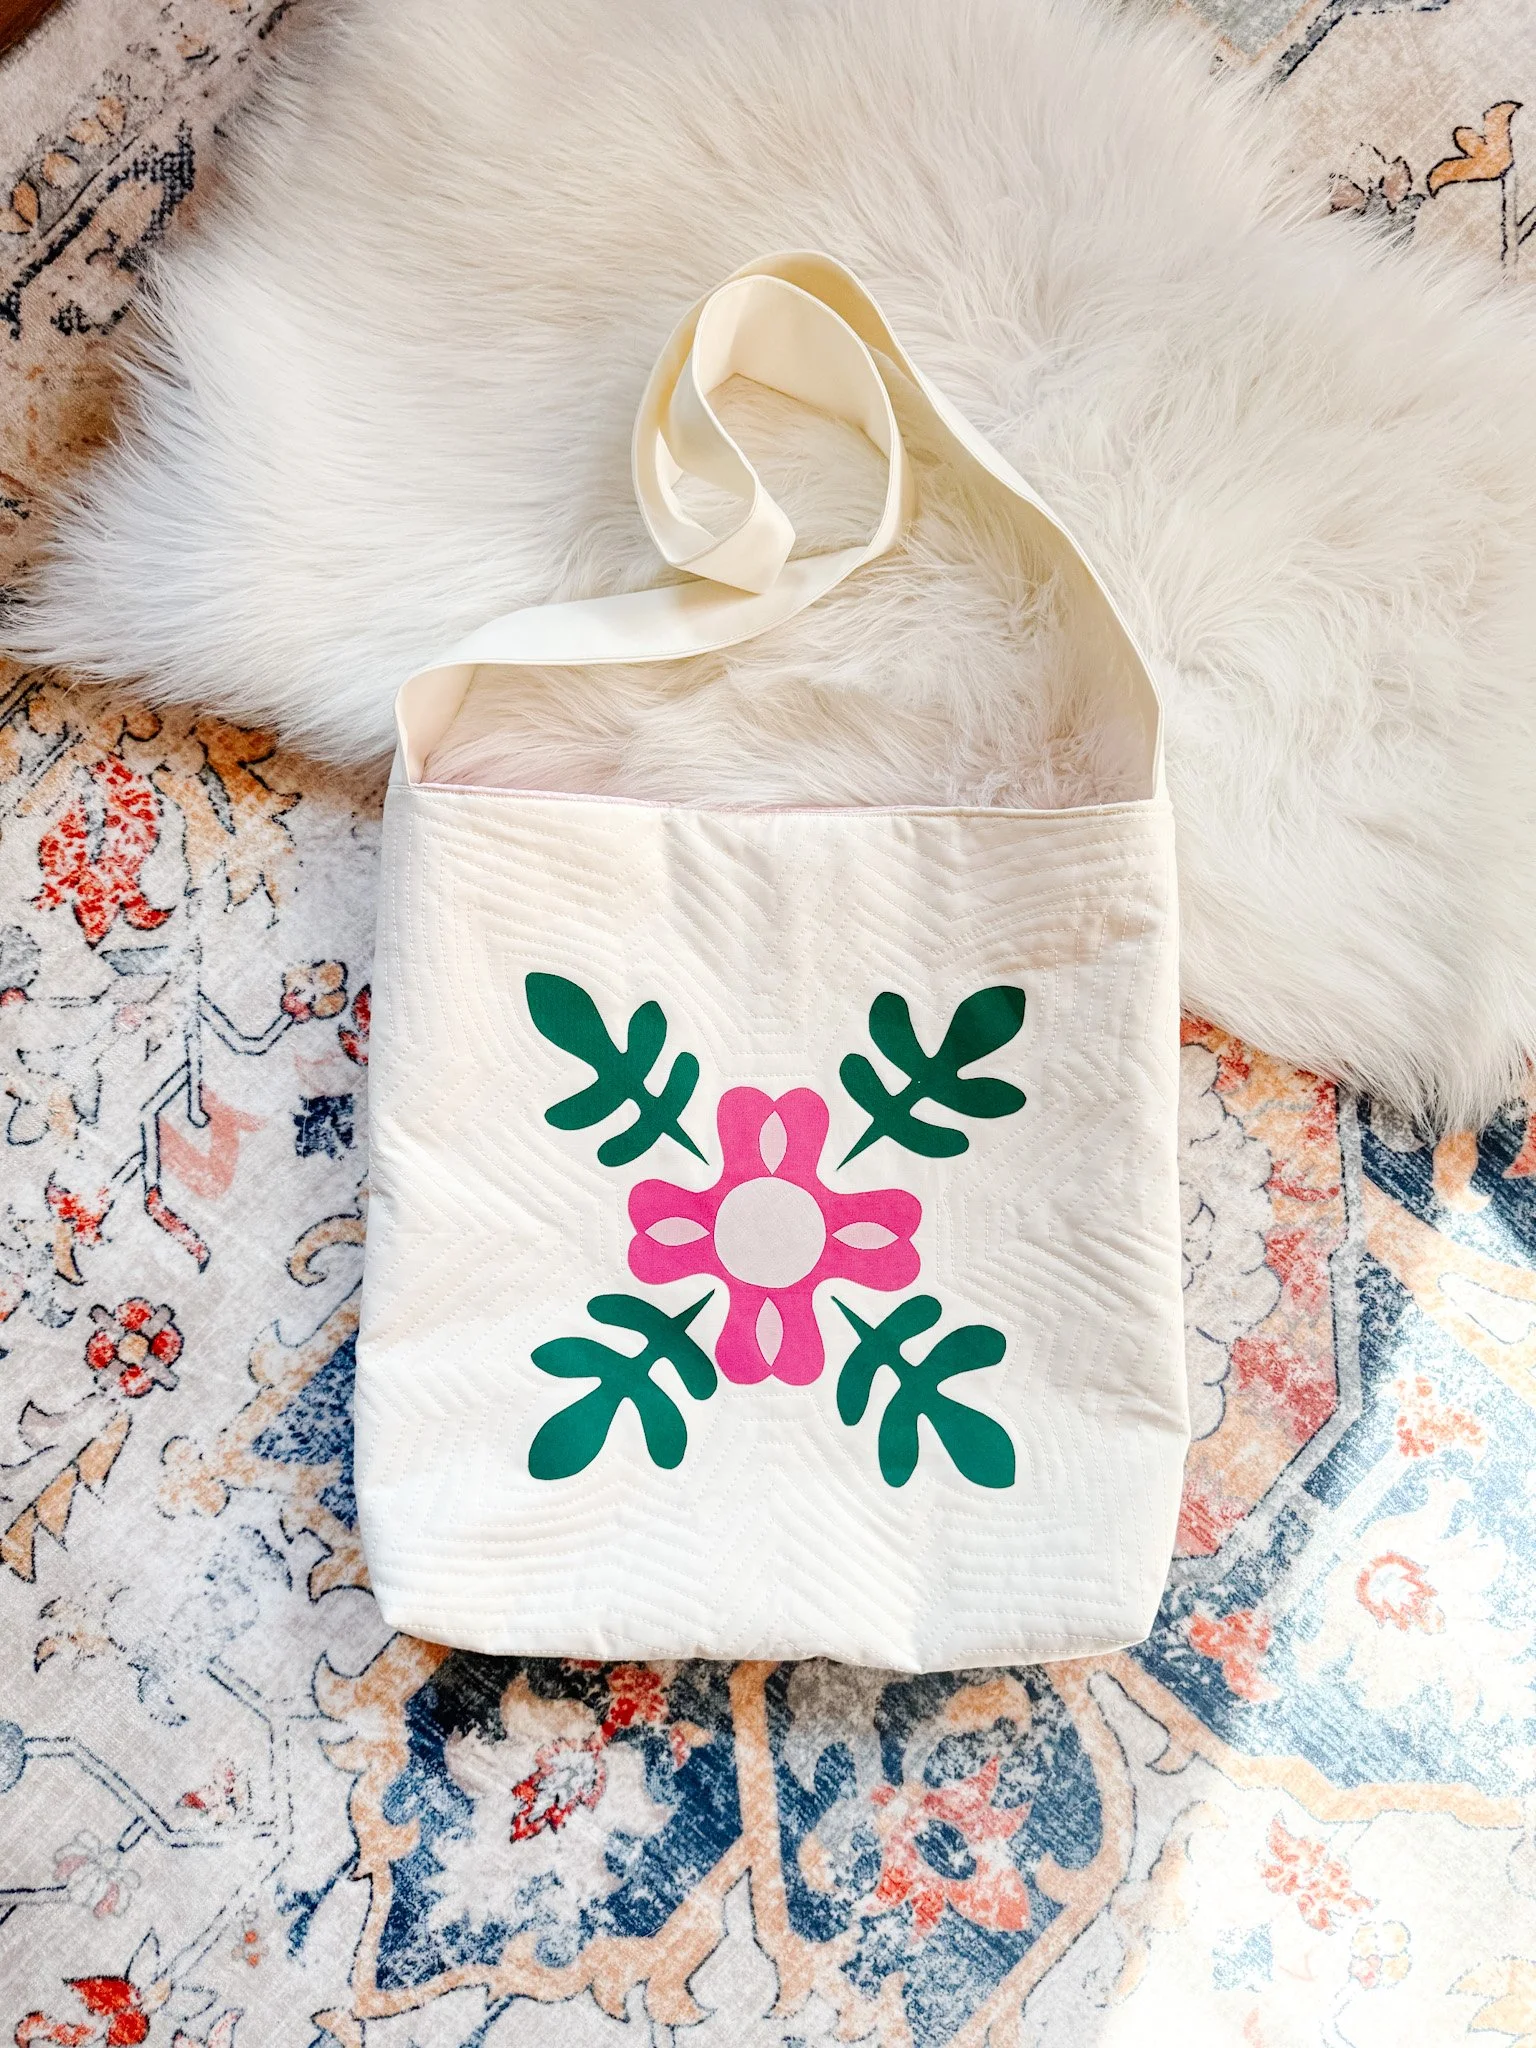
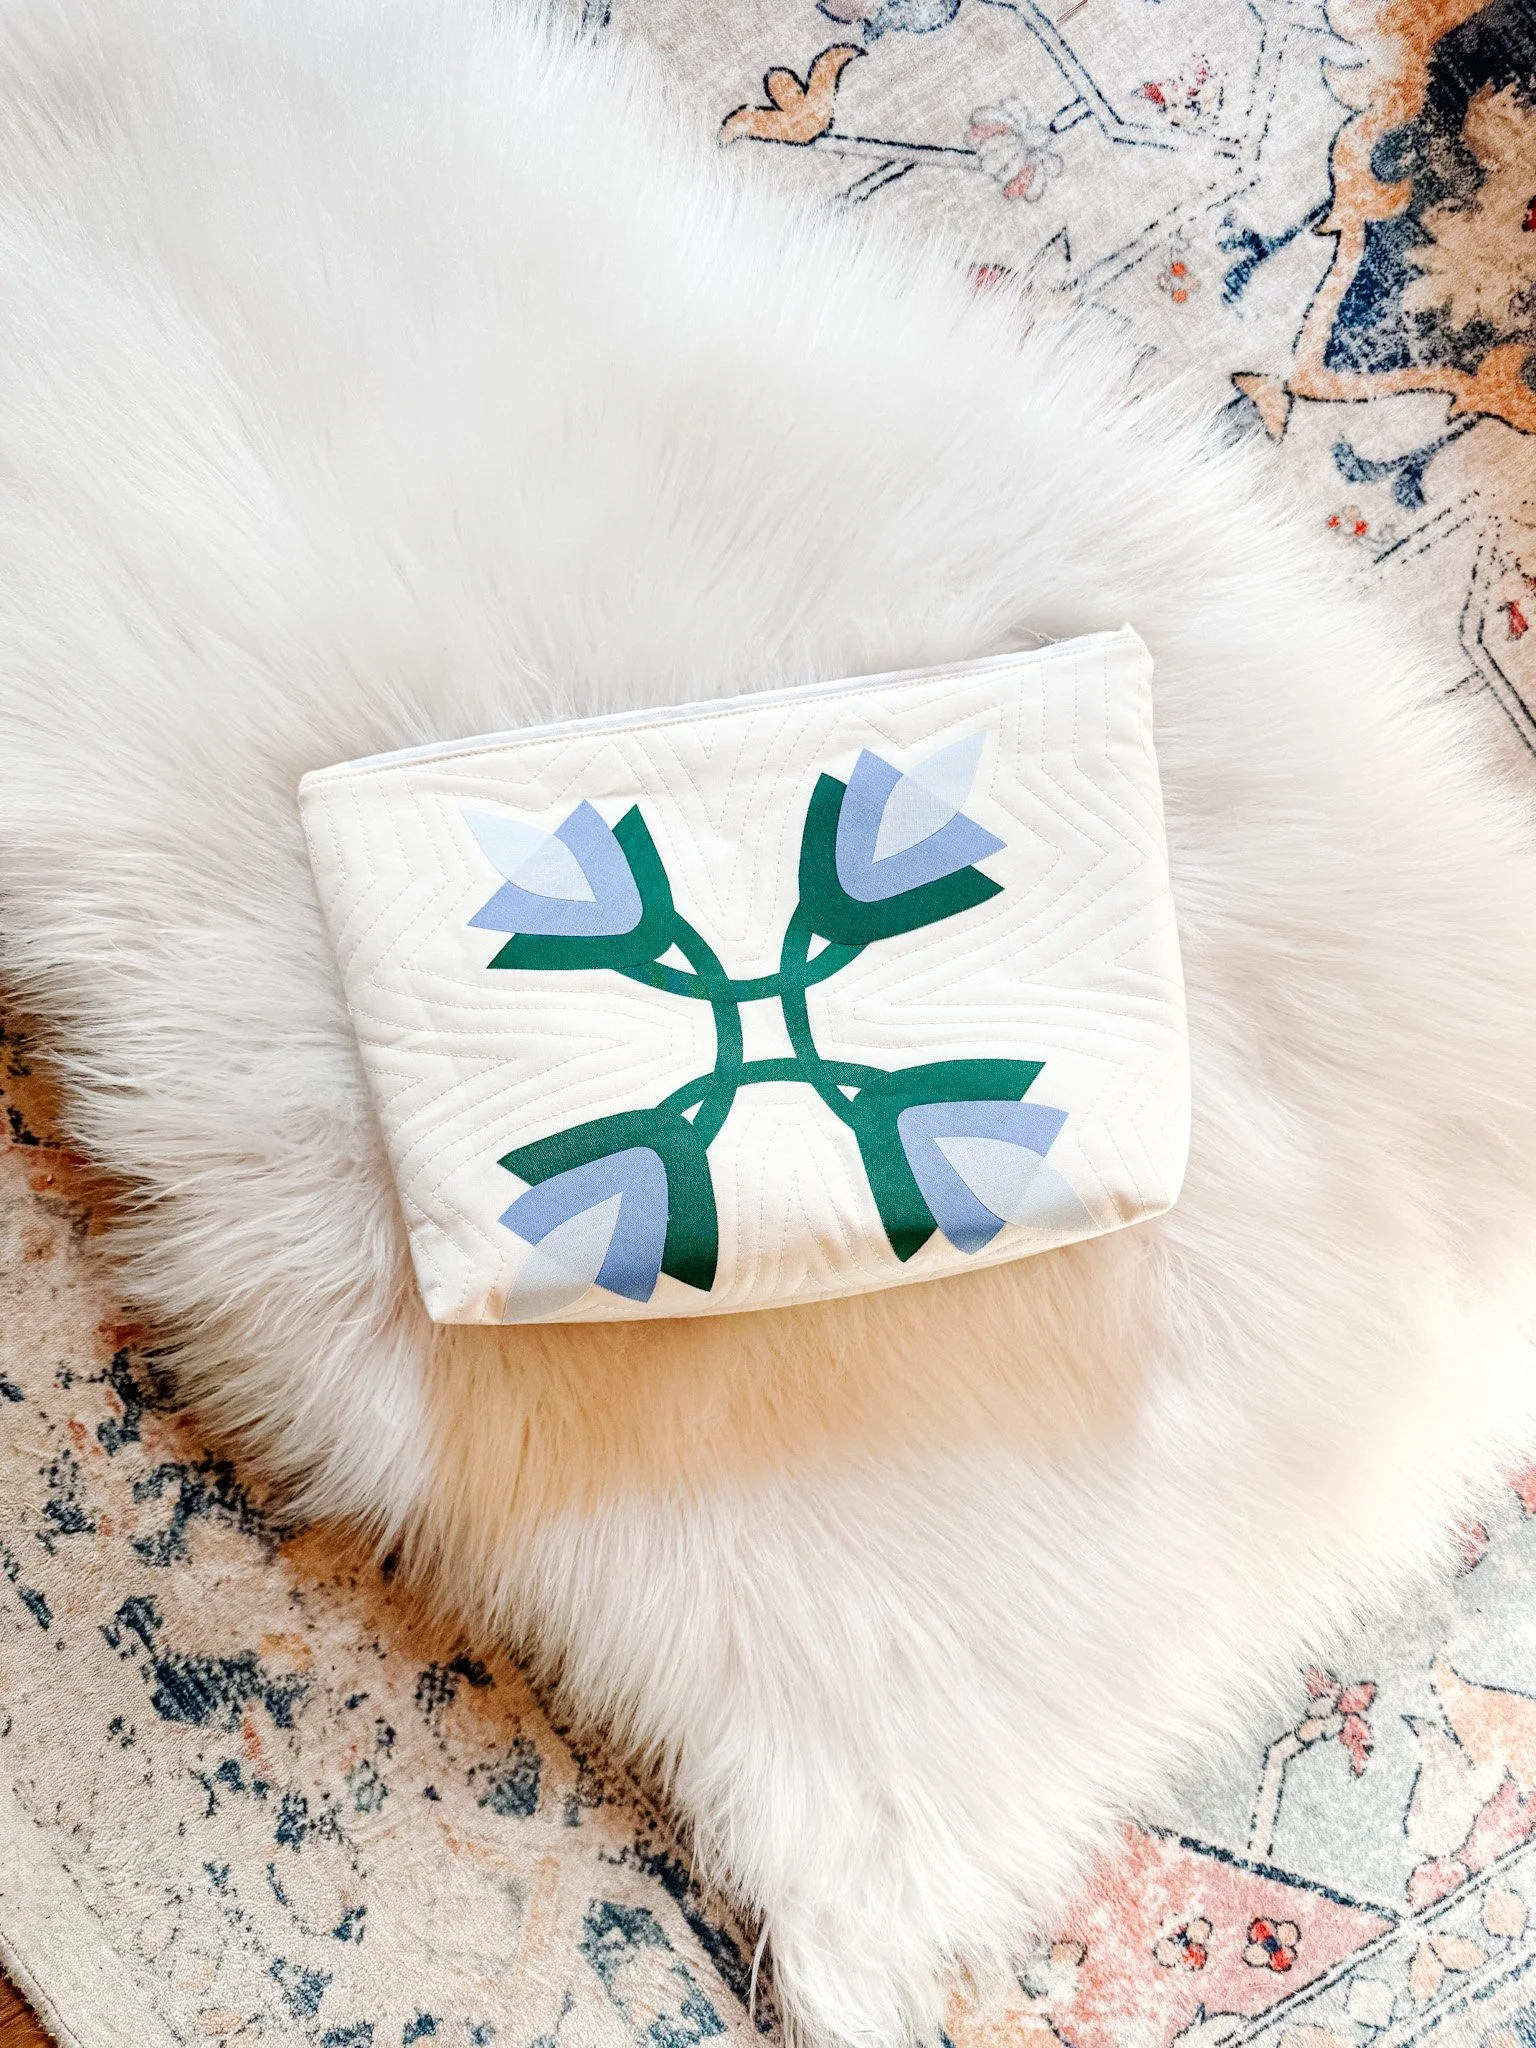
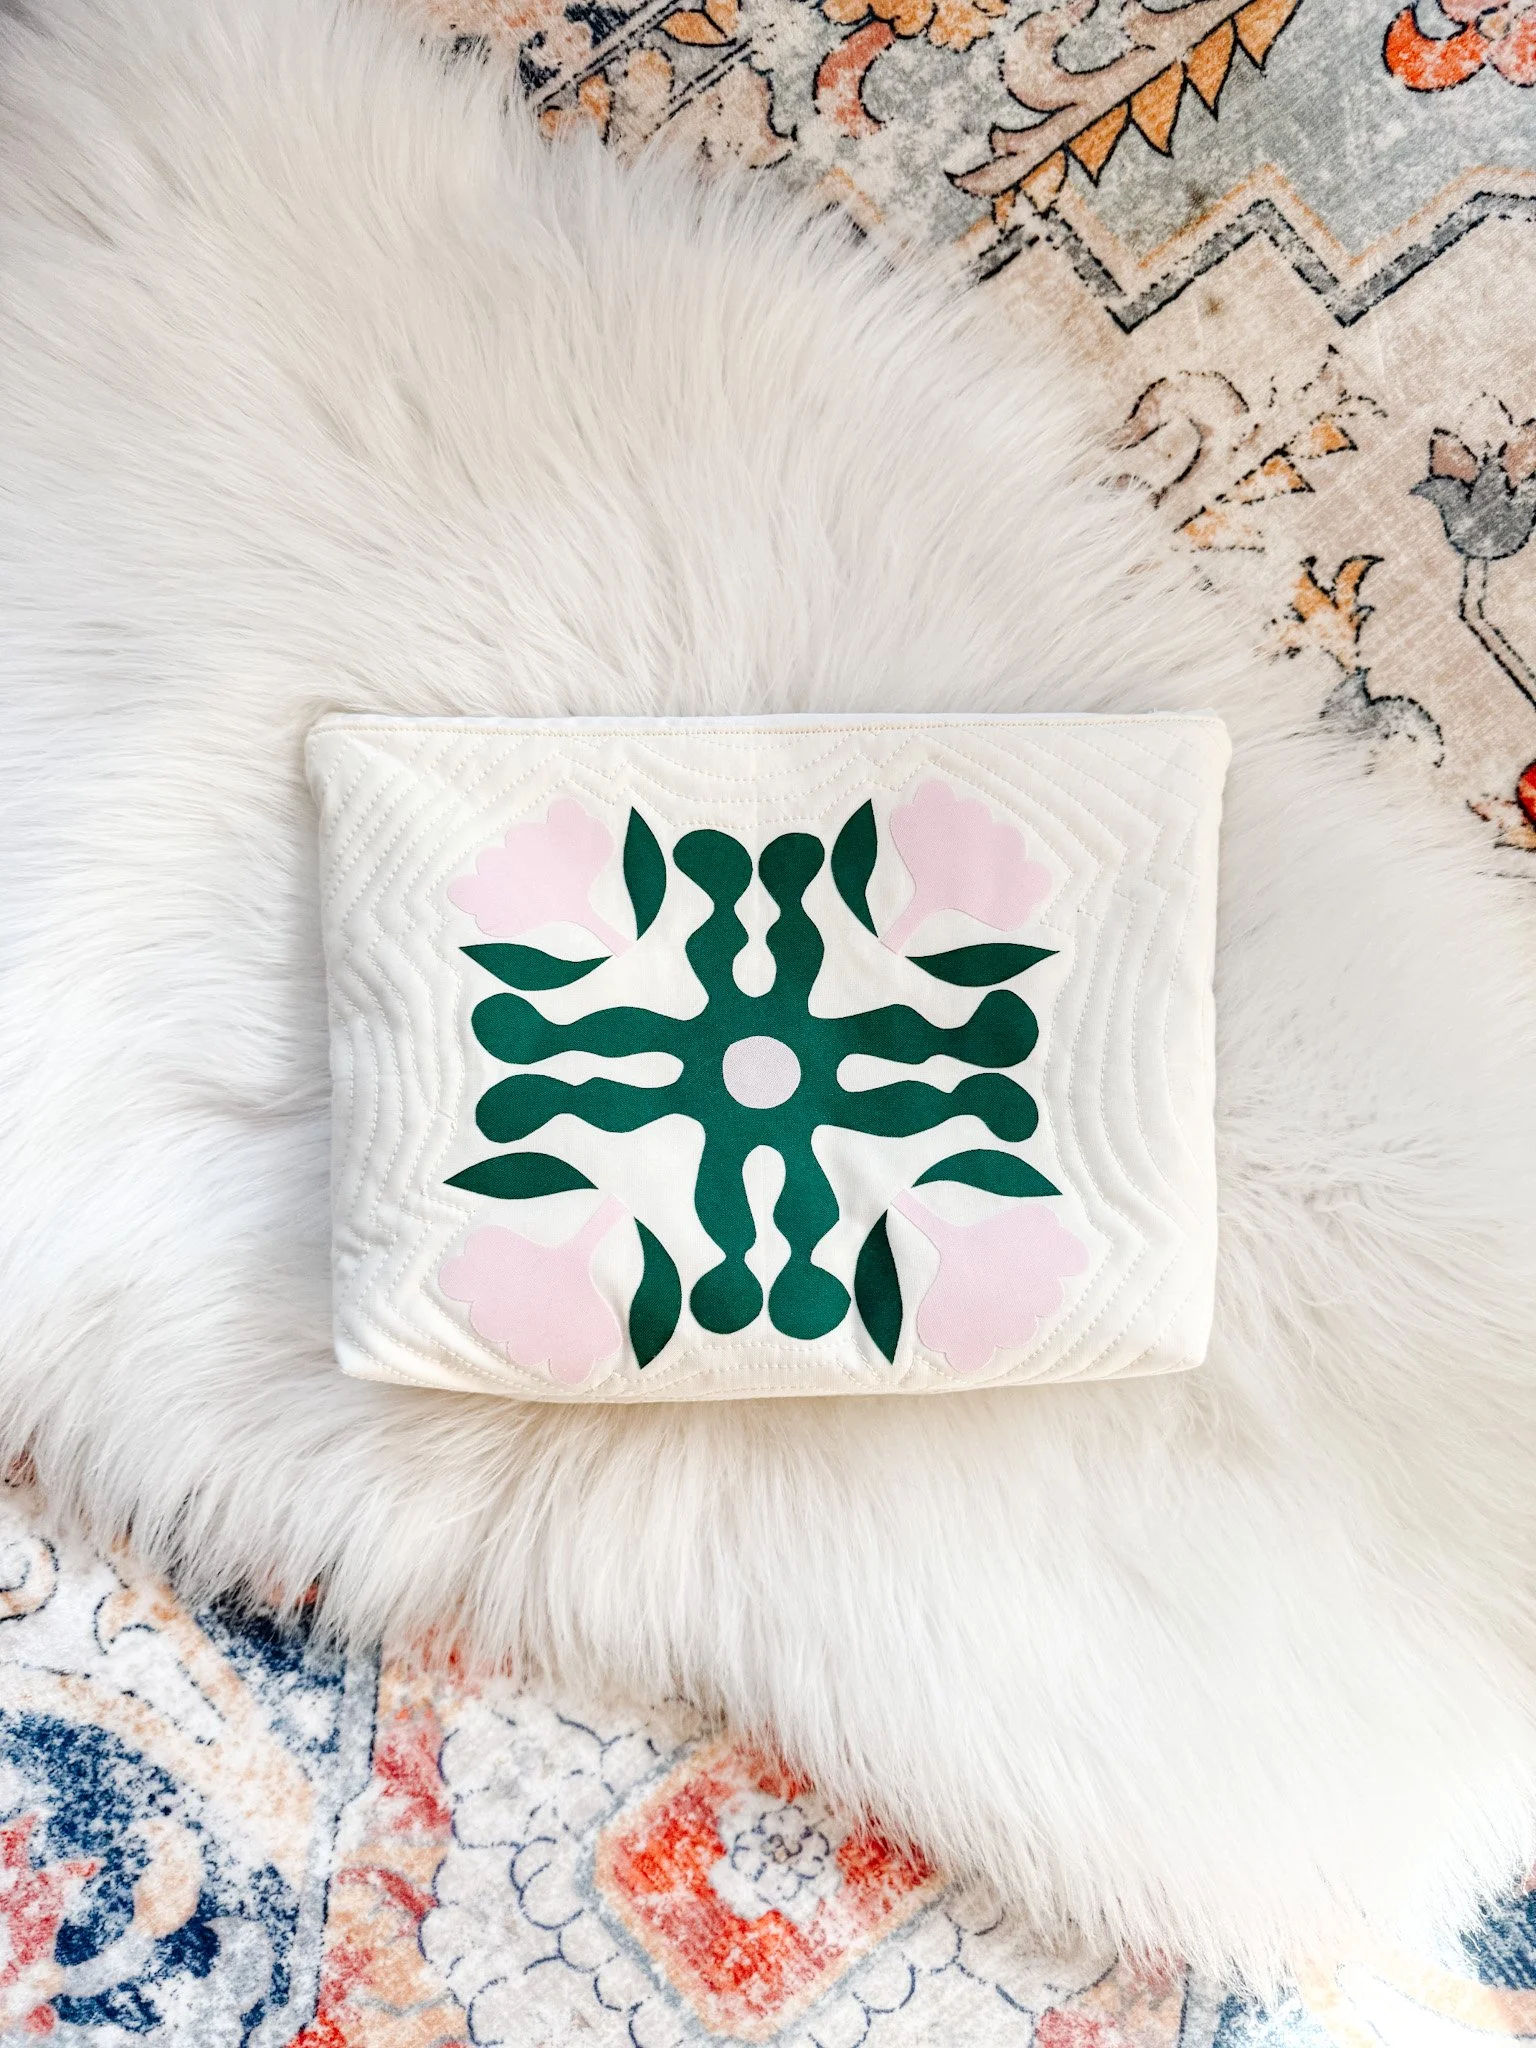
DESIGN FEATURES
→ Floral appliqué design with layered shapes
→ Symmetrical layout for balanced placement
→ Designed specifically for shirt backs
→ Clean, bold shapes with a modern heirloom feel
CONSTRUCTION & TECHNIQUES
→ Raw edge fusible appliqué
→ Layered appliqué placement
→ Machine or hand stitching options
→ Straightforward construction throughout
→ Assumes ¼″ seam allowance
→ Assumes 42″ usable WOF
MATERIALS
→ Quilting cotton (or scrap equivalents)
→ Denim or button-up shirt (base garment)
→ Fusible web (Heat N Bond Lite or Ultra Hold)
→ Thread
→ Basic sewing tools
(Full requirements included in pattern)
DELIVERY
📥 DIGITAL DOWNLOAD (PDF)
No physical item will be shipped
Instant access after checkout
USAGE & LICENSING
For personal, non-commercial use only
Items made from this pattern may not be sold
Pattern may not be shared, copied, or redistributed
SUPPORT
Questions while sewing? I’m happy to help
• Website: thelmaquilts.com
• YouTube: youtube.com/@thelmaquilts
• Email: hello@thelmaquilts.com
SHARE YOUR MAKE
Tag @thelmaquilts and use #thelmaquilts
What You Need to Get Started
Before we begin, let’s gather everything together. Nothing fancy, nothing intimidating — just a handful of simple tools and materials that make this whole process feel really easy and enjoyable.
Here’s what you’ll want to have on hand:
Denim shirt (a button-up works best — something with a nice flat back)
Quilting cotton fabric (for your appliqué shapes)
Fusible web (Heat N Bond Lite or Ultra Hold)
Printed appliqué templates. Get the pattern here.
Fabric scissors + paper scissors
Chalk pencil or fabric marker
Washable glue stick
Iron + pressing surface
Sewing machine (optional, depending on which fusible you choose)
This is one of those projects where you probably already have most of this tucked away somewhere in your sewing space, which I love. It keeps things simple and approachable.
And I have to say — chalk pencils are one of those little things that make a big difference. They’re easy to see, easy to control, and they wipe away without any fuss. I reach for them every single time.
check out my fave quilting tools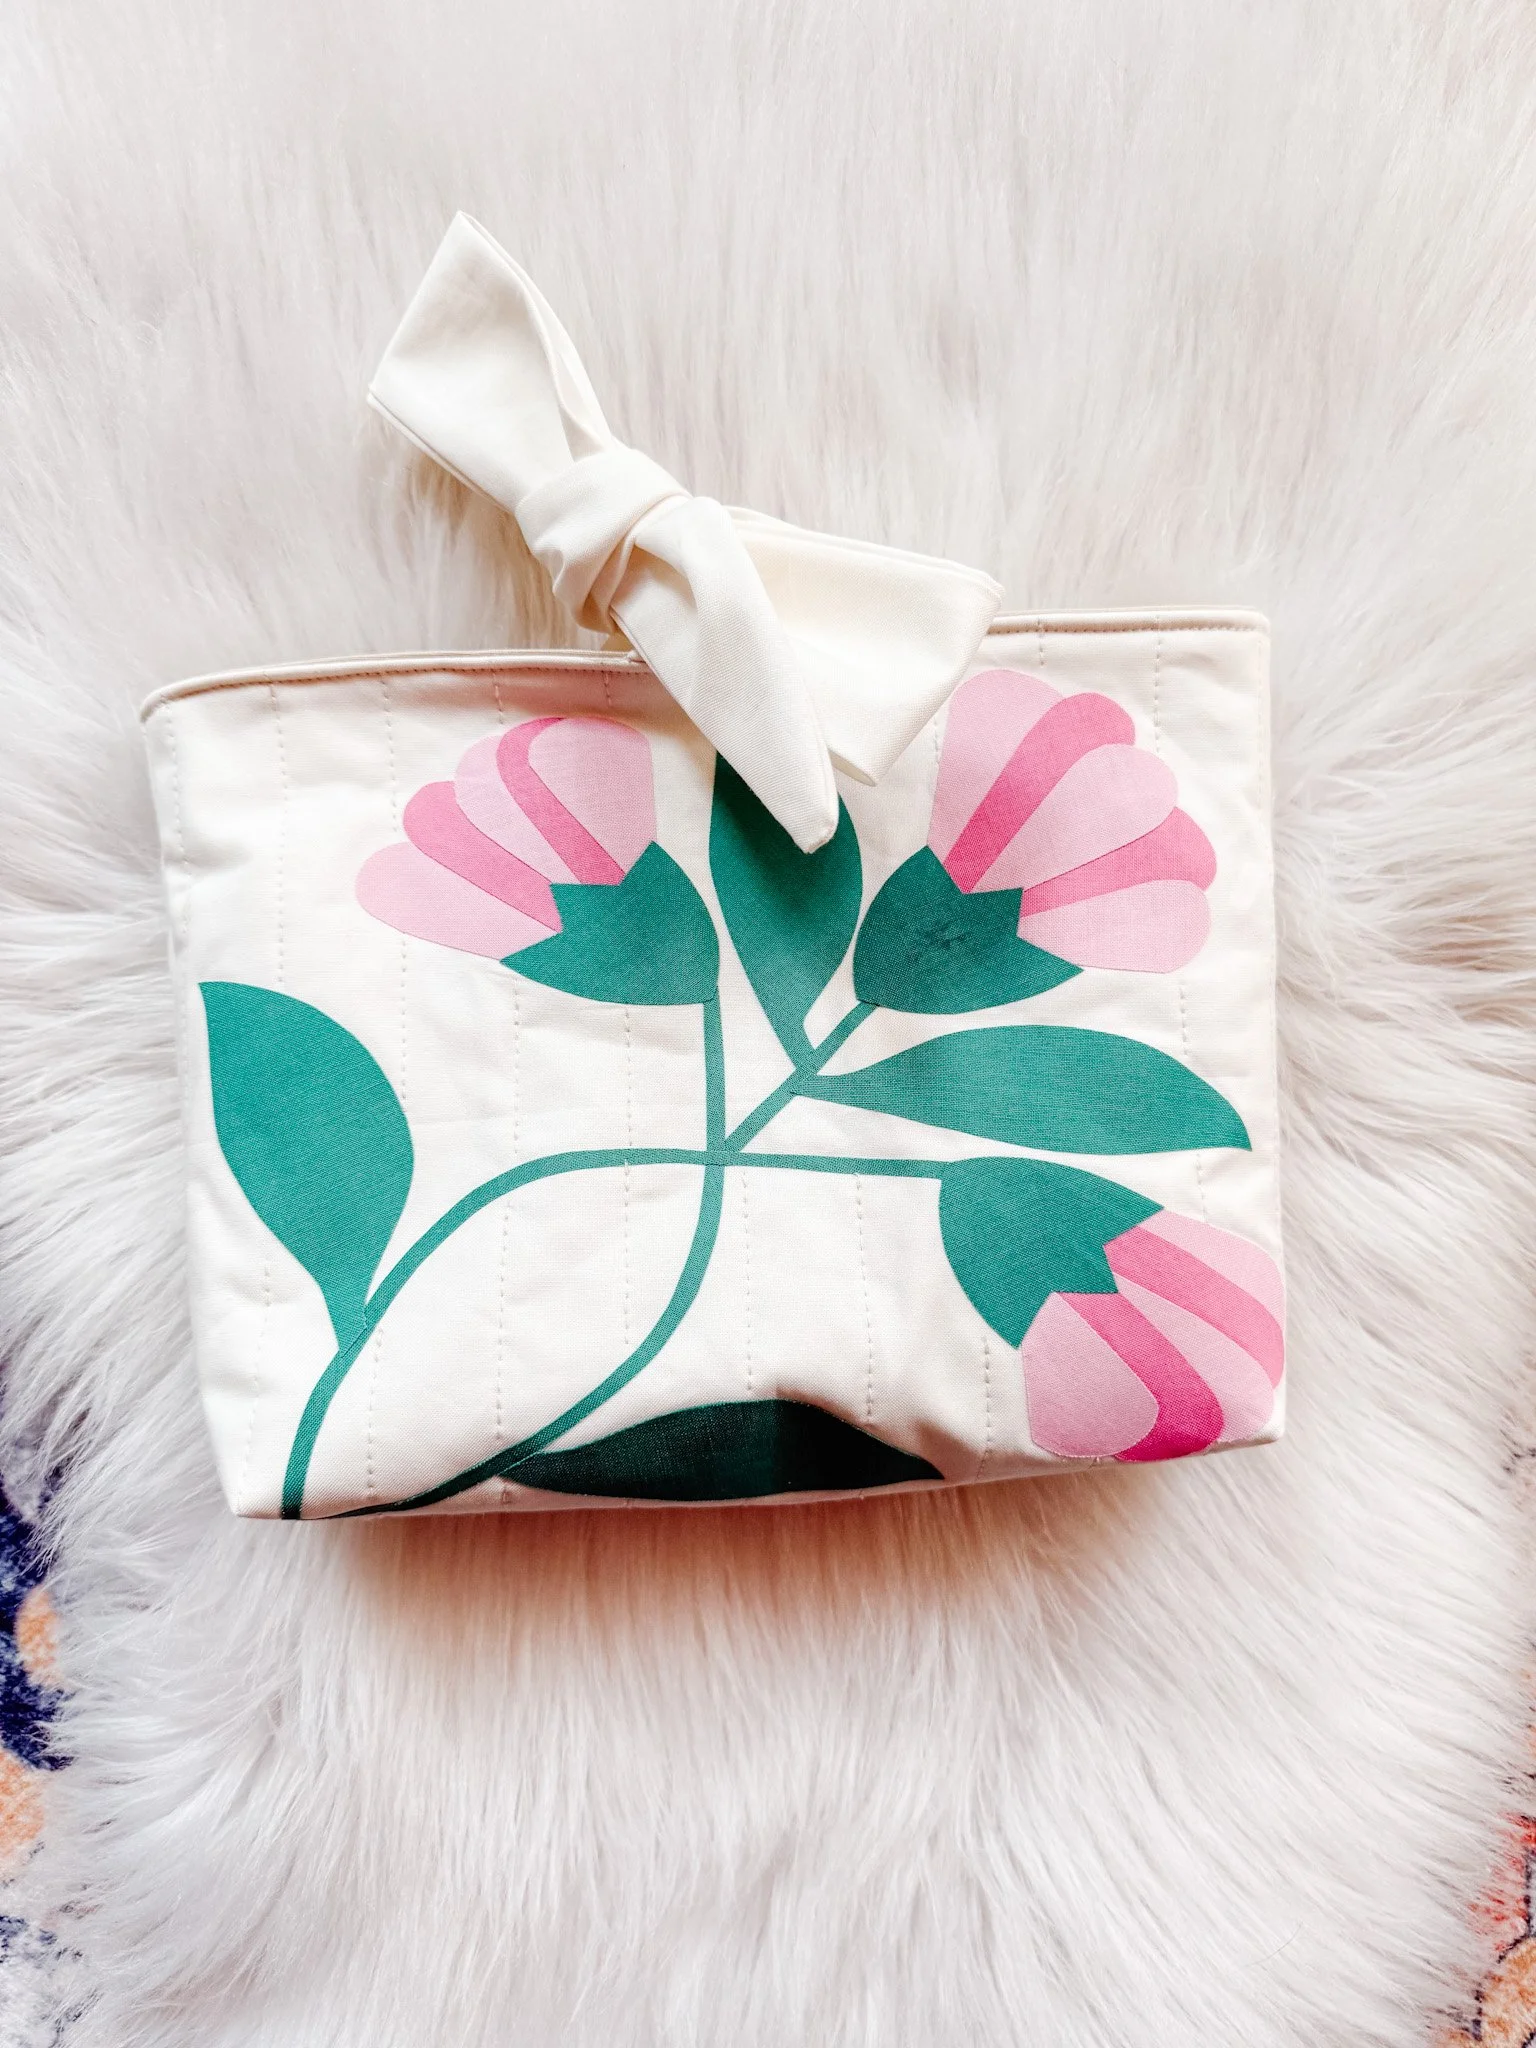


Step 1 — Prep Your Shirt and Mark Placement
Start by giving your denim shirt a really good press — I mean it. This one step makes everything feel calmer and more precise. Wrinkles have a way of throwing things off, and we don’t need that energy here.
Once your shirt is smooth and ready, we’re going to create a simple guide so your design feels balanced (without overthinking it).
Grab a chalk pencil or fabric marker and:
→ Draw a vertical line from the neckline down toward the hem
→ Draw a horizontal line from armhole to armhole
→ Where those two lines meet is your center point
That little cross you’ve created? That’s your anchor.
When you start placing your appliqué shapes, you’ll line everything up from that center instead of guessing and hoping for the best. It takes the pressure off and lets you focus on the fun part — arranging something beautiful.
This is one of those quiet, simple steps that makes the whole project come together so much more smoothly.
Step 2 — Trace and Prepare Your Appliqué Shapes
This is where things start to feel real… like you can actually see the design coming together.
Take your printed templates and trace them onto the paper side of your fusible web. This part is simple, but there are two little details that make a big difference:
→ Your shapes need to be mirrored when you trace them
→ Leave a bit of space between each shape so you’re not fighting your scissors later
Once everything is traced, go ahead and rough cut around each piece — don’t worry about being perfect here. You’re just giving yourself something manageable to work with.
Next, place each shape glue-side down onto the wrong side of your fabric and give it a press. Let it cool for a moment (this helps everything set nicely), and then come back in with your fabric scissors and cut right on the lines.
And this is the moment…
When you peel that paper backing off and start holding those little shapes in your hand — it suddenly clicks.
You’re not just tracing anymore.
You’re building something.
Step 3 — Lay Out Your Design (Don’t Skip This Part)
This is one of my favourite parts of the whole process because it’s where everything starts to come to life.
Before you fuse anything down for good, give yourself a little room to play. Don’t rush this part. Move things around. Step back. Tilt your head a little. See what feels balanced and pretty to you.
What I like to do is keep the pattern diagram close by so I can refer to it as I go. I start with the center shape first and line it up with the guide lines I marked on the back of the shirt. Once that center is in place, I build outward from there, adding the rest of the shapes bit by bit.
I also love using a washable glue stick here. Just a tiny bit is enough to hold the shapes in place while I fuss with the layout and make little adjustments. It keeps everything from sliding around, but still gives you the freedom to change your mind before anything is permanent.
And that really is the key here. Once you fuse it, it’s fused. So give yourself a minute. Step back and have a look. Make sure you love how it feels before you take it to the iron.
Step 4 — Fuse the Appliqué to the Shirt
This is the moment where everything comes together… and honestly, it feels a little bit magical.
Once you’re happy with your layout (and I mean really happy — take that extra second to double check), it’s time to fuse everything down.
Set your iron to a medium-high heat — the wool setting is perfect. Then, working one section at a time, press firmly for about 8 seconds. Lift your iron, move to the next spot, and press again.
No rushing here. Just slow, steady pressing.
And this part matters more than you think —
👉 don’t slide your iron.
I know it’s tempting, but sliding (or “swishing”) will shift your shapes out of place, especially after you’ve taken the time to line everything up so nicely.
So instead, think of it as a gentle press and lift… press and lift… working your way across the design until the whole motif is fused.
Once you’re done, let it cool for a minute before touching anything. That’s what helps everything set properly and stay right where you placed it.
And just like that… it’s starting to feel real 🤍
Step 5 — To Stitch or Not to Stitch
This is one of those little decisions that changes how your piece wears over time—and it’s simpler than it sounds.
It really comes down to the fusible web you used.
If you used Heat N Bond Ultra Hold, you can leave it as is. Once it’s pressed, it’s bonded in place and you’re done. It’s quick, clean, and honestly kind of magical when you just want that instant finished look.
If you used Heat N Bond Lite, this is where you’ll want to take it over to your machine and stitch around each shape. Lite is designed to be sewn, and that extra step gives your appliqué that soft, secure finish that holds up beautifully over time.
And here’s my honest take—if this is a shirt you’re going to wear often, wash, live in… I would always stitch it.
It doesn’t have to be complicated.
A simple straight stitch is soft and subtle.
A zig-zag gives a bit more durability.
A blanket stitch adds that slightly handmade, heirloom feel.
There’s no wrong choice here—just pick what feels right to you.
This part is less about perfection and more about finishing your piece in a way that feels good, holds up, and lets you actually enjoy wearing it.
Final Result — A Shirt You Actually Want to Wear
And just like that… you’re done.
What used to be that “I don’t know what to do with this” denim shirt… is now something you’ll actually reach for.
And I mean that in the best way.
There’s something really special about taking a piece that felt a little flat, a little forgotten… and turning it into something that feels like you. Not perfect. Not precious. Just… yours.
It’s creative. It’s a little playful. It has personality now.
And the best part?
It didn’t take hours and hours or anything complicated to get here.
It was just a few shapes, a bit of time at your sewing table, and that quiet moment where you step back and think, okay… I actually love this.
Those are my favorite kinds of projects.
The ones that feel simple while you’re making them… but completely change how something looks (and feels) when you’re done 🤍
If you’ve been wanting to try appliqué, or you’re just craving a way to make your clothes feel a little more you… this is it.
This is one of those projects that doesn’t ask much of you. No big plan. No fancy setup. No pressure to get it perfect.
Just you, your shirt, a handful of shapes… and a quiet little moment at your sewing table.
And somehow, that’s enough to turn something ordinary into something that feels personal. Like it has a story again.
That’s always my favorite part.
So if you make one of these, I really hope you take your time with it. Move things around. Trust your eye. Let it feel like yours.
And when you’re done… I would truly love to see it 🤍
Tag me over on Instagram @thelmaquilts so I can come cheer you on and celebrate your make with you.
check out my fave quilting toolspin it for later
Minimalist knitwear designer.